SharePoint
Open your team’s SharePoint library in RcloneView
Connect a SharePoint document library as a remote — sign in with Microsoft, pick the site and library, and browse your team’s files next to every other cloud. No command line.
- Sign in with your Microsoft 365 account — RcloneView never sees your password
- Pick any SharePoint site and document library you have access to
- Then copy, sync, back up or mount it like any other remote
The demo player couldn’t load. Use “Open in new tab” instead.
Watch next
See all demos →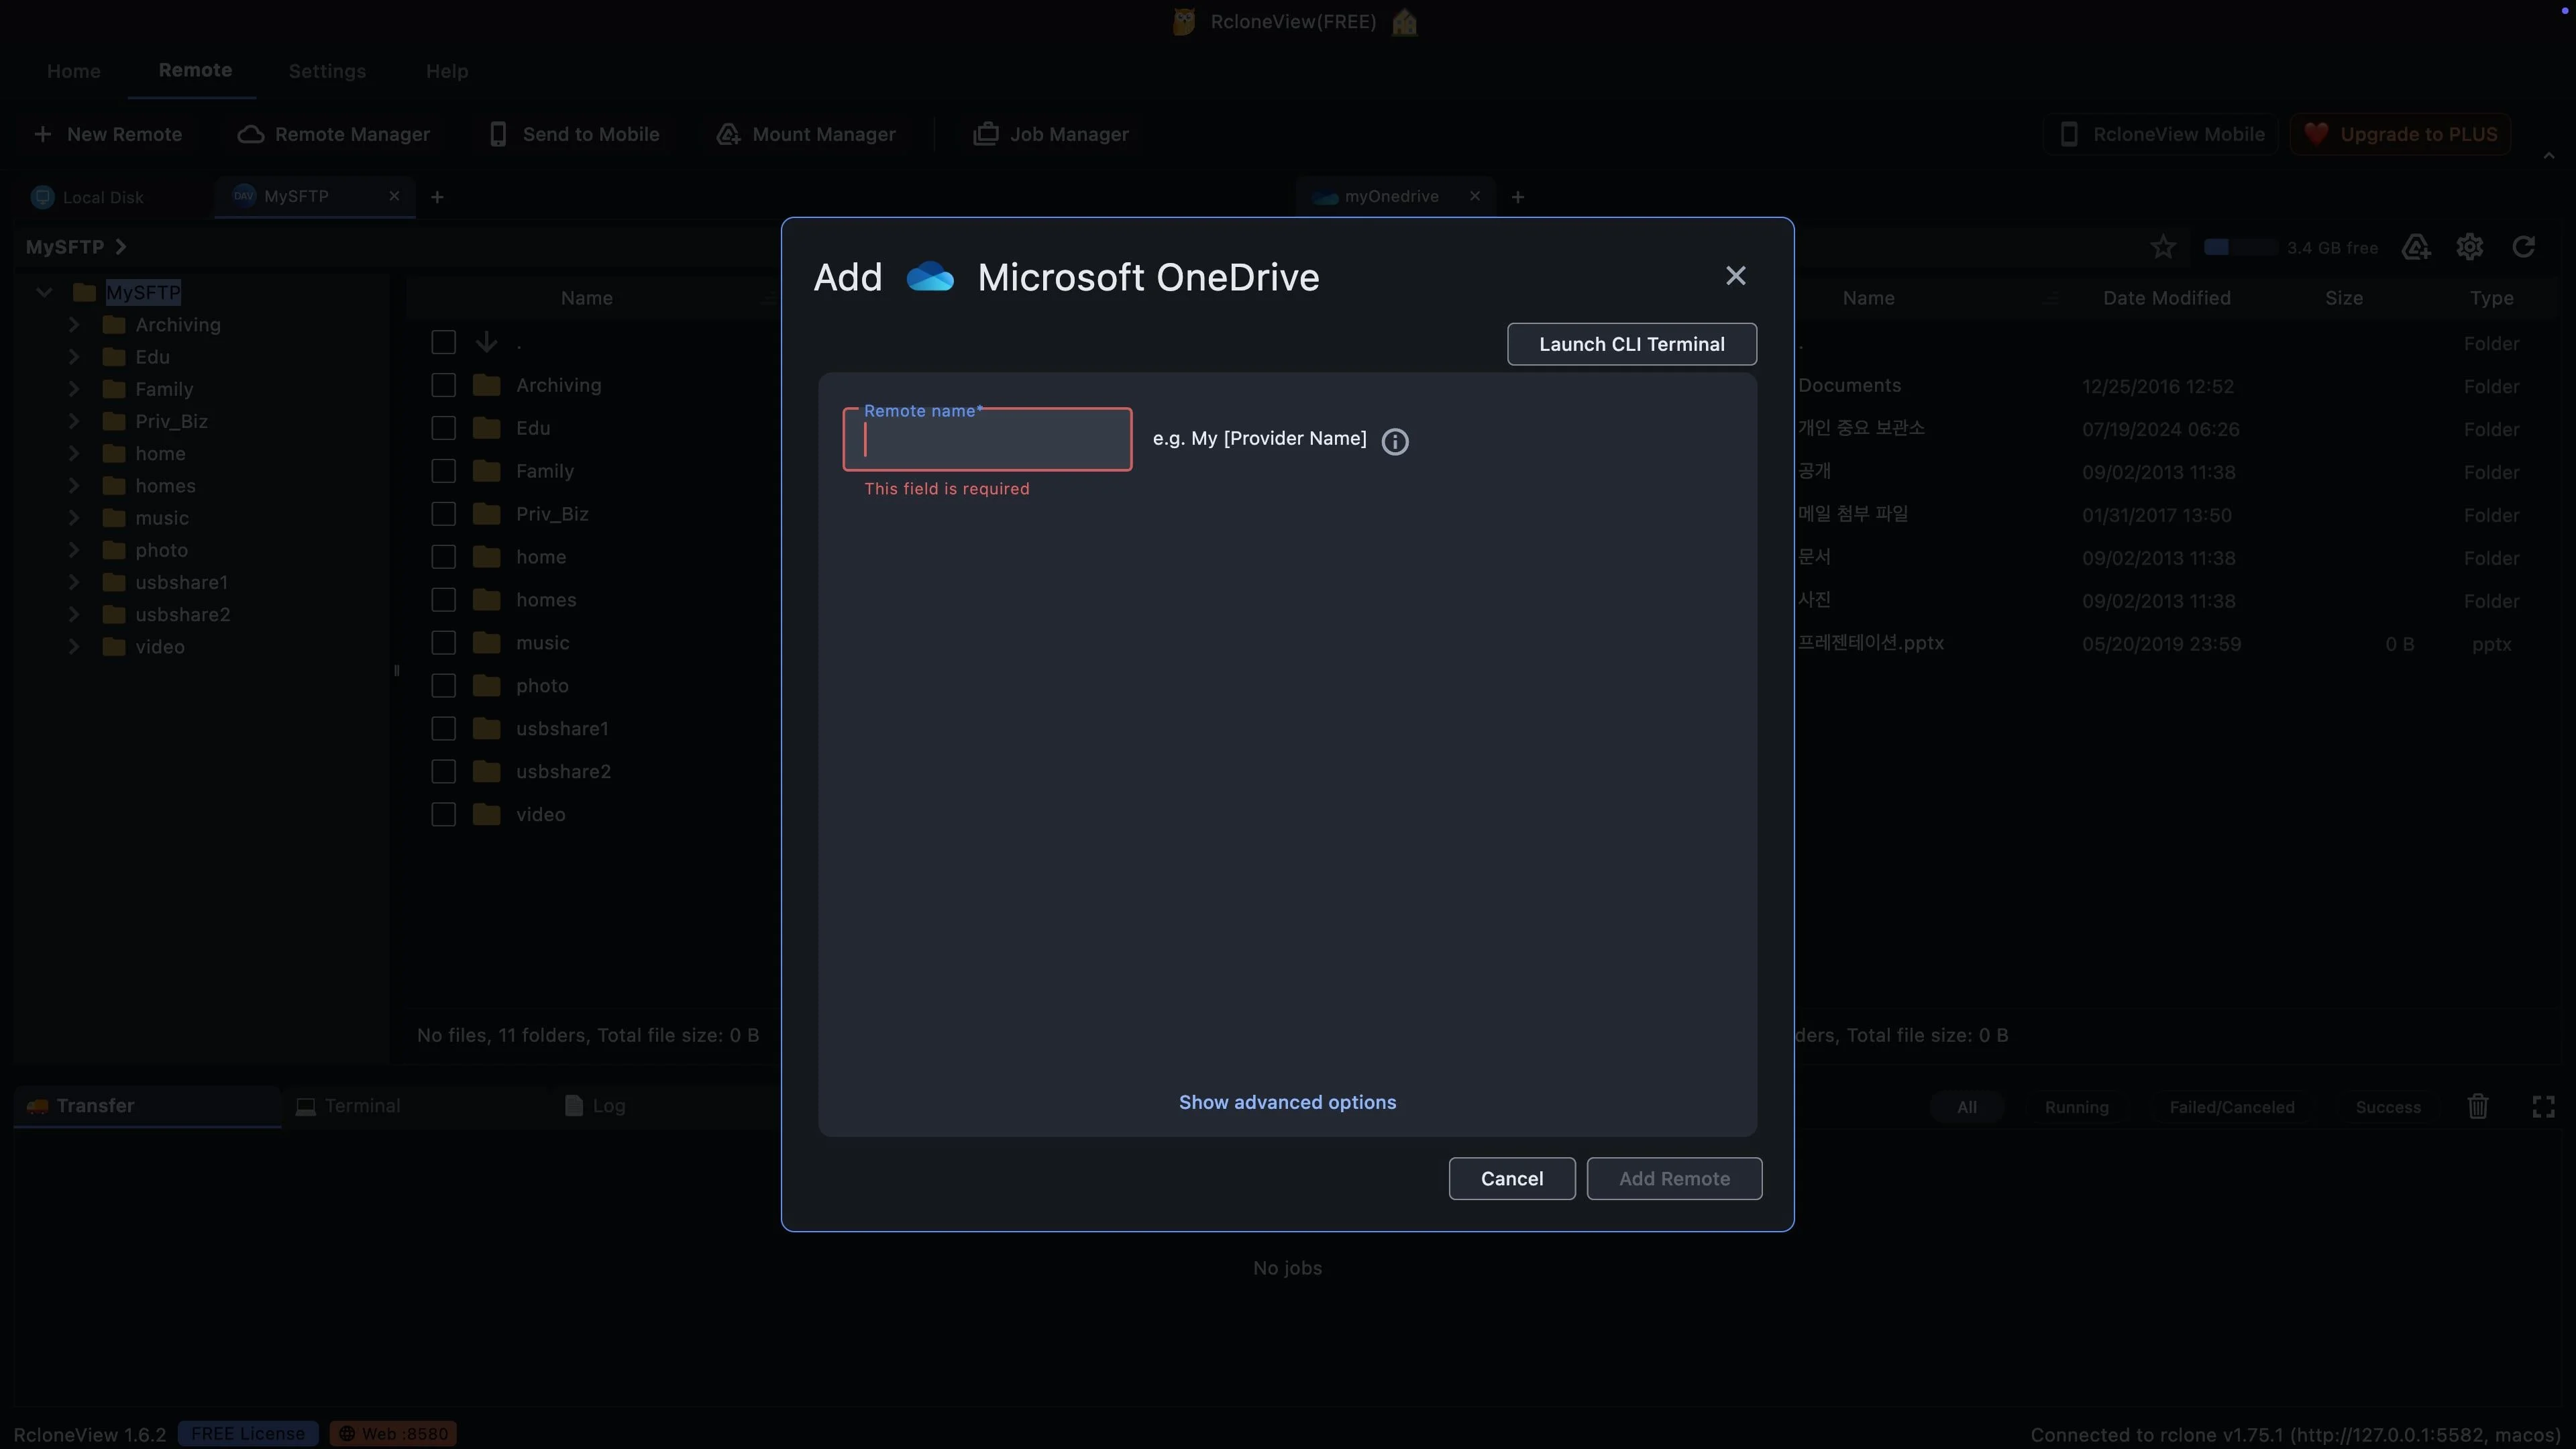
Step-by-step guide
How to connect a SharePoint library to RcloneView
The same 22 steps as the interactive demo, with screenshots — skim it, or jump into the demo at any step.
-
1Try this step ↗
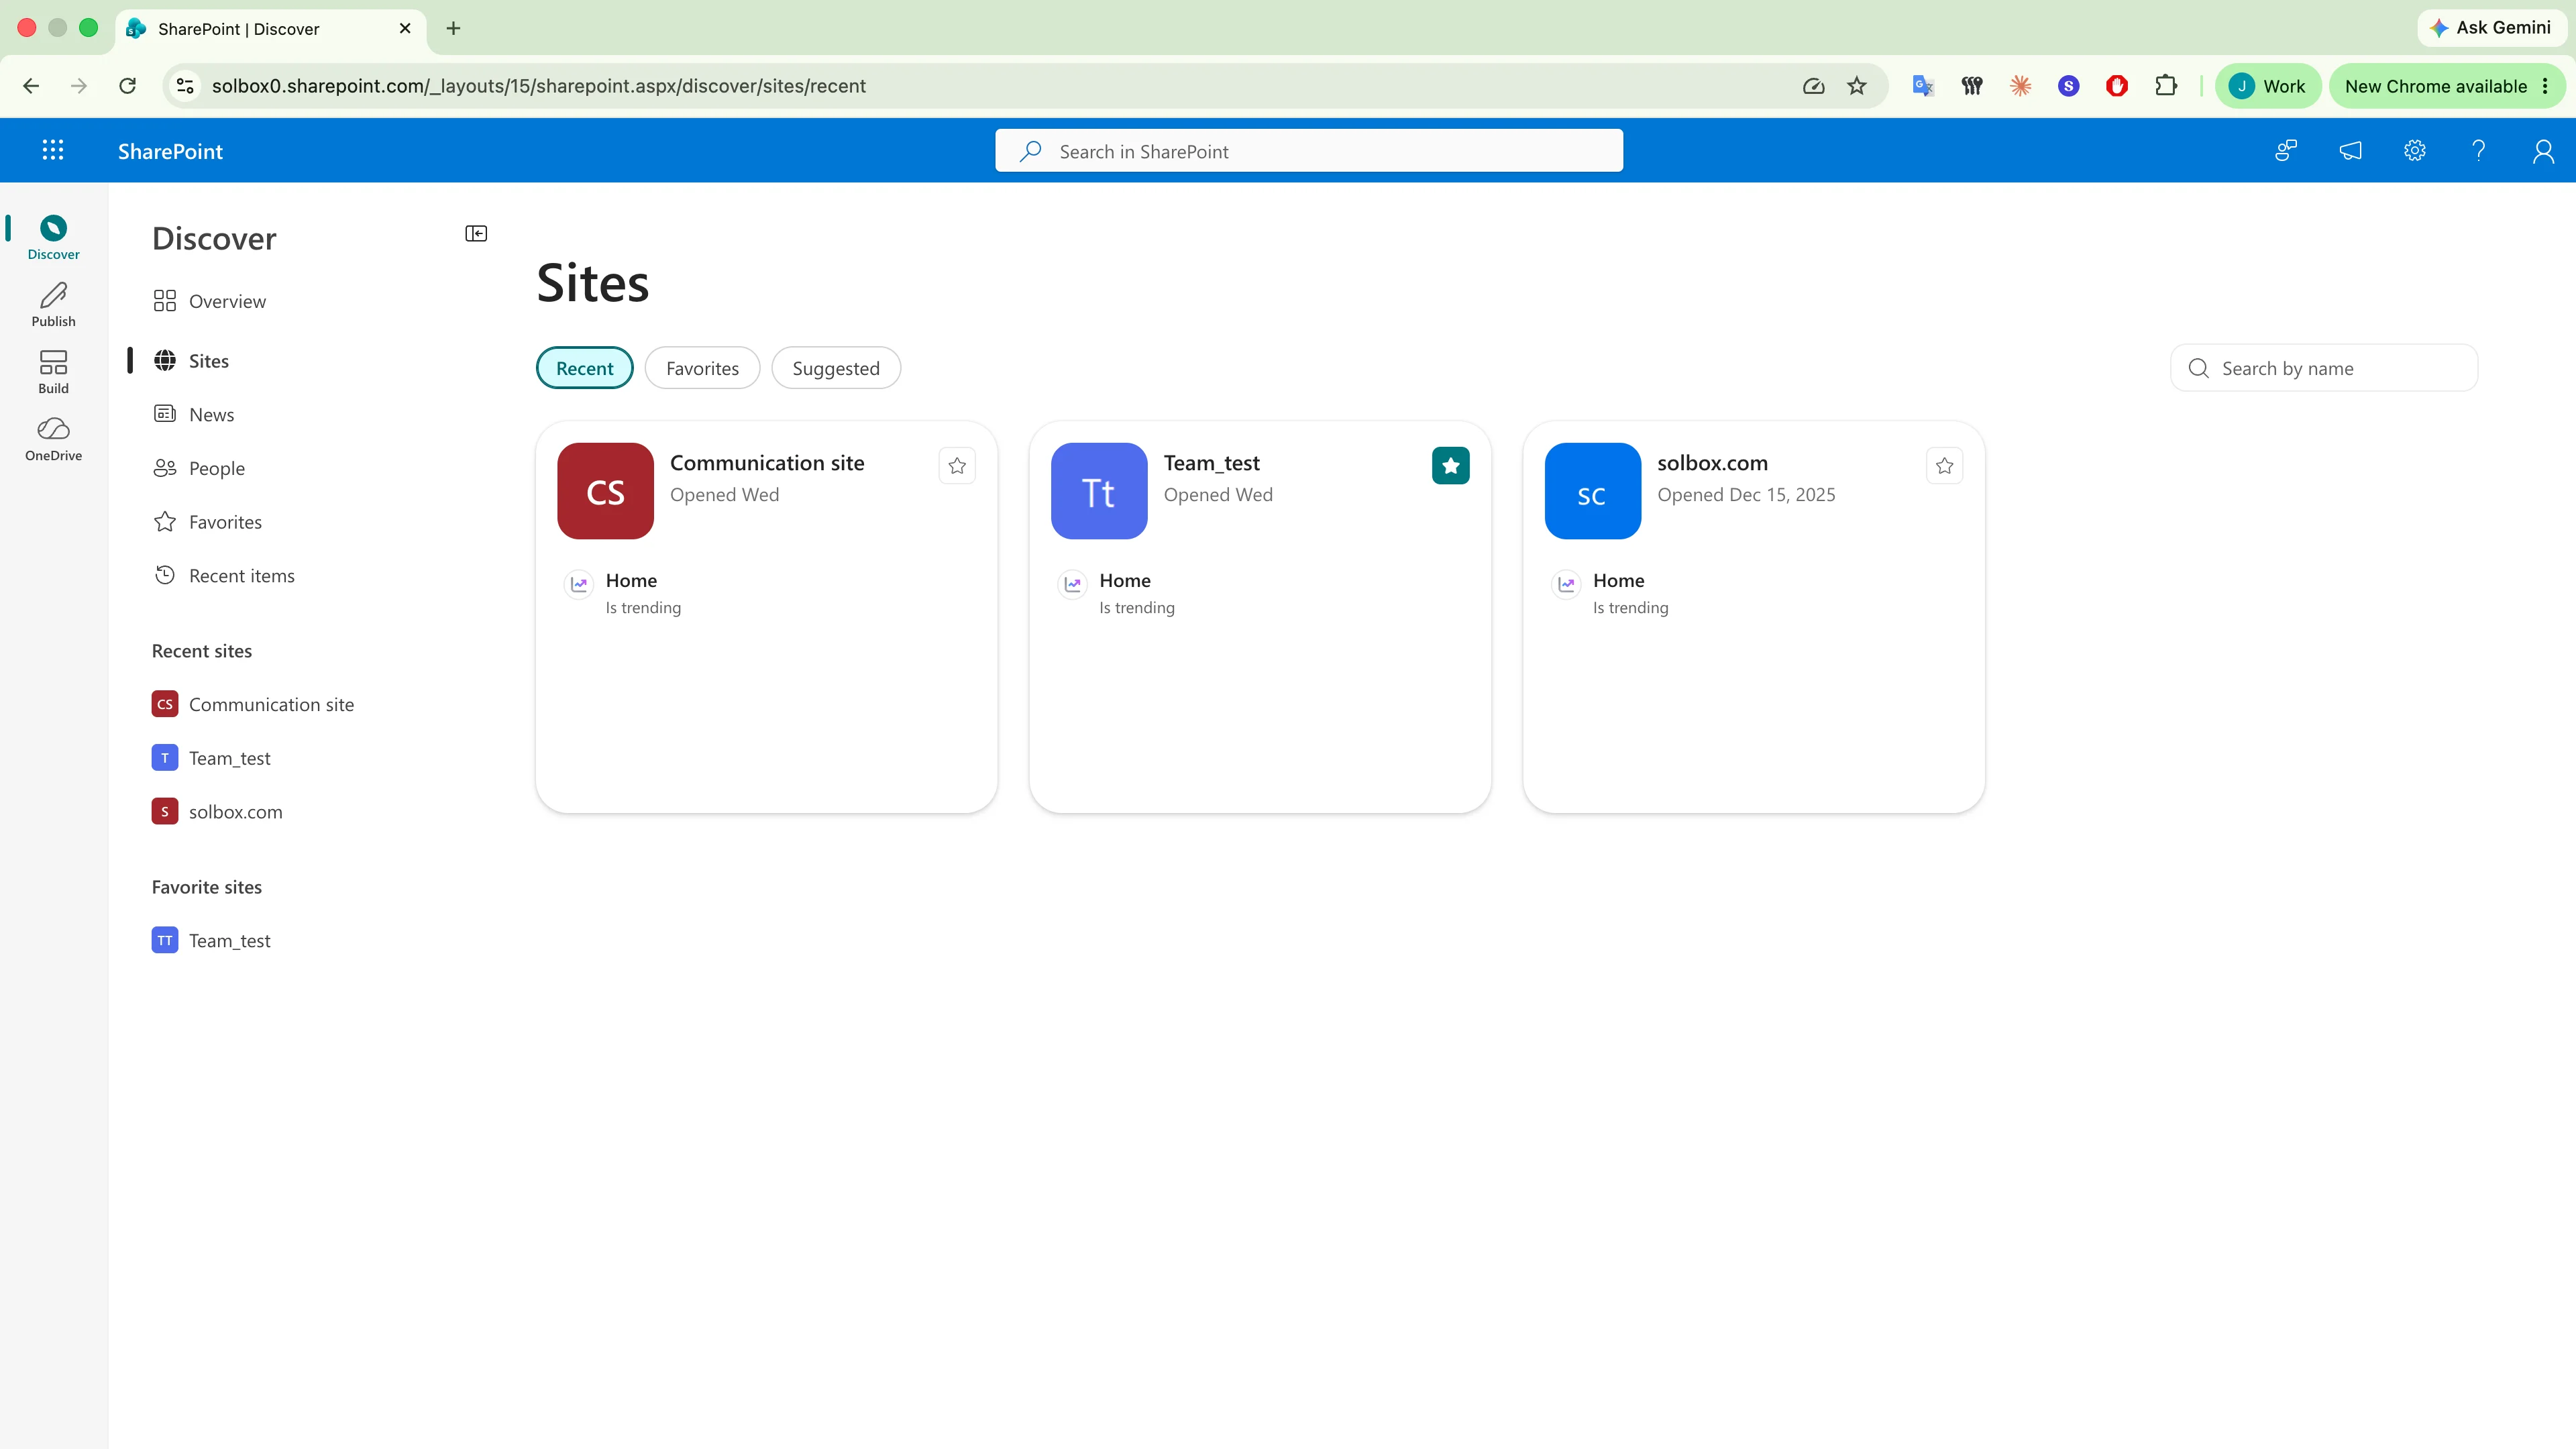
This is the team site we want to open in RcloneView.
First, let us look at what we want to reach. In SharePoint, every team has its own site. Here in the browser, you can see the sites your account can use. Our target is the site called Team test.
-
2Try this step ↗
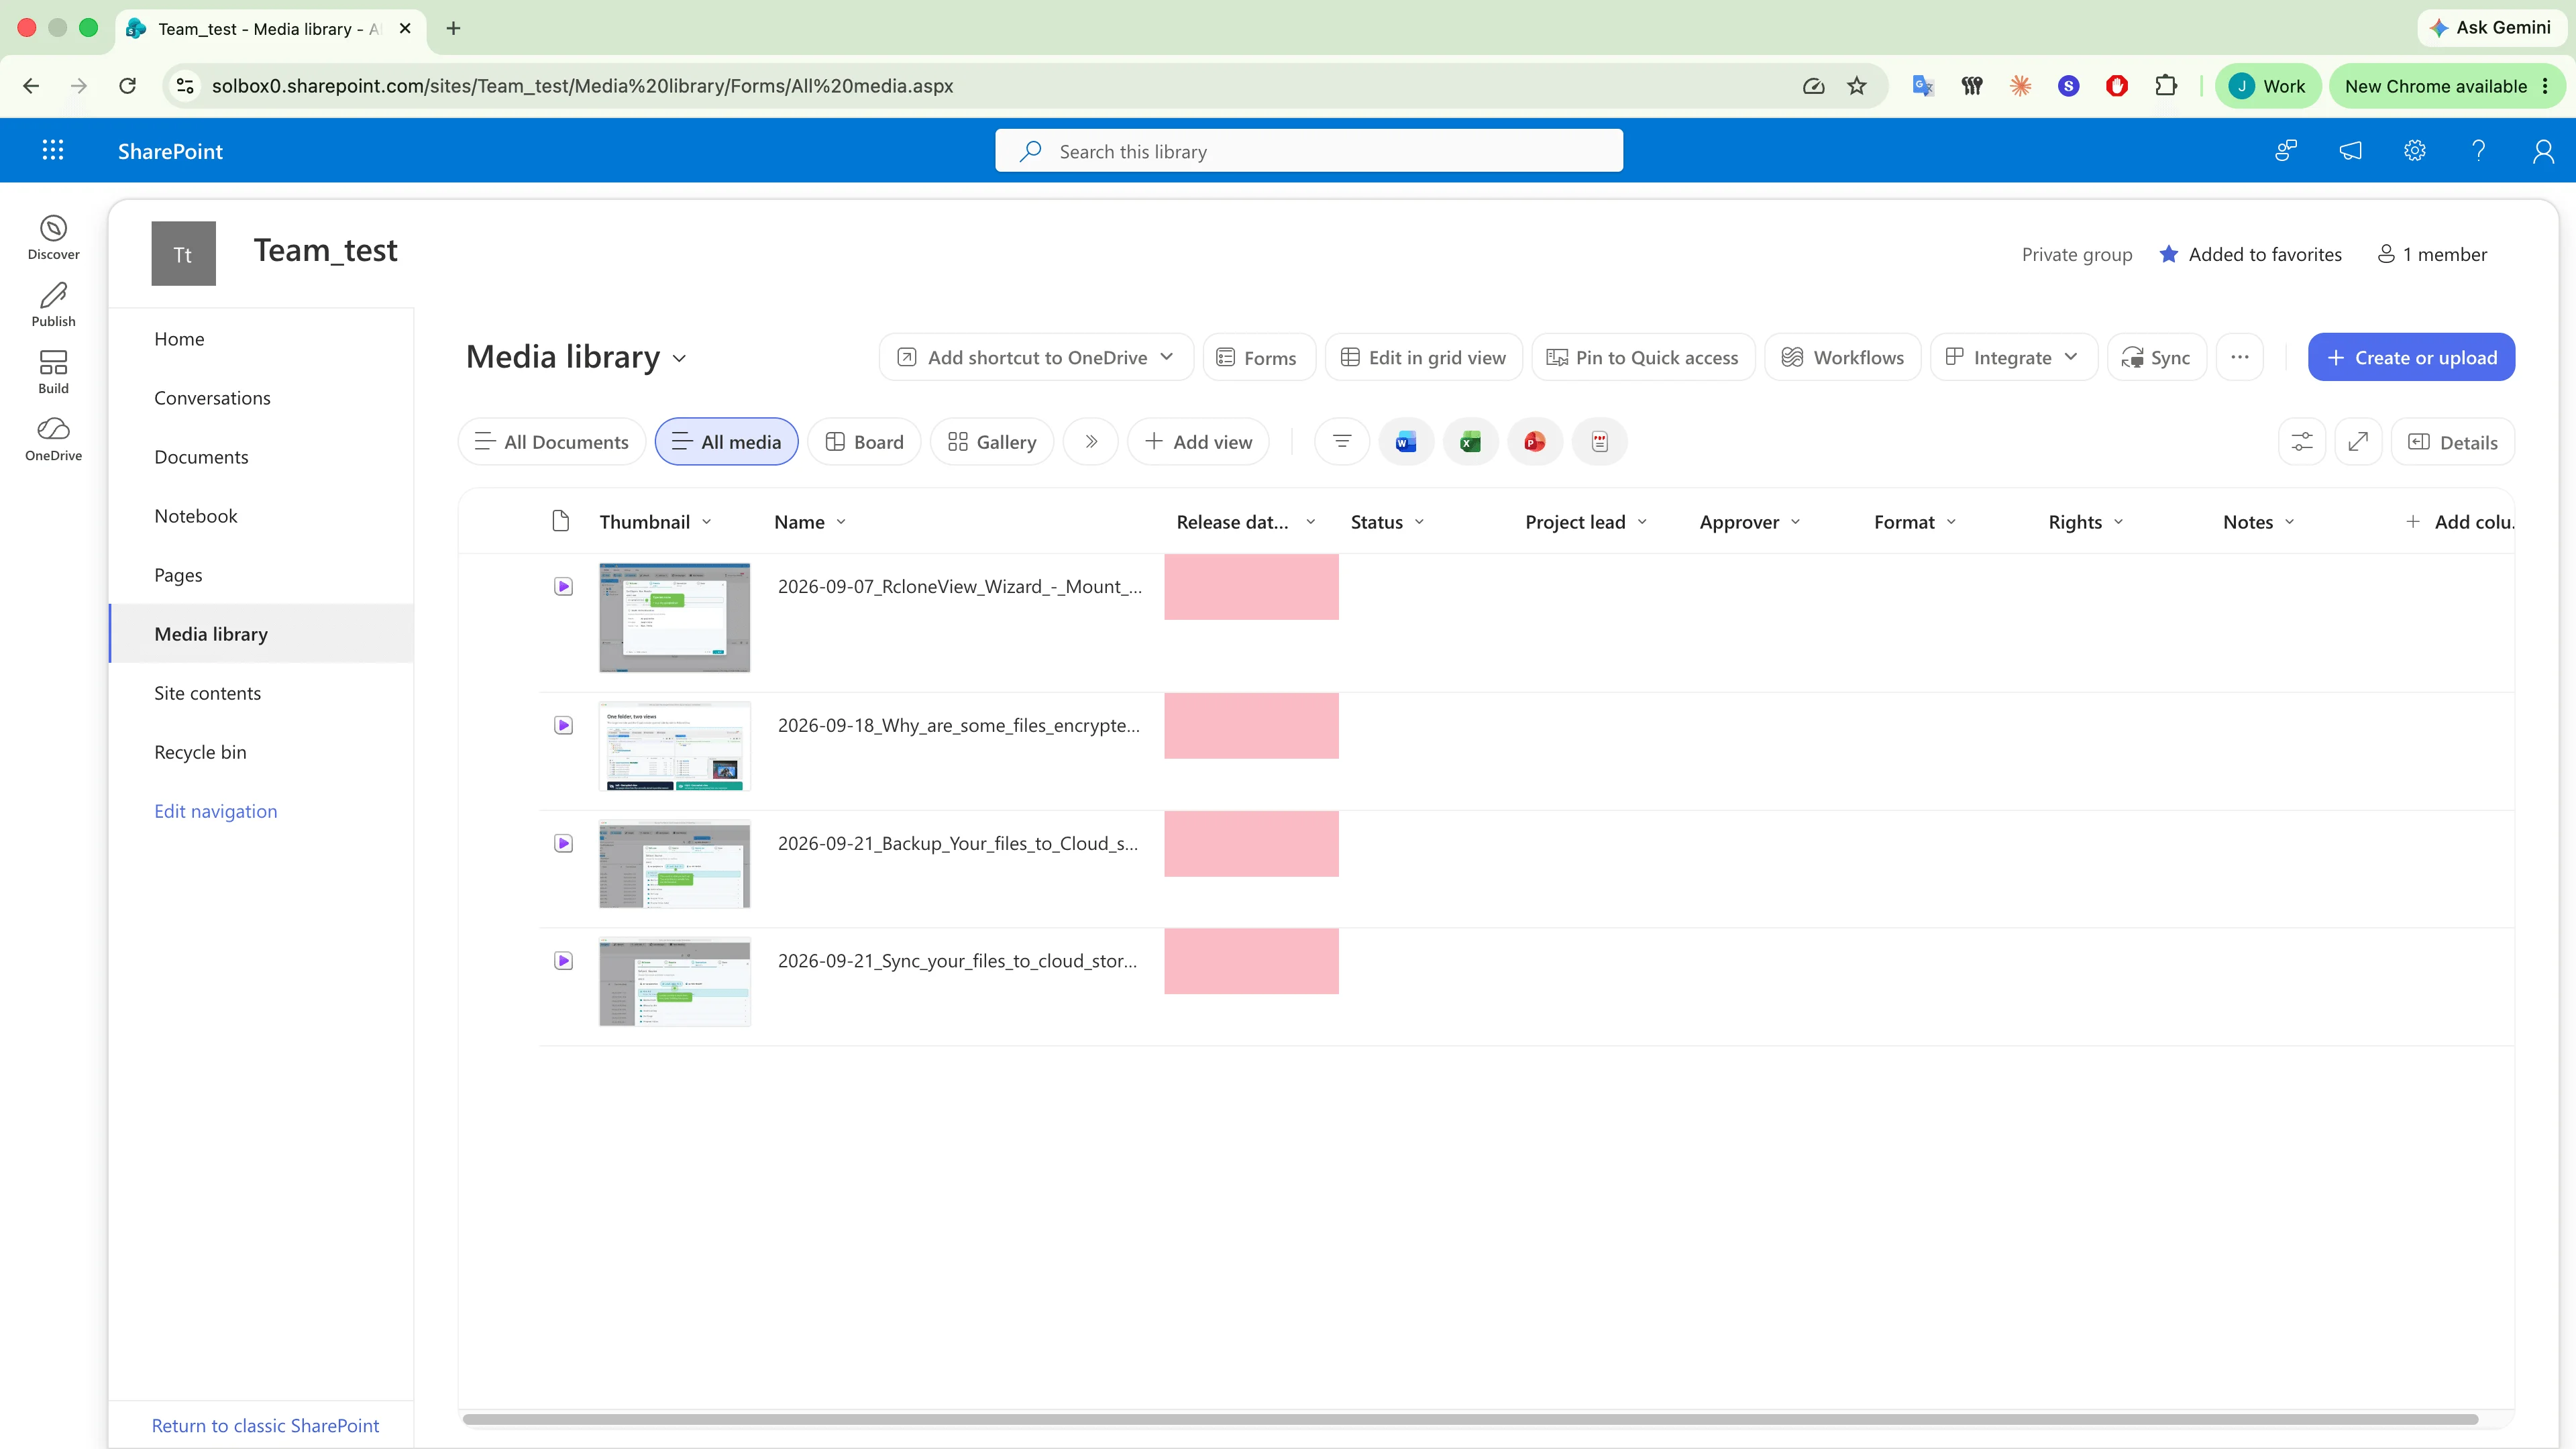
A site has several libraries. We want the Media library.
Inside the site, files are kept in libraries. Documents is the default one, and this site also has a Media library with our videos. Remember this idea. In RcloneView, one remote opens one library, so we will pick the Media library during setup.
-
3Try this step ↗
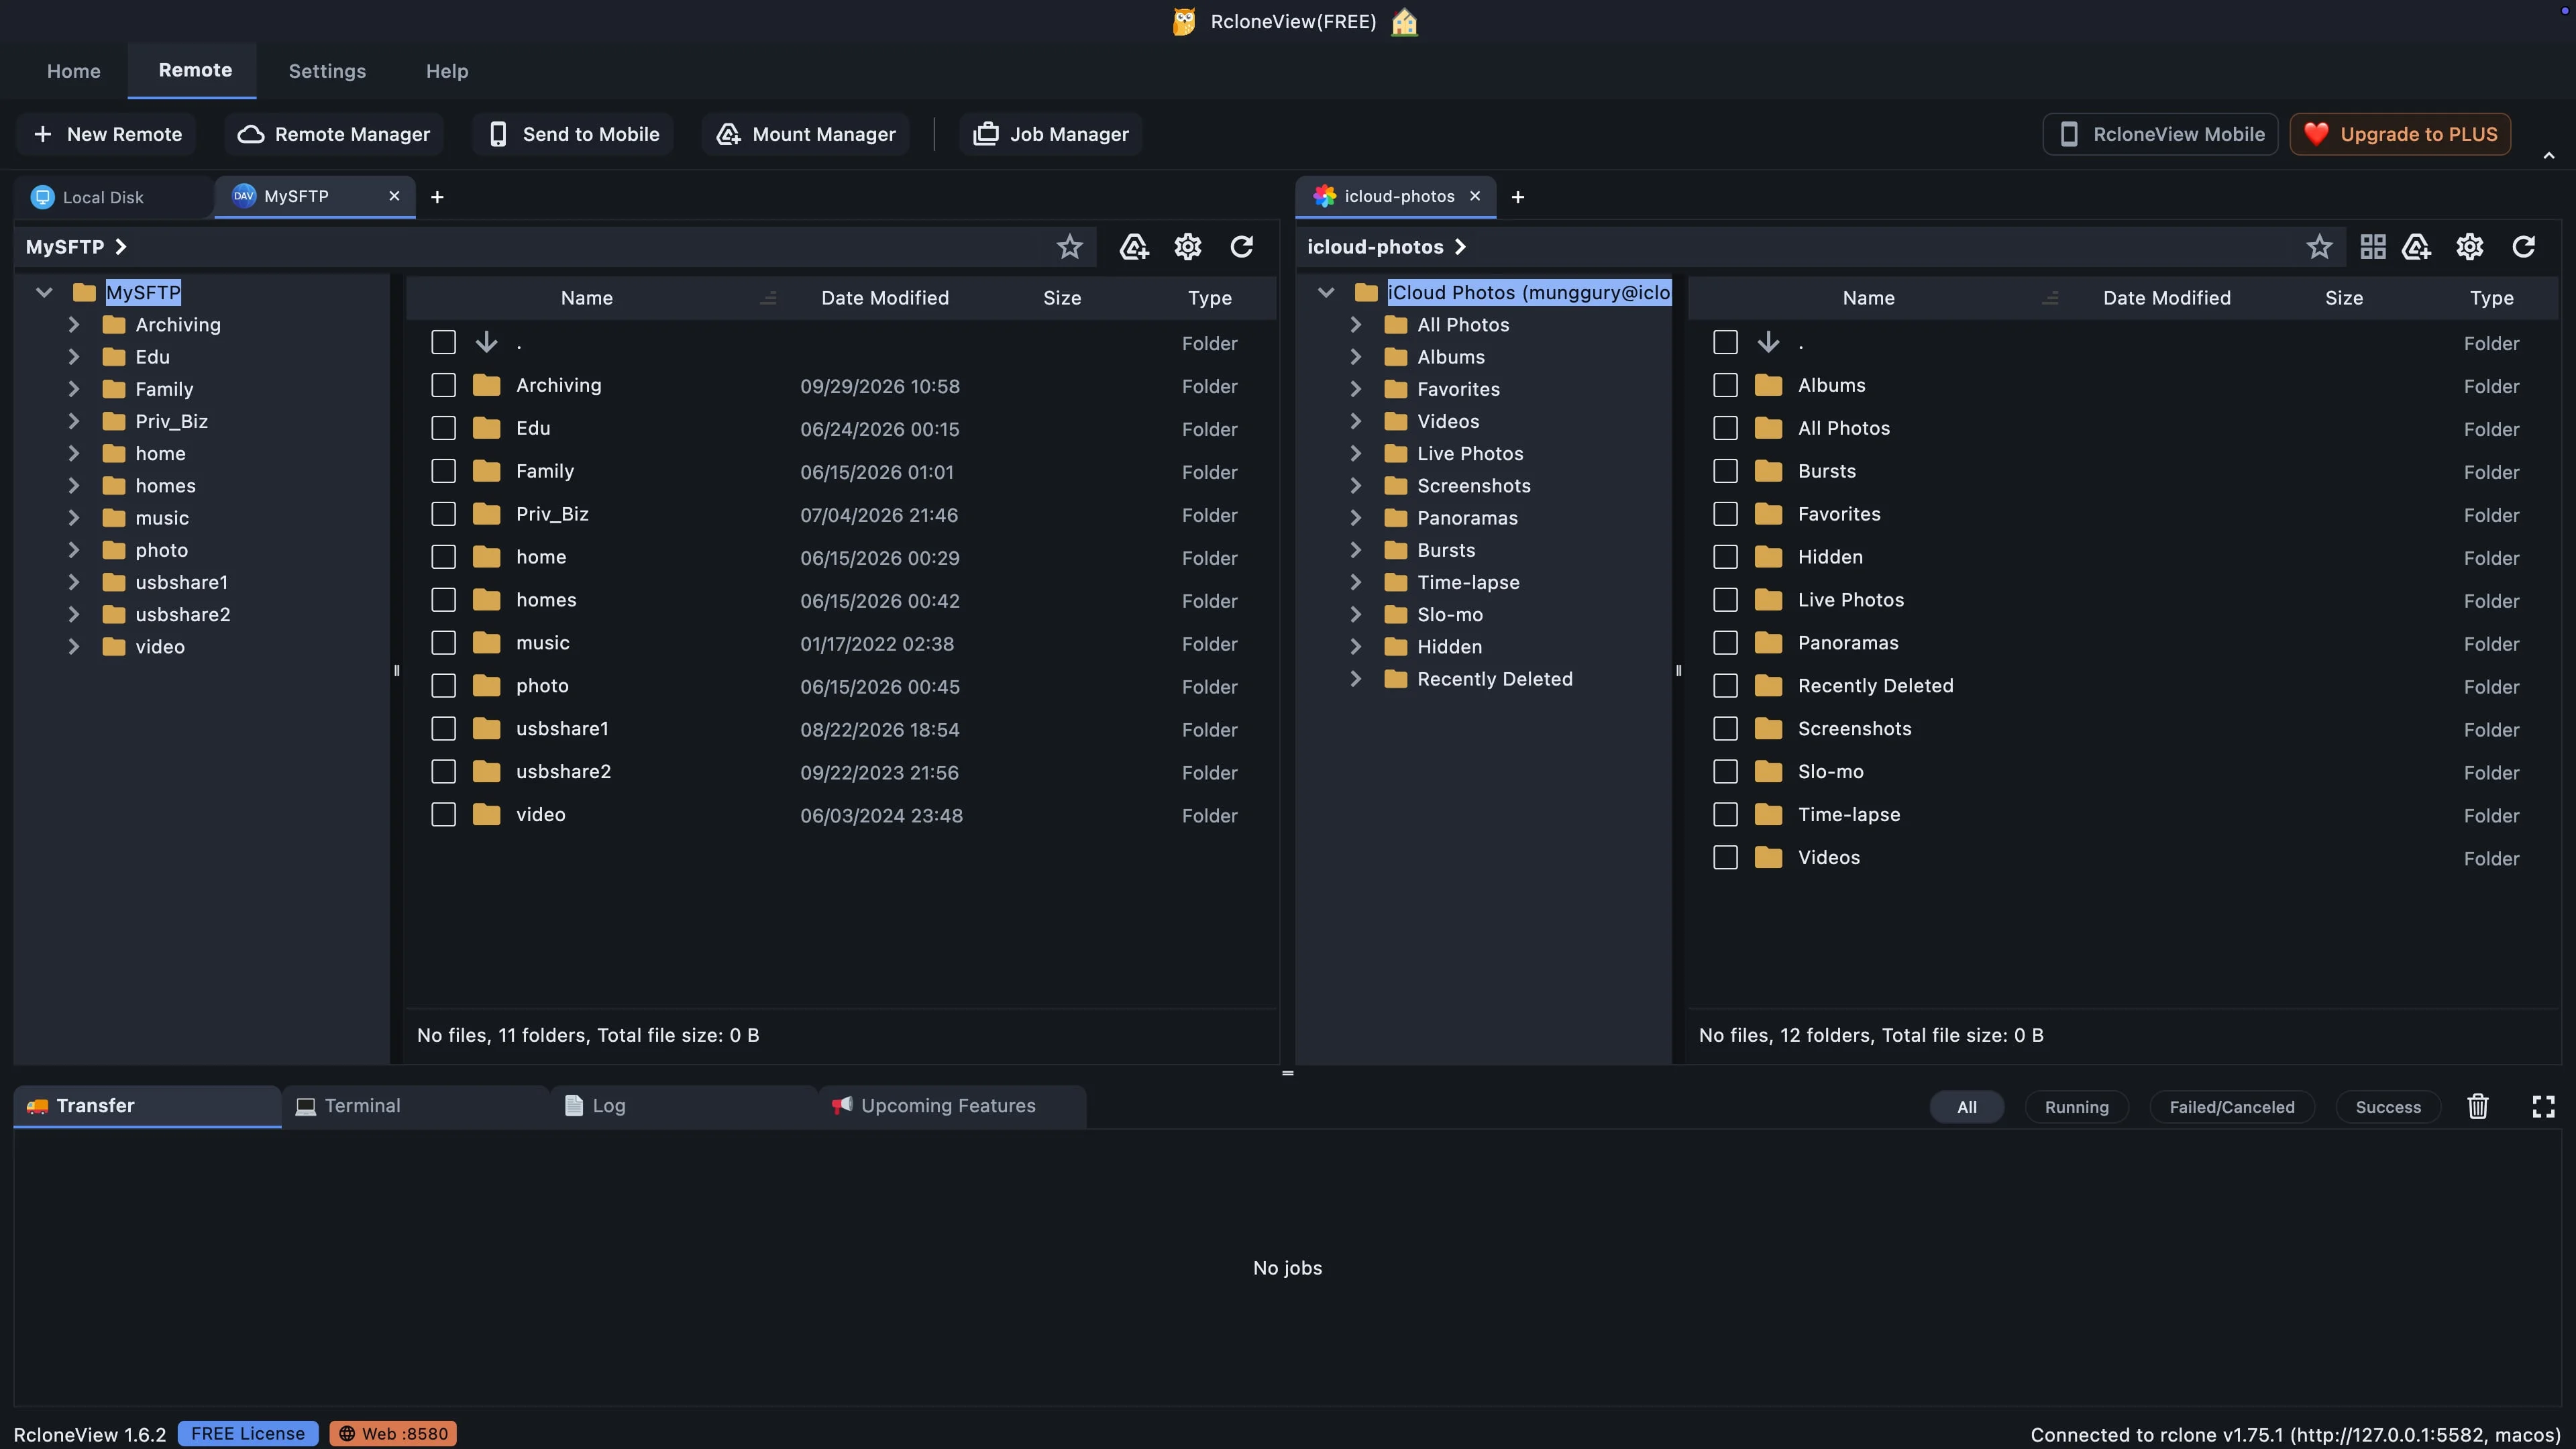
Every storage connection starts from the Remote tab.
Now back to RcloneView. Each storage connection here is called a remote, and you manage remotes from the Remote tab. Let us add a new remote for that SharePoint library.
-
4Try this step ↗
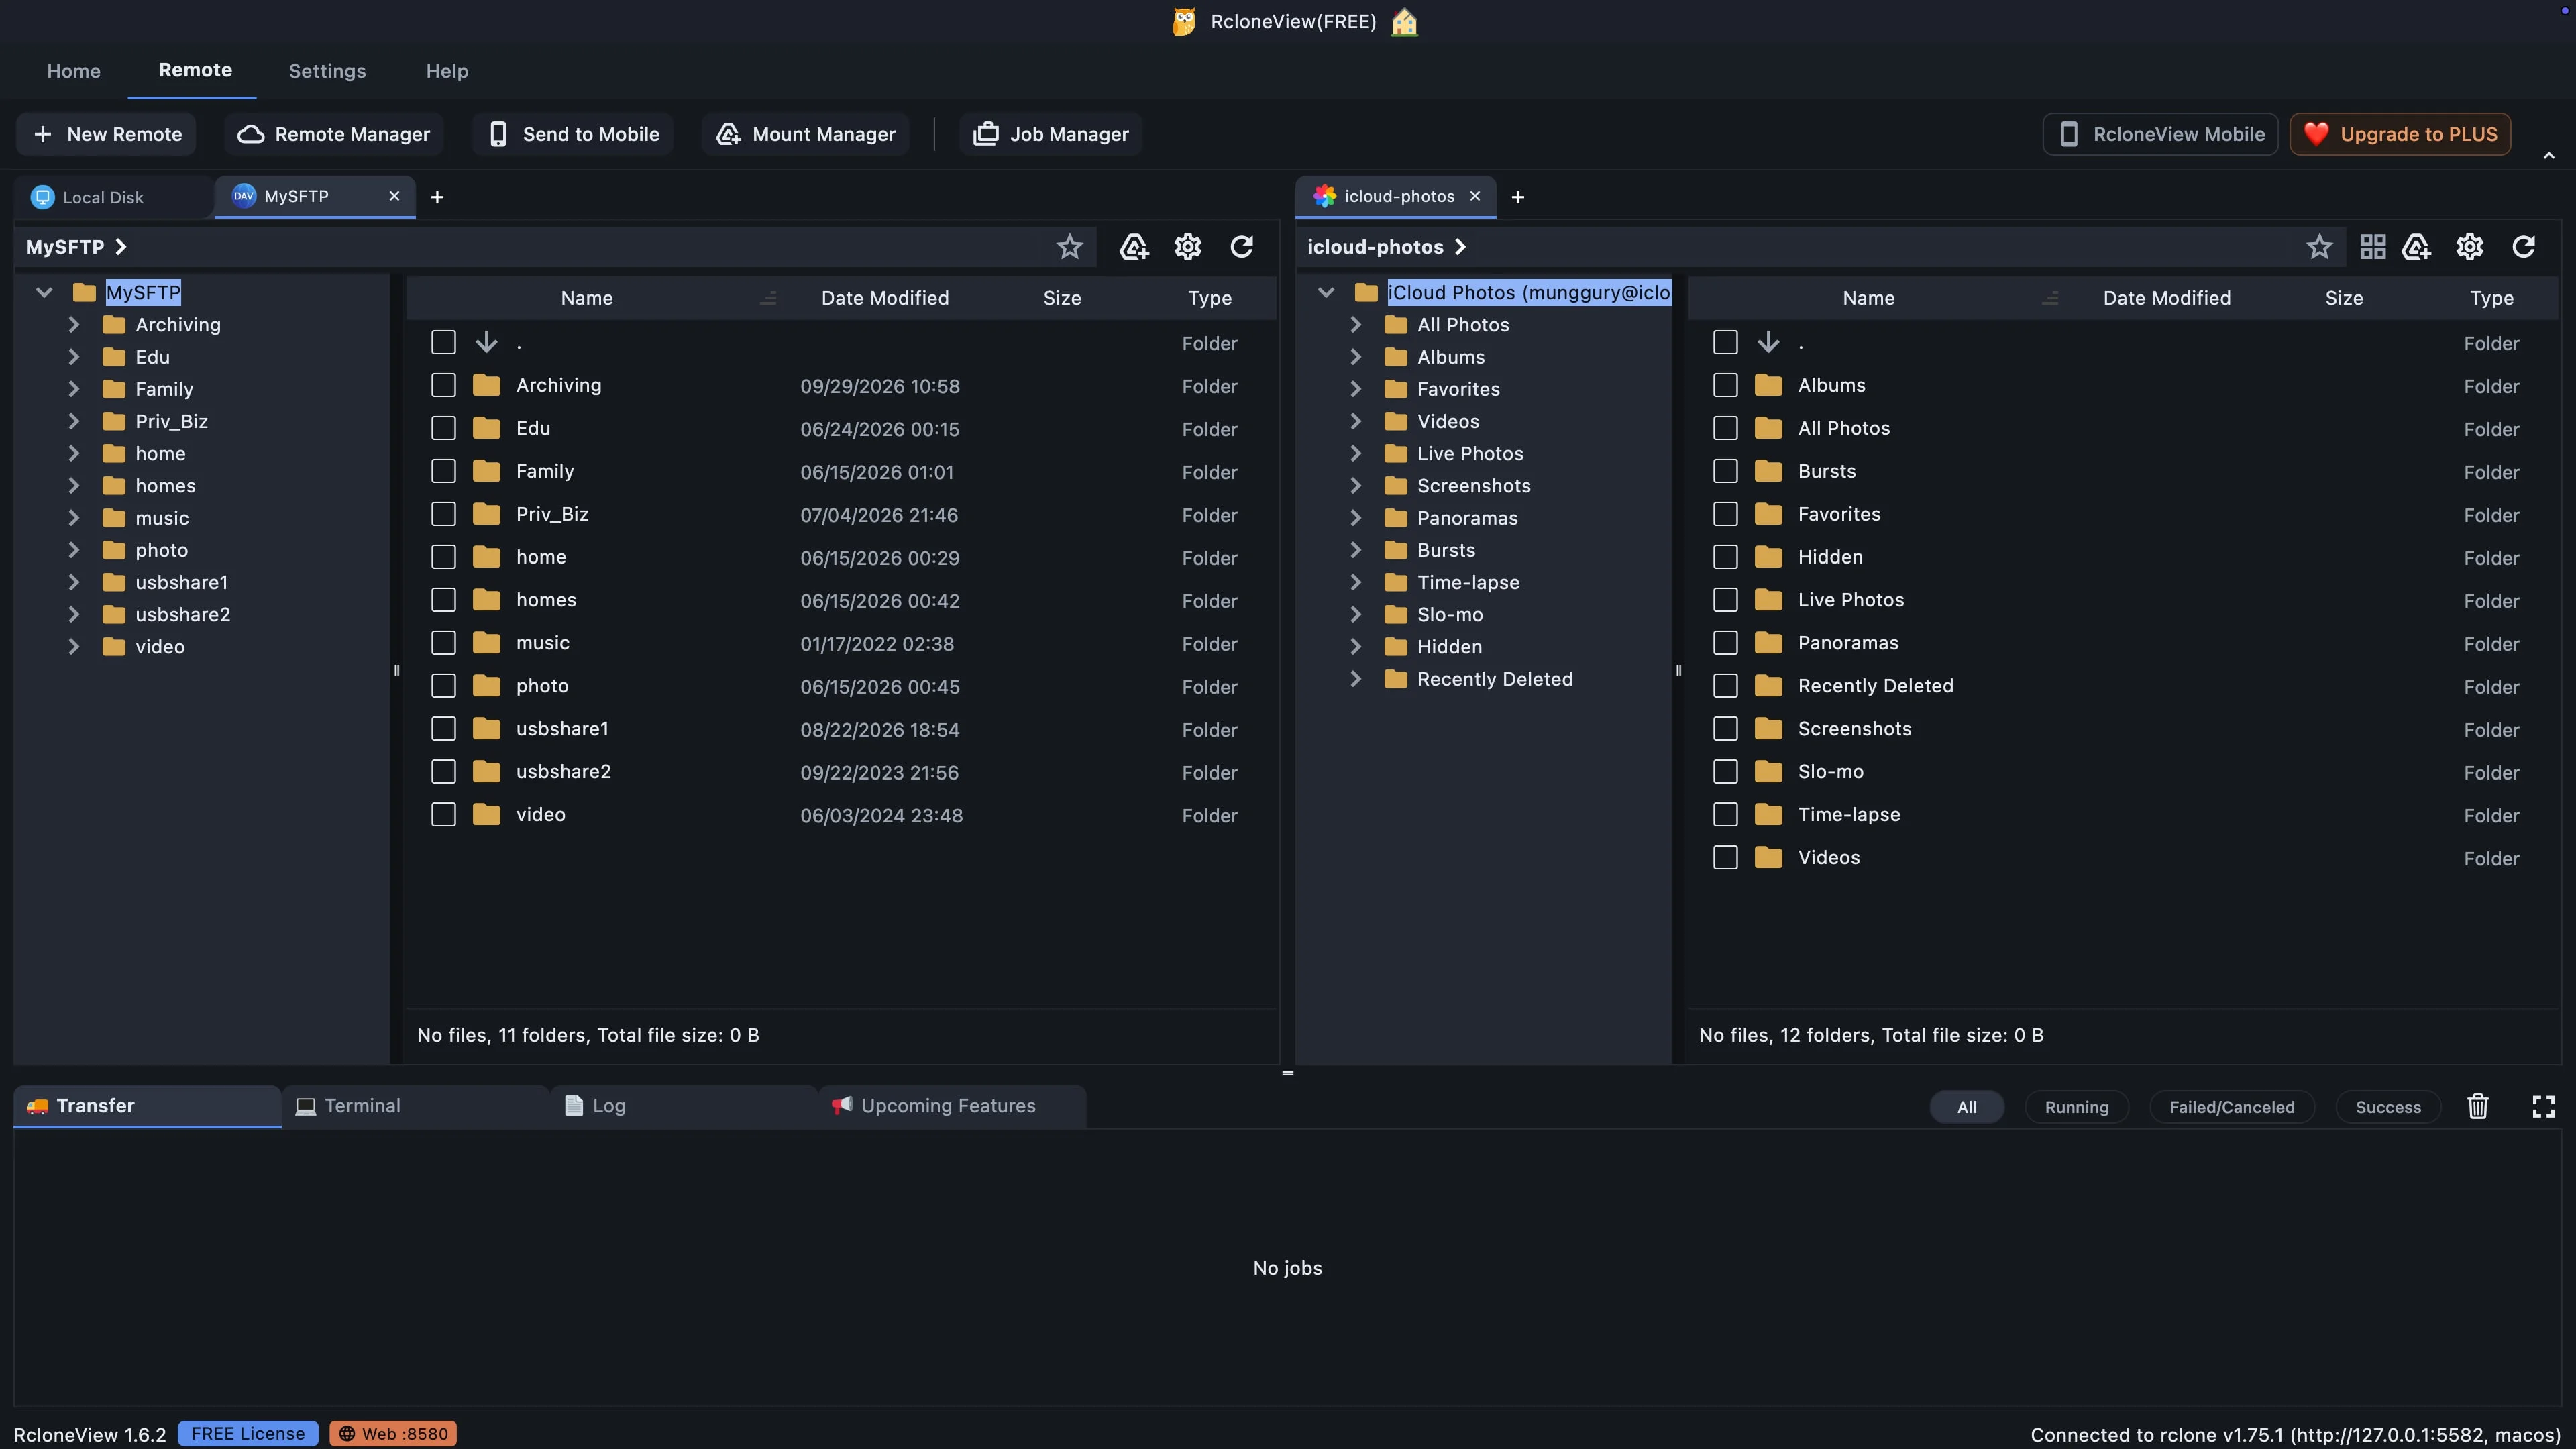
Start a new connection for the team library.
Click New Remote. This opens the list of storage providers. RcloneView supports more than eighty of them, from personal clouds to business storage.
-
5Try this step ↗
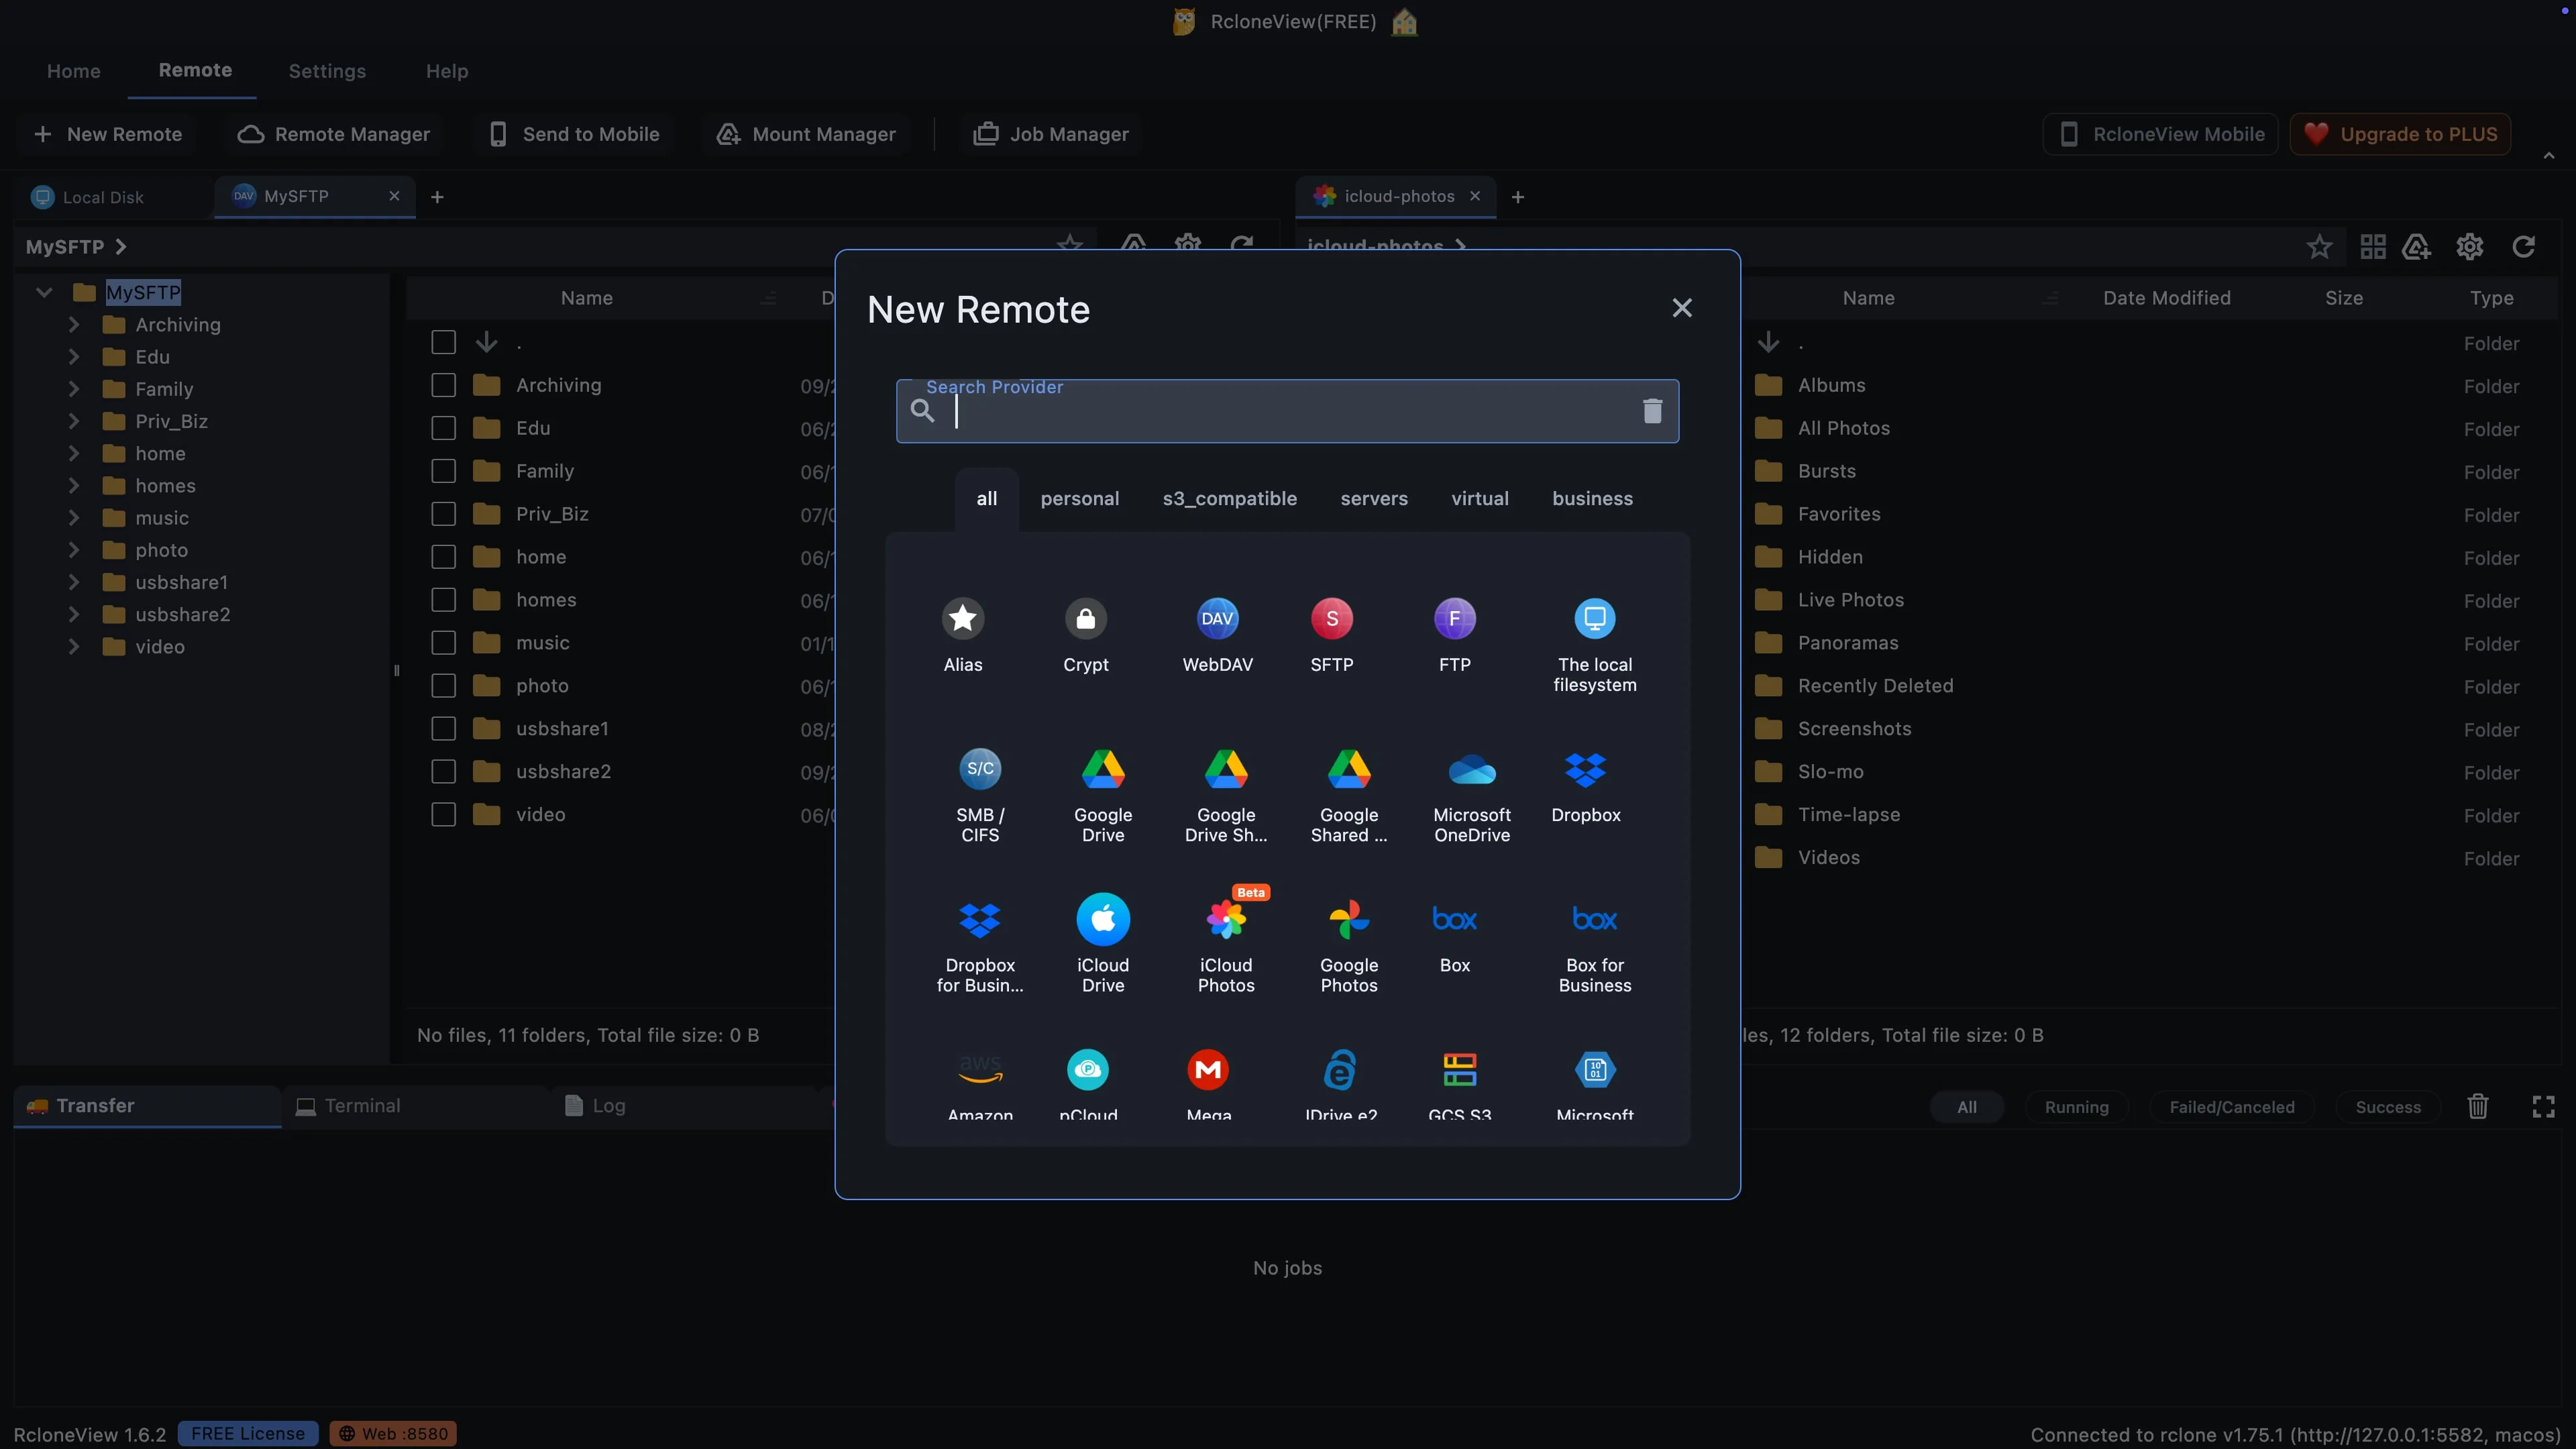
SharePoint is reached through the OneDrive provider.
You will not find a separate SharePoint icon in this list. SharePoint and OneDrive use the same Microsoft storage service, so SharePoint is reached through the Microsoft OneDrive provider. Search for it here.
-
6Try this step ↗
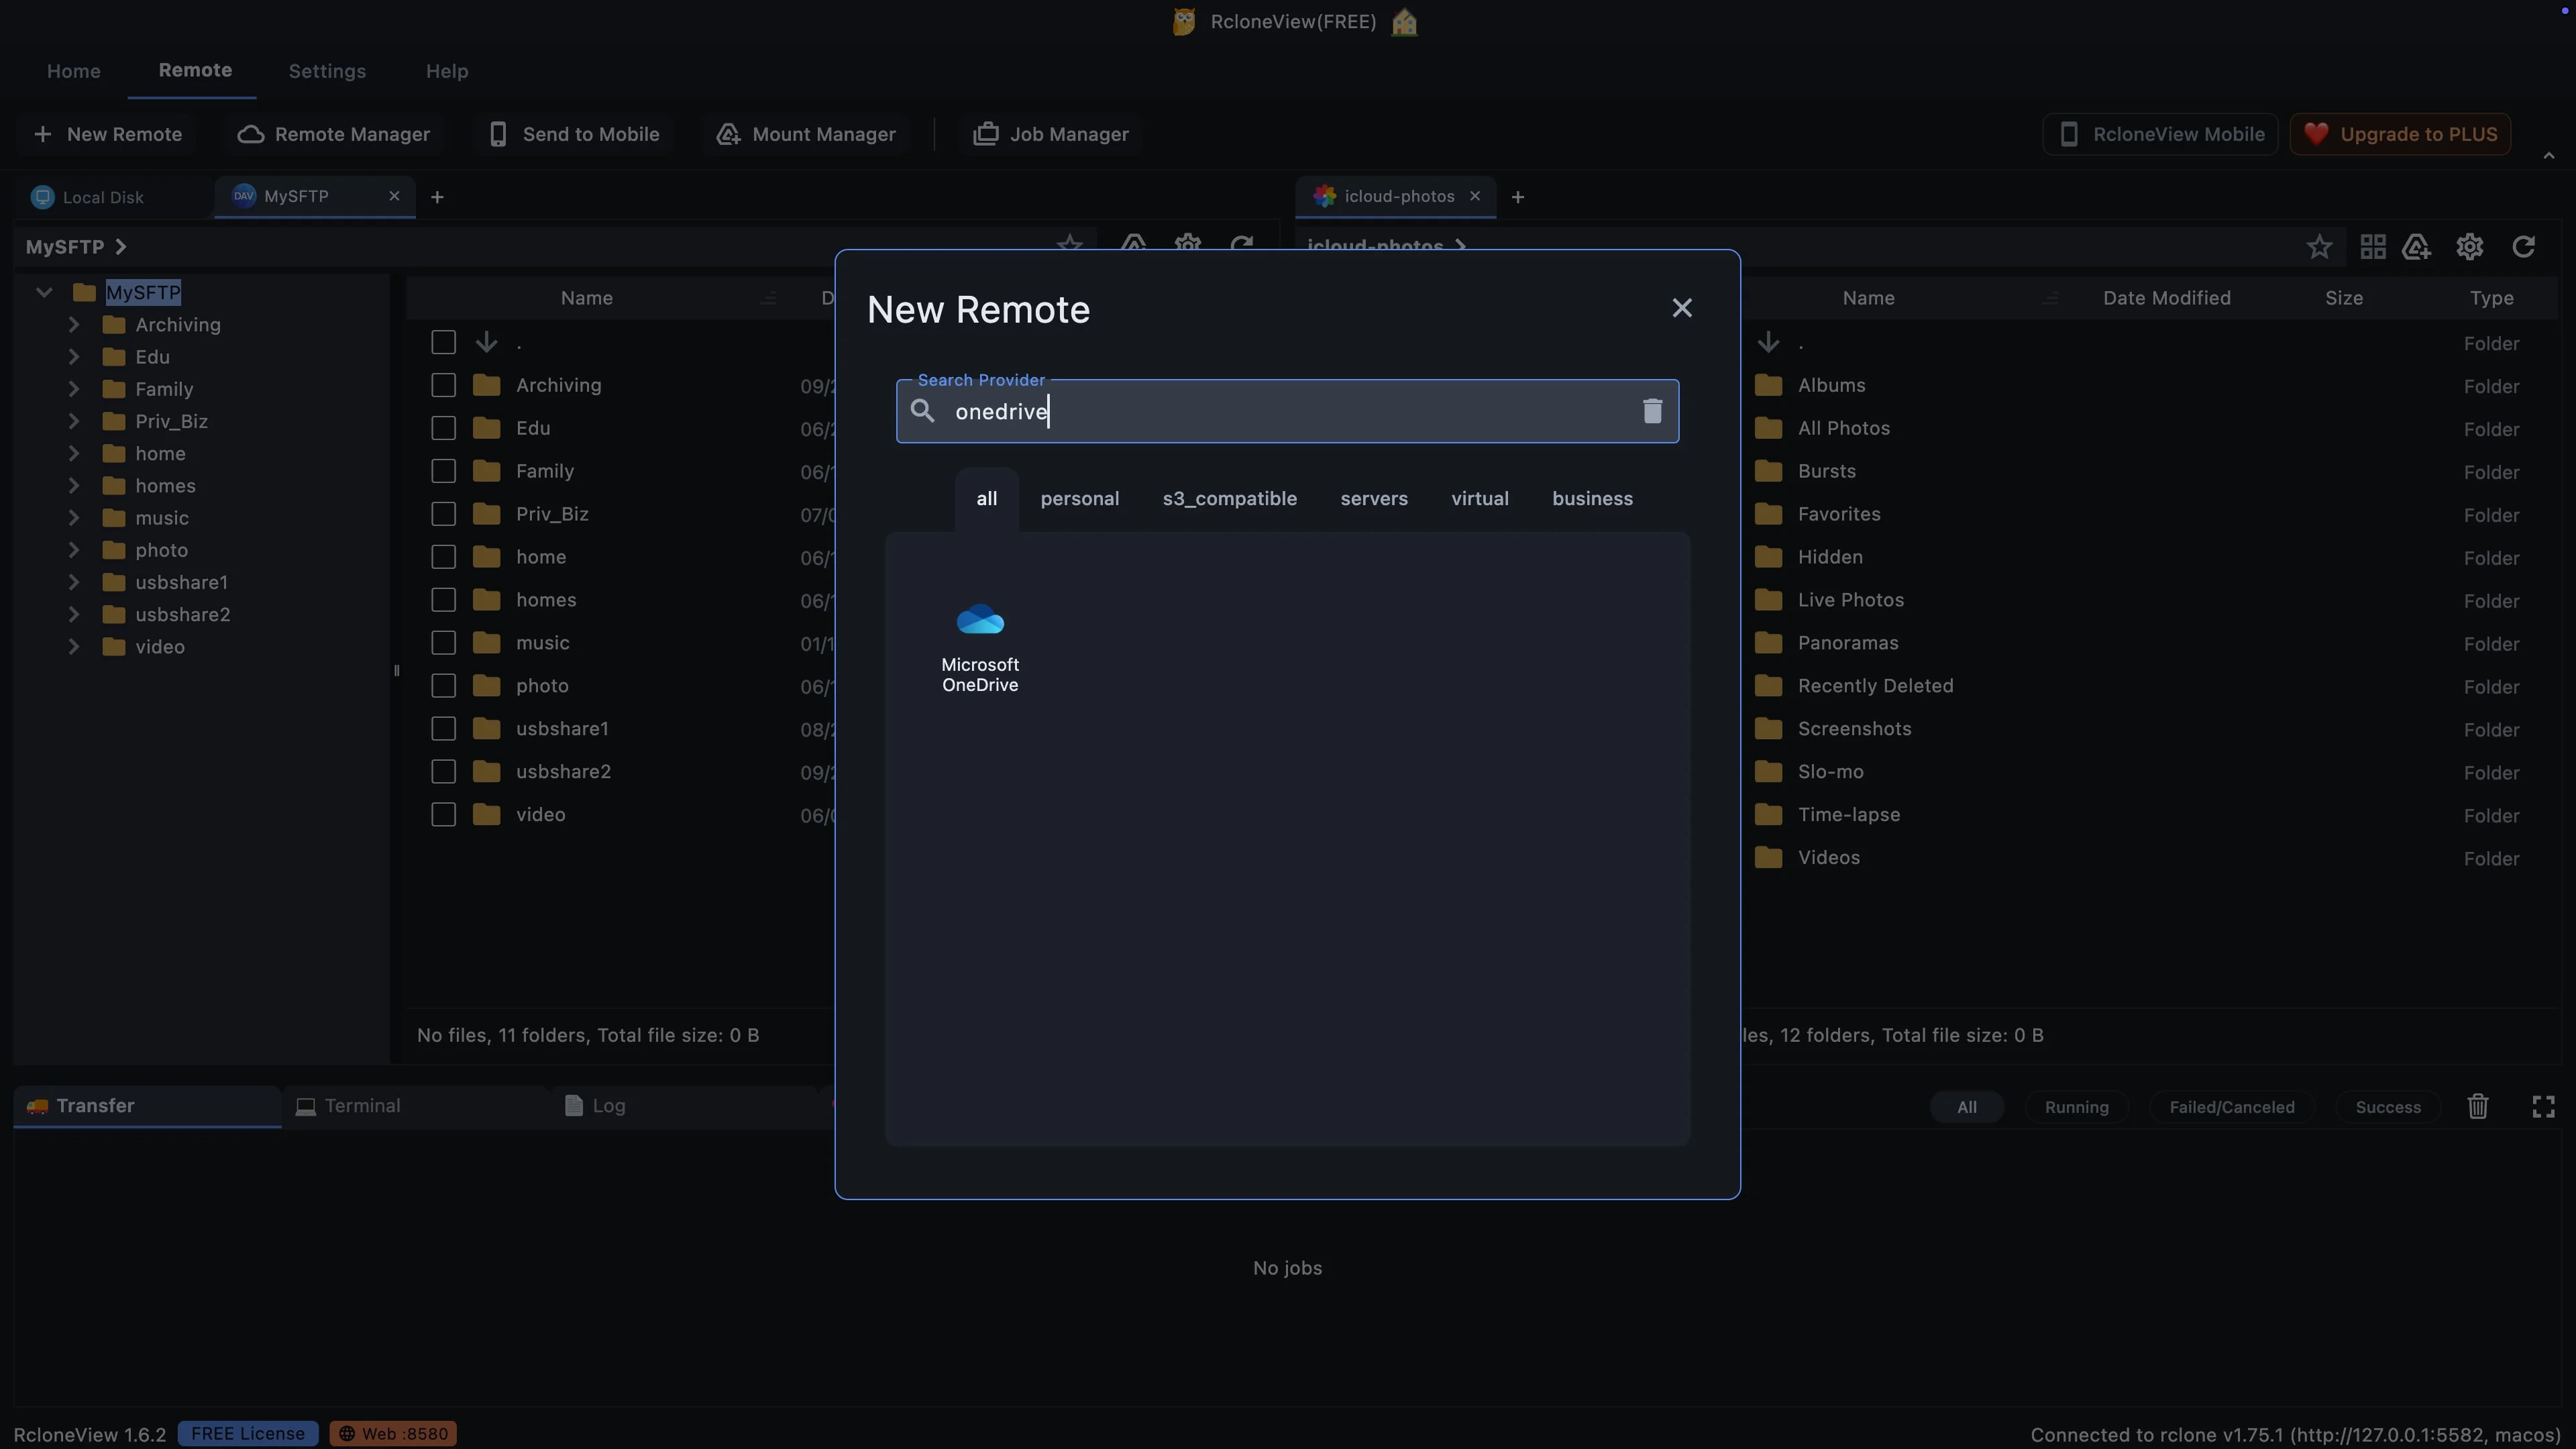
Type onedrive to find the provider quickly.
Type onedrive in the search box. The long list of providers shrinks to a single result, Microsoft OneDrive.
-
7Try this step ↗
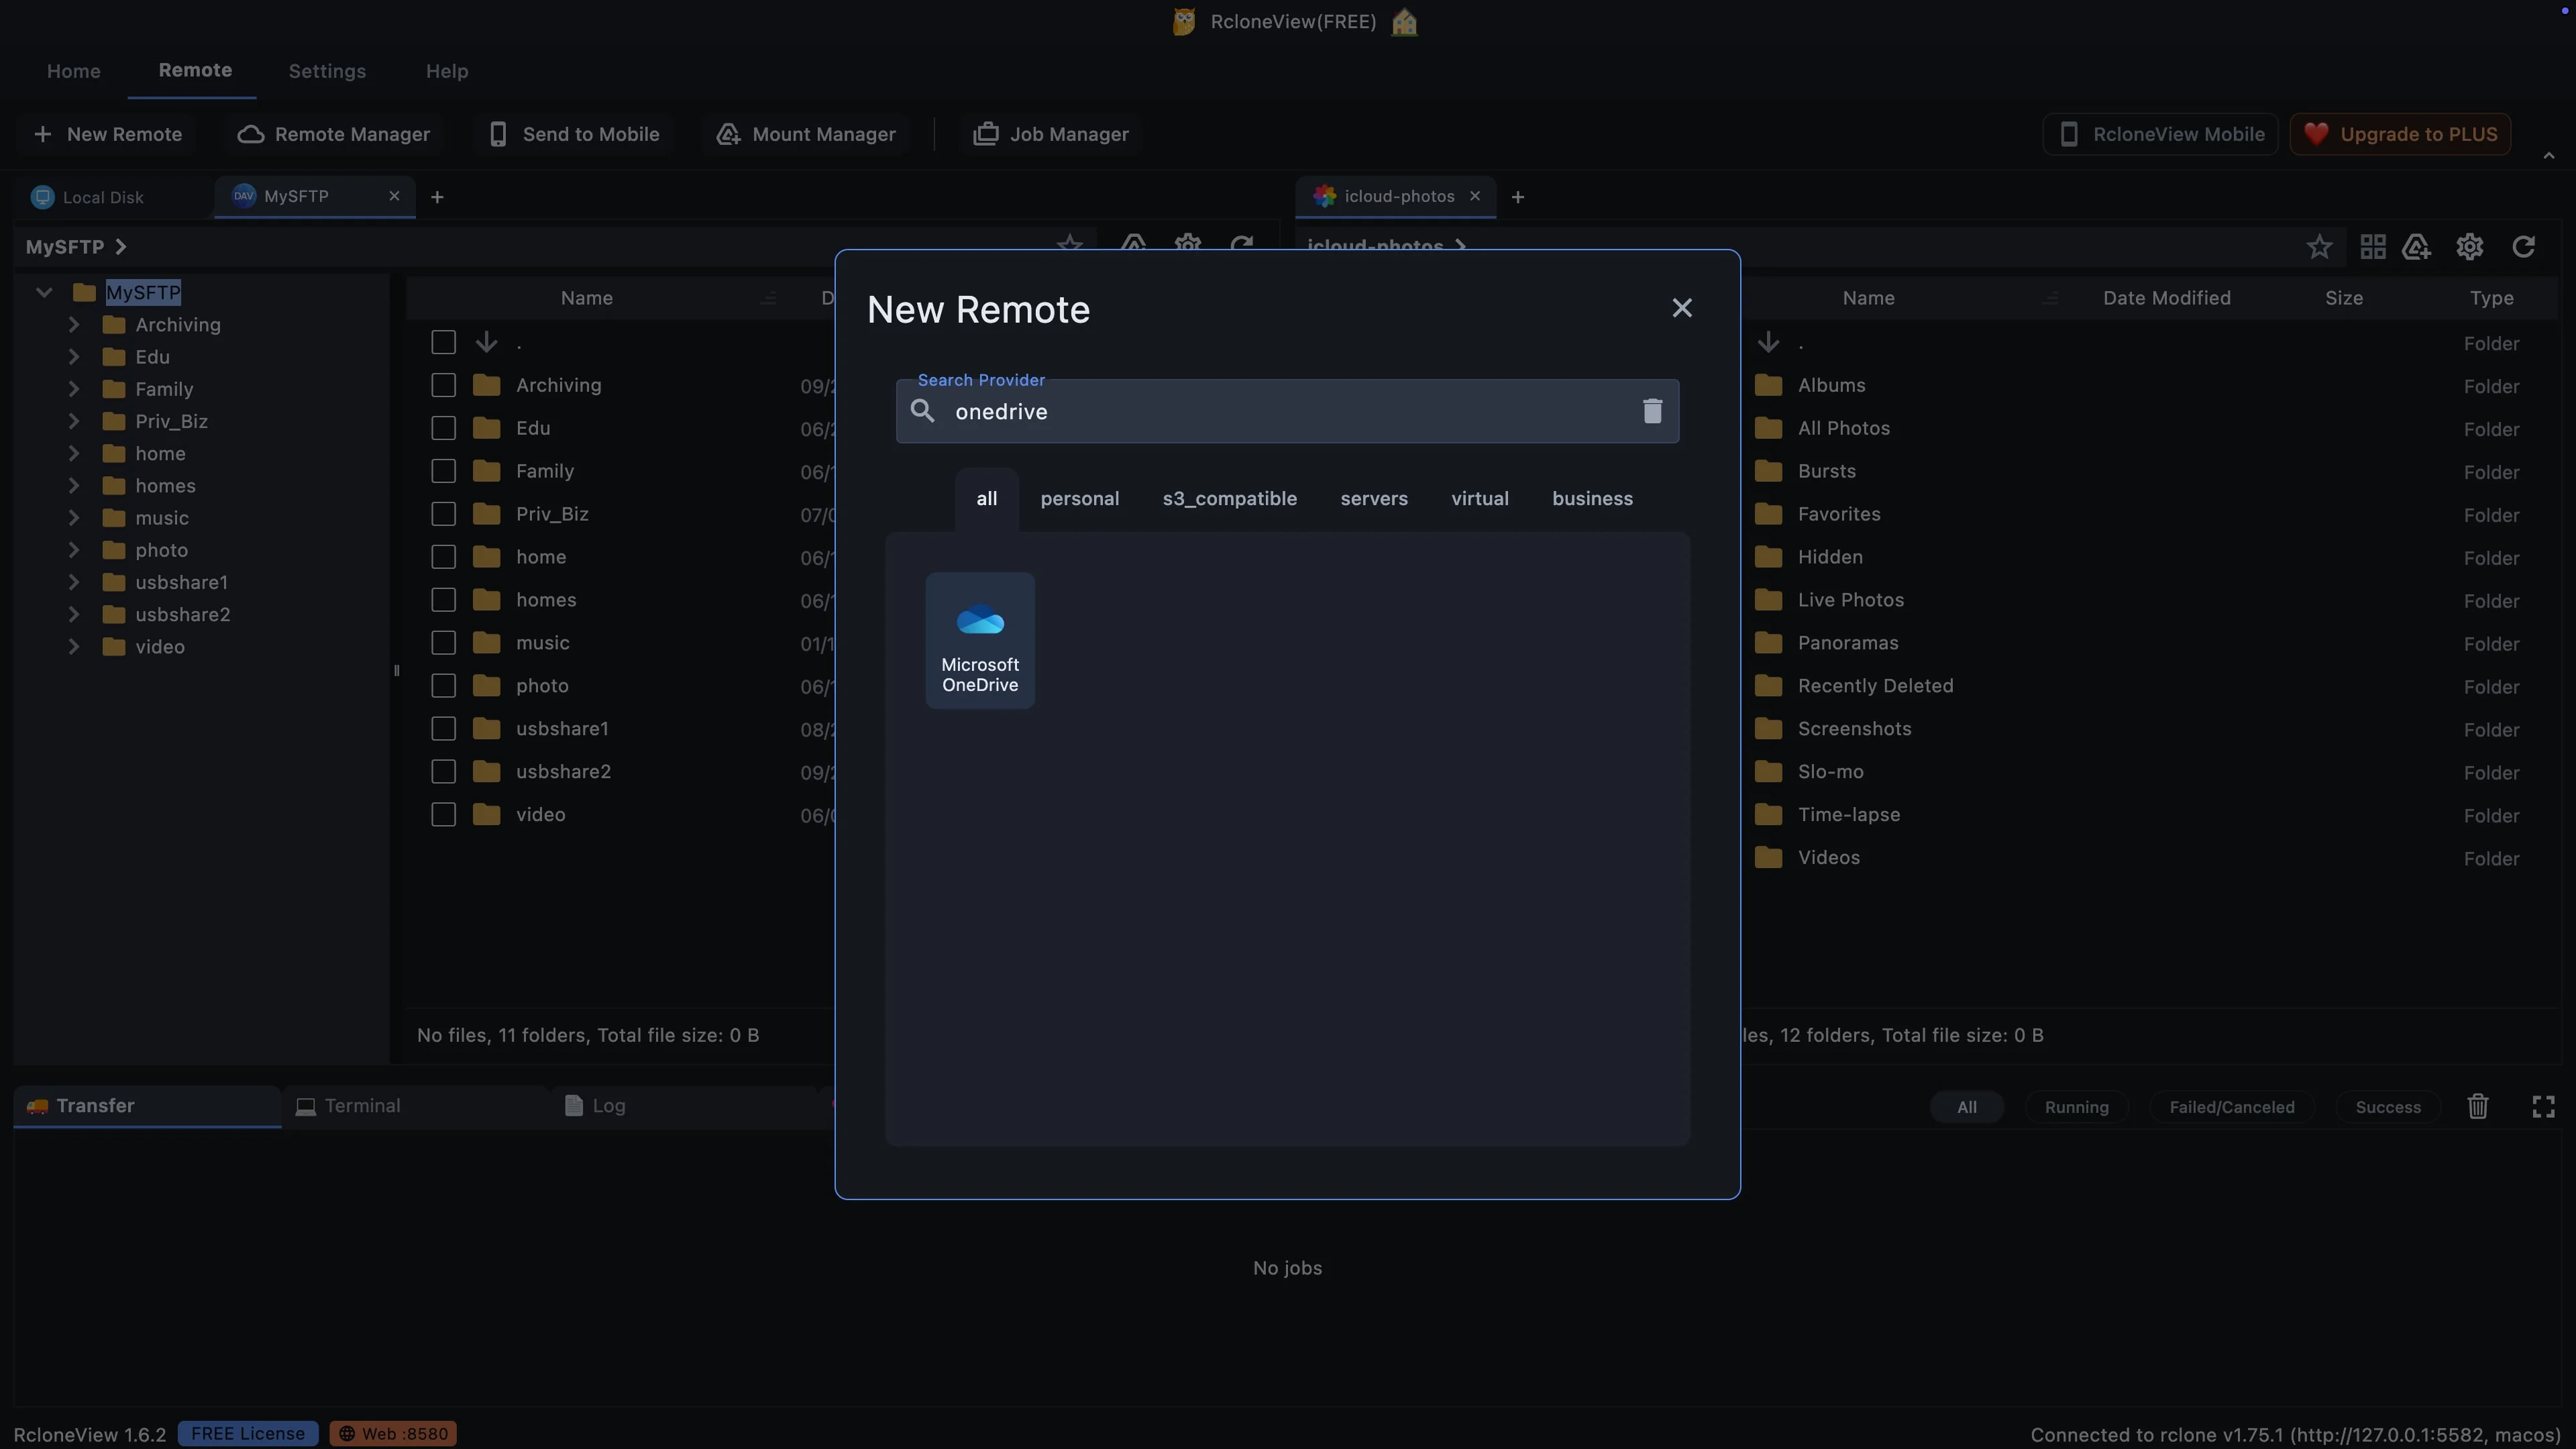
One provider covers OneDrive and SharePoint sites.
Choose Microsoft OneDrive. The same provider connects a personal OneDrive, a work OneDrive, or a SharePoint site. You will tell RcloneView that you want a SharePoint site a little later, right after you sign in.
-
8Try this step ↗
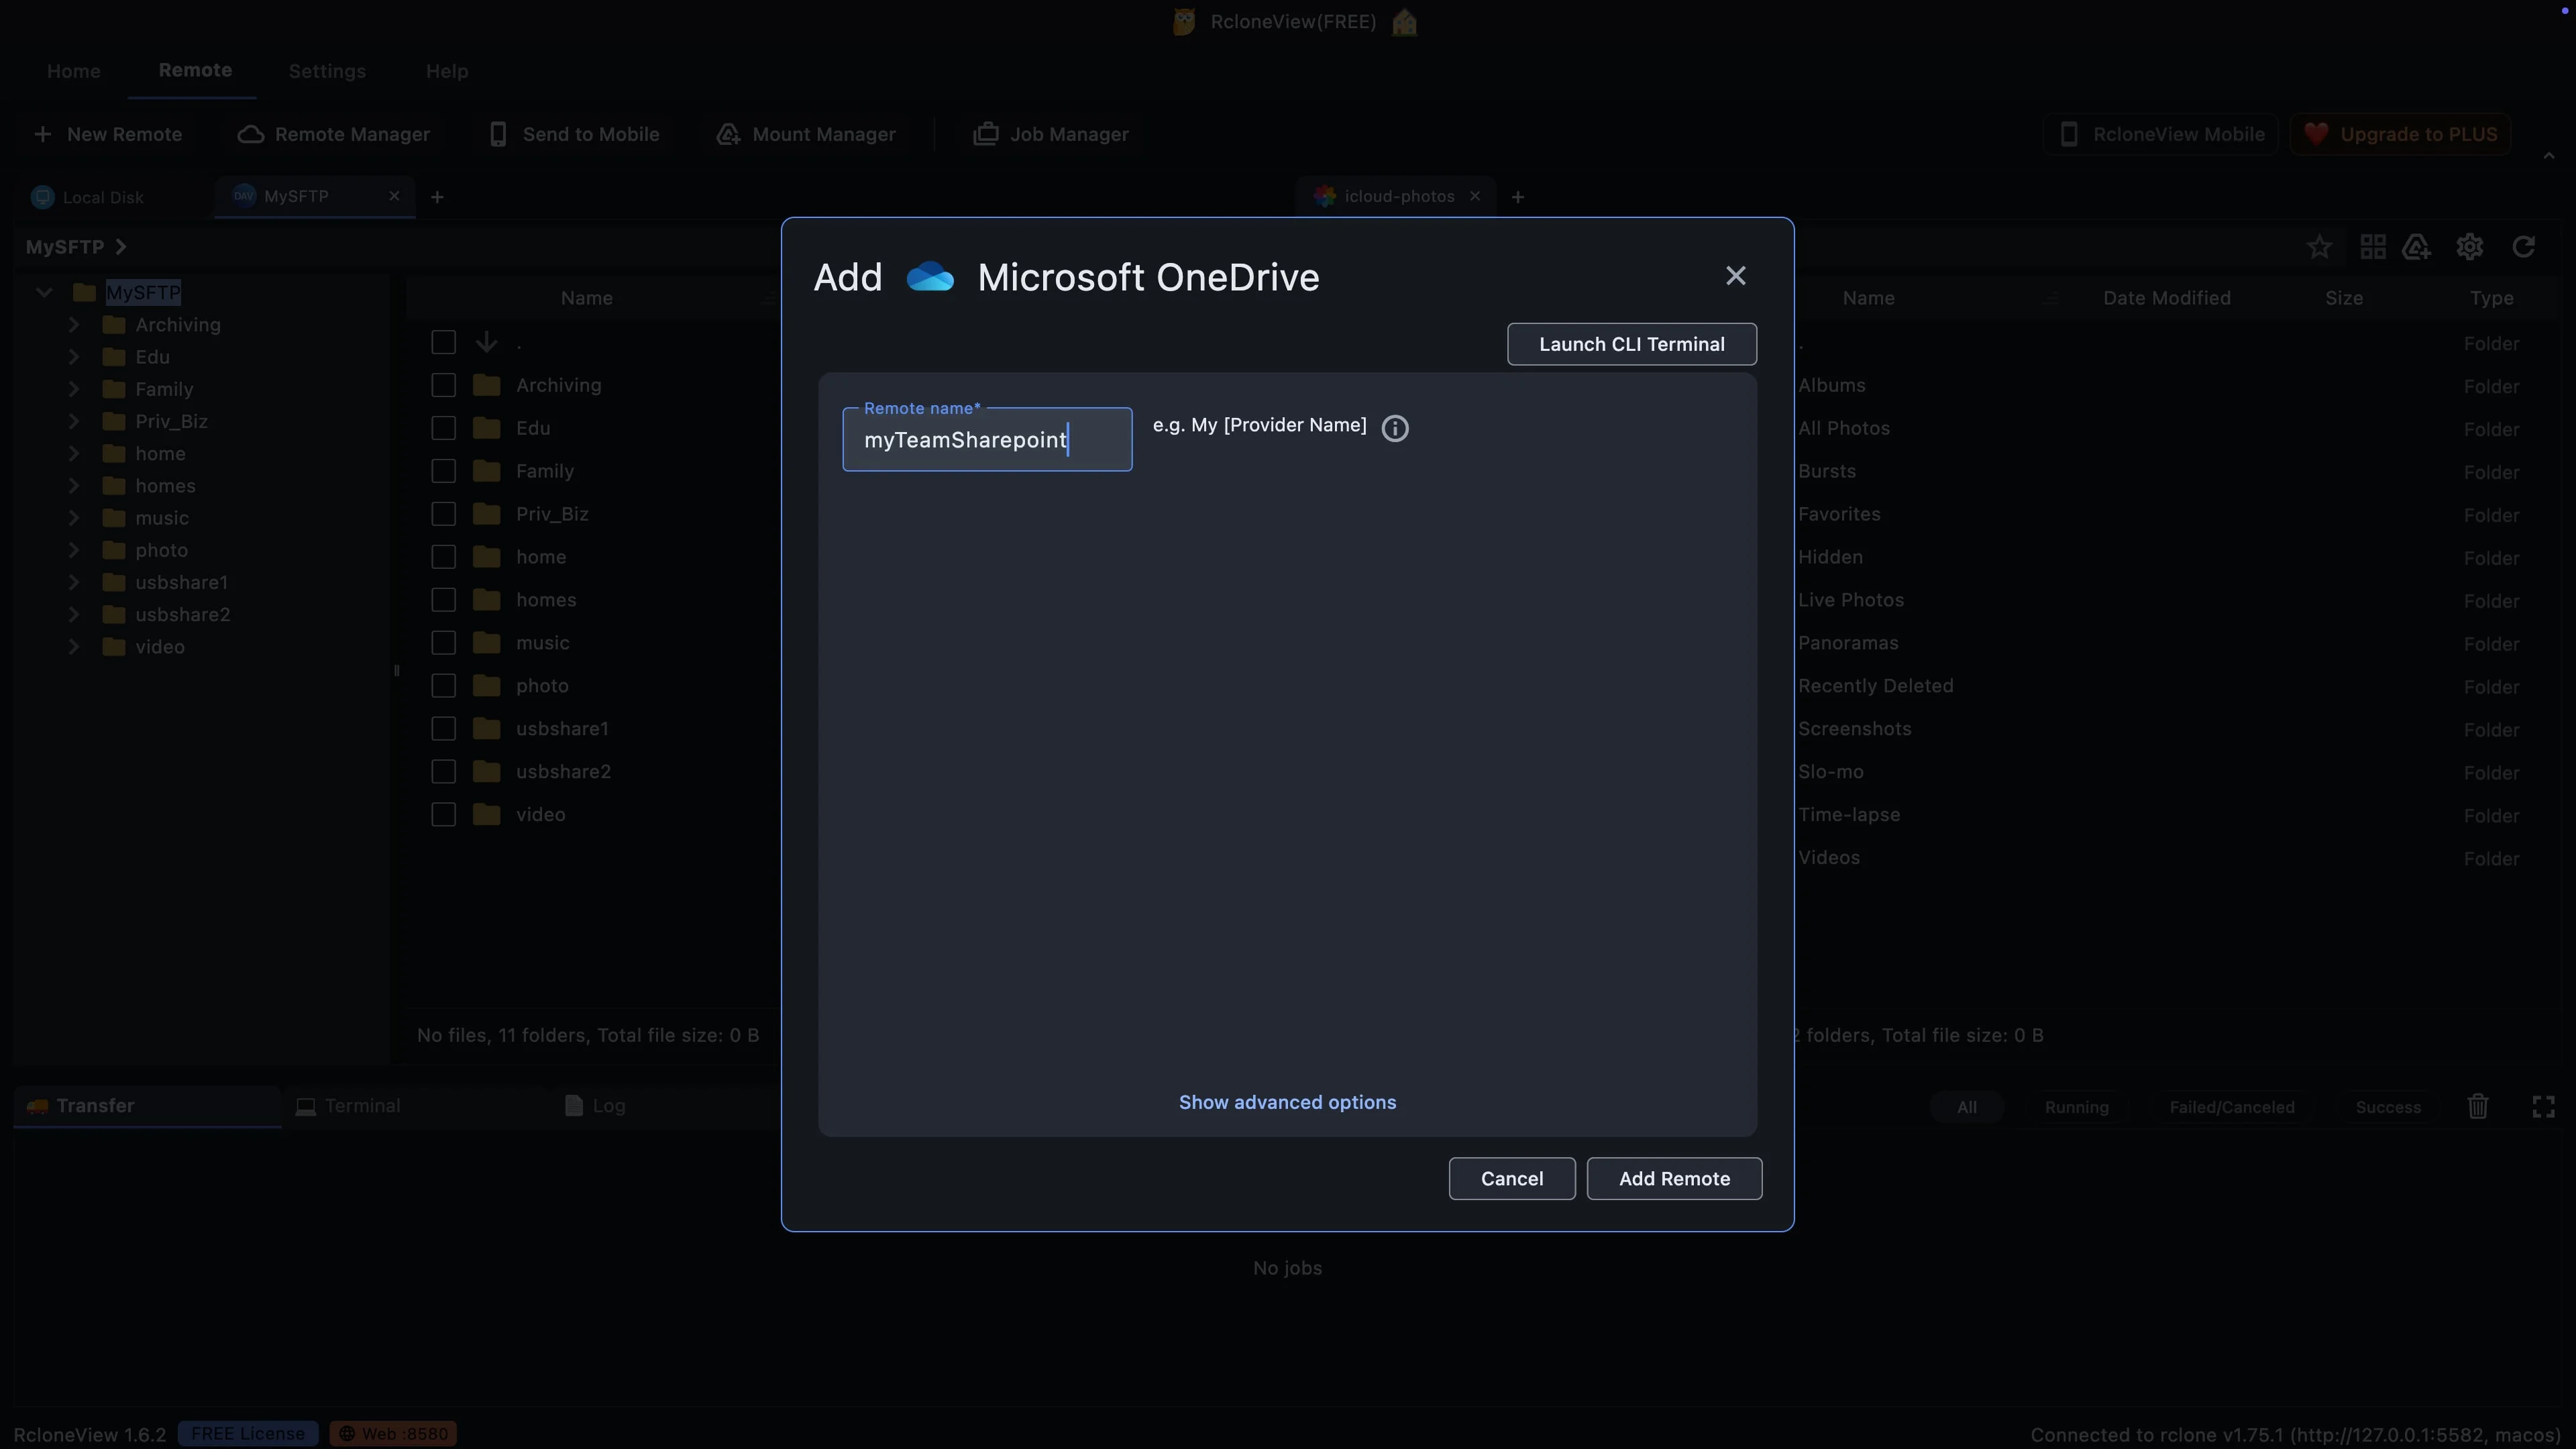
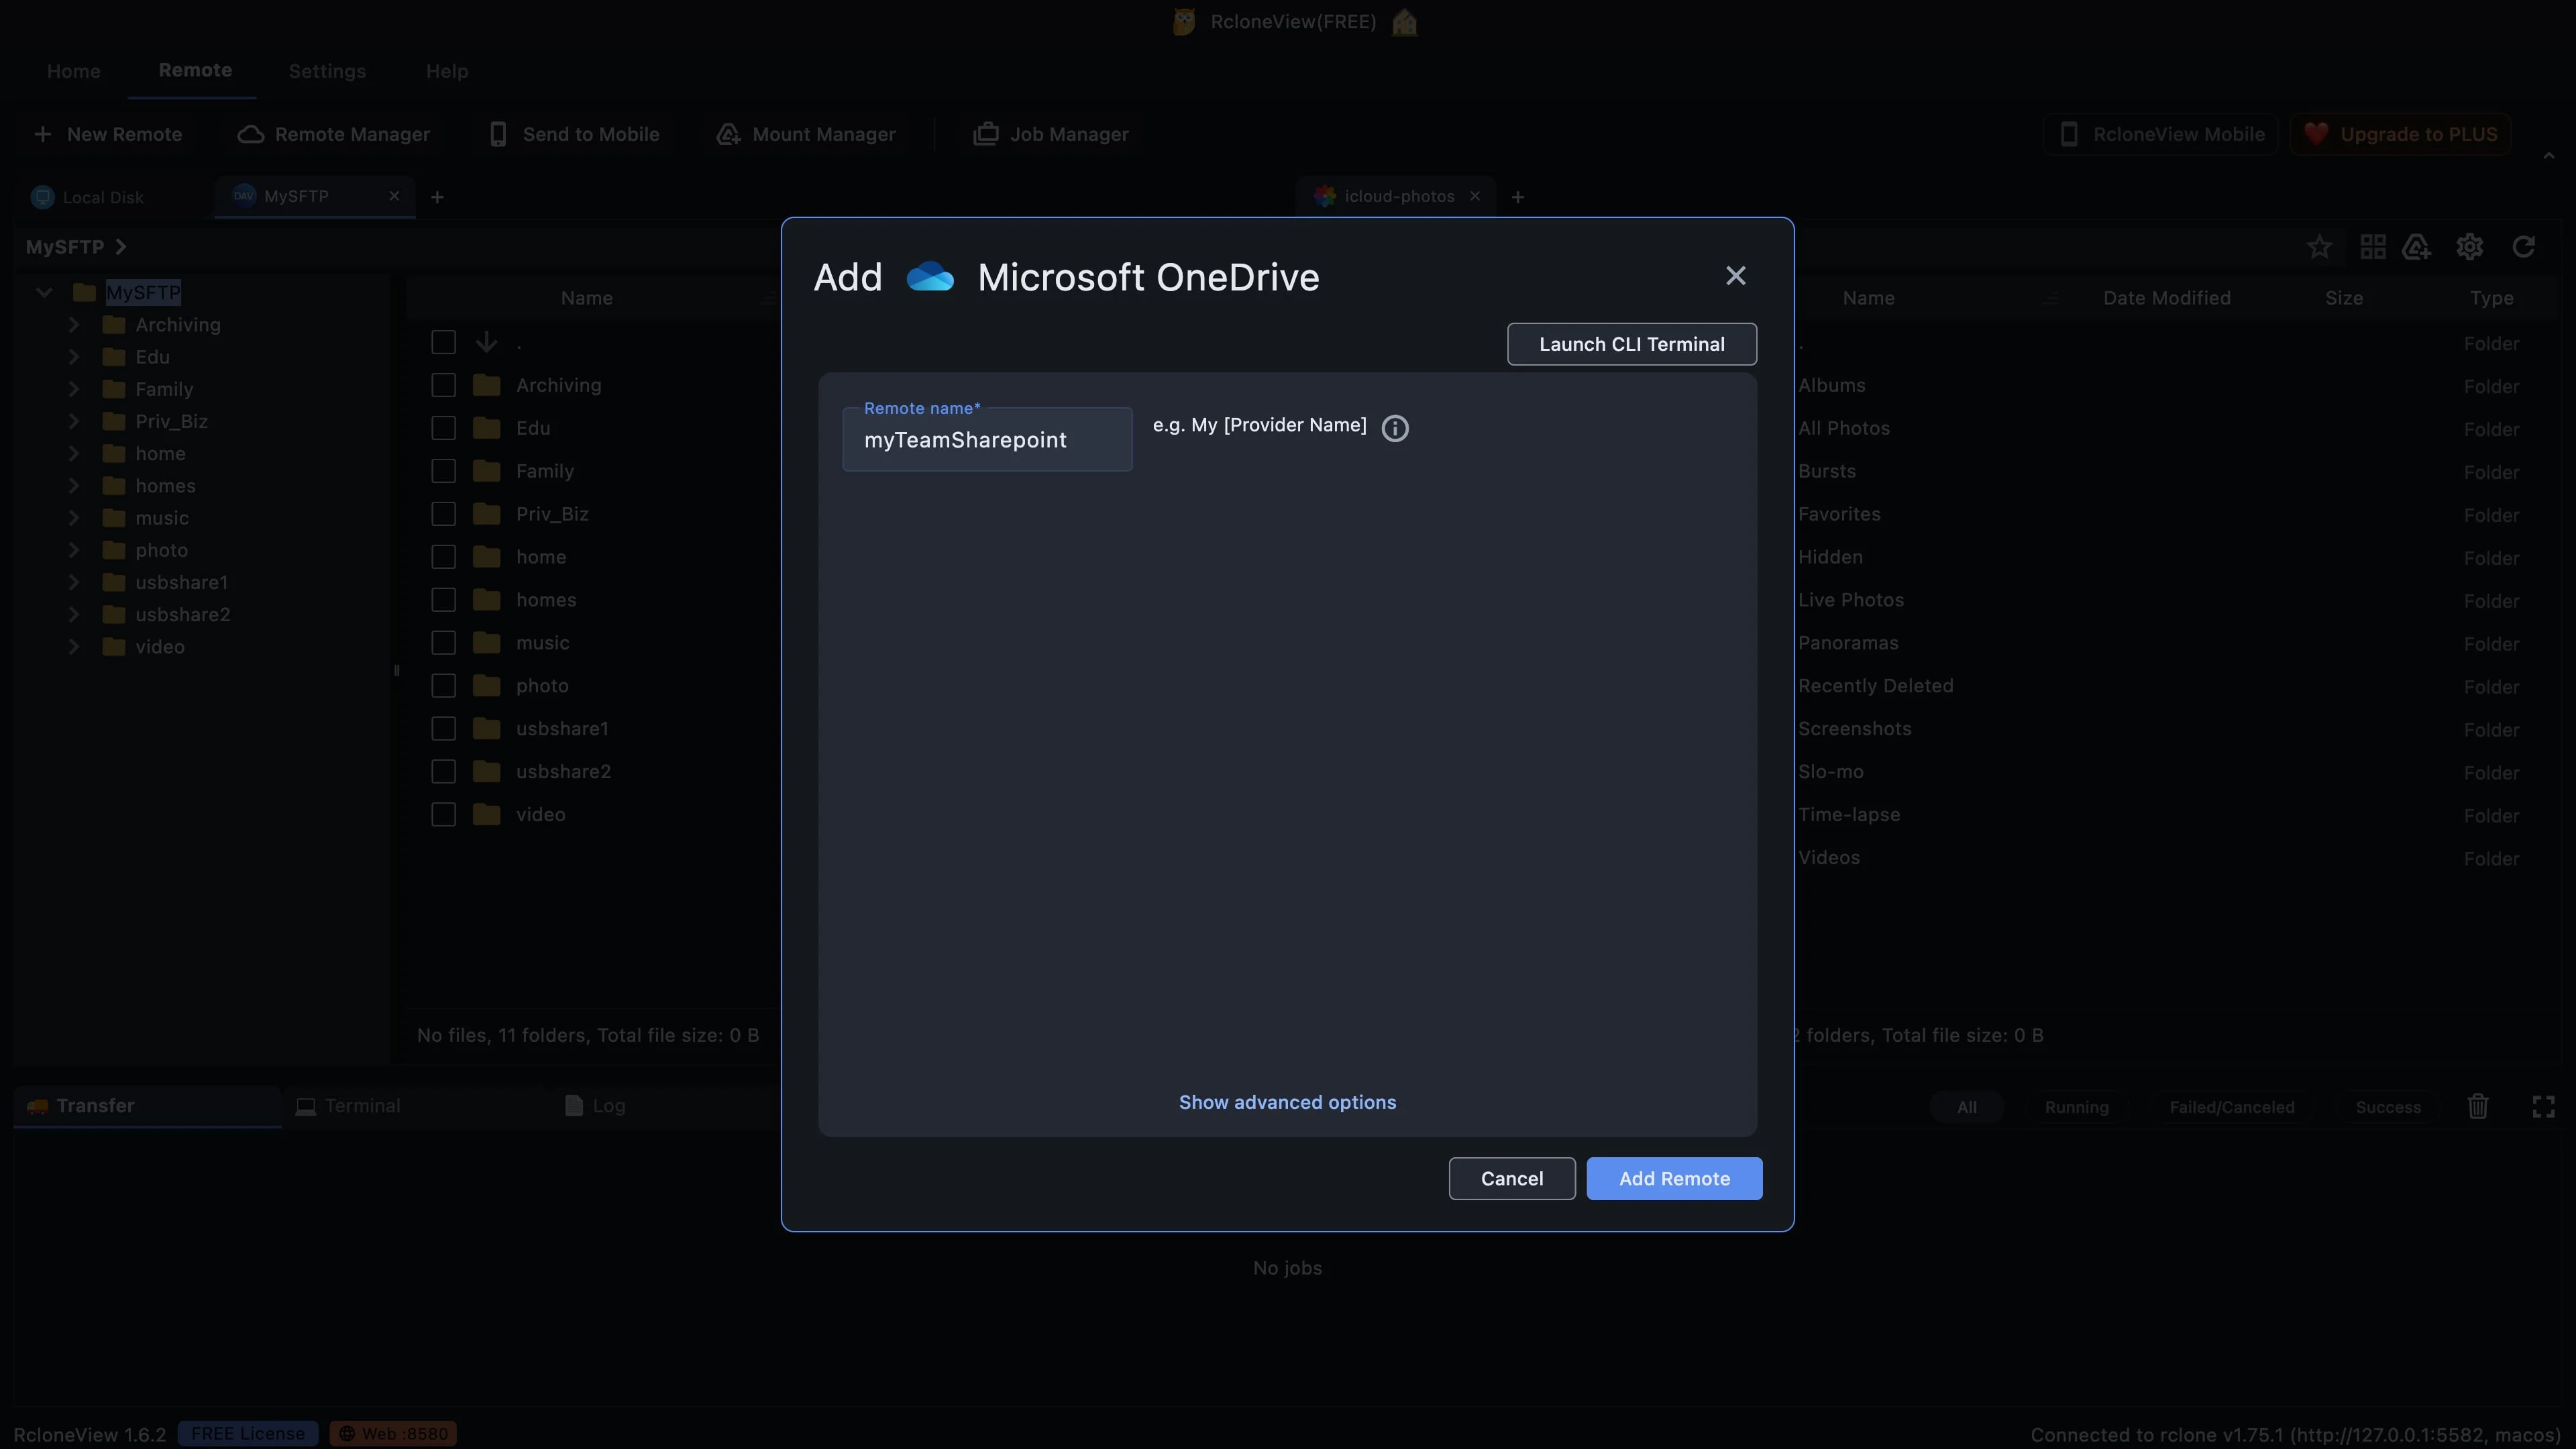
Name the remote after the team library it opens.
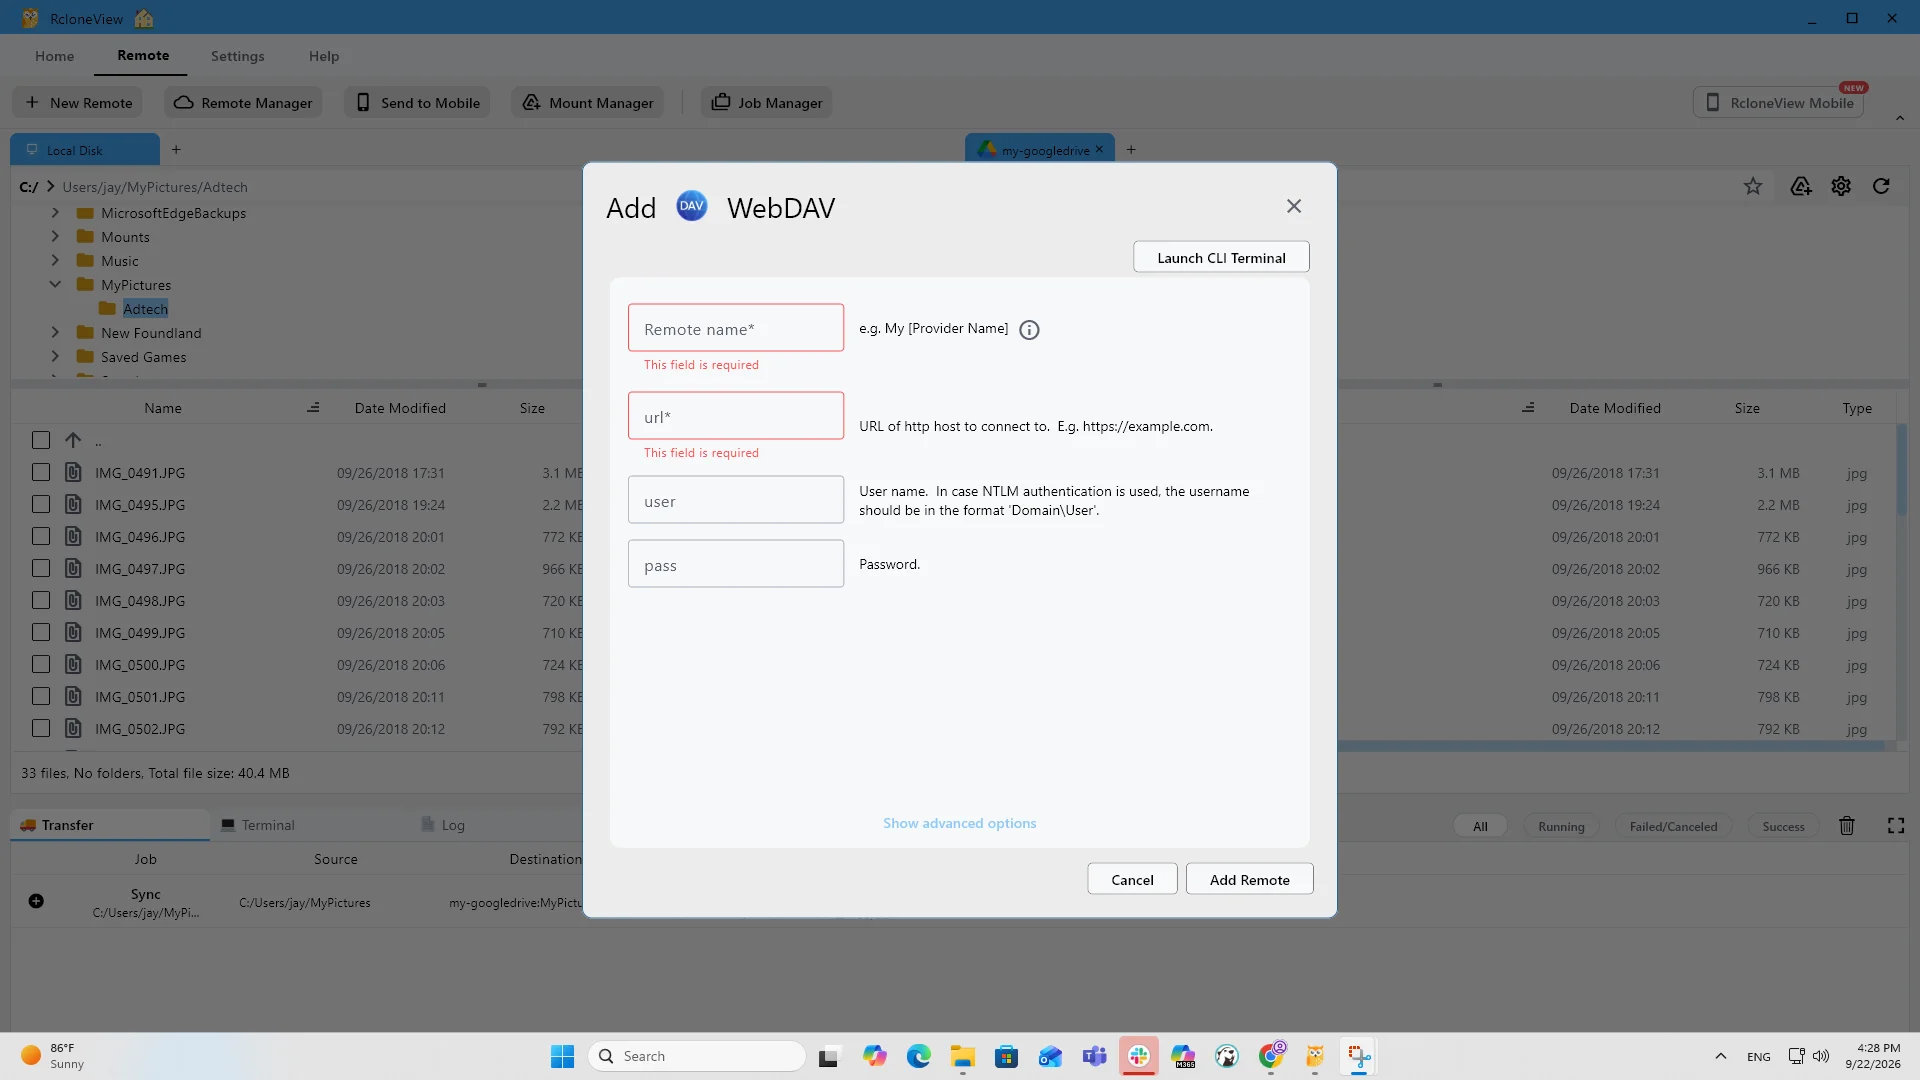
Give the remote a name. We call ours my Team SharePoint. The name is only a label, but you will see it in tabs and menus, so pick one that tells you which team library it opens.
-
9Try this step ↗
Save the name and go to Microsoft to sign in.
For this setup, the advanced options can stay as they are. Click Add Remote. RcloneView opens your web browser and takes you to the Microsoft sign in page.
-
10Try this step ↗
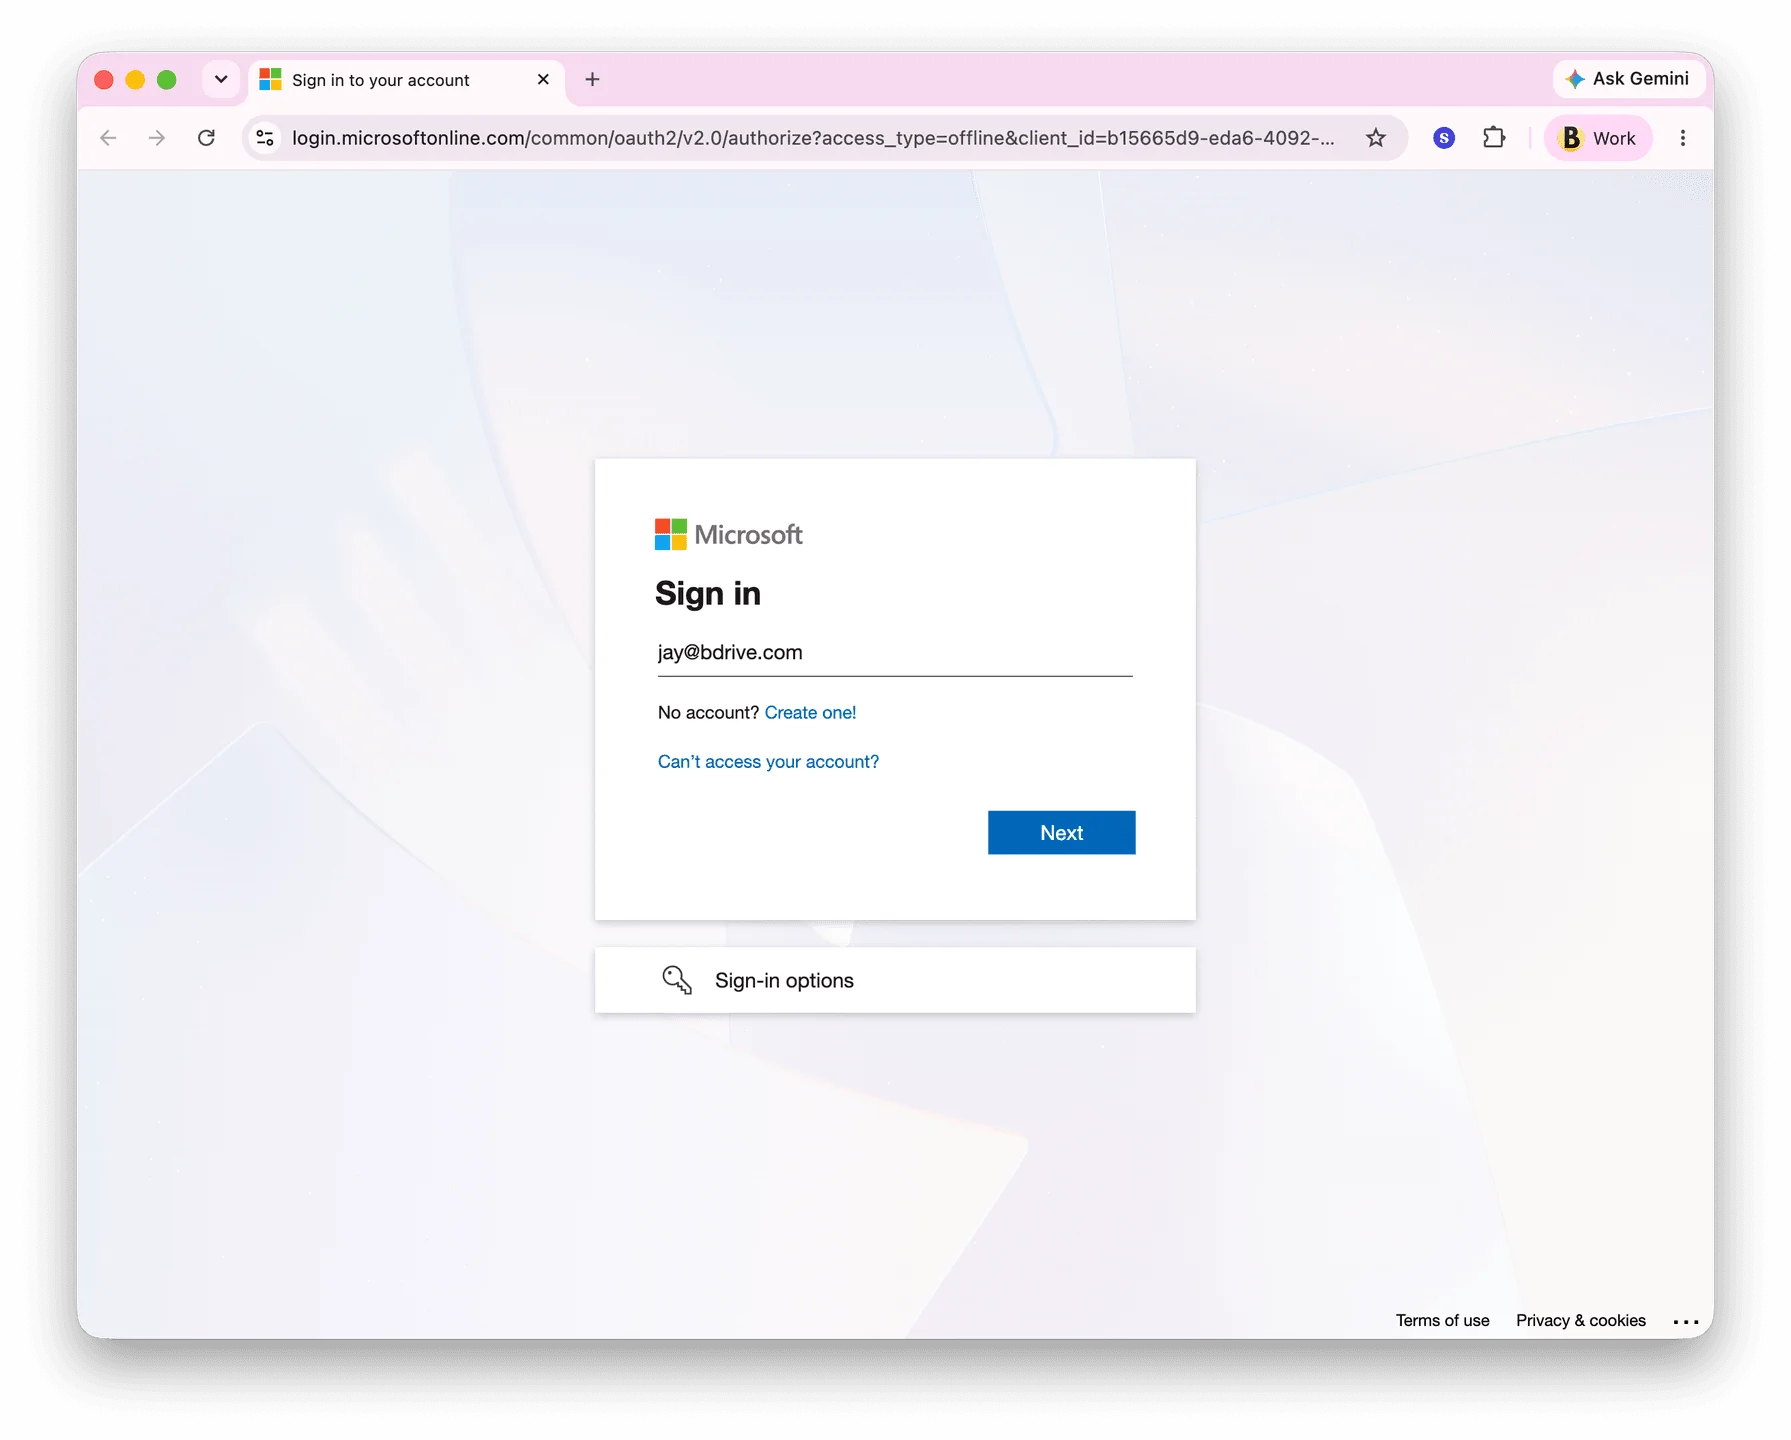
Sign in with the work account that can open the team site.
Sign in with your Microsoft three sixty five work account. This page belongs to Microsoft, so RcloneView never sees your password. Your account also decides which sites you can reach. If you can open the team site in your browser, you can open it in RcloneView.
-
11Try this step ↗
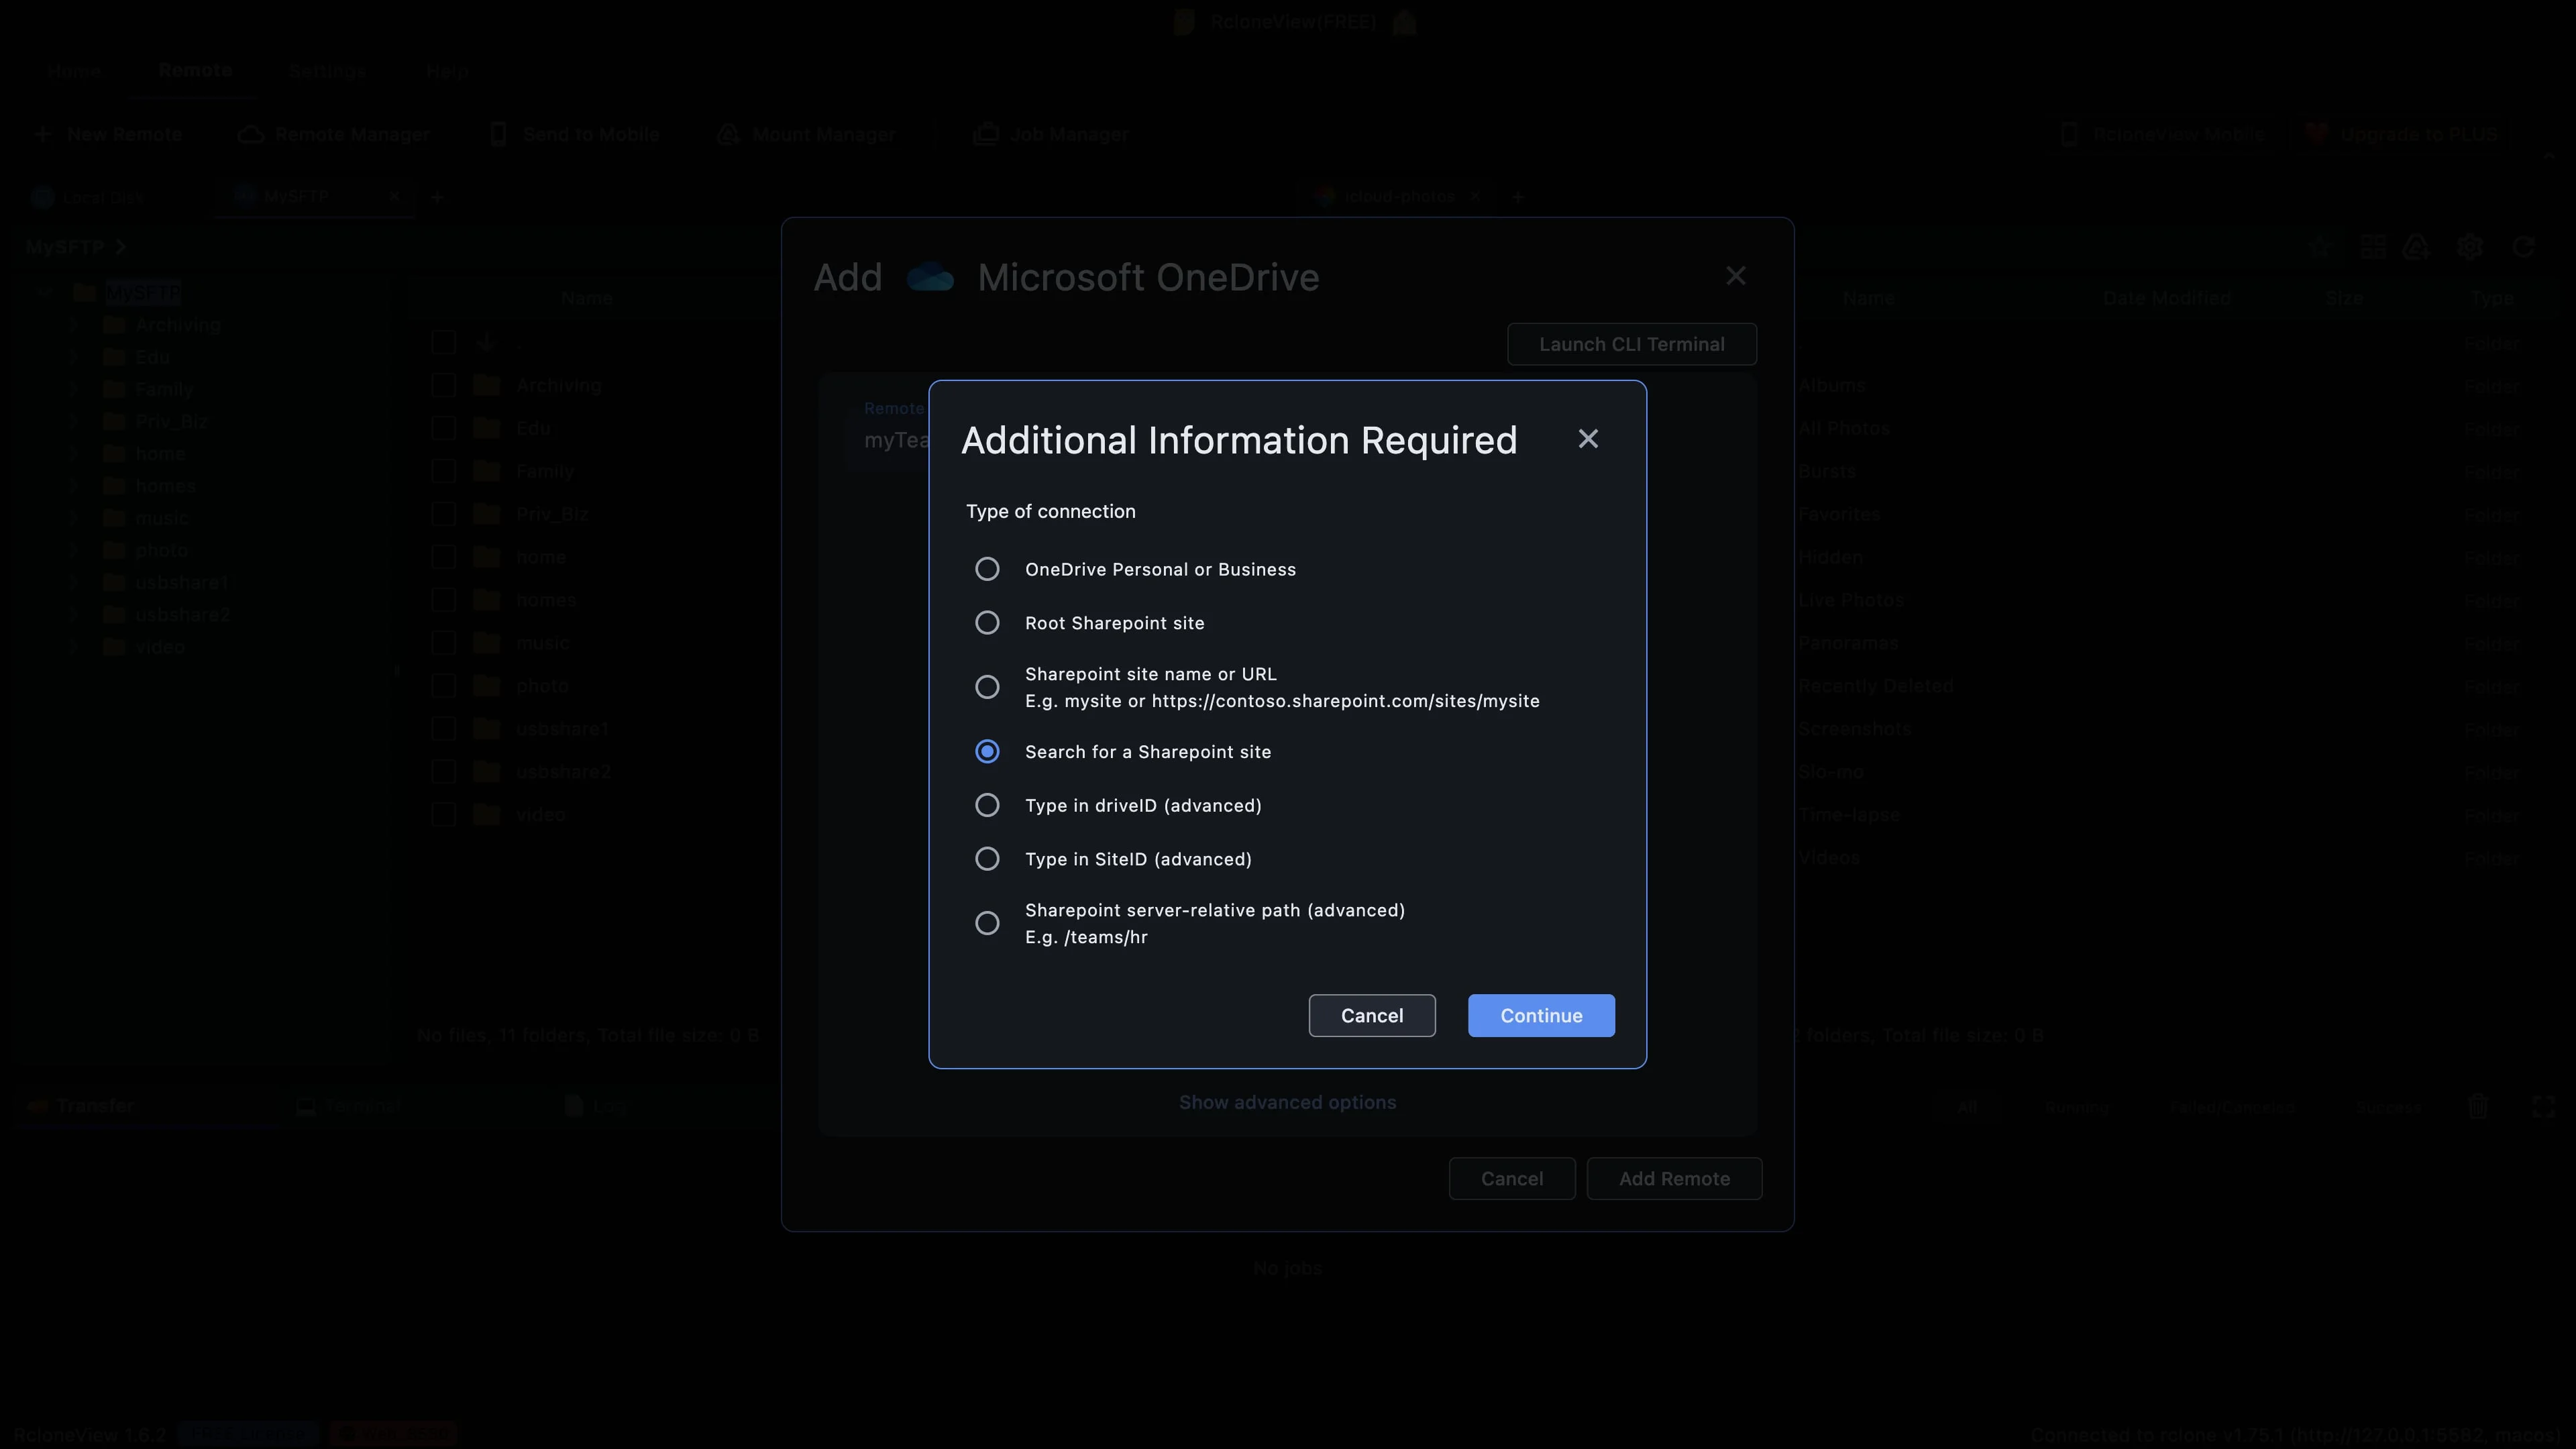
Search finds the site by name, no full address needed.
Back in RcloneView, choose what to connect. The first option is your own OneDrive. The others reach SharePoint sites. We pick Search for a SharePoint site, because you only need part of the site name. If you already know the full site address, the option above it works too.
-
12Try this step ↗
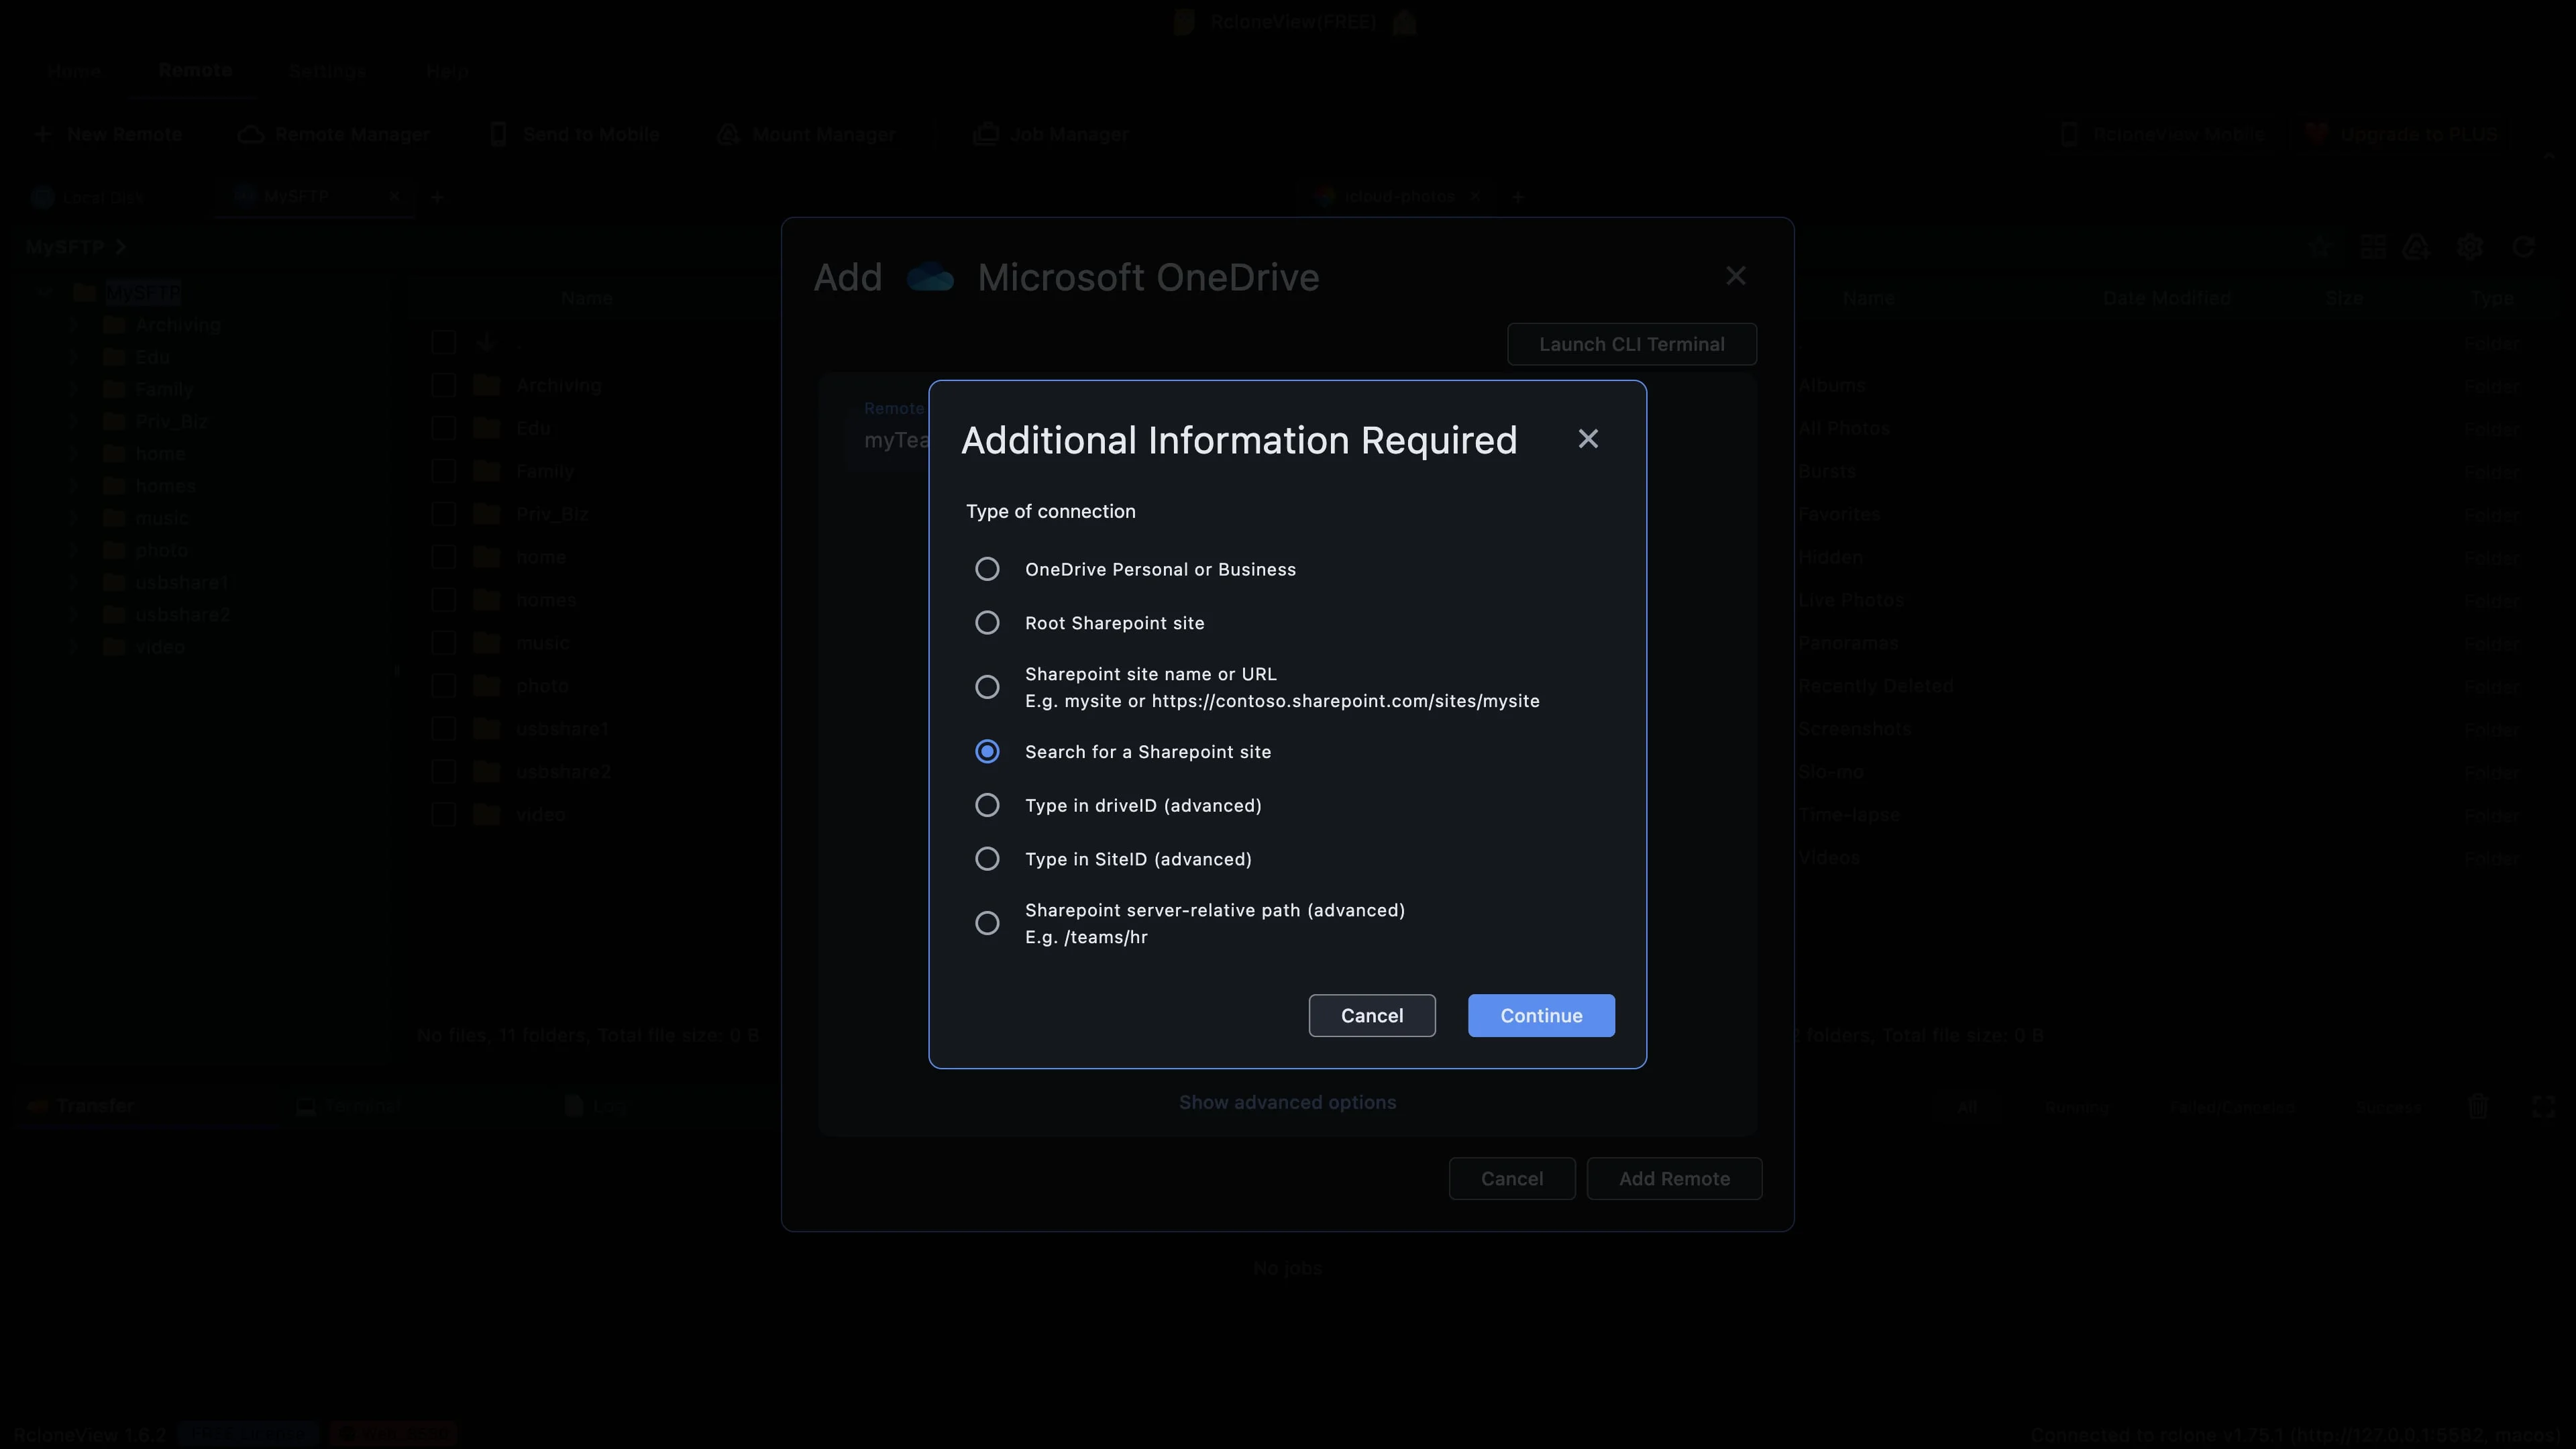
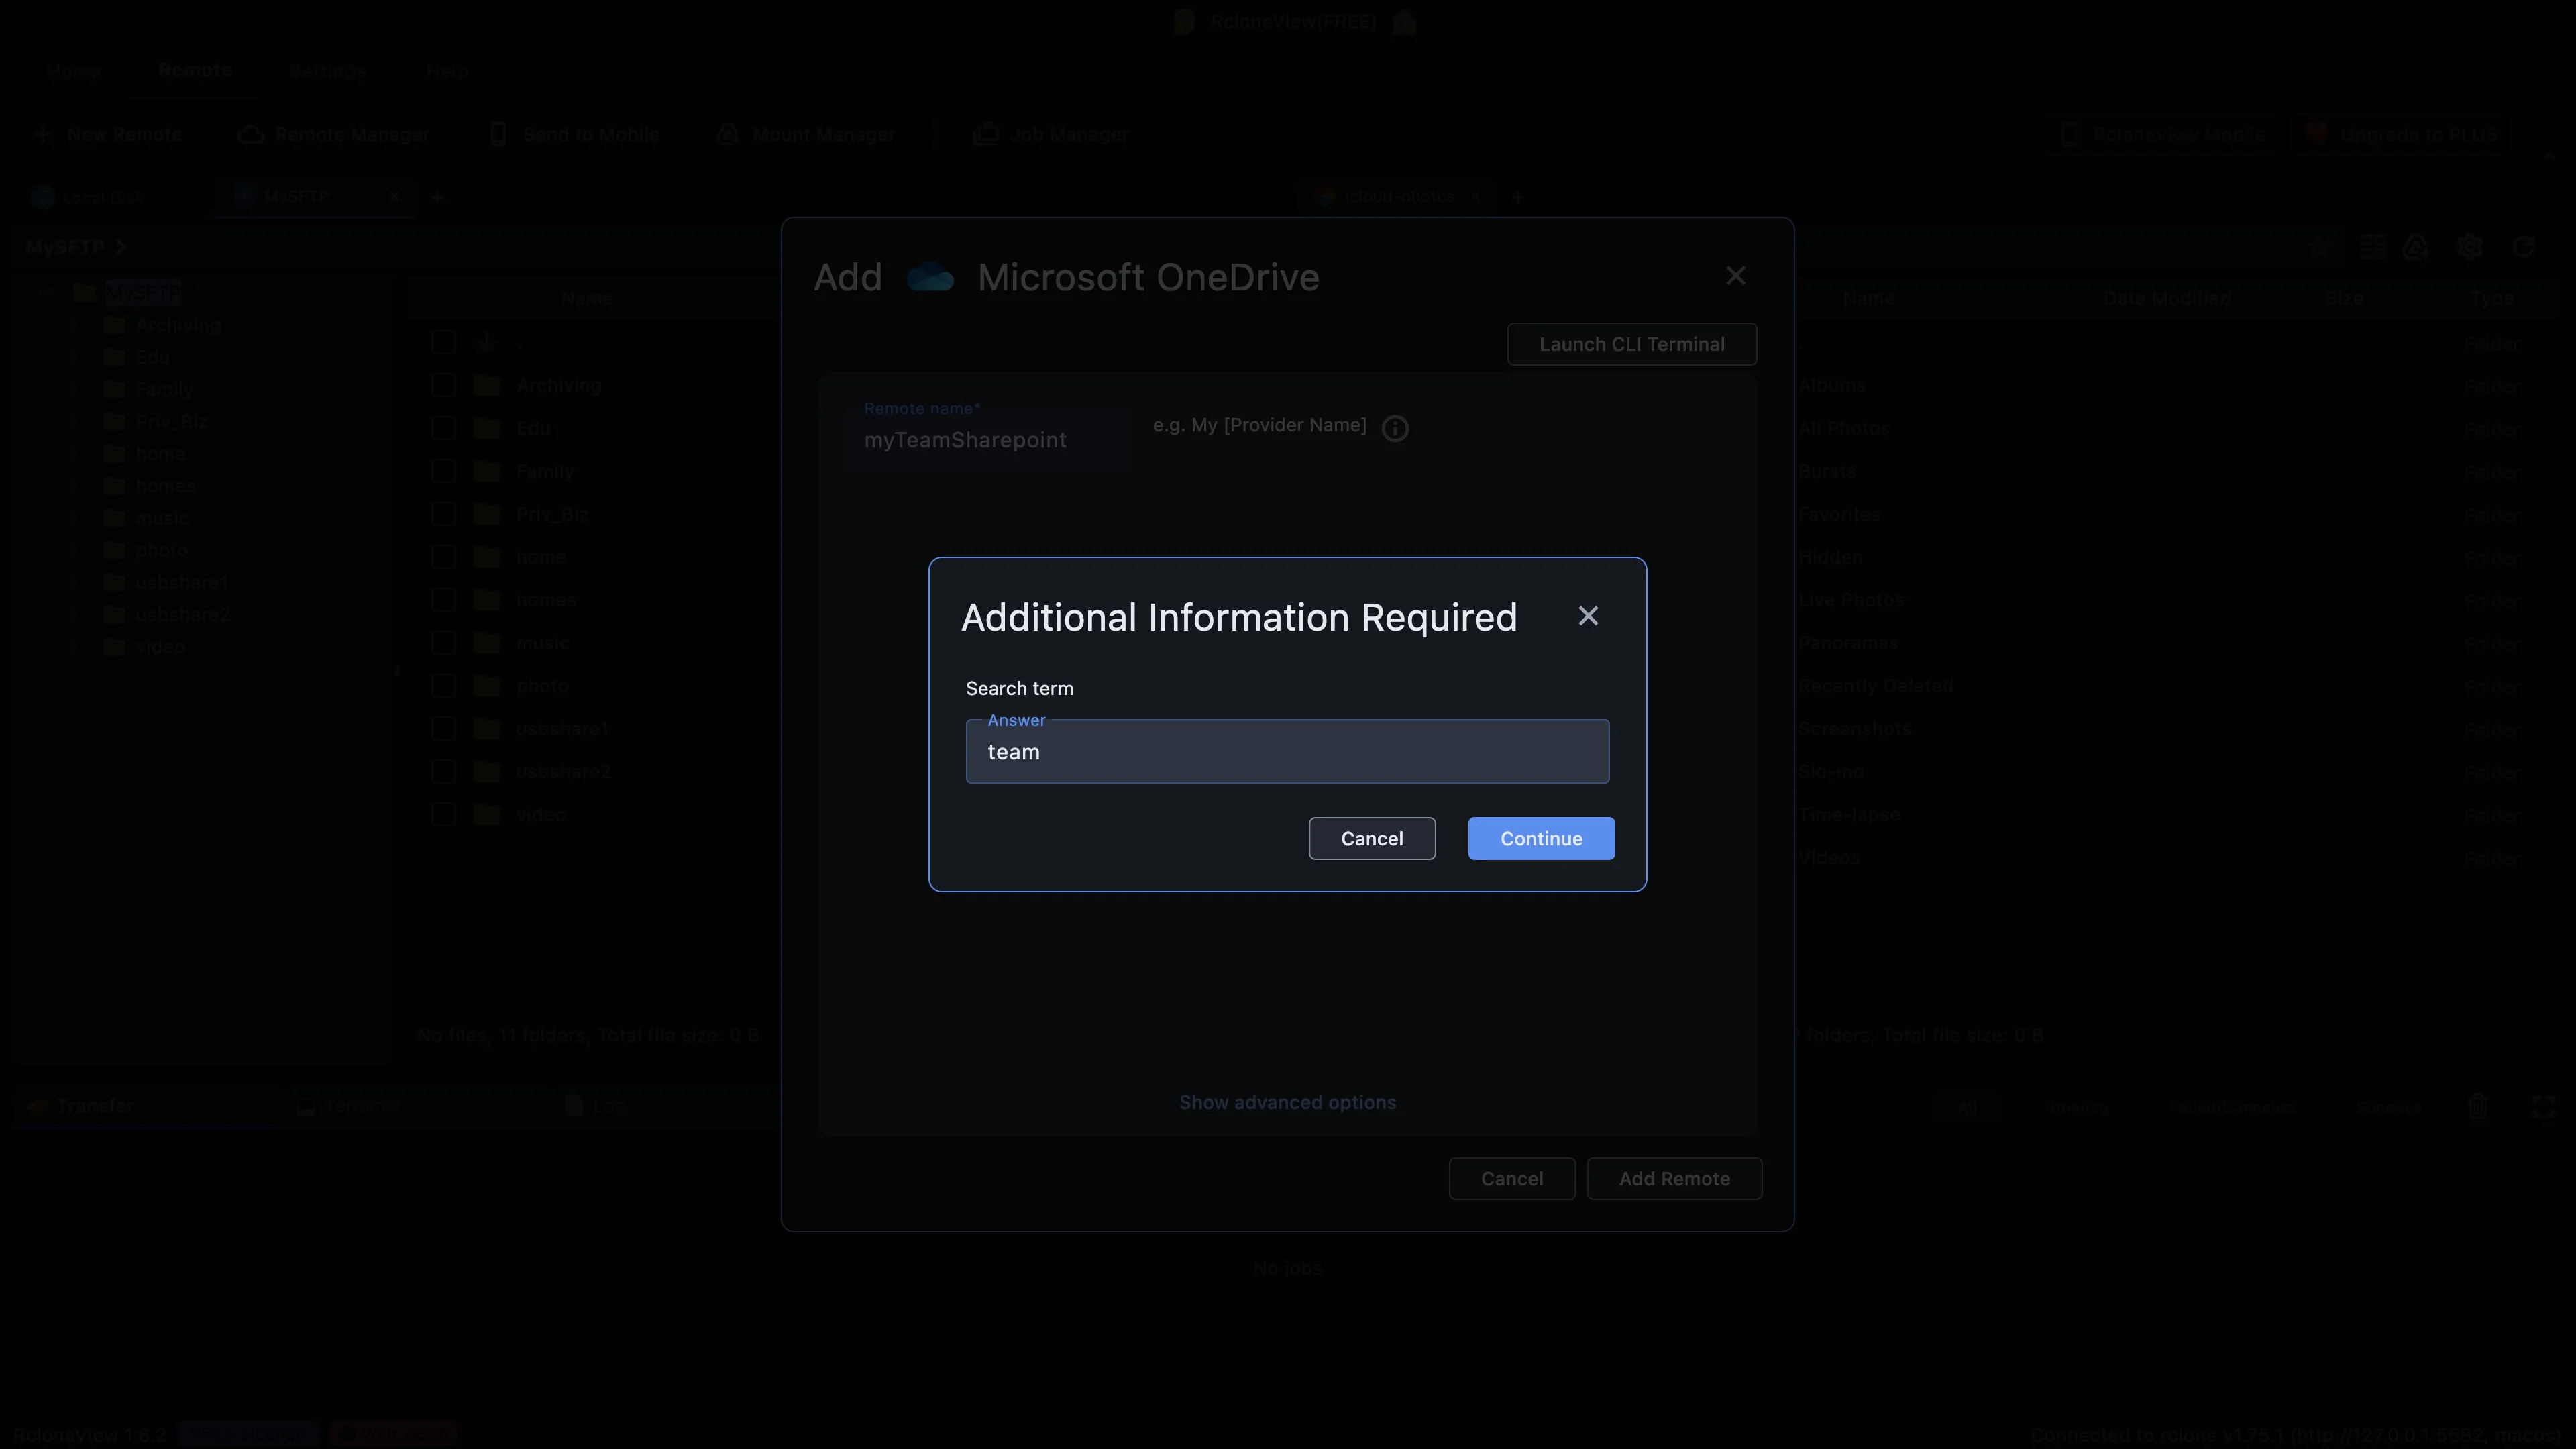
Confirm search, then type part of the site name.
Click Continue. RcloneView now asks for a search term, a word from the name of the site you want to find.
-
13Try this step ↗
Look up every site with this word that you can access.
Click Continue. RcloneView asks Microsoft for every site that matches the word team and that your account is allowed to open.
-
14Try this step ↗
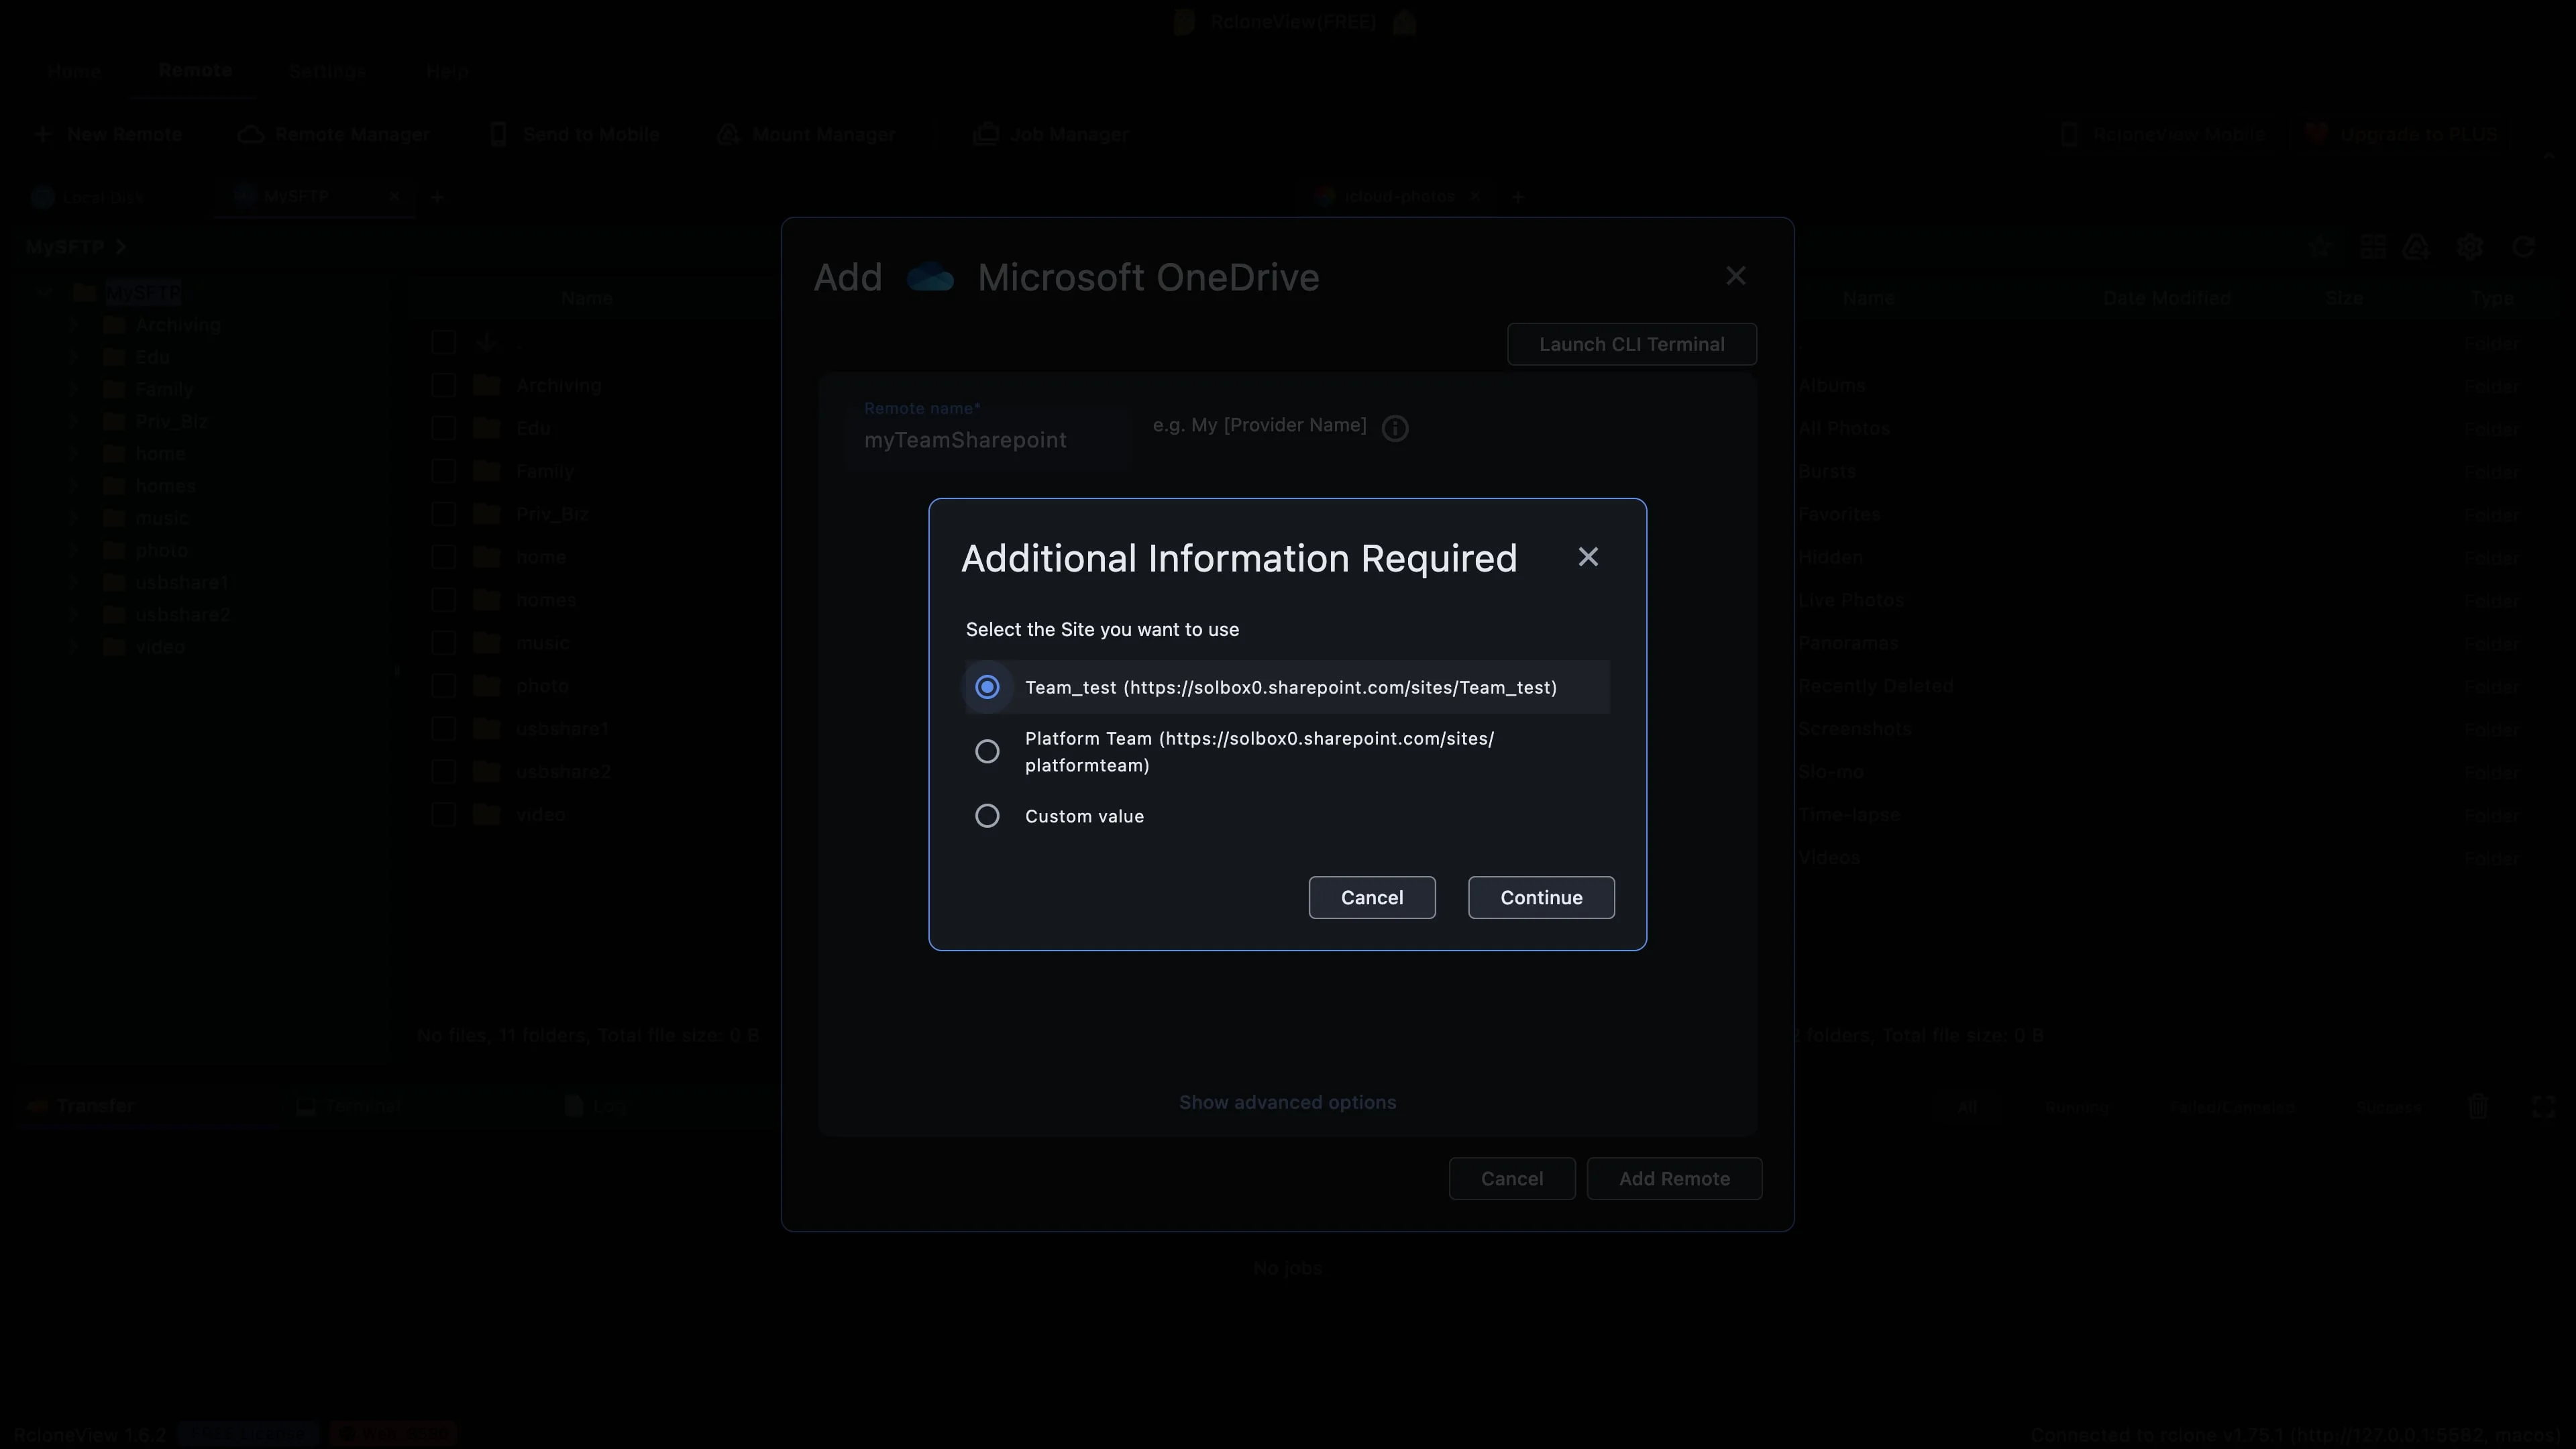
Pick Team_test, the same site we saw in the browser.
Two sites match. Platform Team appears because its name also has the word team. It is the same site we looked at in the browser at the start.
-
15Try this step ↗
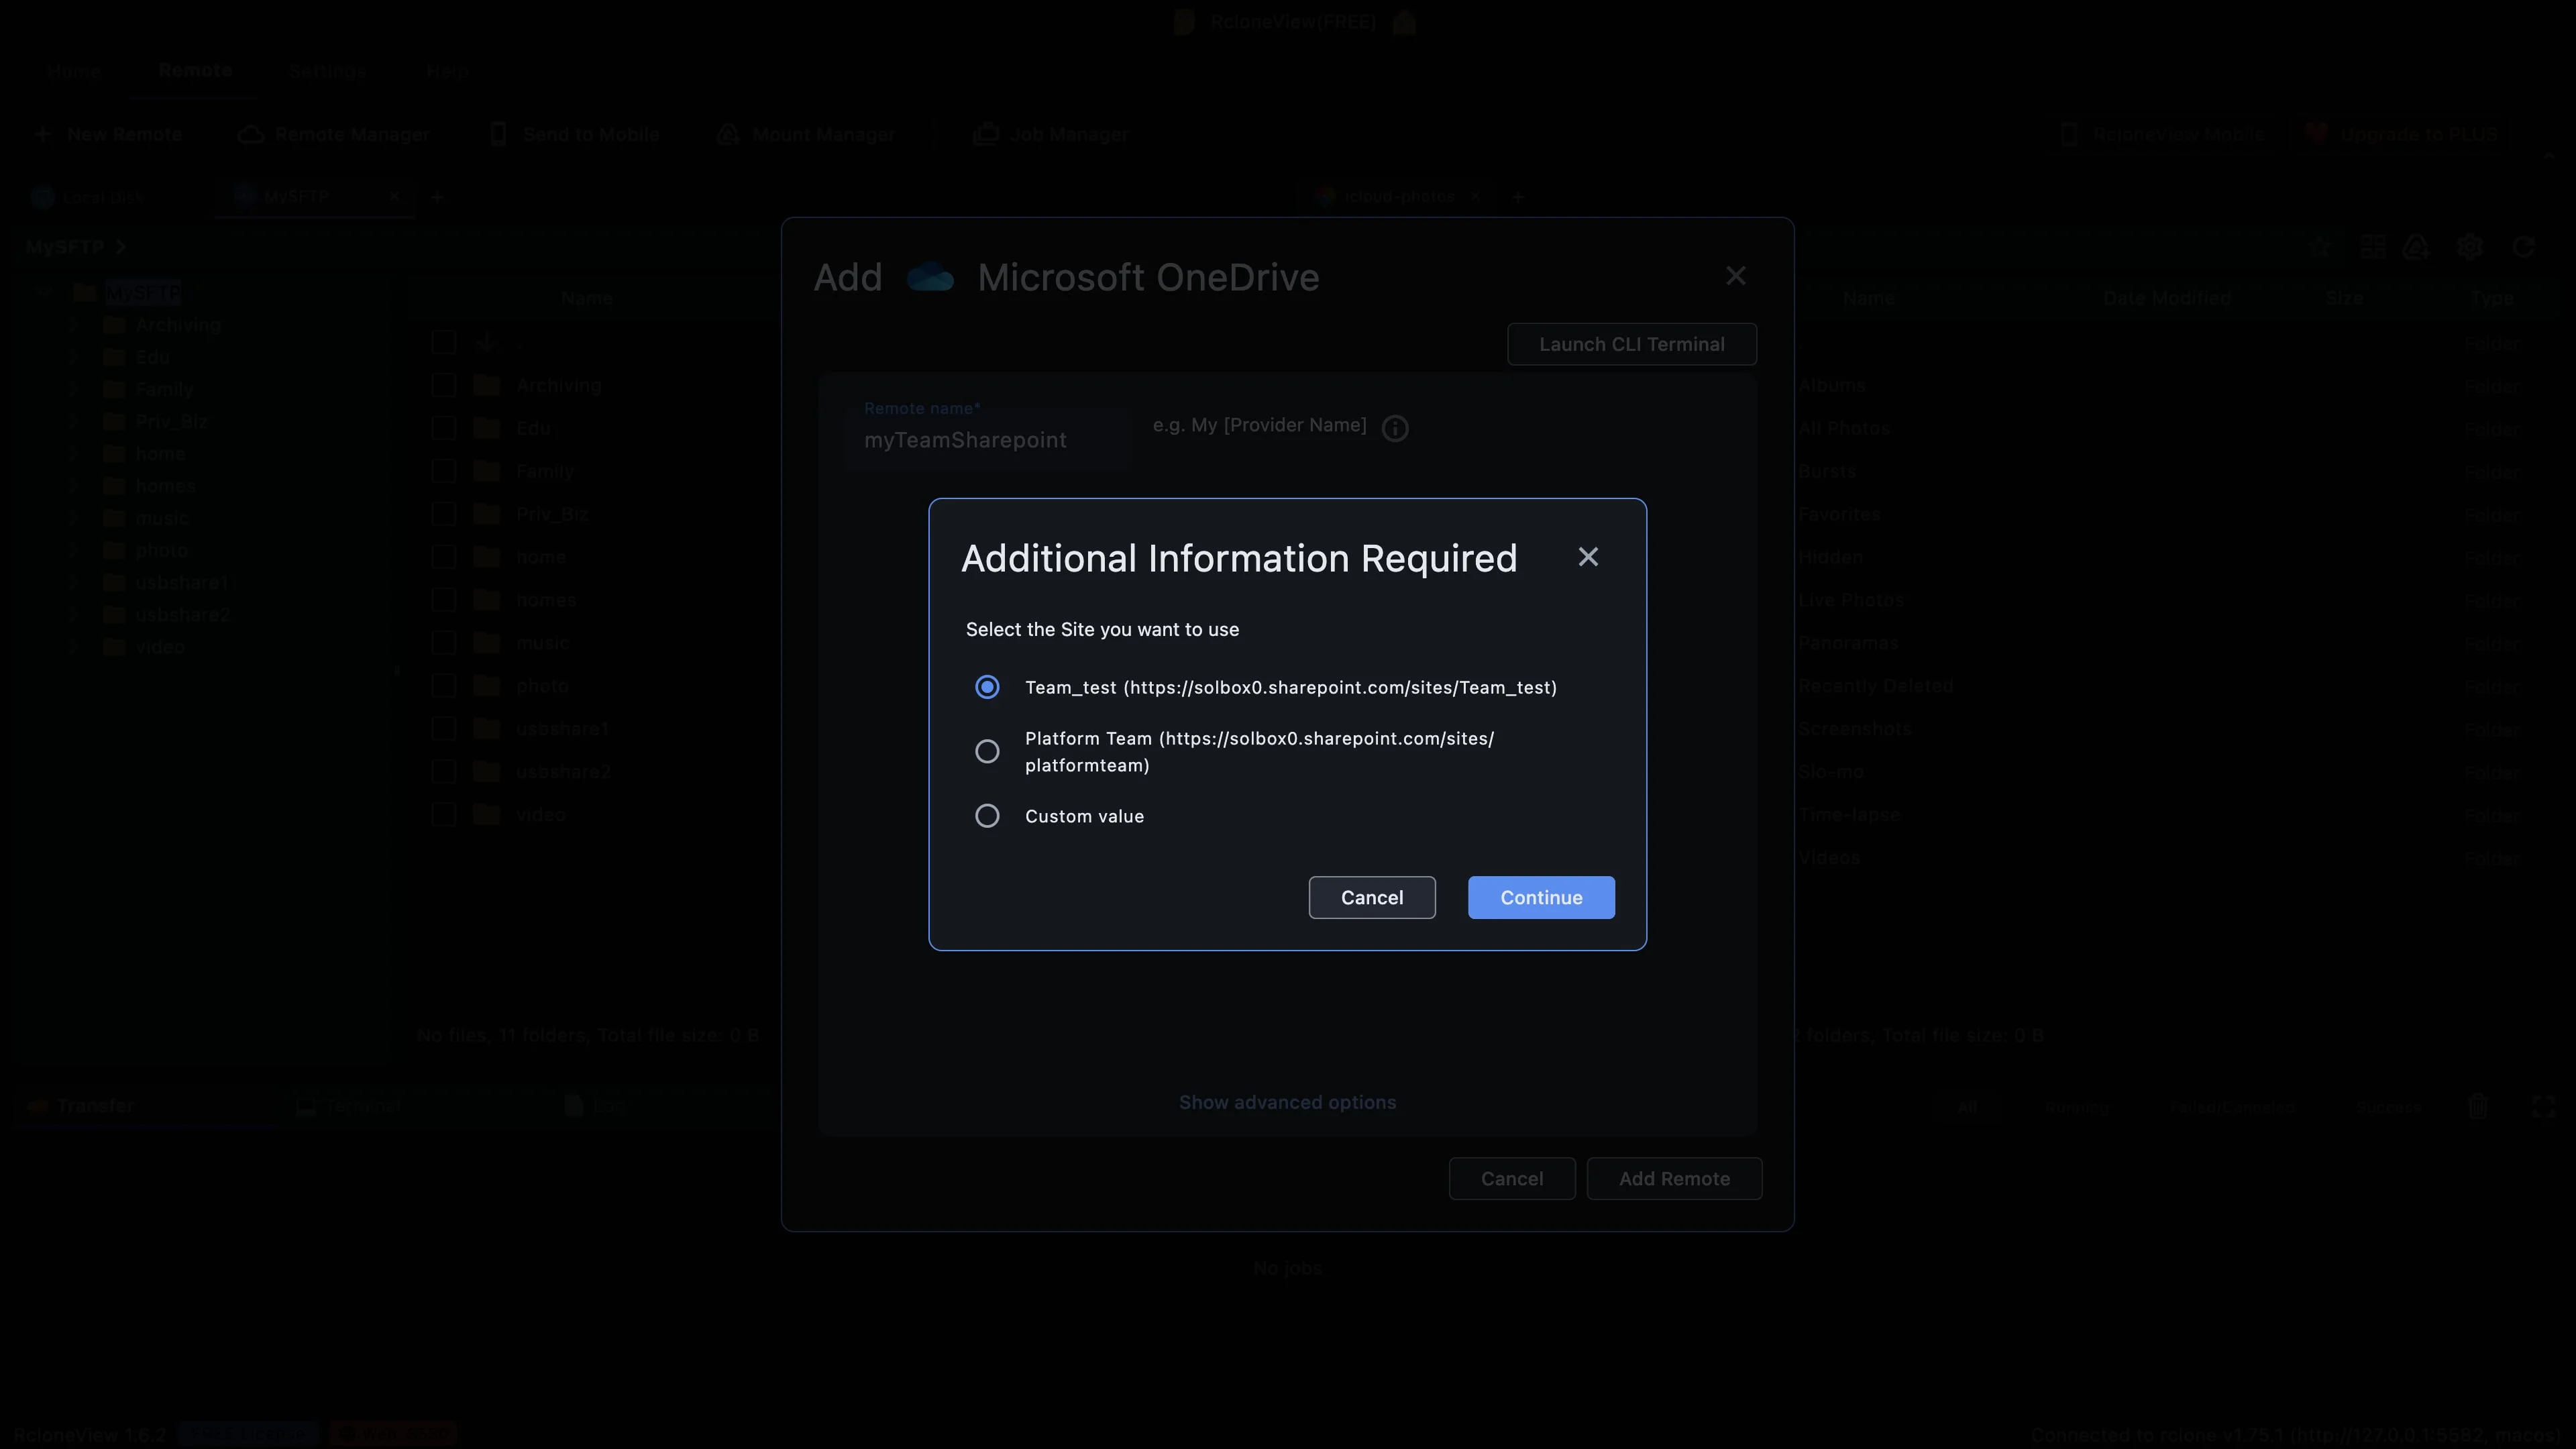
Open the site to see which libraries it holds.
Click Continue. RcloneView opens the site and lists the libraries inside it, the same ones we saw in the browser.
-
16Try this step ↗
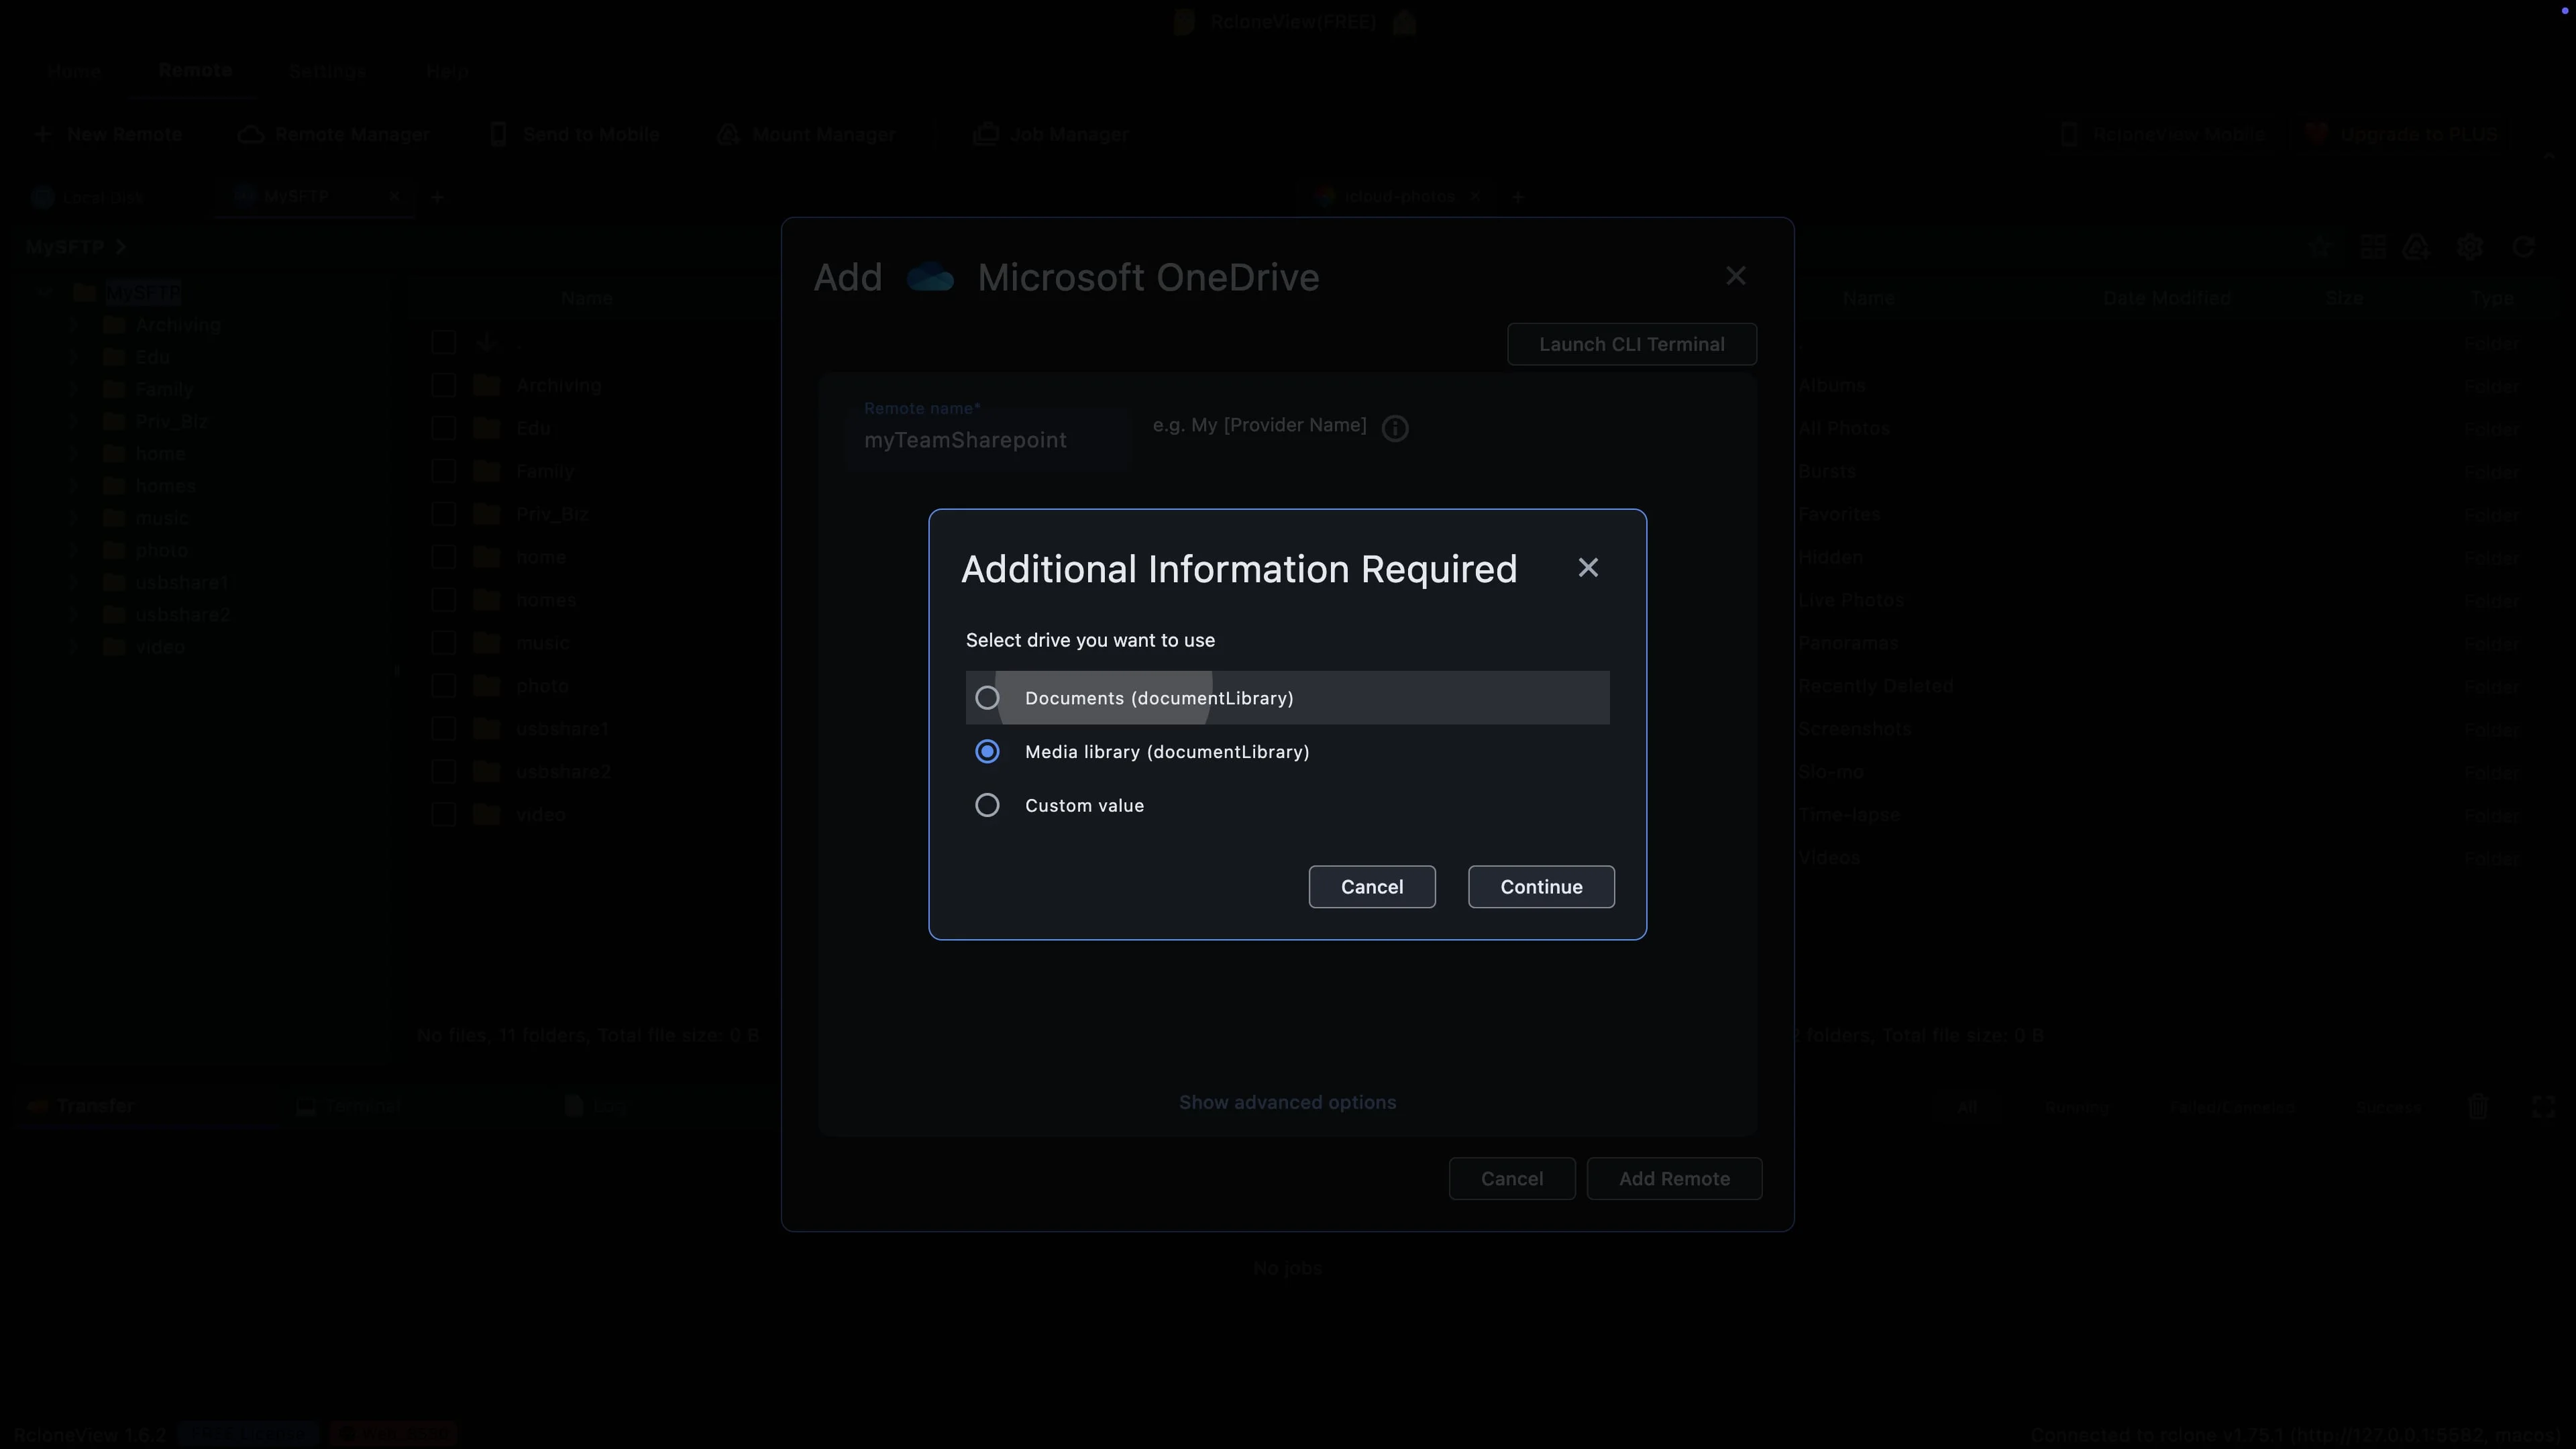
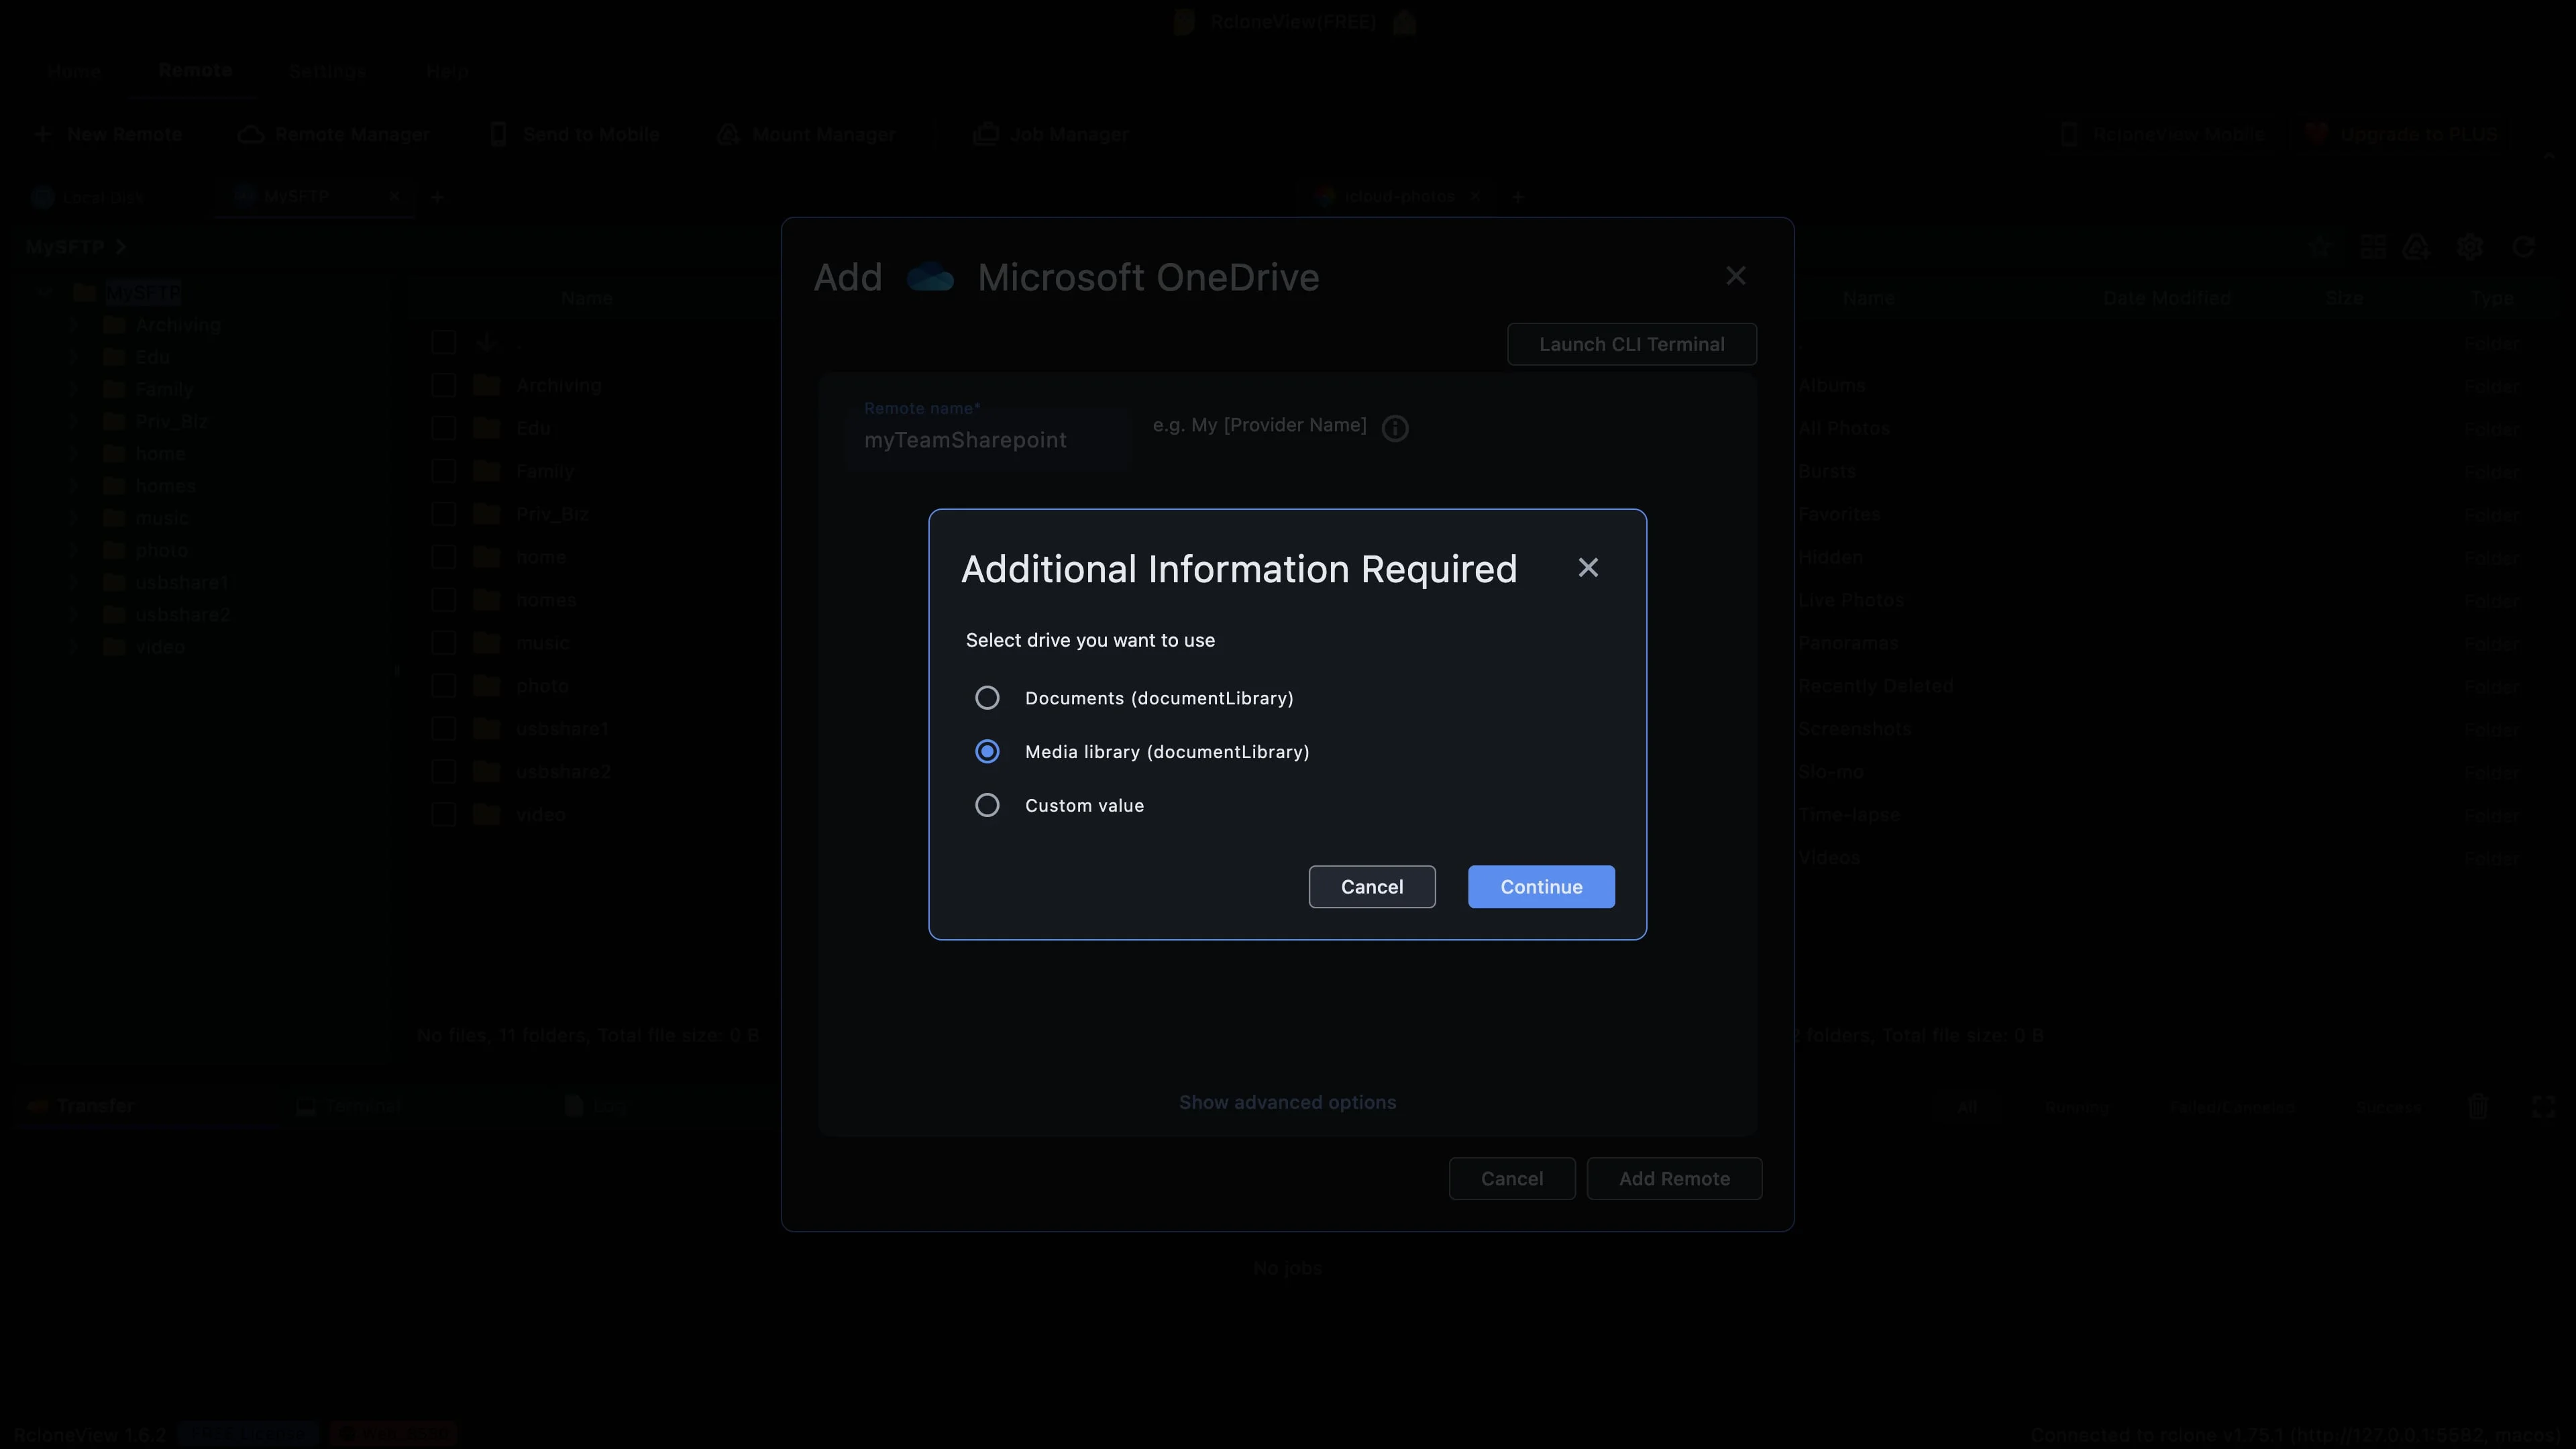
Each library is a separate drive. Pick Media library.
There they are, Documents and Media library. Microsoft marks every library as a document library, even one full of videos. Remember, one remote opens one library, so pick Media library.
-
17Try this step ↗
This library becomes the top folder of your new remote.
Click Continue. The Media library becomes the top folder of your new remote, so its files are the first thing you will see when you open it.
-
18Try this step ↗
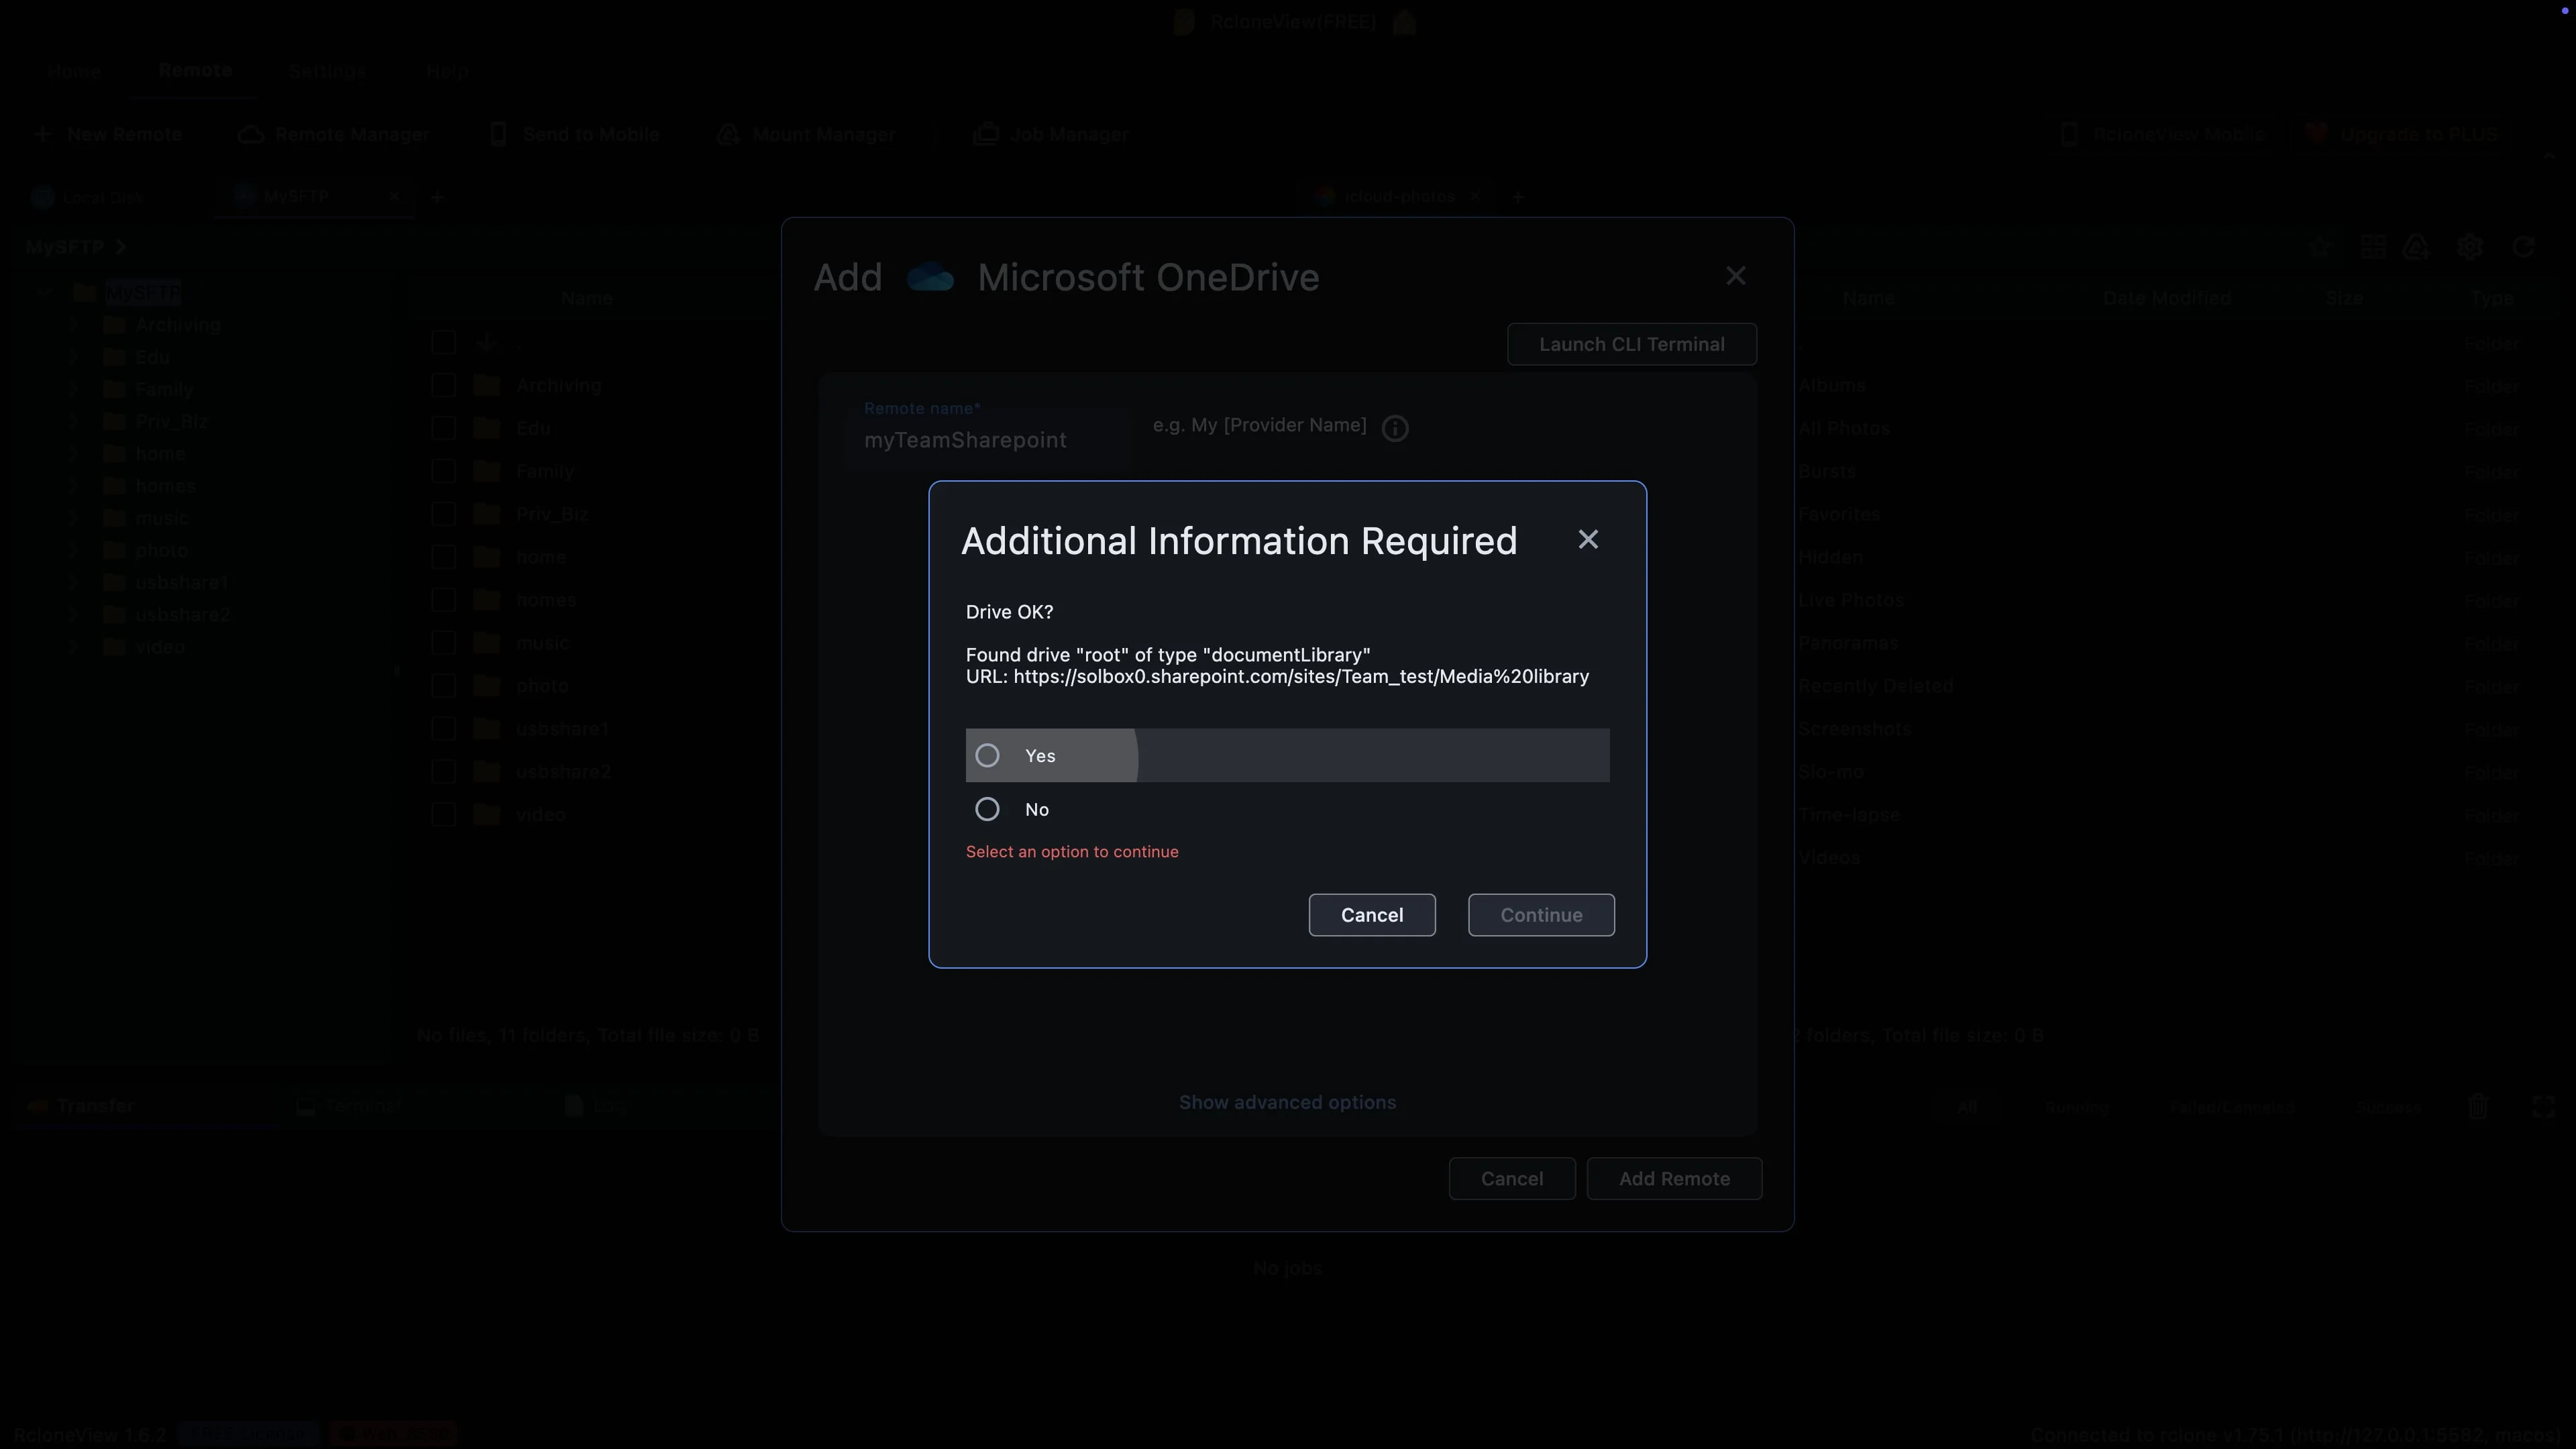
Check the address ends with Team_test and Media library.
RcloneView shows what it found. Look at the end of the address. It shows the site name, Team test, and then Media library. That is exactly the library we wanted, so select Yes.
-
19Try this step ↗
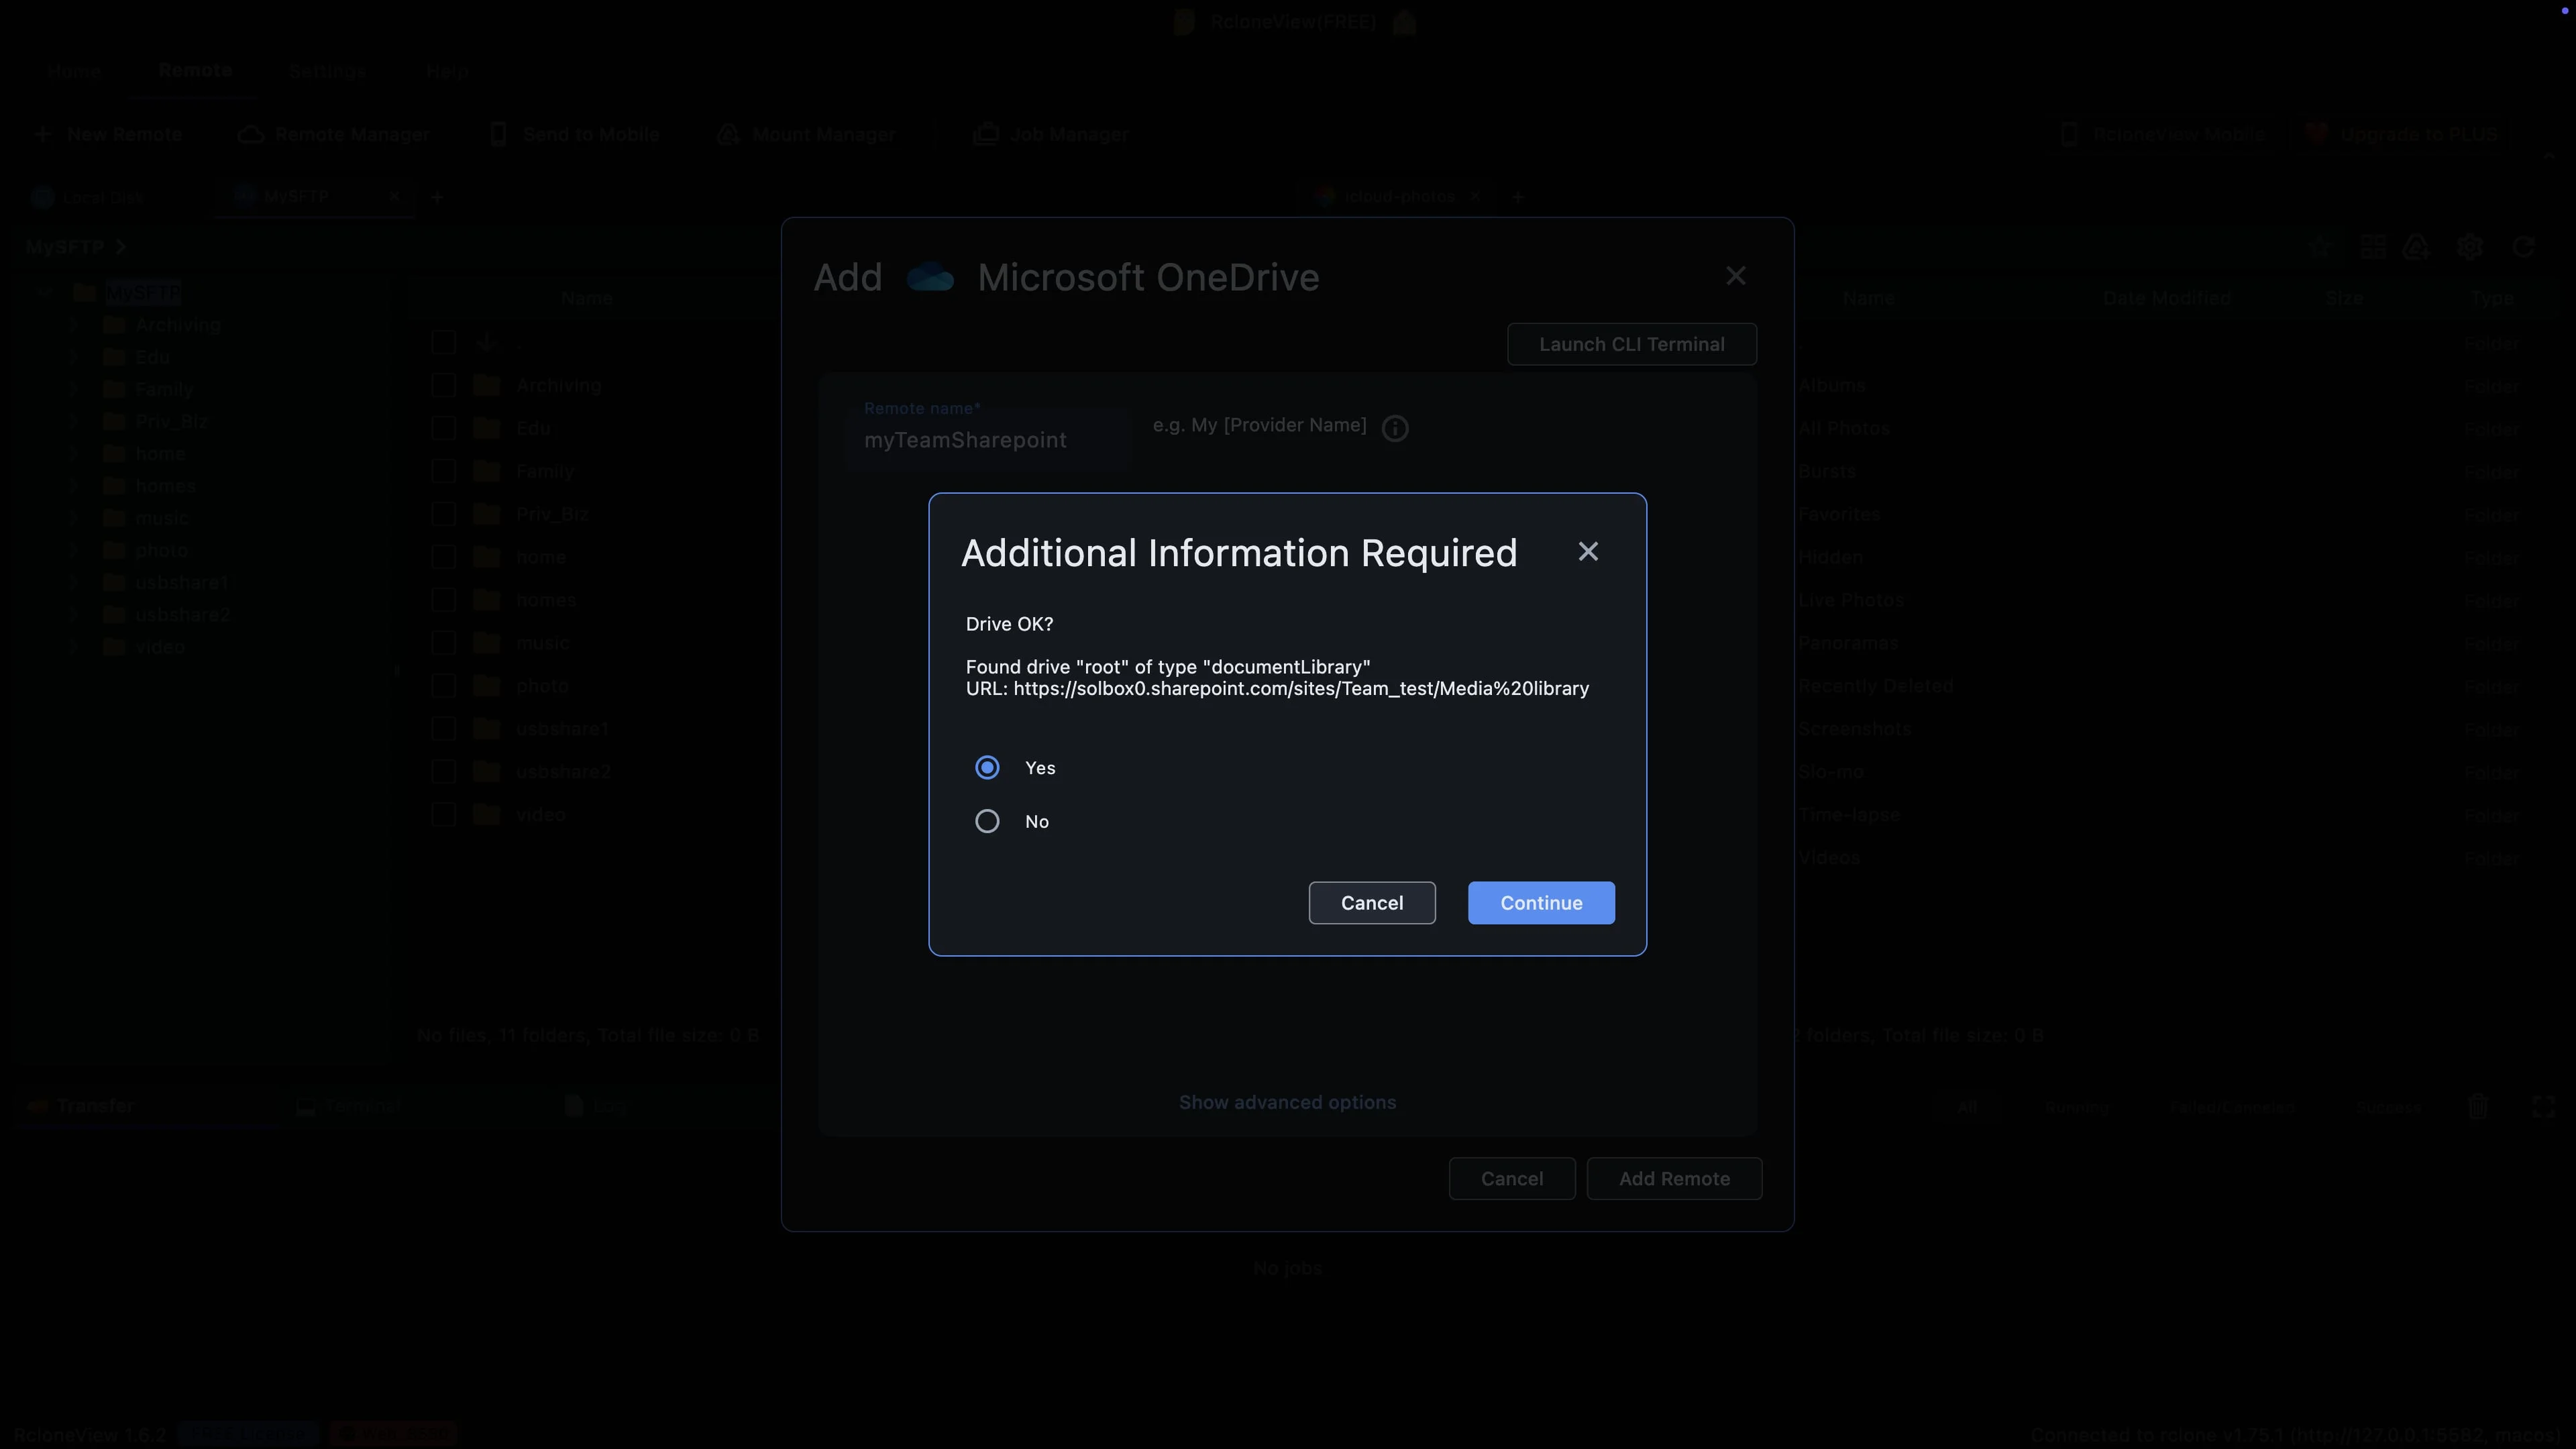
Confirm the library, and your new remote is saved.
Click Continue to finish. RcloneView saves the remote, and the setup is complete. You do not need to repeat these steps each time you open the app.
-
20Try this step ↗
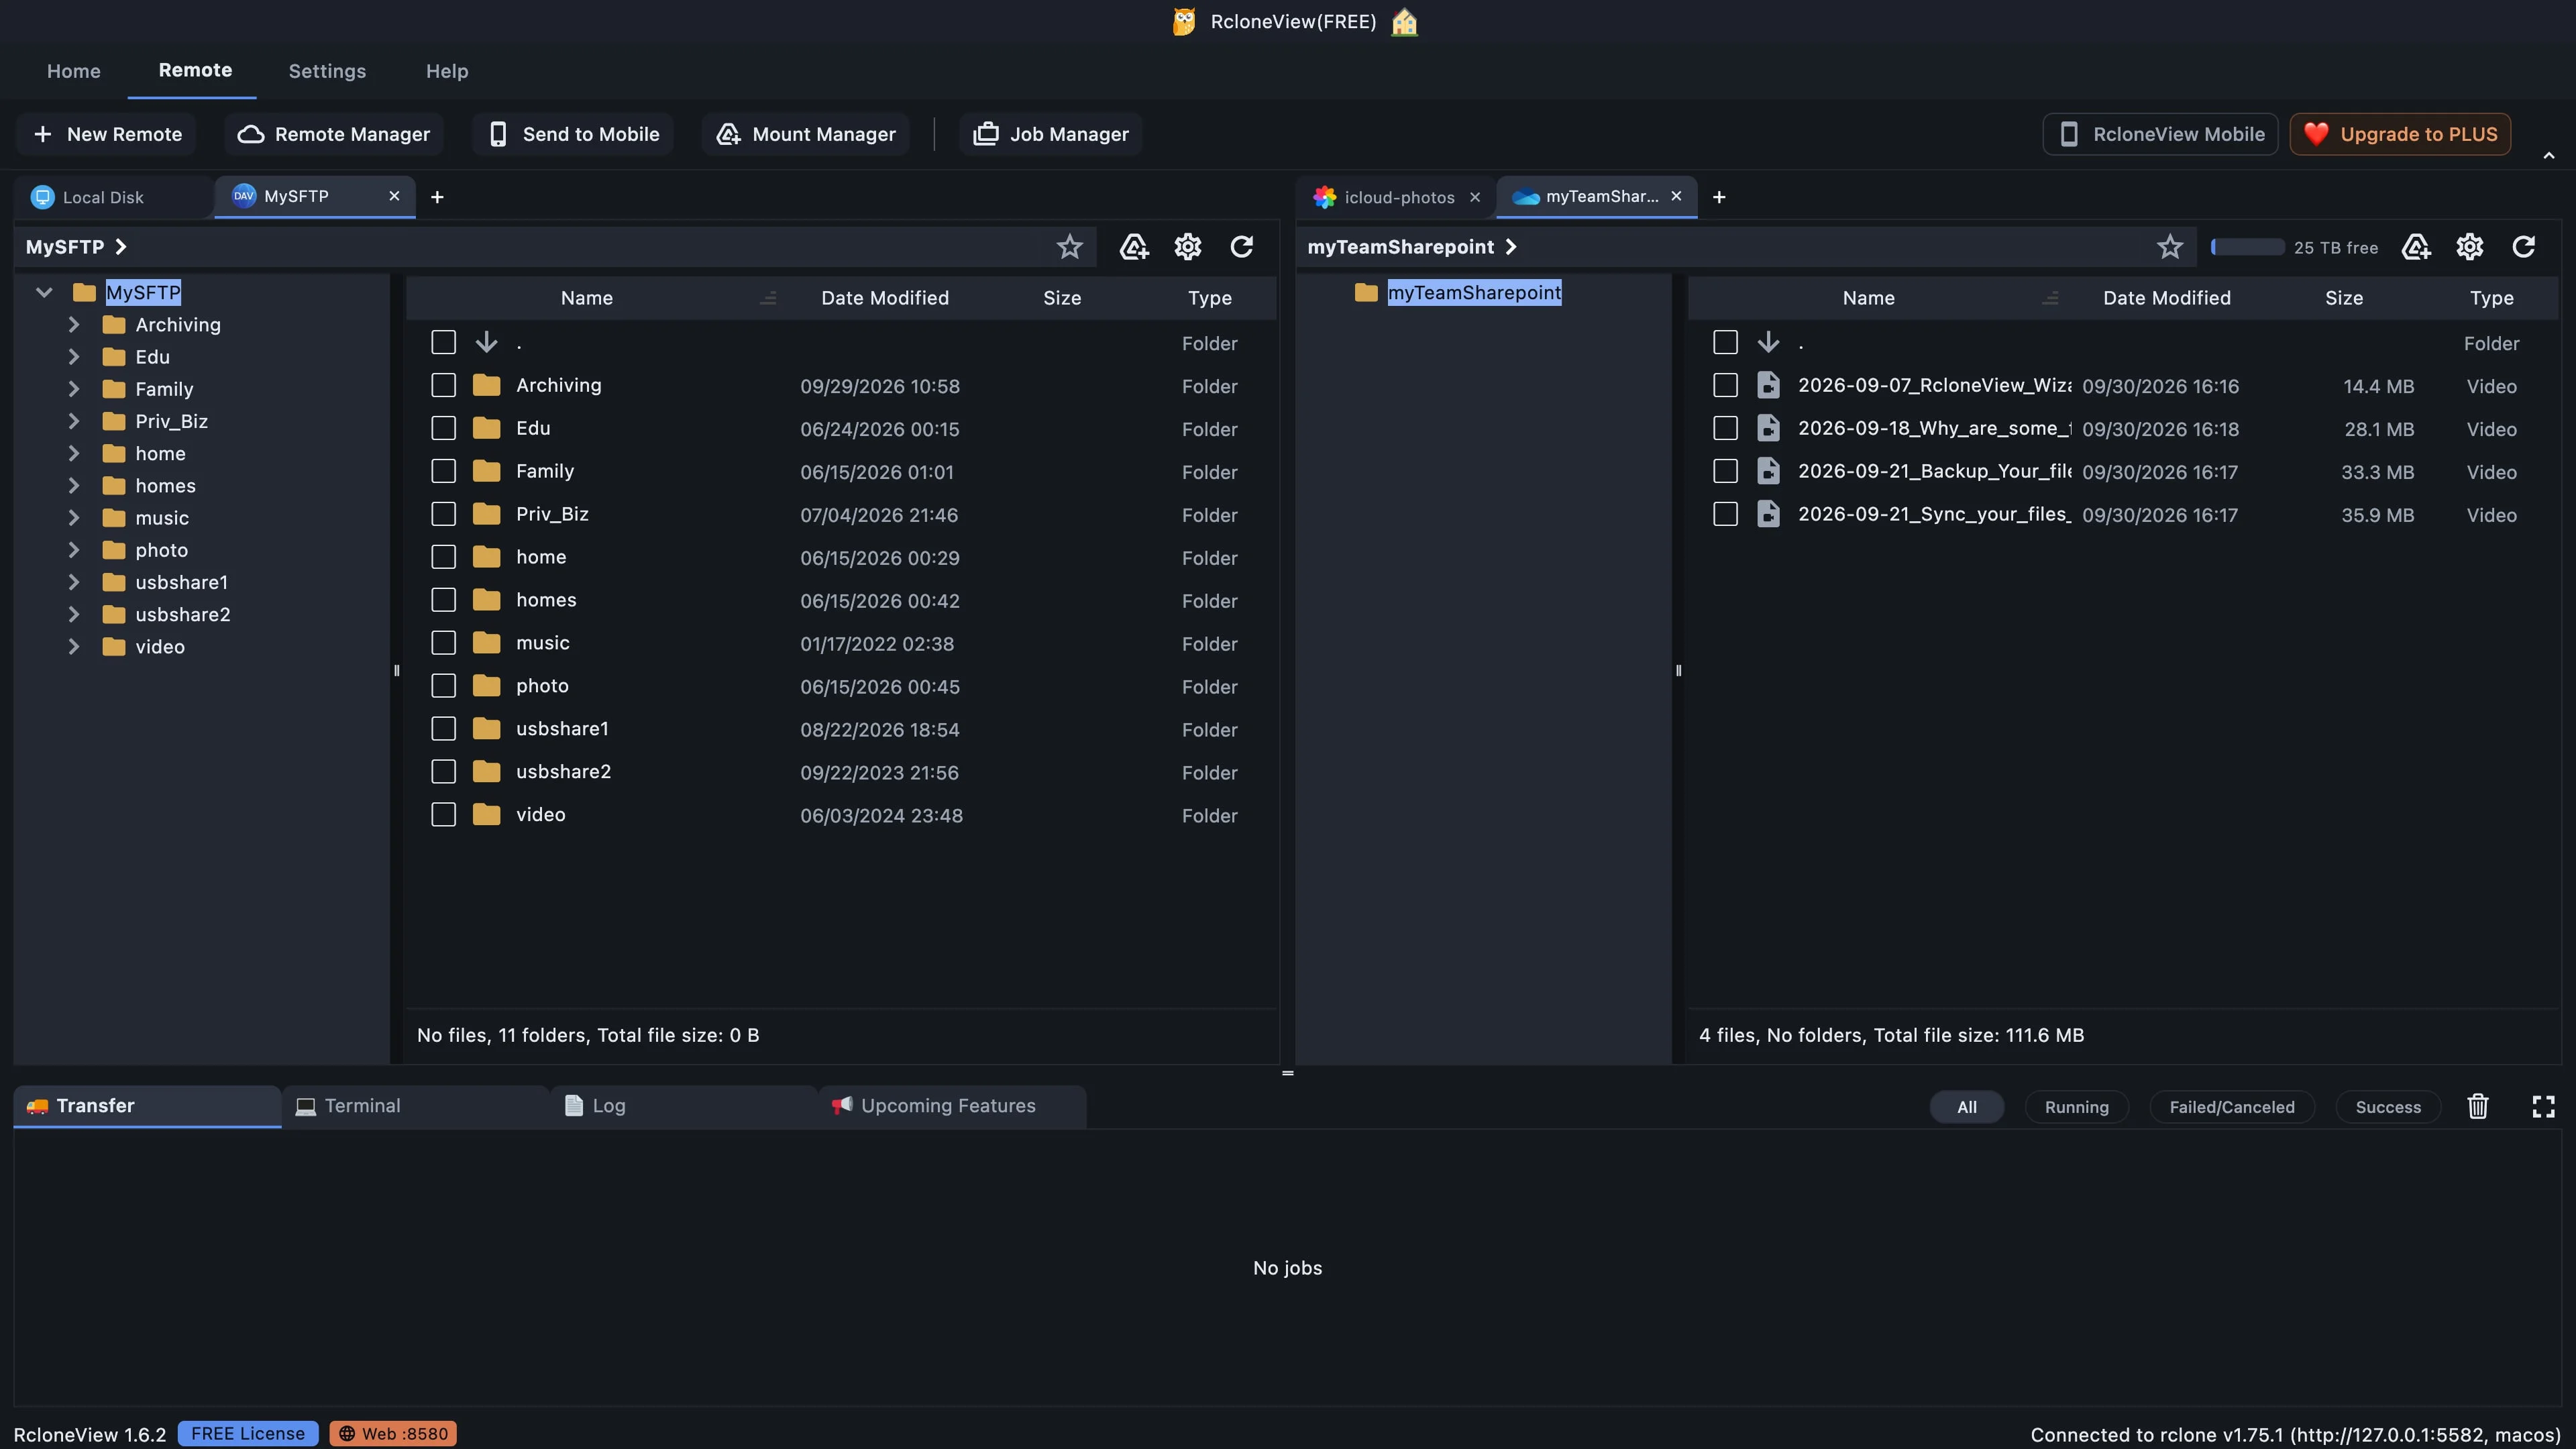
The team's Media library, now open as a remote.
And here it is. My Team SharePoint opens in its own tab, and it shows the four videos from the Media library. The list comes straight from SharePoint. The bar at the top shows about twenty five terabytes free, which is the storage space this site can use.
-
21Try this step ↗
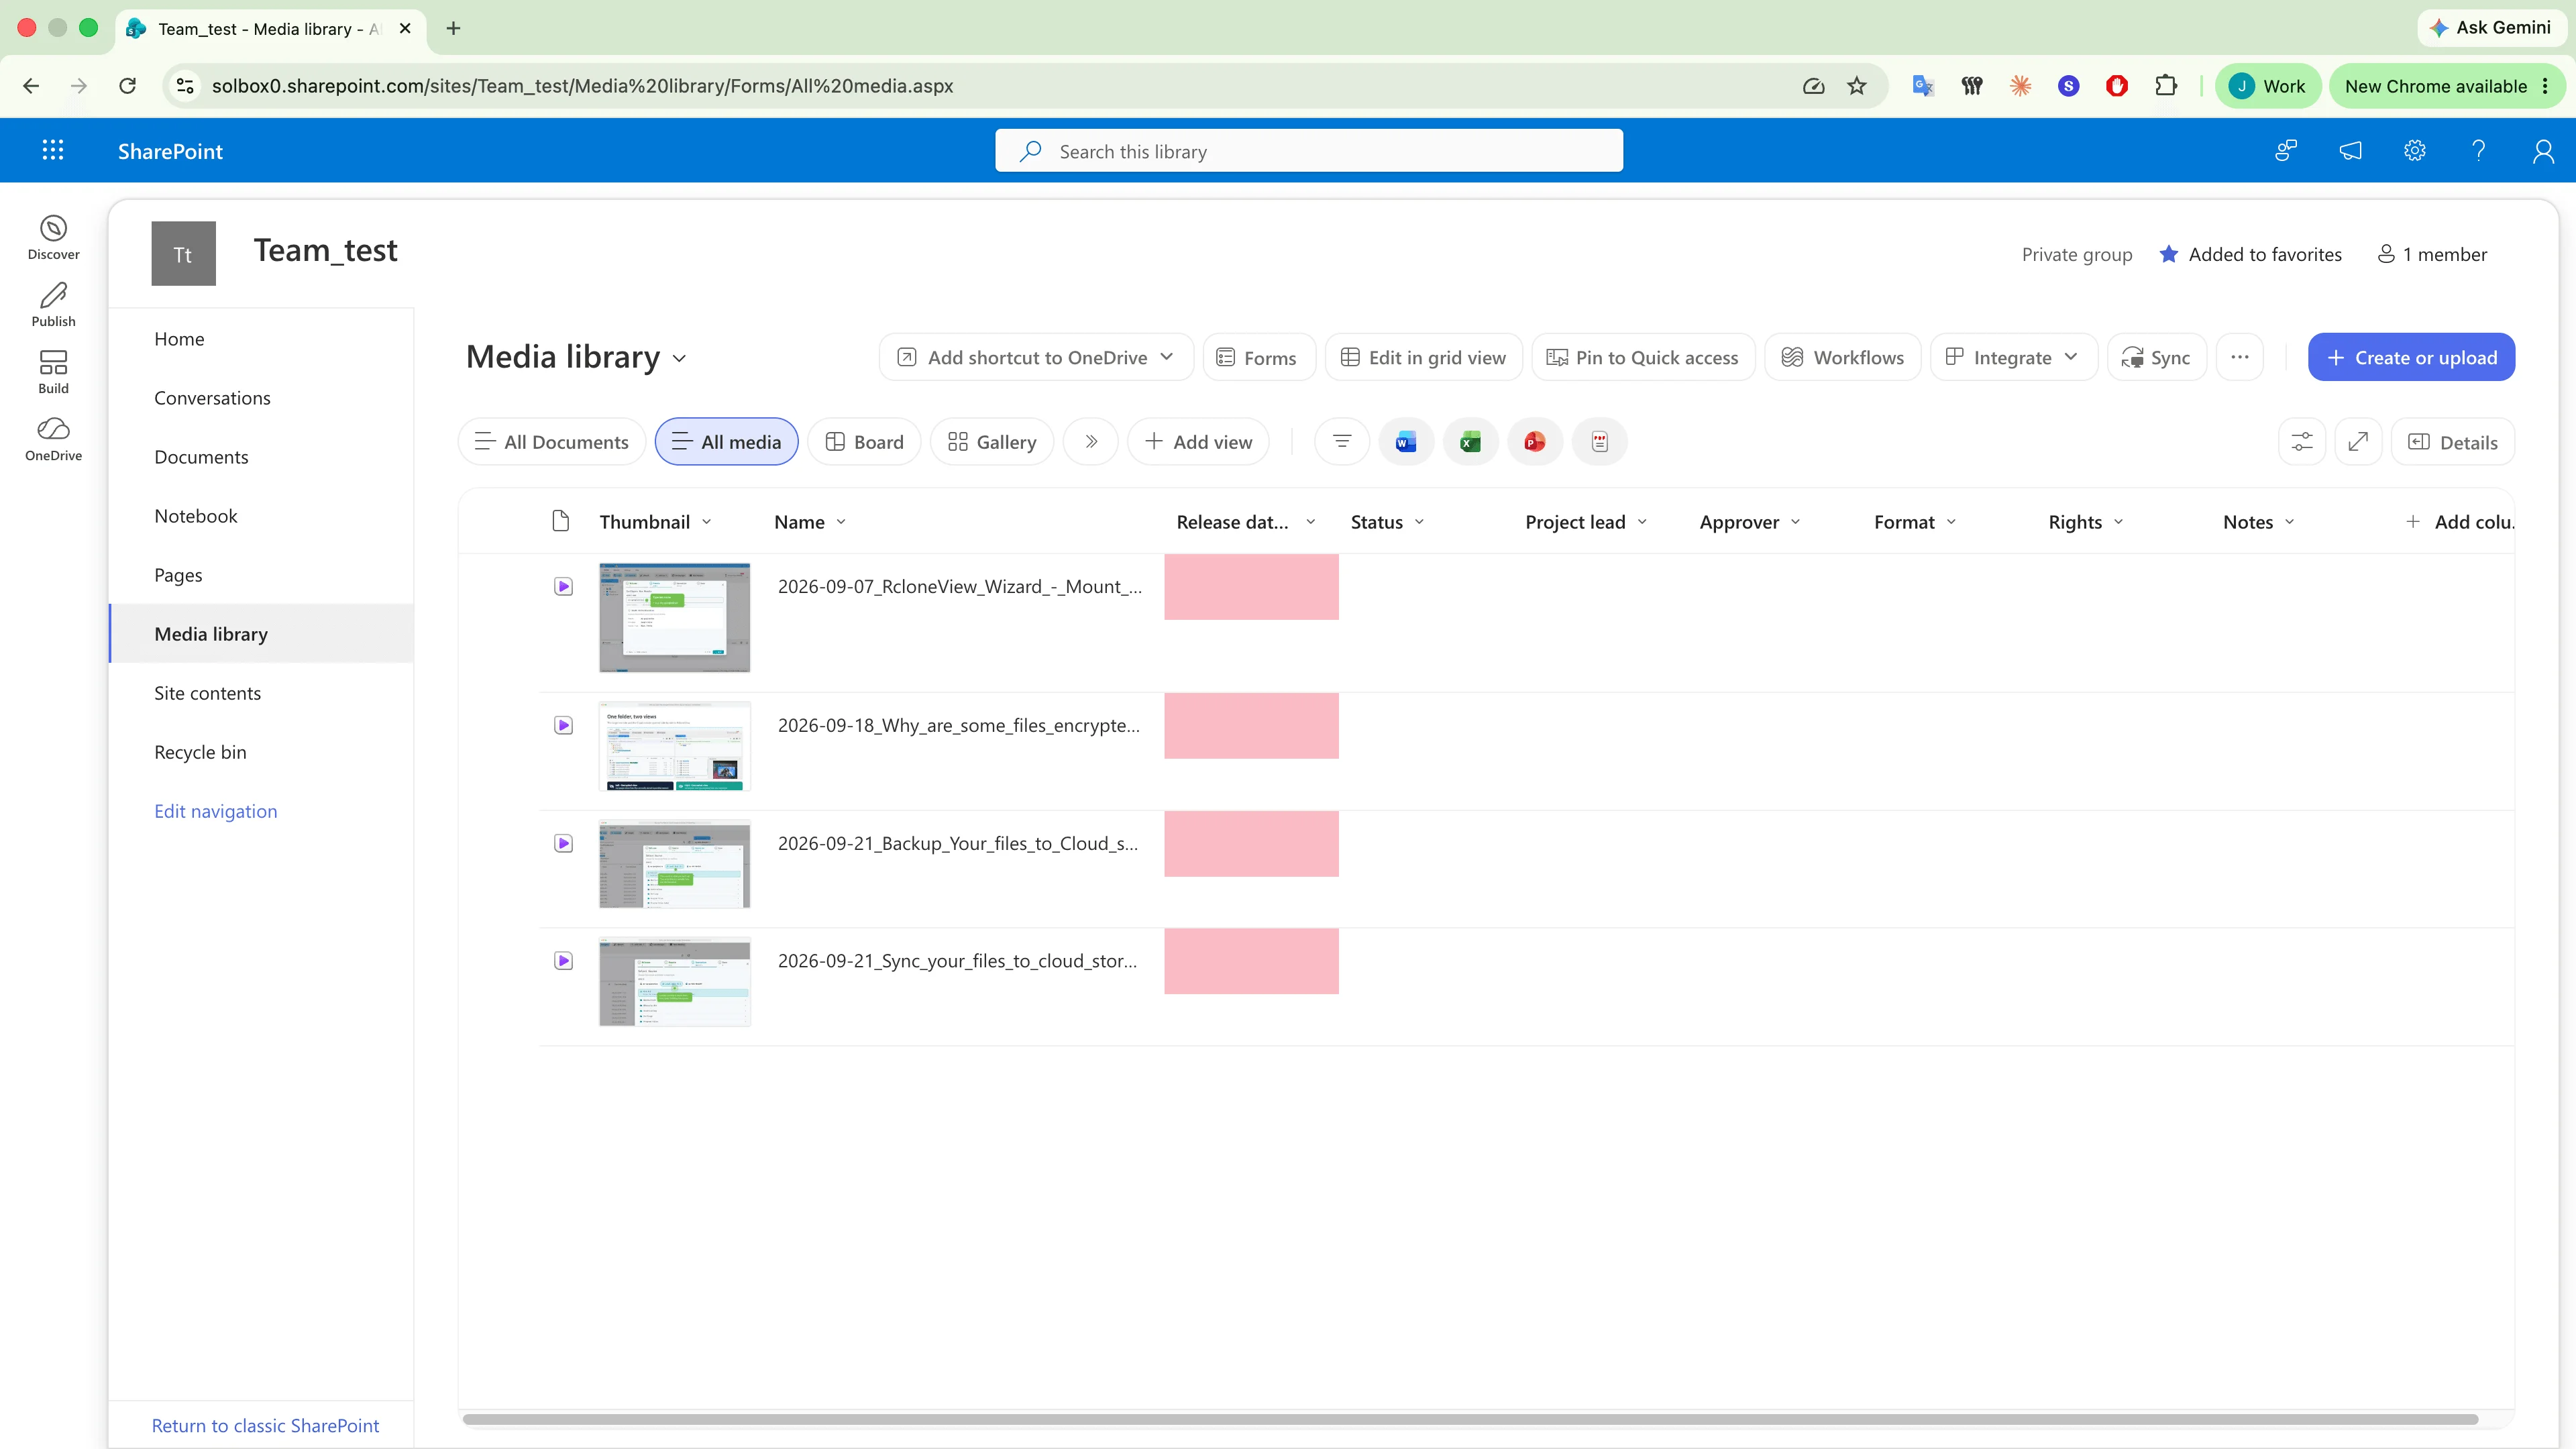
Same four videos you just saw in RcloneView.
Compare it with SharePoint in the browser. It is the same library with the same four videos. RcloneView works with the files themselves. The extra columns here, like status or project lead, are SharePoint information, and they stay in SharePoint.
-
22Try this step ↗
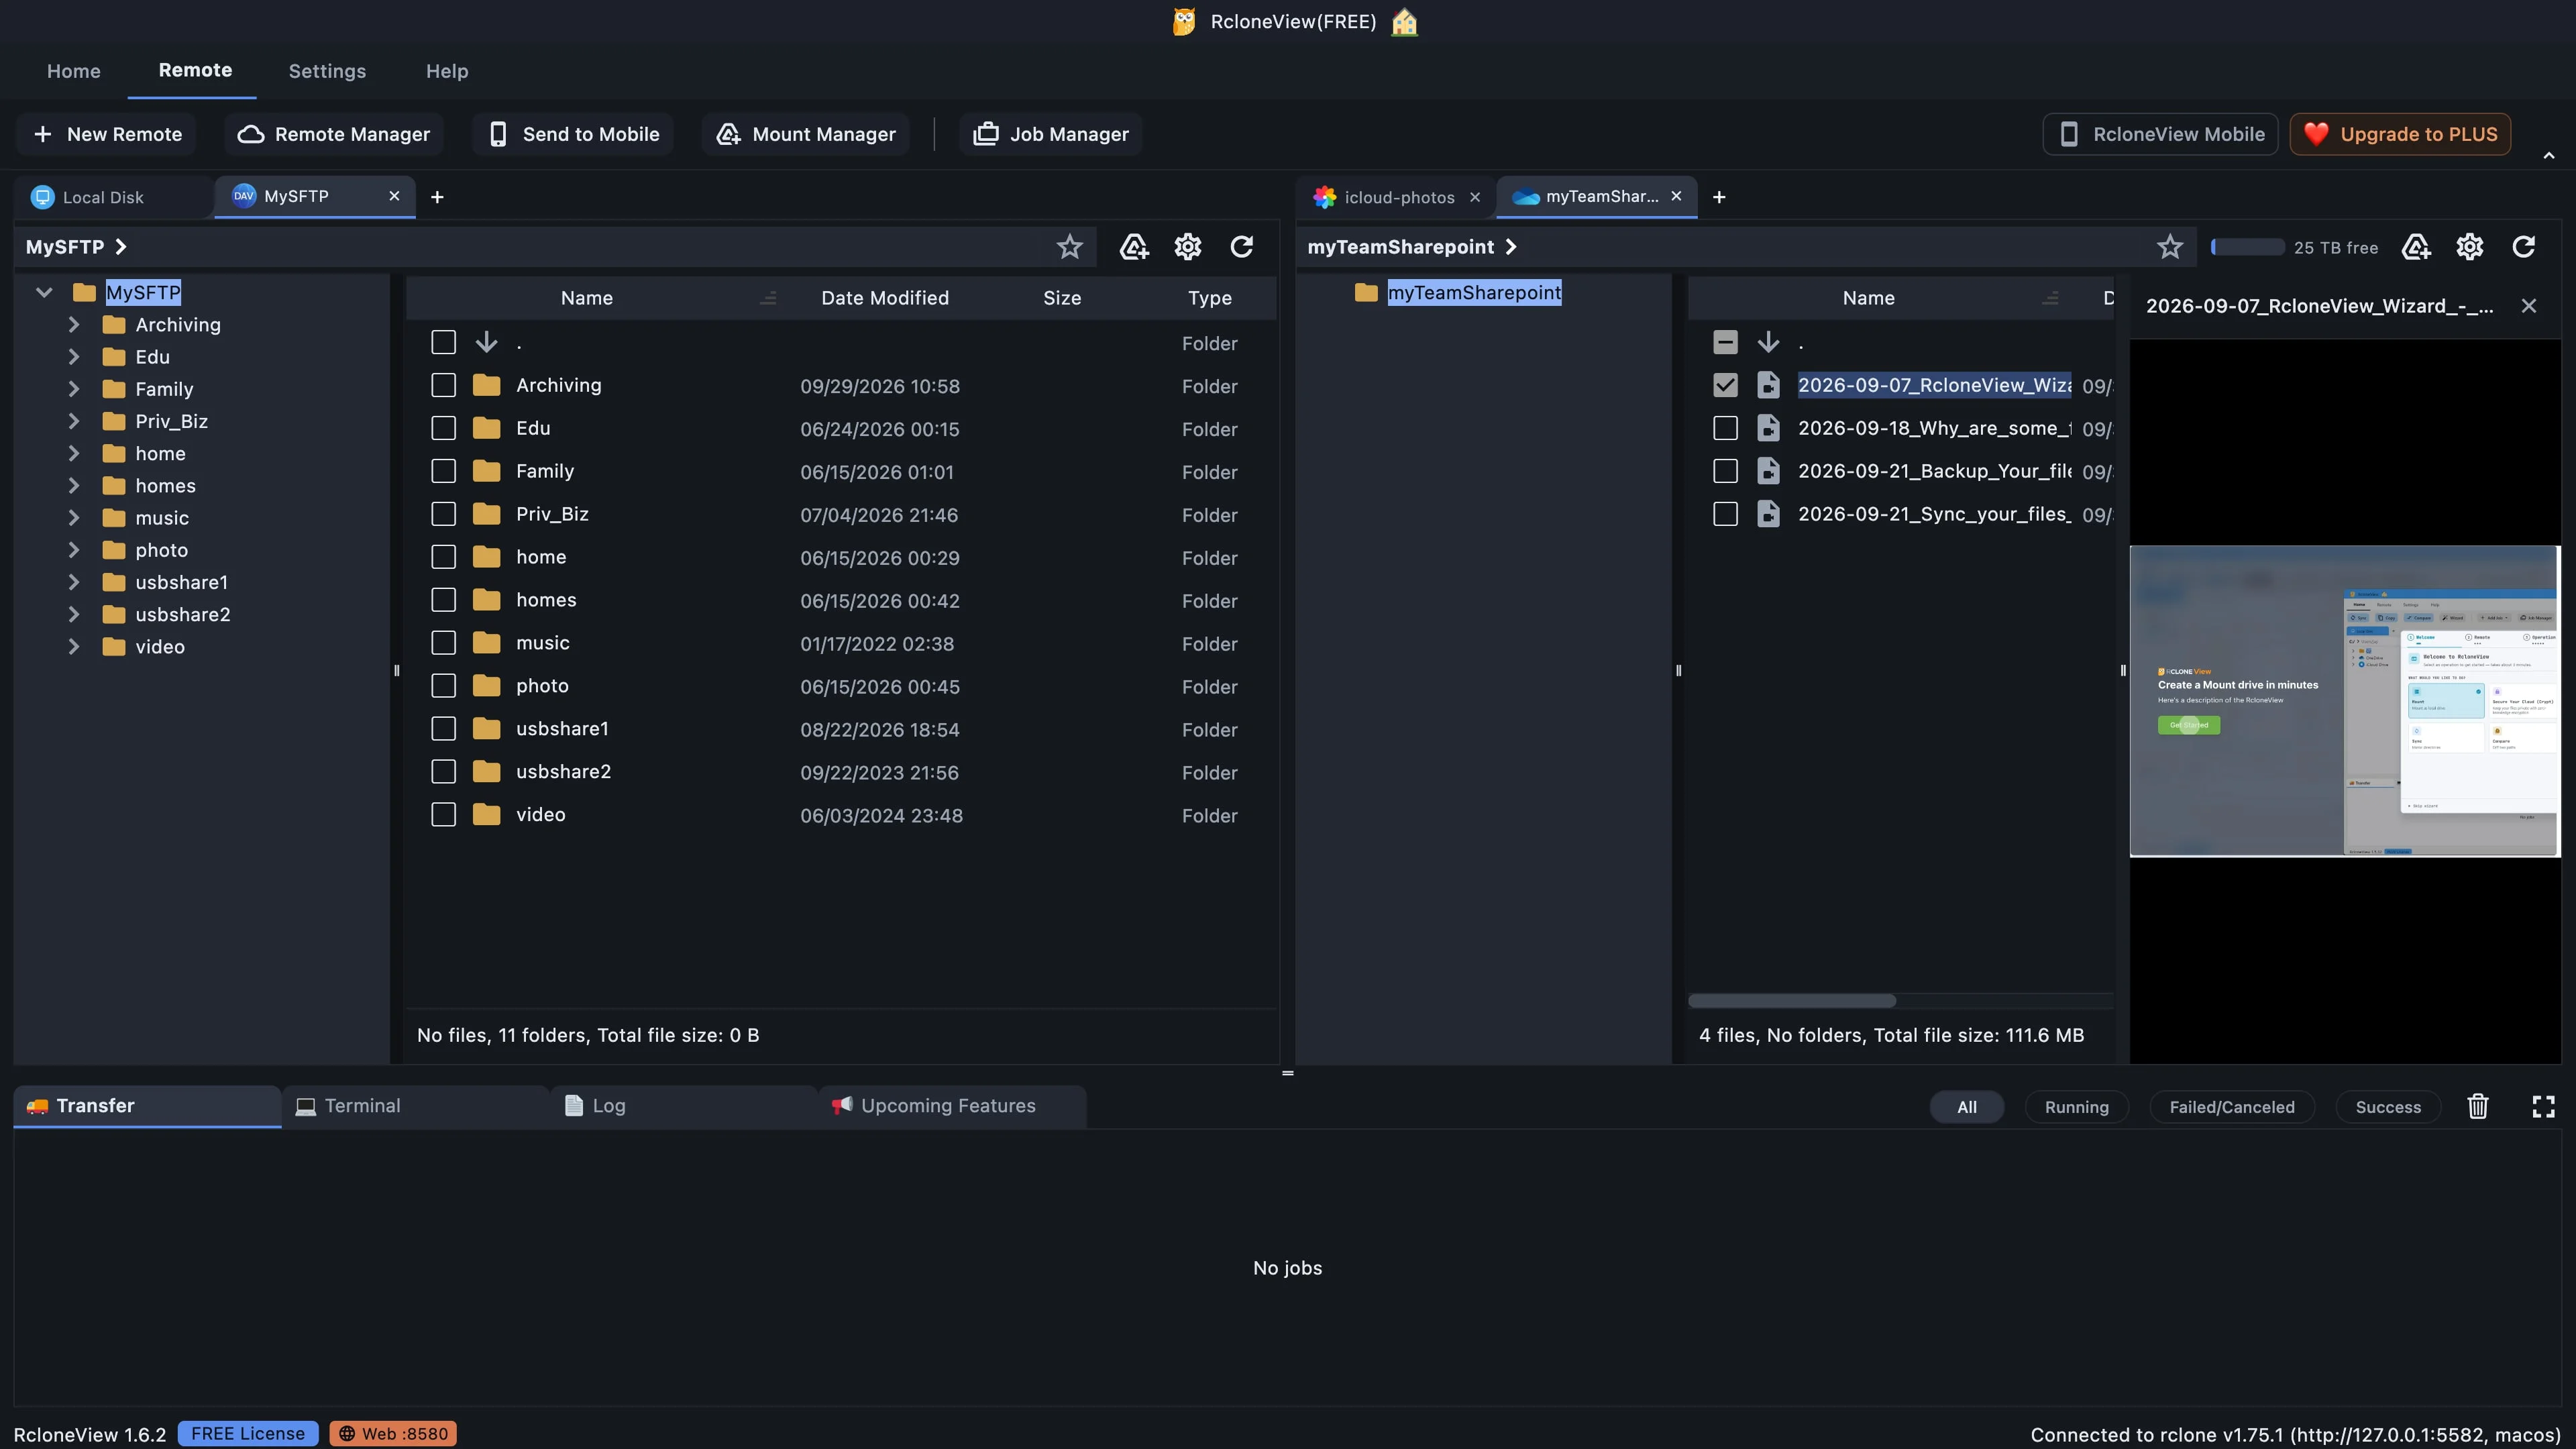
Select a video to preview it without leaving the app.
Back in RcloneView, select a video and a preview opens on the right side. You can check the file before you copy it or manage it. Your team's SharePoint library, open right inside RcloneView.
-
Ready to try it yourself?Free for Windows, macOS and Linux.Get RcloneView Free