WebDAV
Connect any WebDAV server in 2 minutes
Add a WebDAV server — Nextcloud, ownCloud, a NAS or any other WebDAV endpoint — as a remote by entering its URL and credentials, then work with it like any other cloud in RcloneView.
- Works with Nextcloud, ownCloud, NAS devices and other WebDAV servers
- Enter the server URL and sign-in details once — RcloneView stores them locally
- Then copy, sync, back up or mount it like any other remote
The demo player couldn’t load. Use “Open in new tab” instead.
Watch next
See all demos →
Step-by-step guide
How to connect a WebDAV server to RcloneView
The same 10 steps as the interactive demo, with screenshots — skim it, or jump into the demo at any step.
-
1Try this step ↗
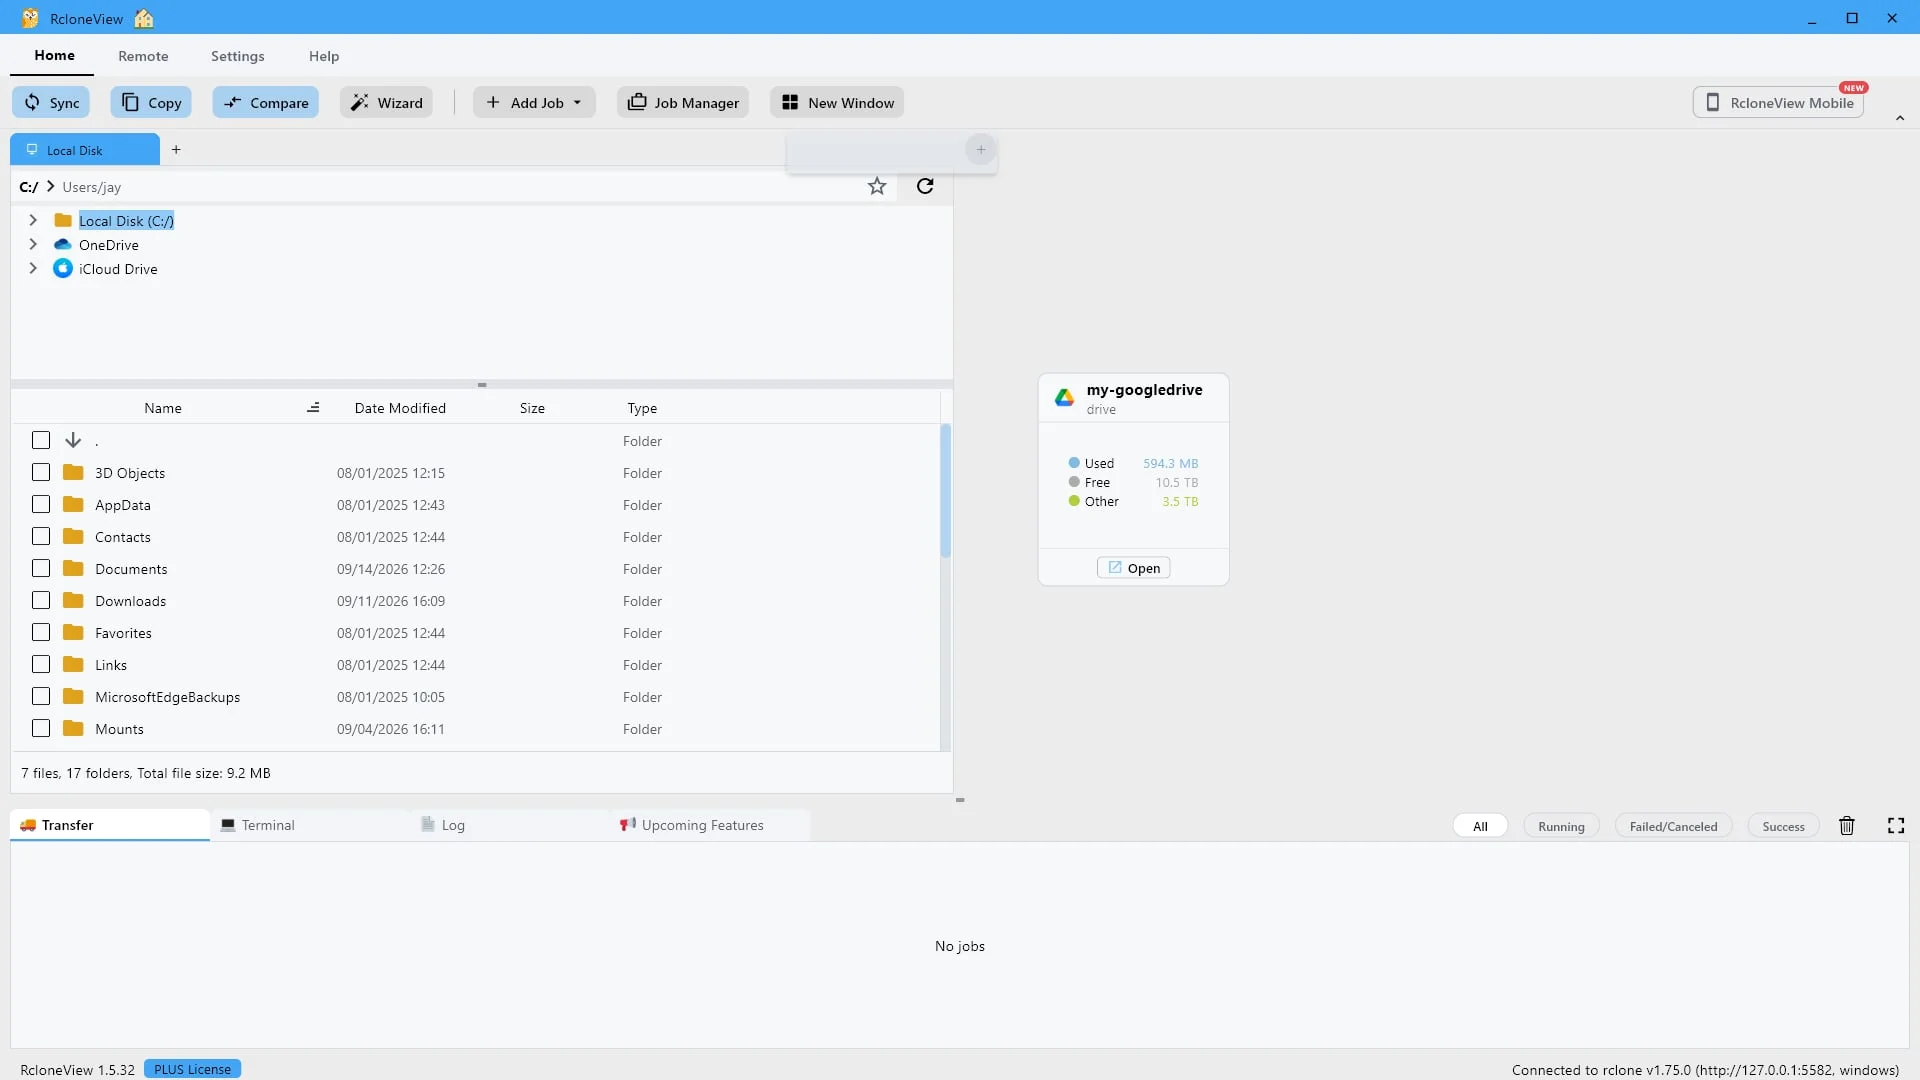
Start here. Click "+" to open a remote in the pane.
Each storage you open gets its own tab. Click the plus button to open a new one.
-
2Try this step ↗
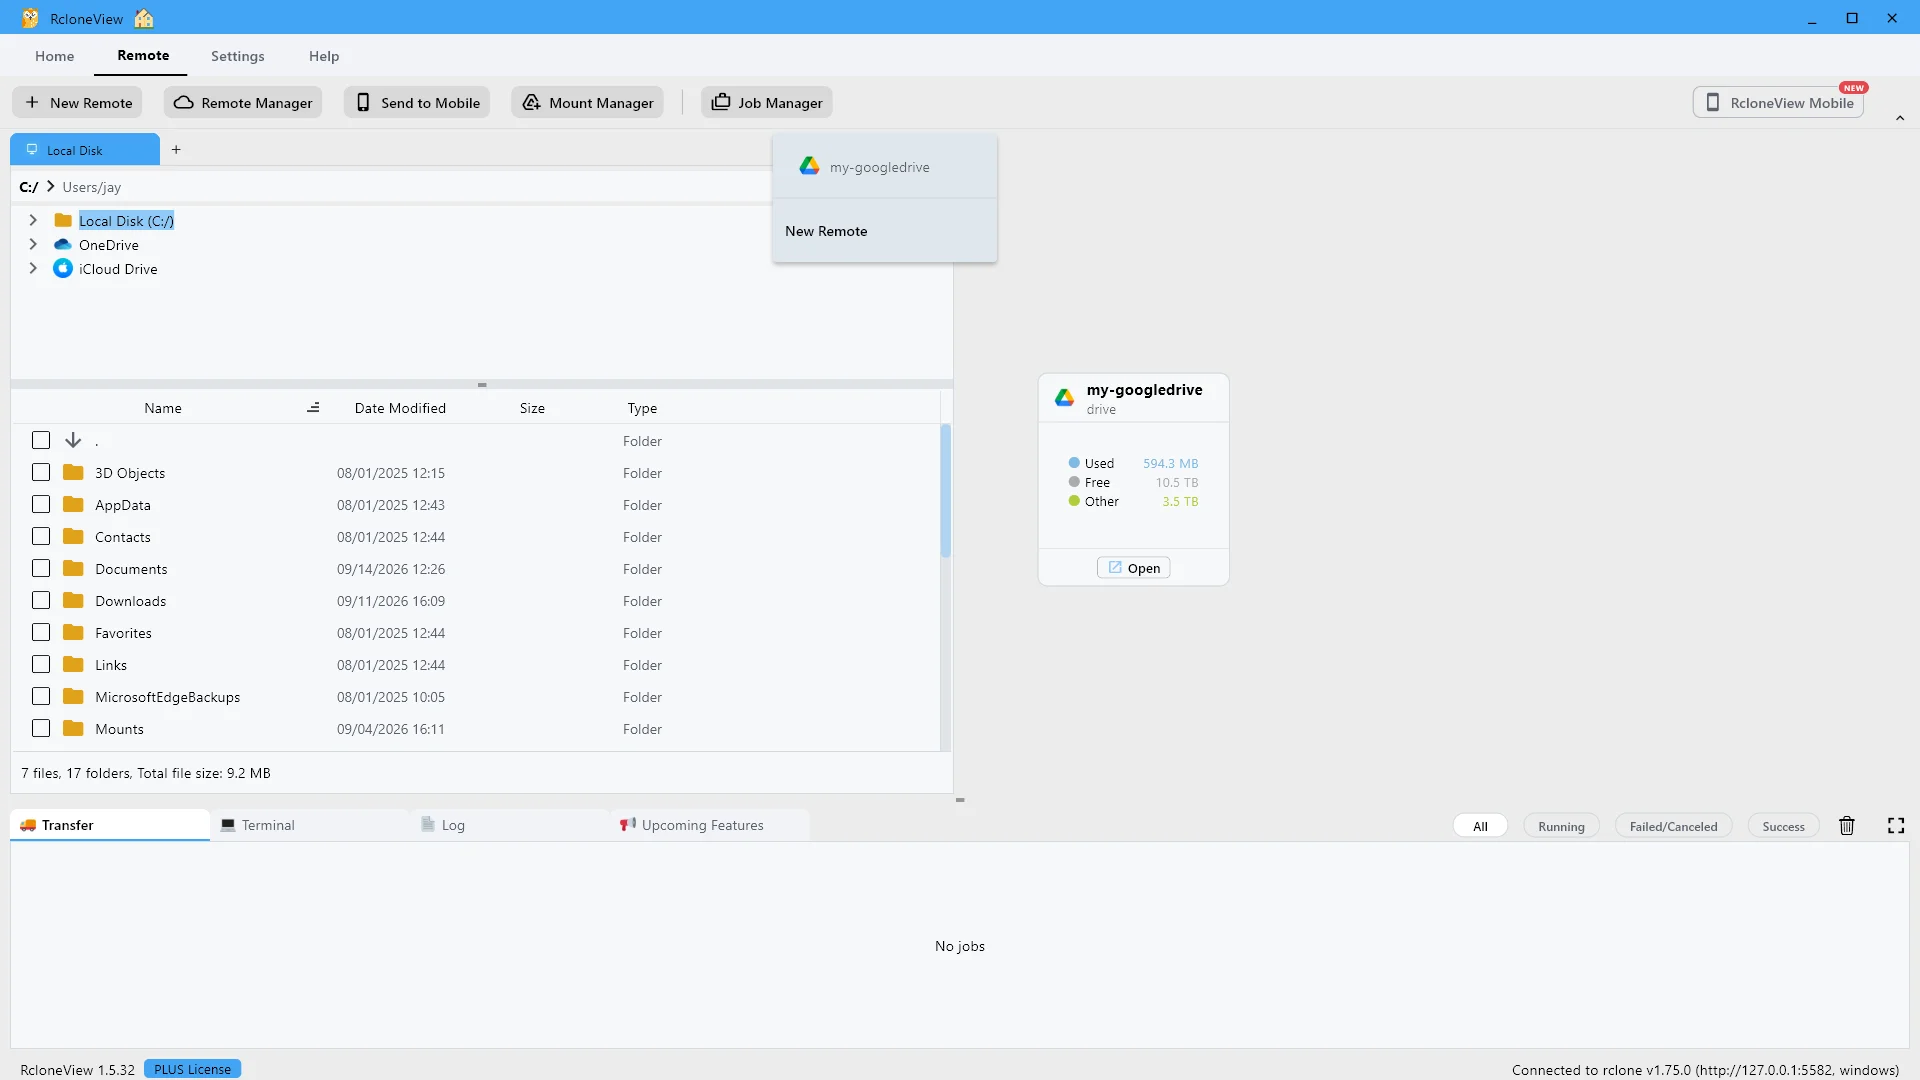
Your existing remotes are listed here. Click "New Remote" to add one.
The list shows the remotes you already have, so you can jump straight into any of them. We want to add something new, so click New Remote.
-
3Try this step ↗
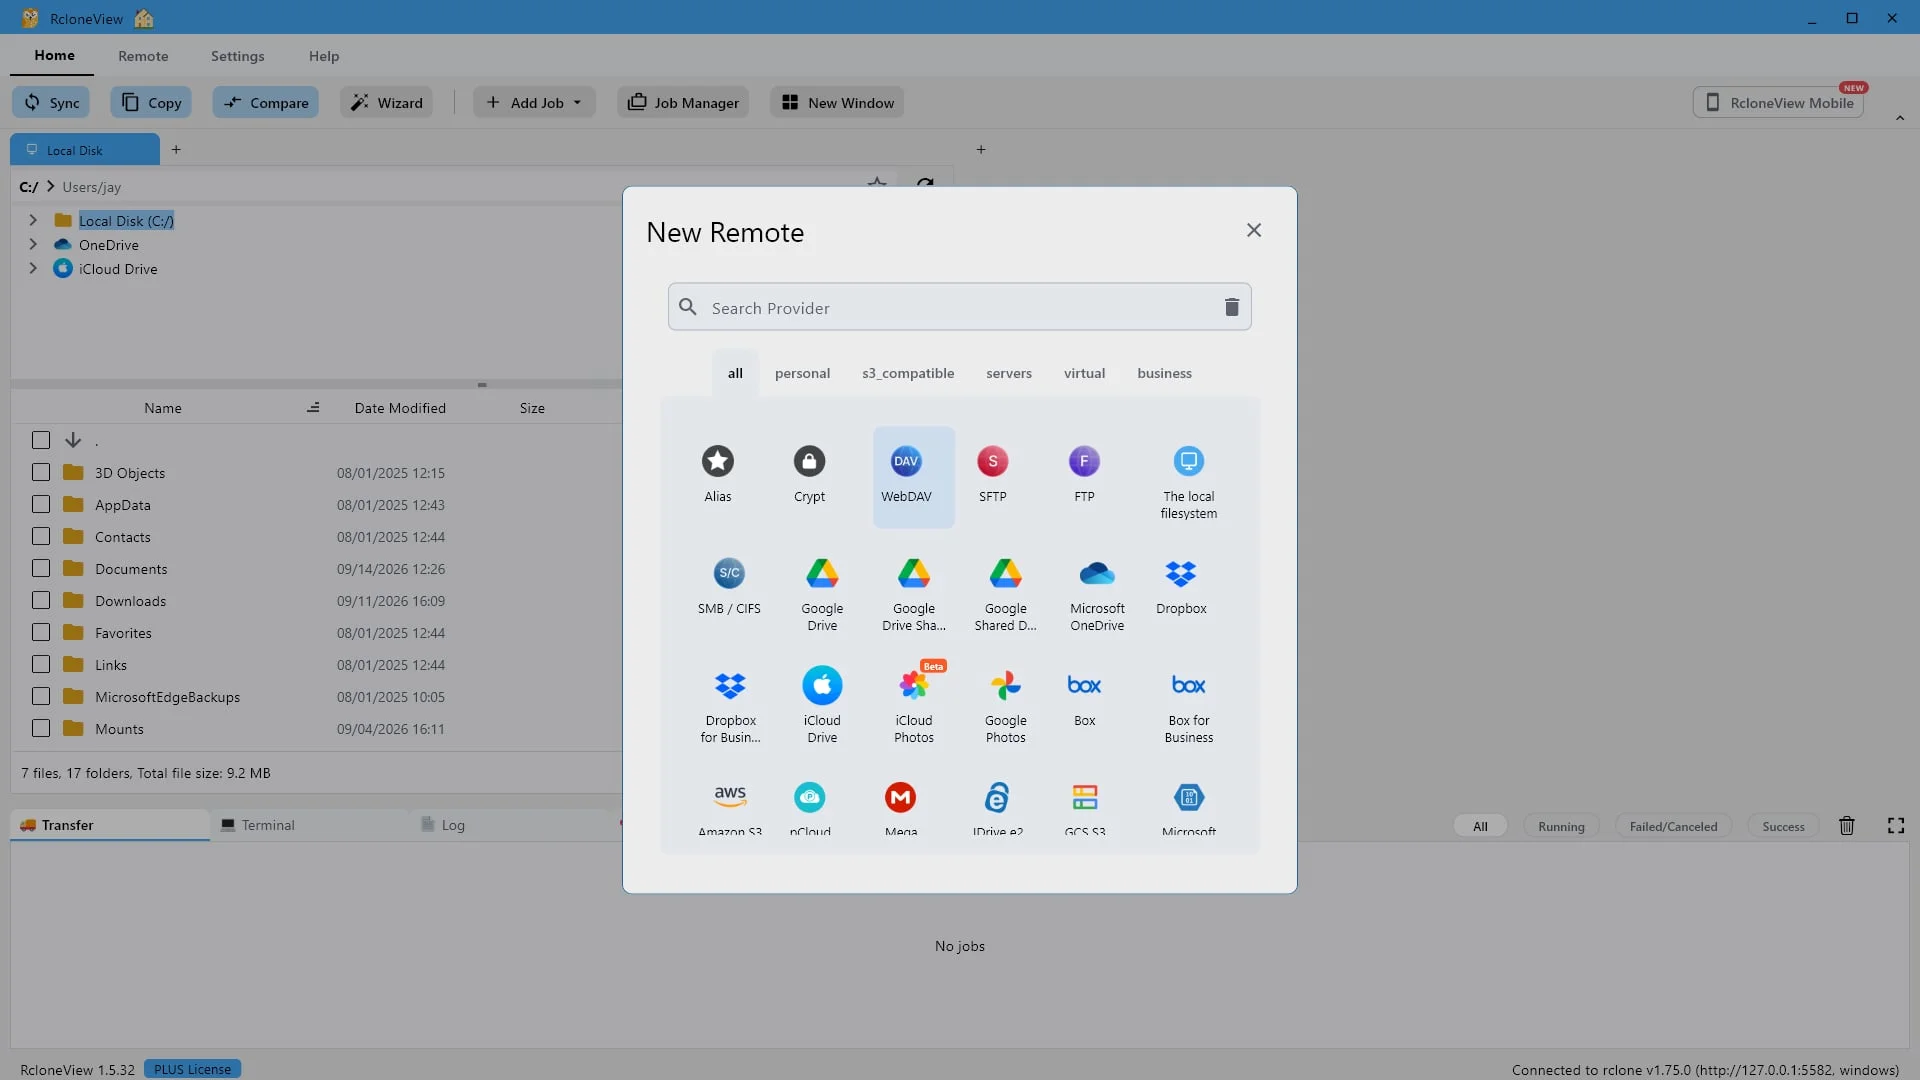
Pick a provider. RcloneView supports 80+ backends. Choose "WebDAV".
RcloneView supports more than eighty storage backends. WebDAV is the open standard that Nextcloud, ownCloud, many hosting providers and most NAS devices already speak, so one connection type covers all of them.
-
4Try this step ↗
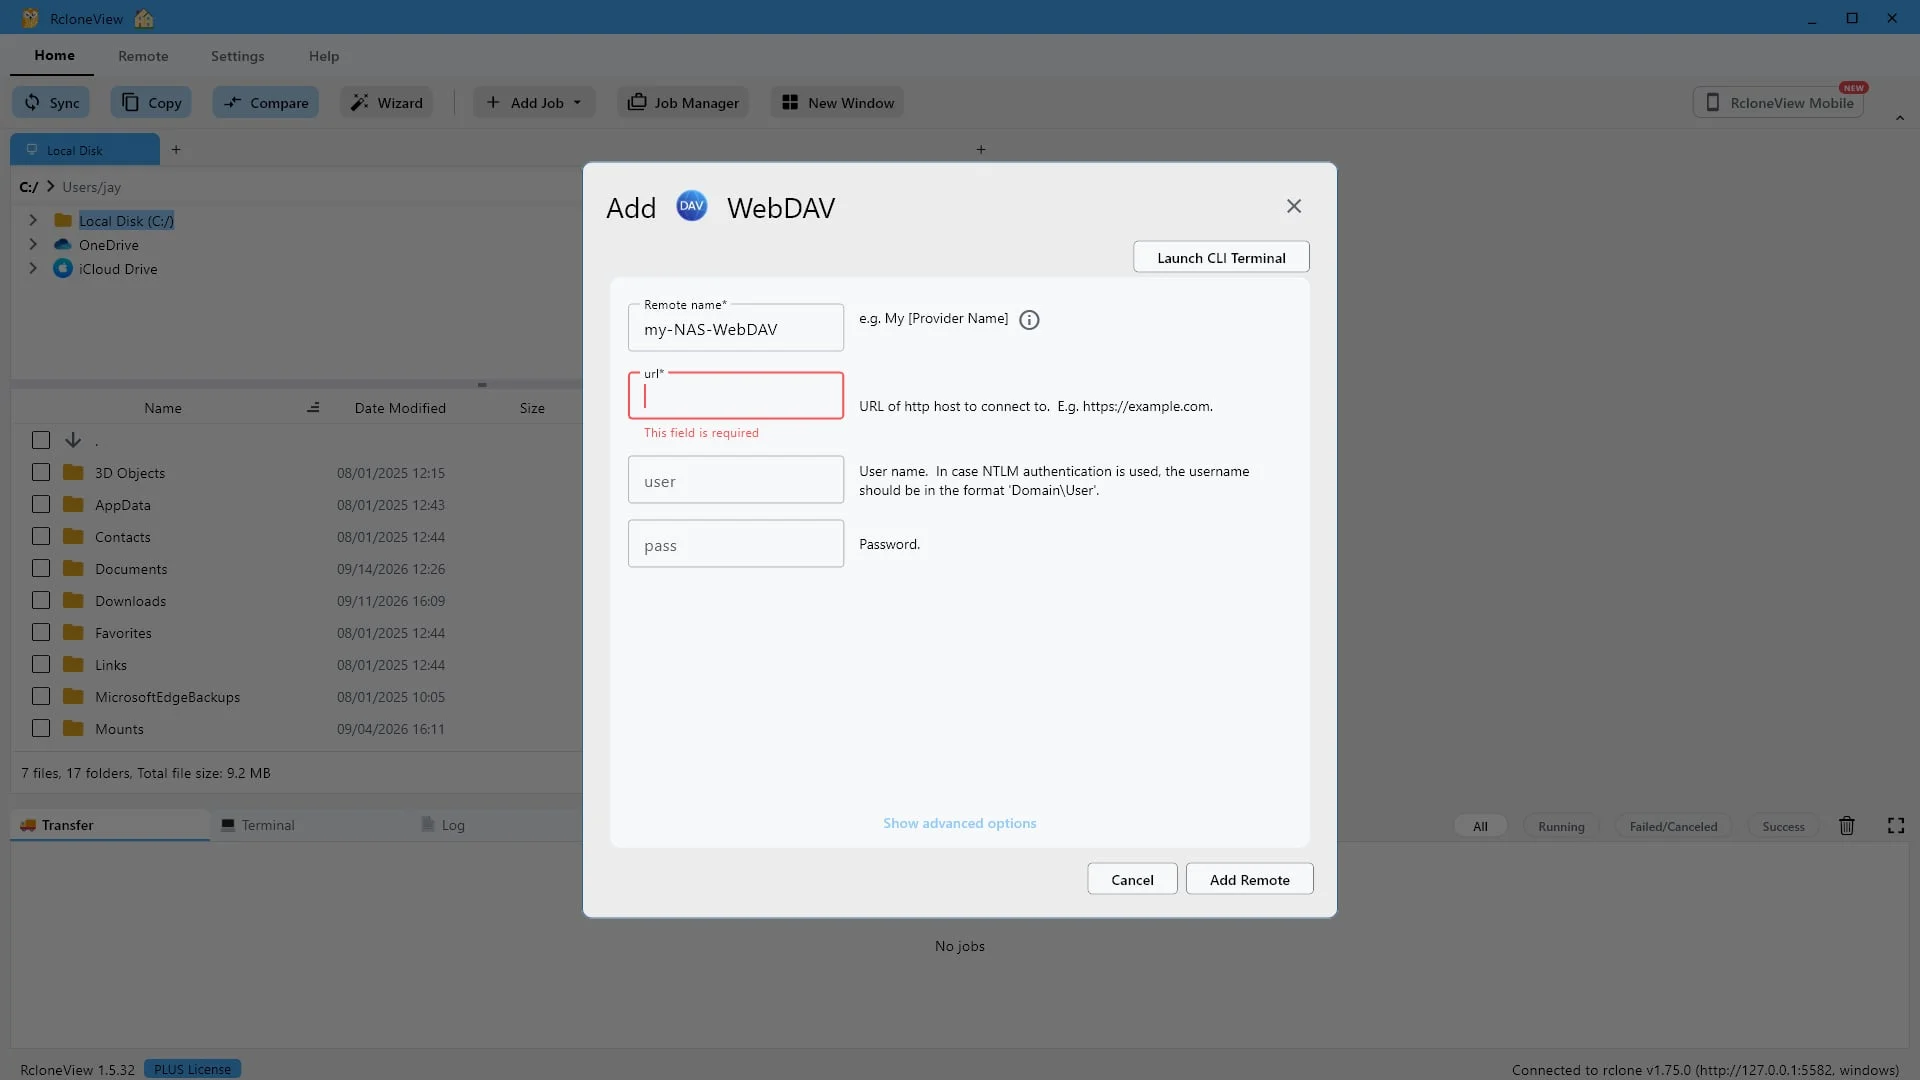
Give this connection a name you will recognize later. We'll use "my-NAS-WebDAV".
First, give the connection a name you will recognize later. We will call ours my NAS WebDAV. This is just a label, so pick whatever makes sense to you.
-
5Try this step ↗
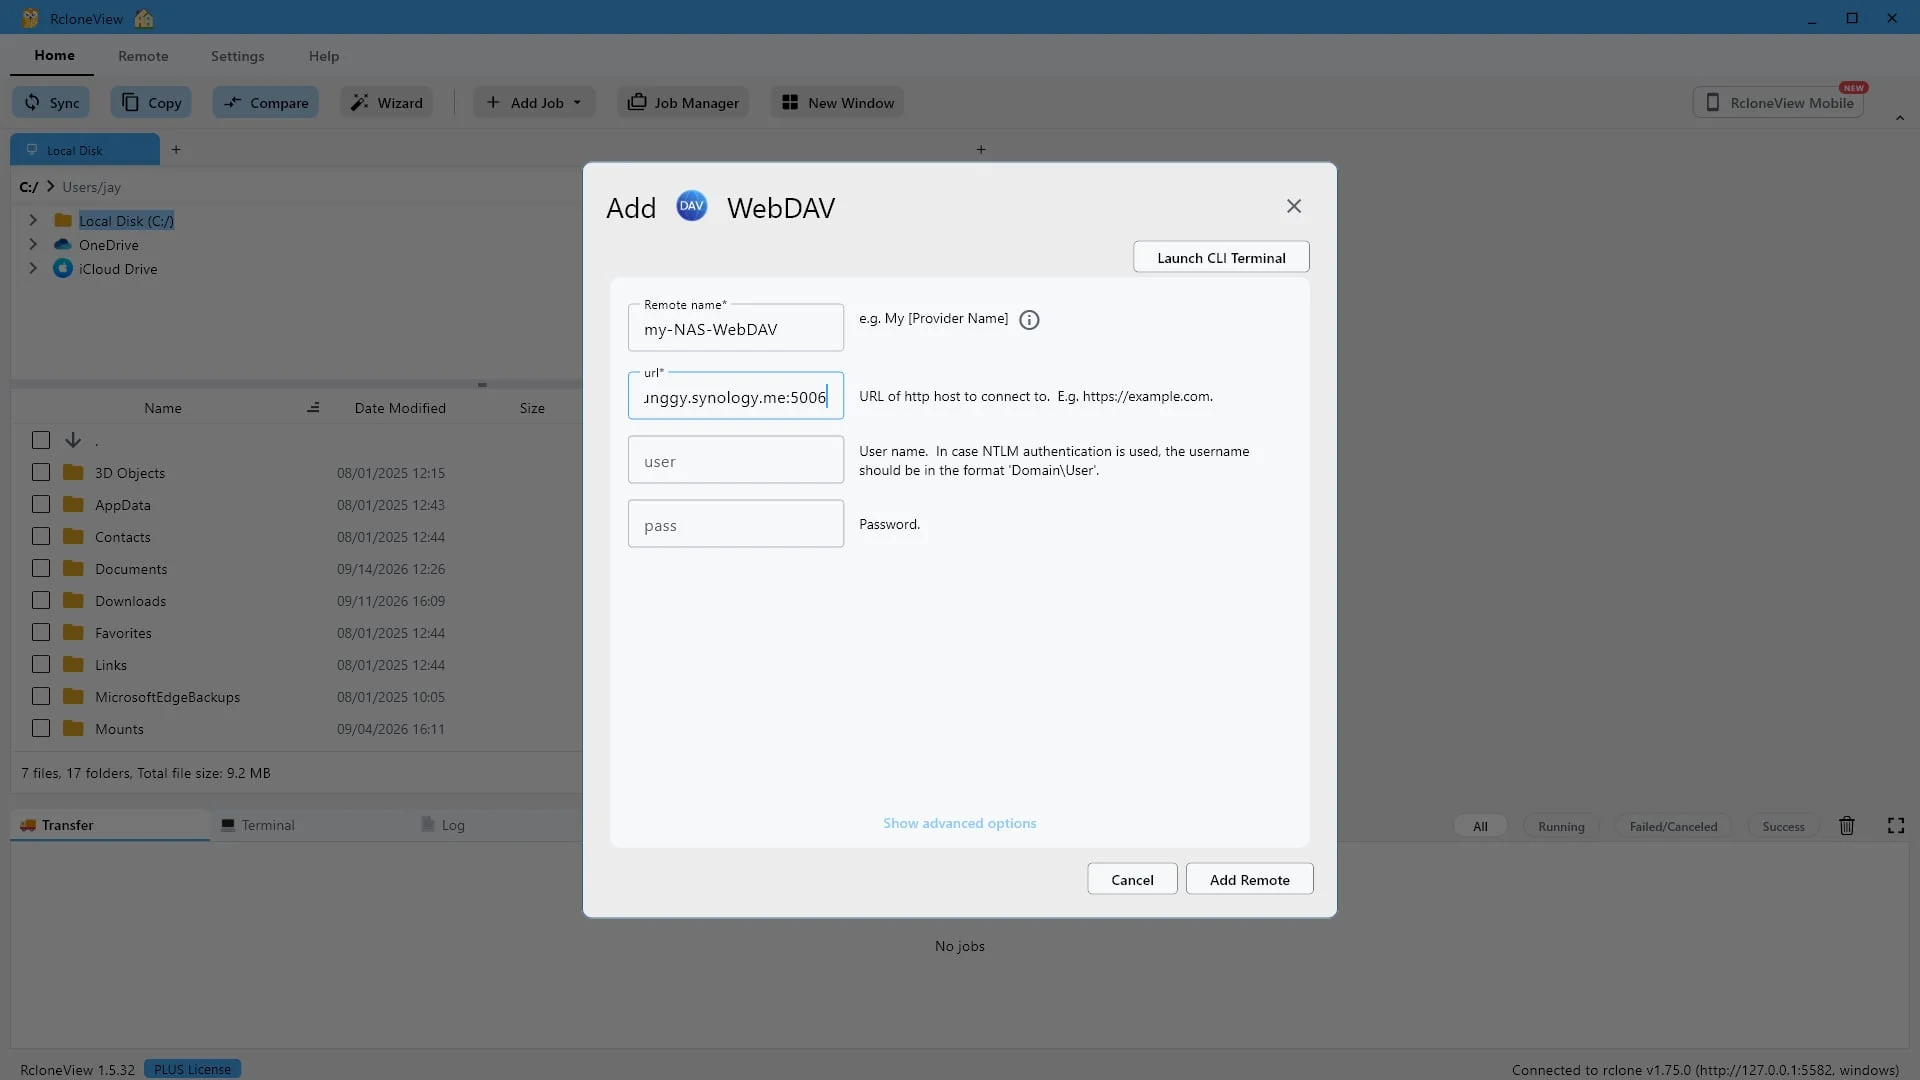
Enter your server's WebDAV URL, including the port. E.g. https://example.com:5006
Next, enter the address of your WebDAV server, including the port number. Every server publishes its own. On the Synology NAS in this demo, WebDAV listens on port five thousand and five for plain HTTP, and five thousand and six over HTTPS. Use the secure one whenever your server offers it.
-
6Try this step ↗
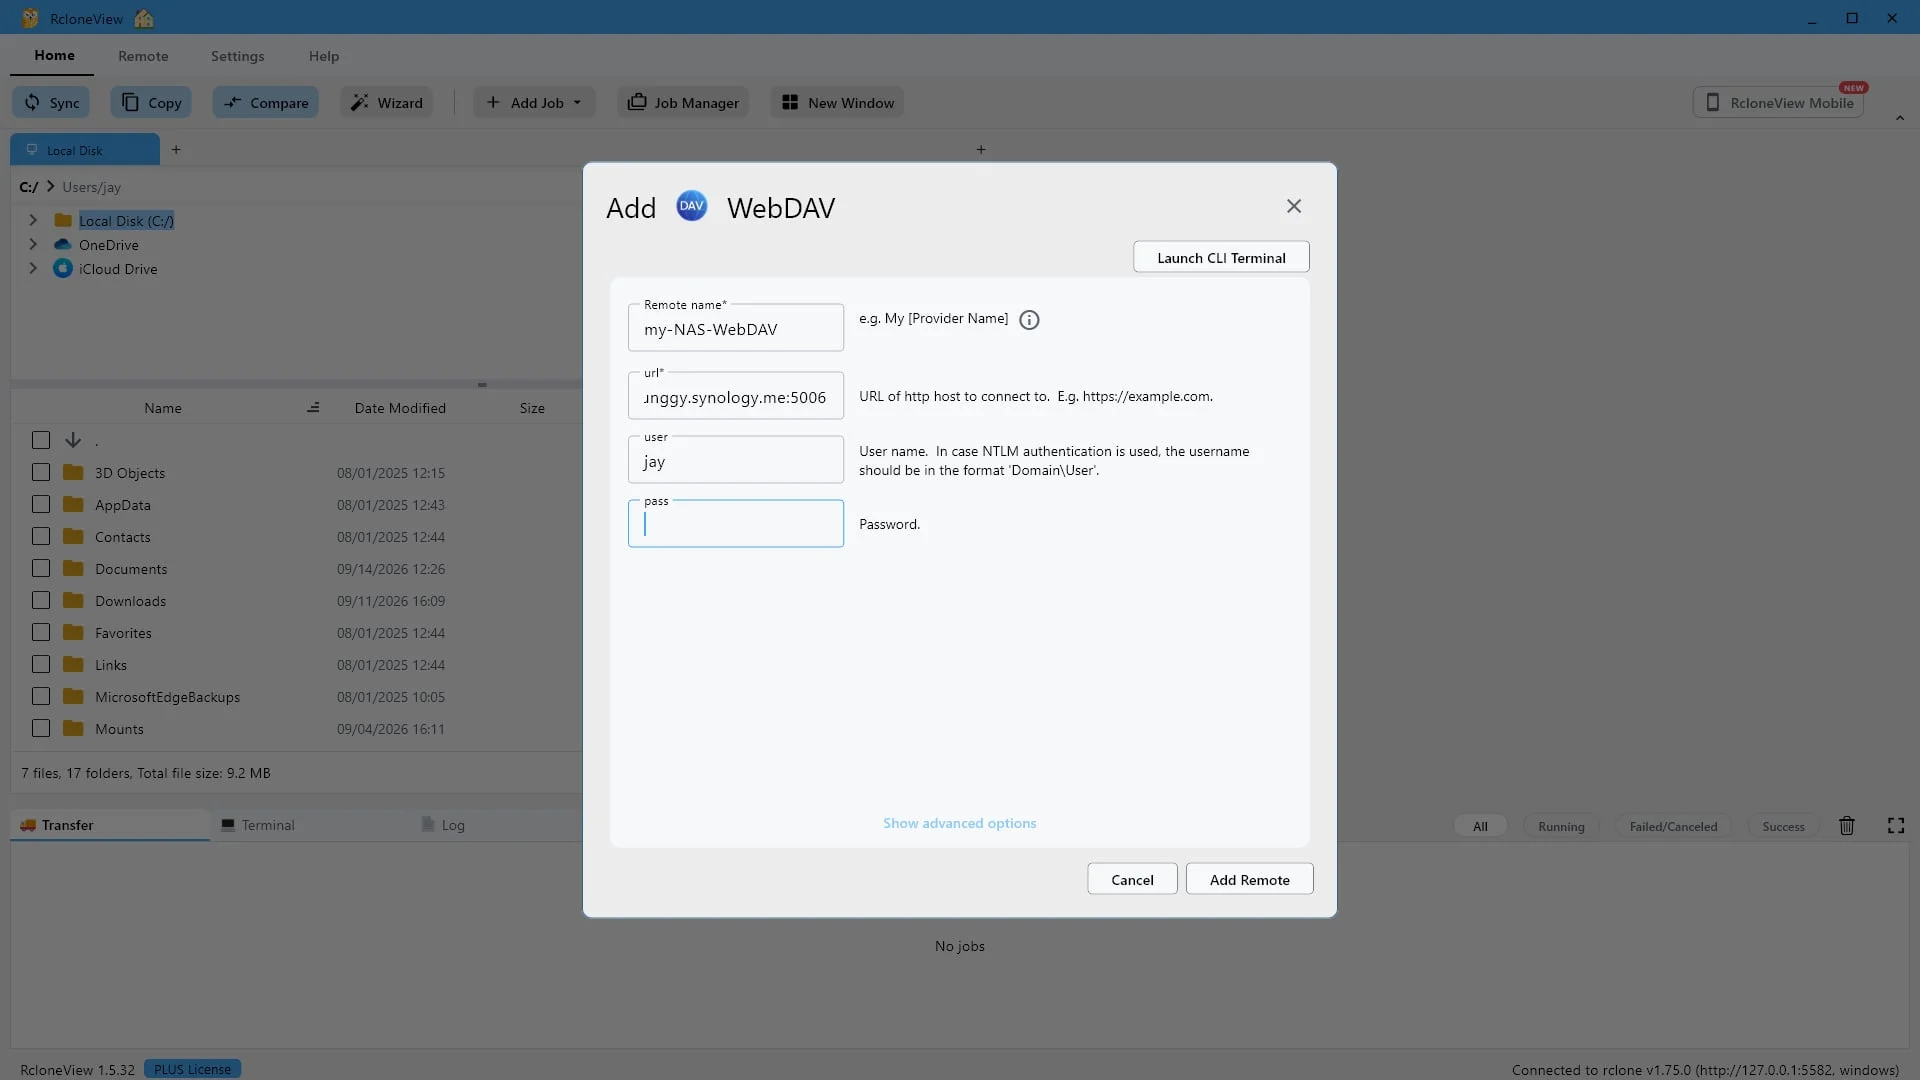
Enter the user name for your WebDAV server.
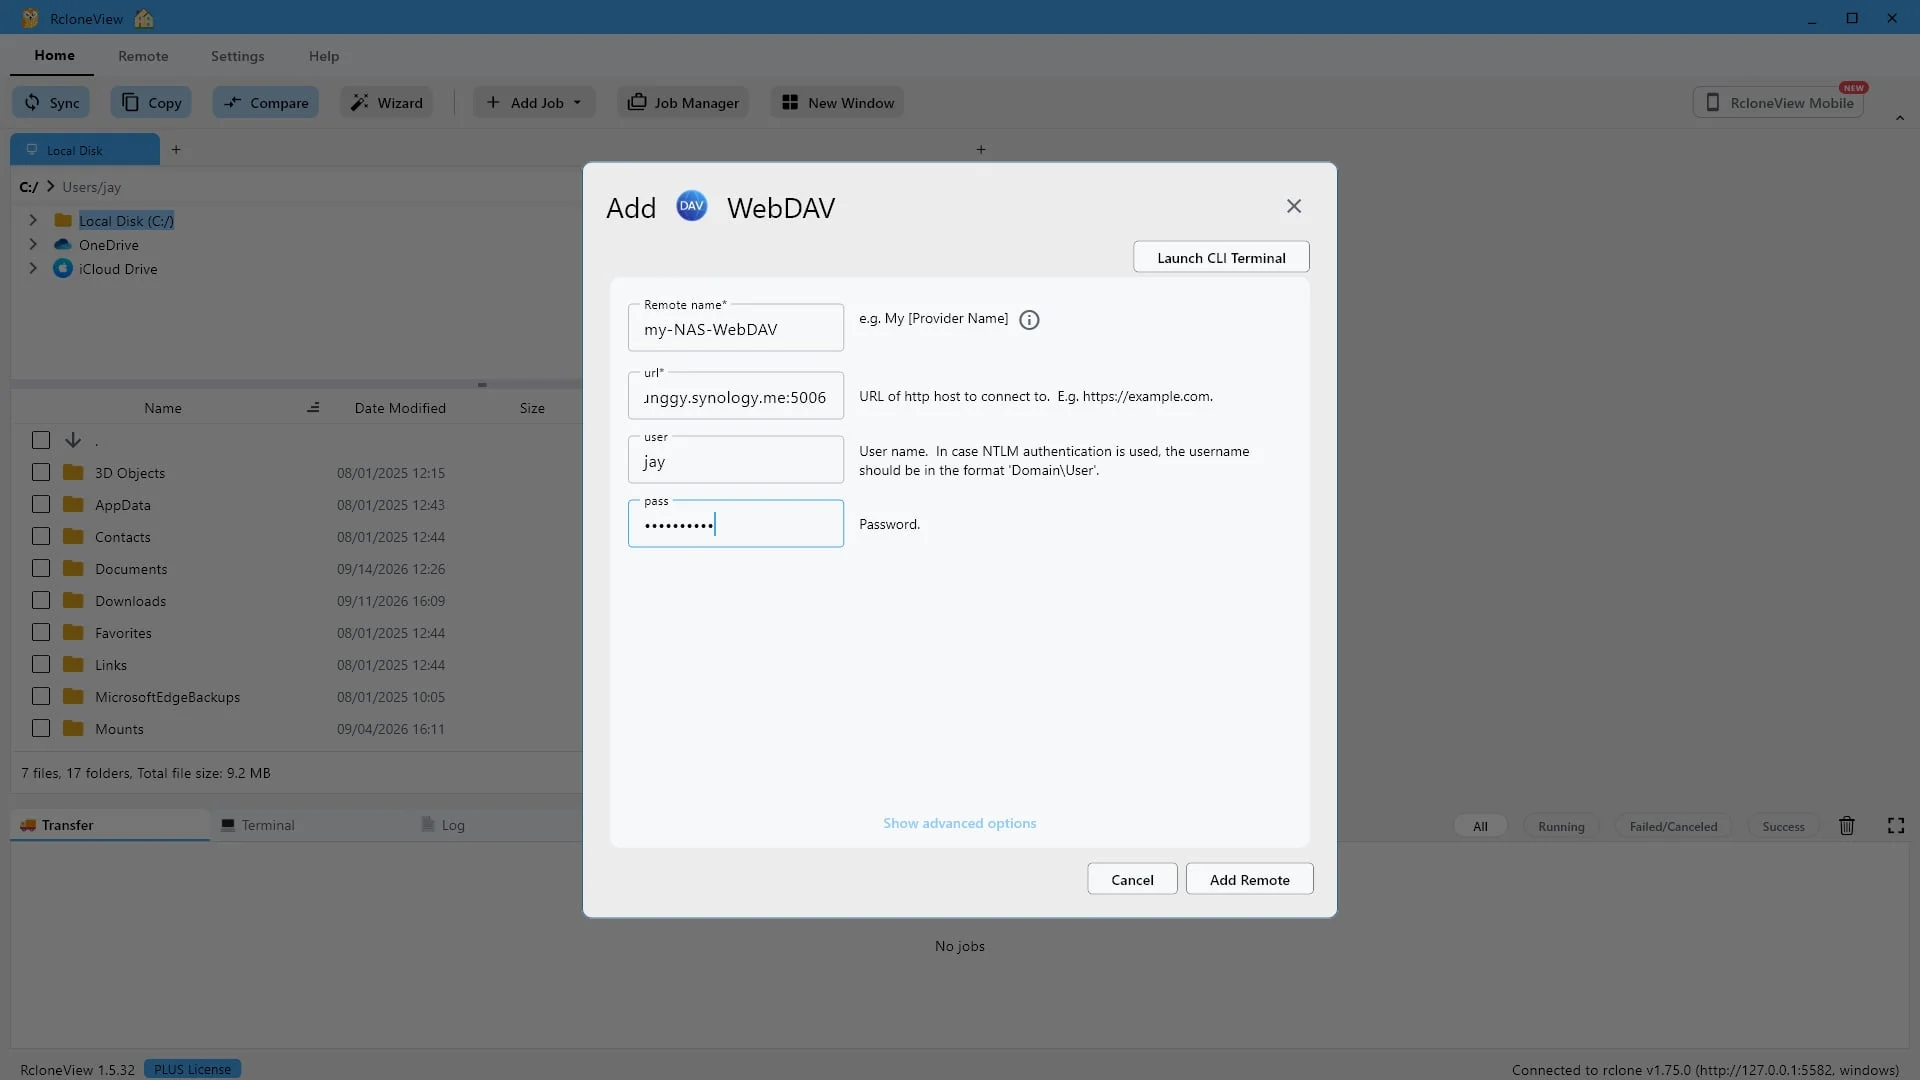
Now enter the user name you log in to that server with. If your server uses NTLM authentication, write it in the domain and user format instead.
-
-
8Try this step ↗
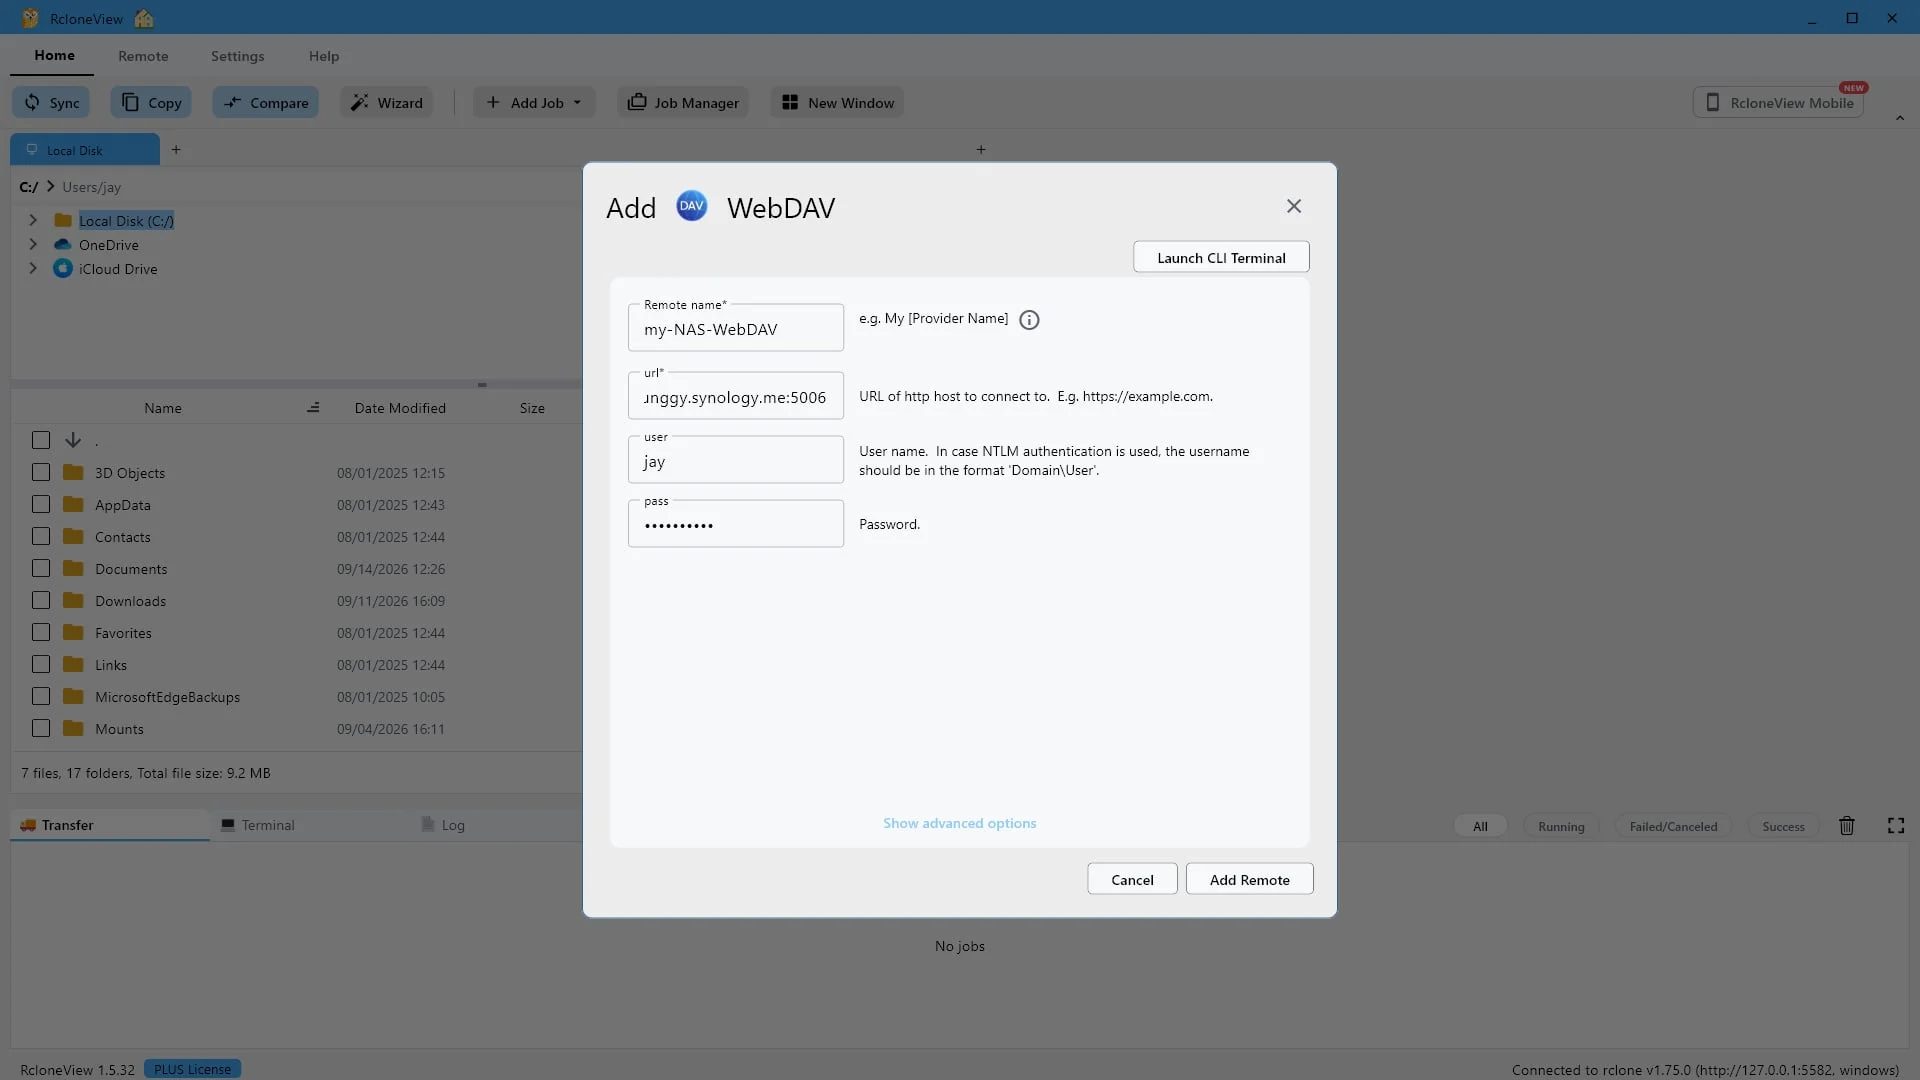
Click "Add Remote" to save the connection.
That is everything the server needs. If you prefer a finer level of control, Show advanced options exposes the full set of rclone WebDAV settings, but most servers need nothing beyond these four fields.
-
9Try this step ↗
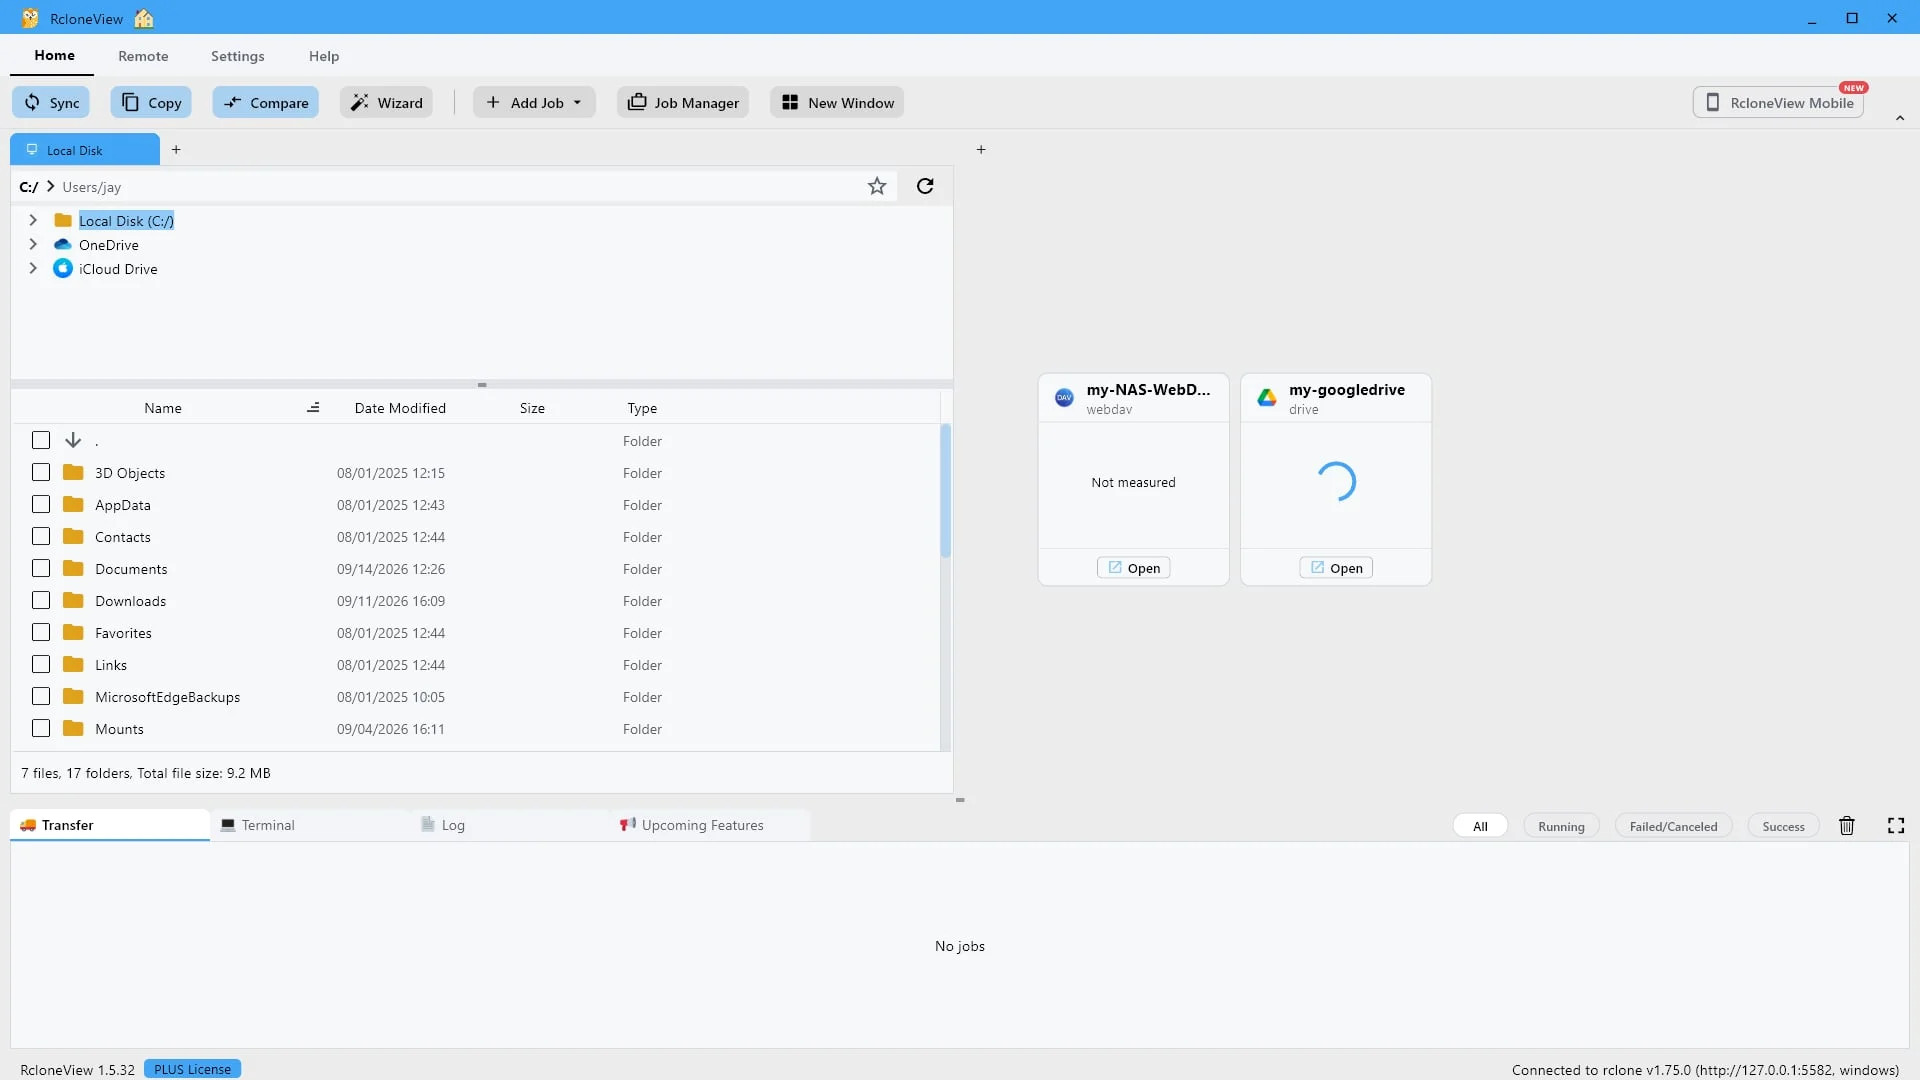
Your WebDAV remote is ready. Click "Open" to browse it.
Your WebDAV server now sits right beside Google Drive, and from here on RcloneView treats the two exactly the same way. WebDAV servers do not report their capacity, so the card shows not measured.
-
10Try this step ↗
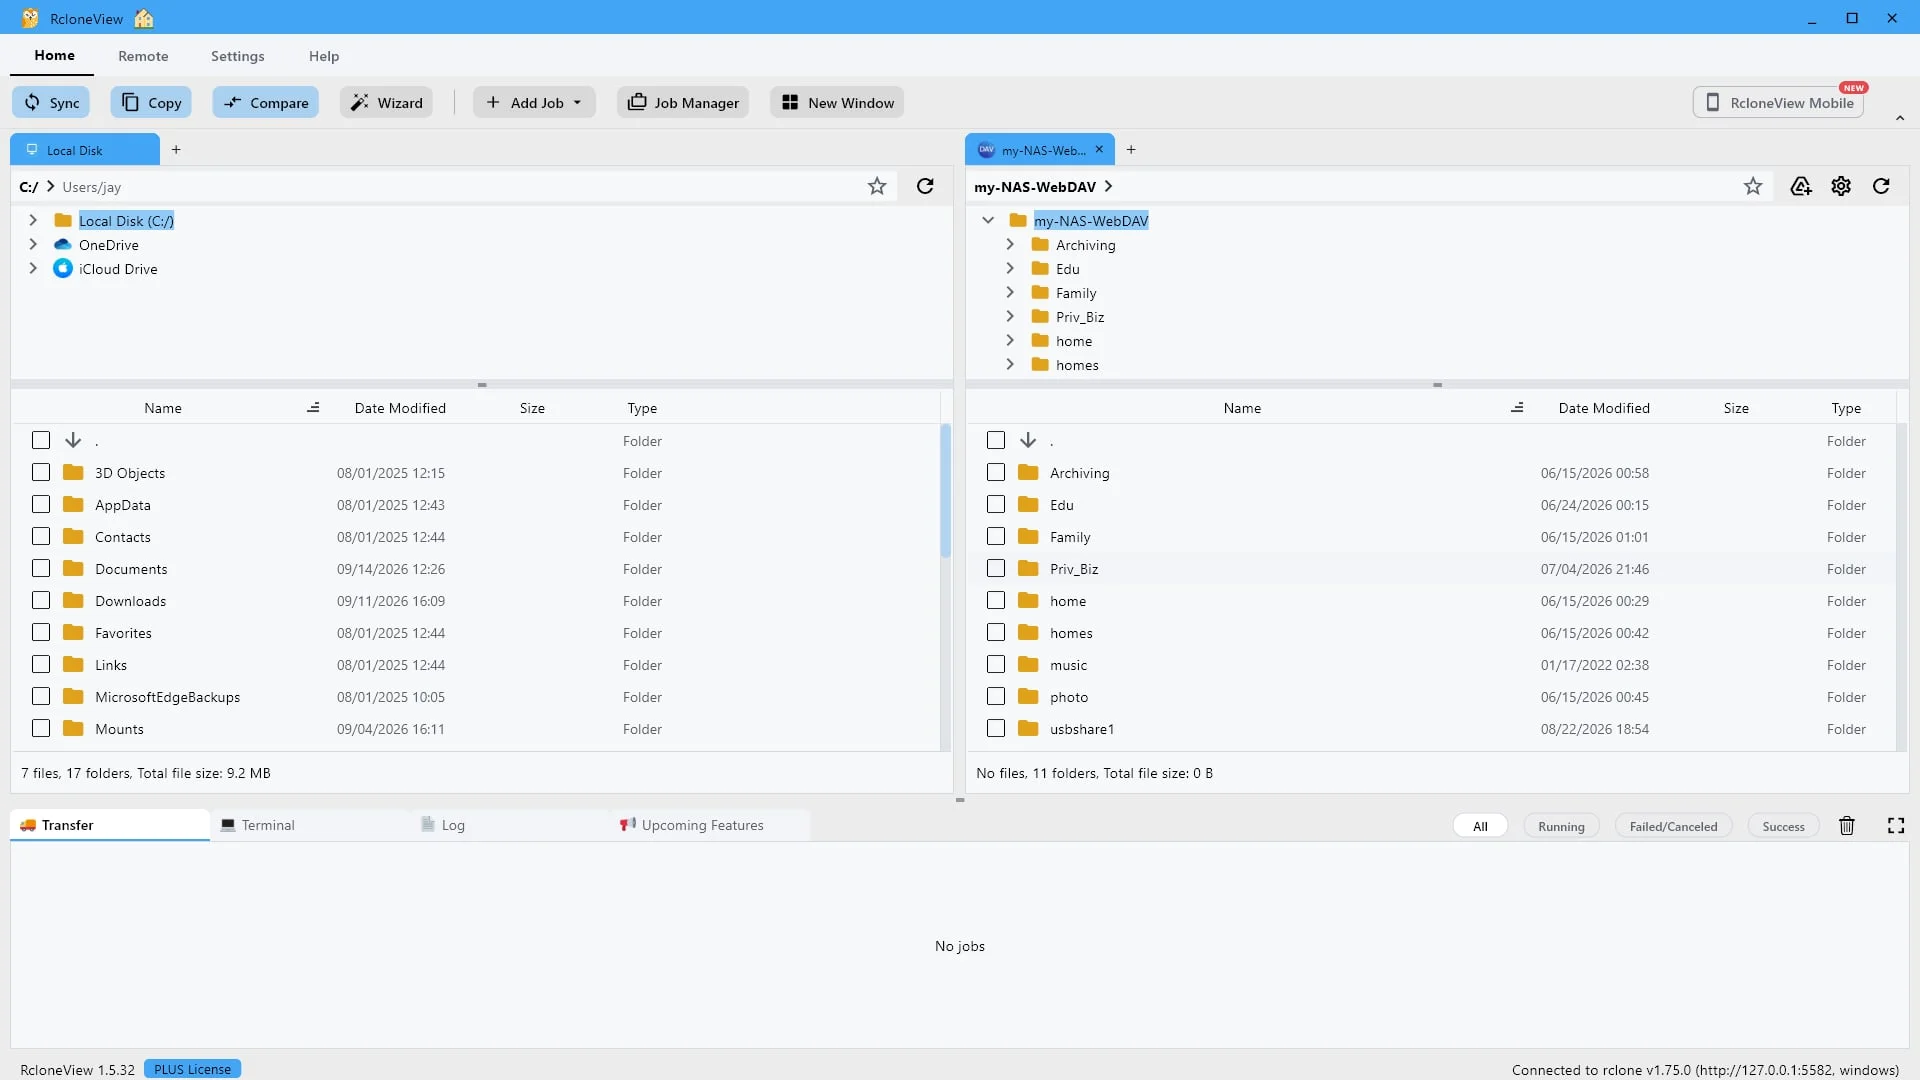
Browse the server right here. Copy, sync or compare it with any other remote.
And there it is. Every share on the server, listed like an ordinary folder tree. From this point you can copy files in either direction, run a sync, or compare it against your local disk or any cloud remote, all in the same dual pane window.
-
Ready to try it yourself?Free for Windows, macOS and Linux.Get RcloneView Free