Migrate Jottacloud to Wasabi — Transfer Files with RcloneView

Move your Jottacloud files straight into Wasabi's low-cost object storage without downloading anything to a local disk first.
Teams leaving a consumer-style cloud like Jottacloud for cheaper long-term object storage often hit a wall: their files sit in a Norwegian-hosted personal cloud account, and their new home is an S3-compatible bucket with a completely different access model. RcloneView bridges that gap in one window, letting you connect both services as remotes and transfer directly between them, cloud to cloud, with no local storage detour required.
Manage & Sync All Clouds in One Place
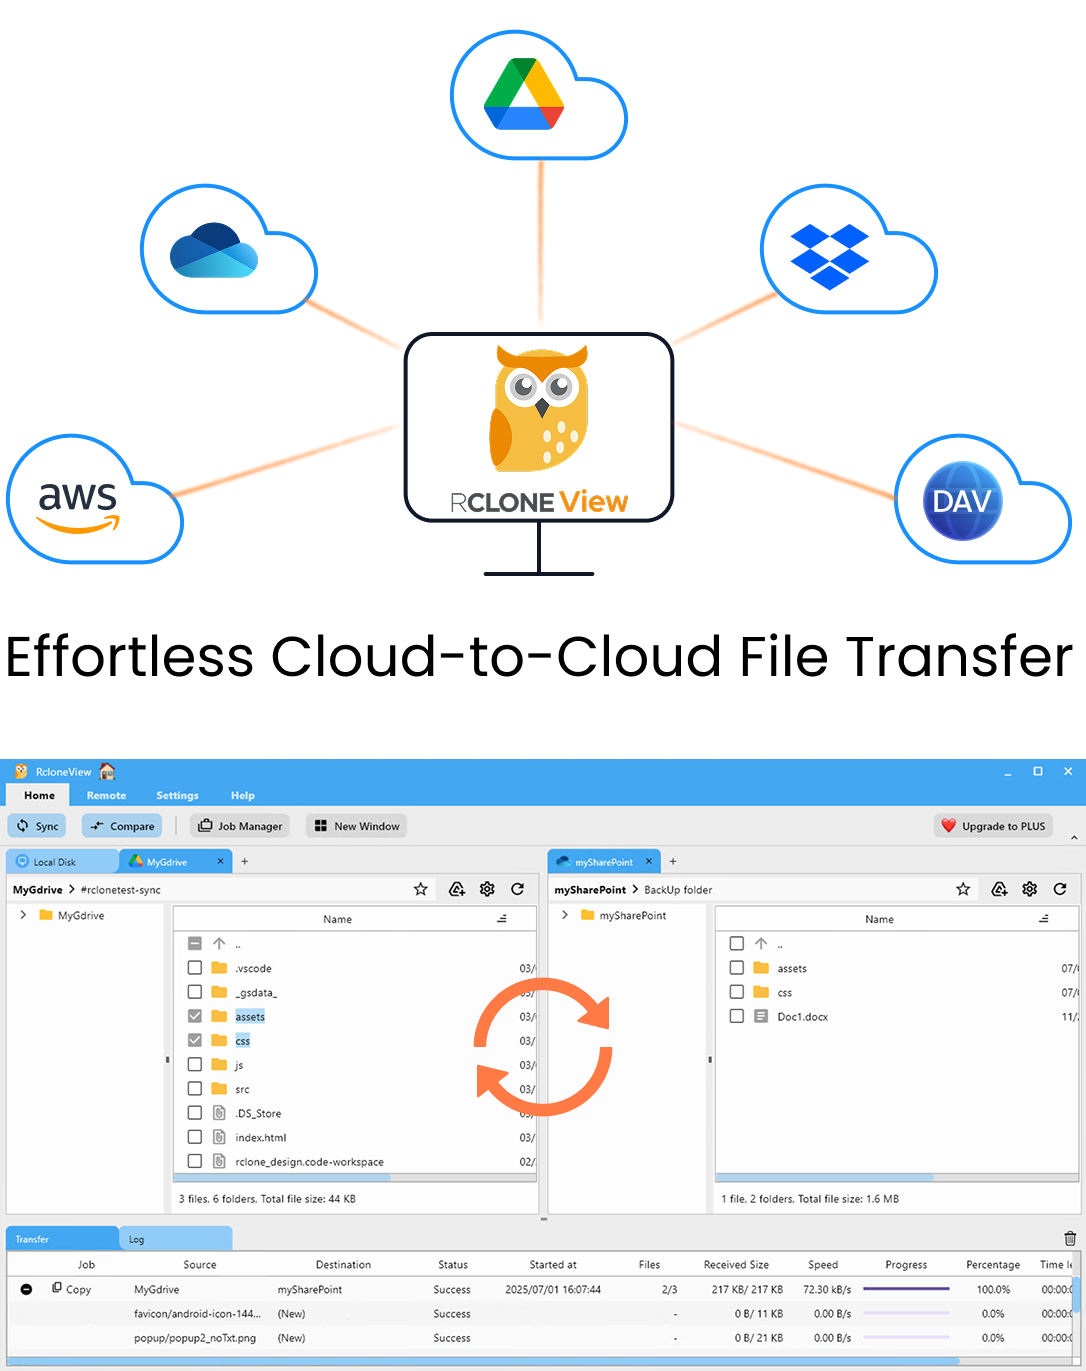
RcloneView is a cross-platform GUI for rclone. Compare folders, transfer or sync files, and automate multi-cloud workflows with a clean, visual interface.
- One-click jobs: Copy · Sync · Compare
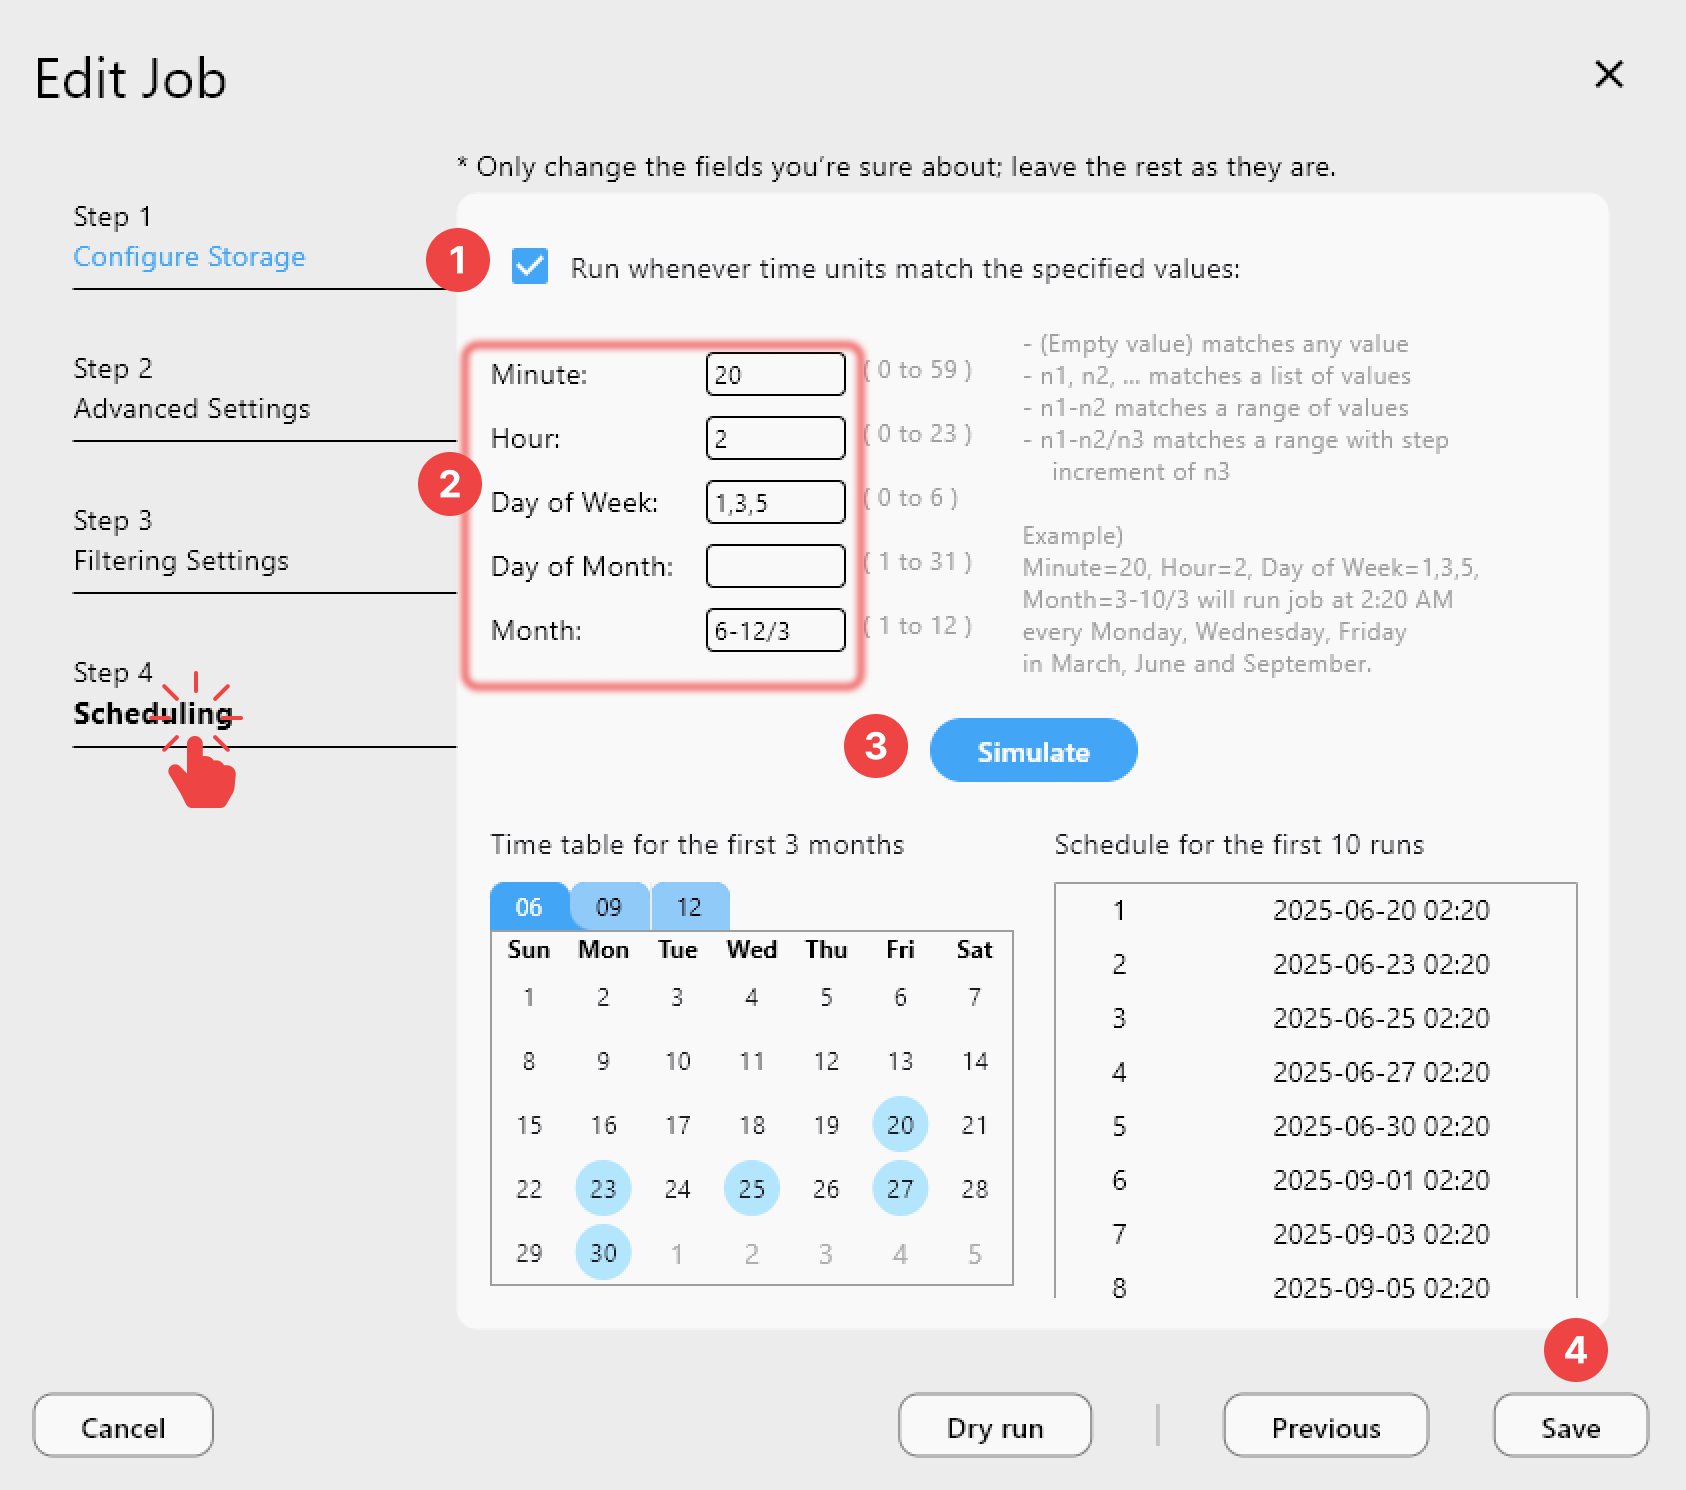
- Schedulers & history for reliable automation
- Works with Google Drive, OneDrive, Dropbox, S3, WebDAV, SFTP and more
Free core features. Plus automations available.
Connect Both Remotes in RcloneView
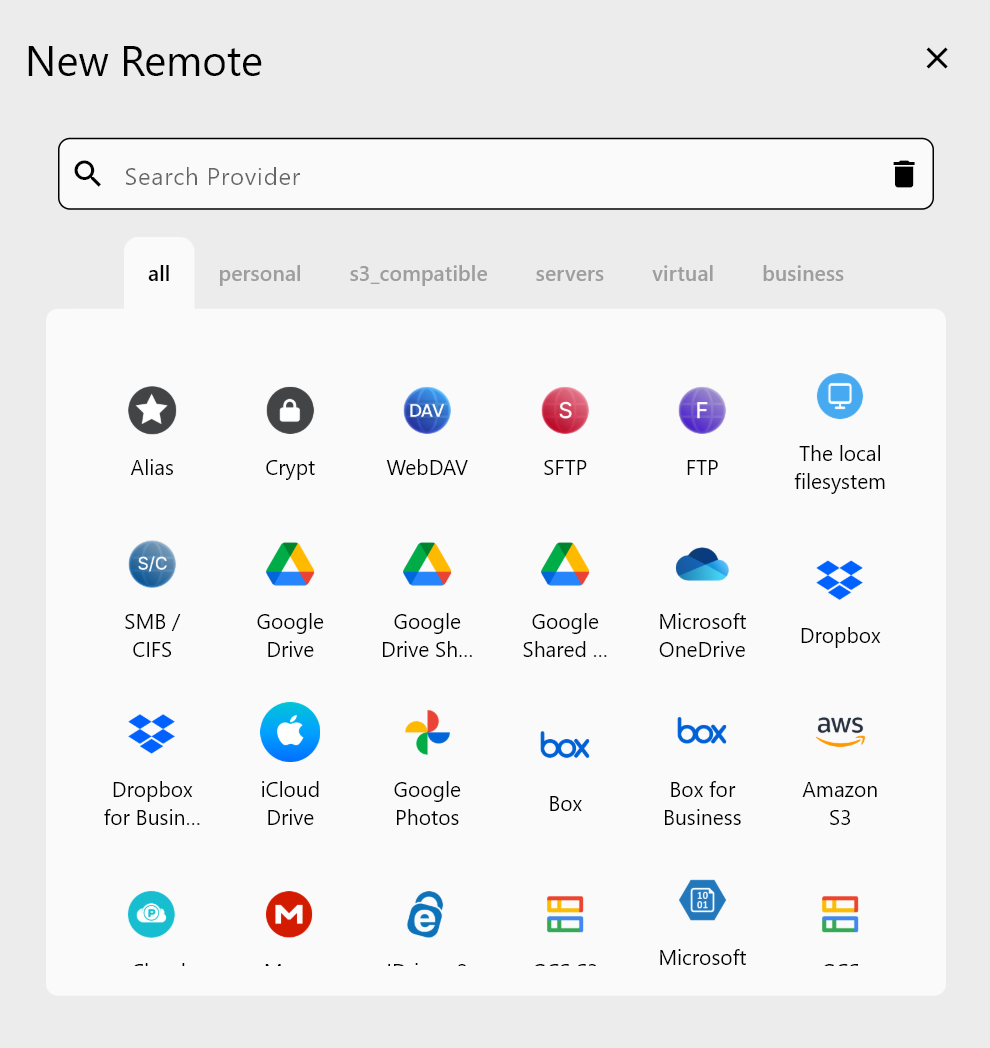
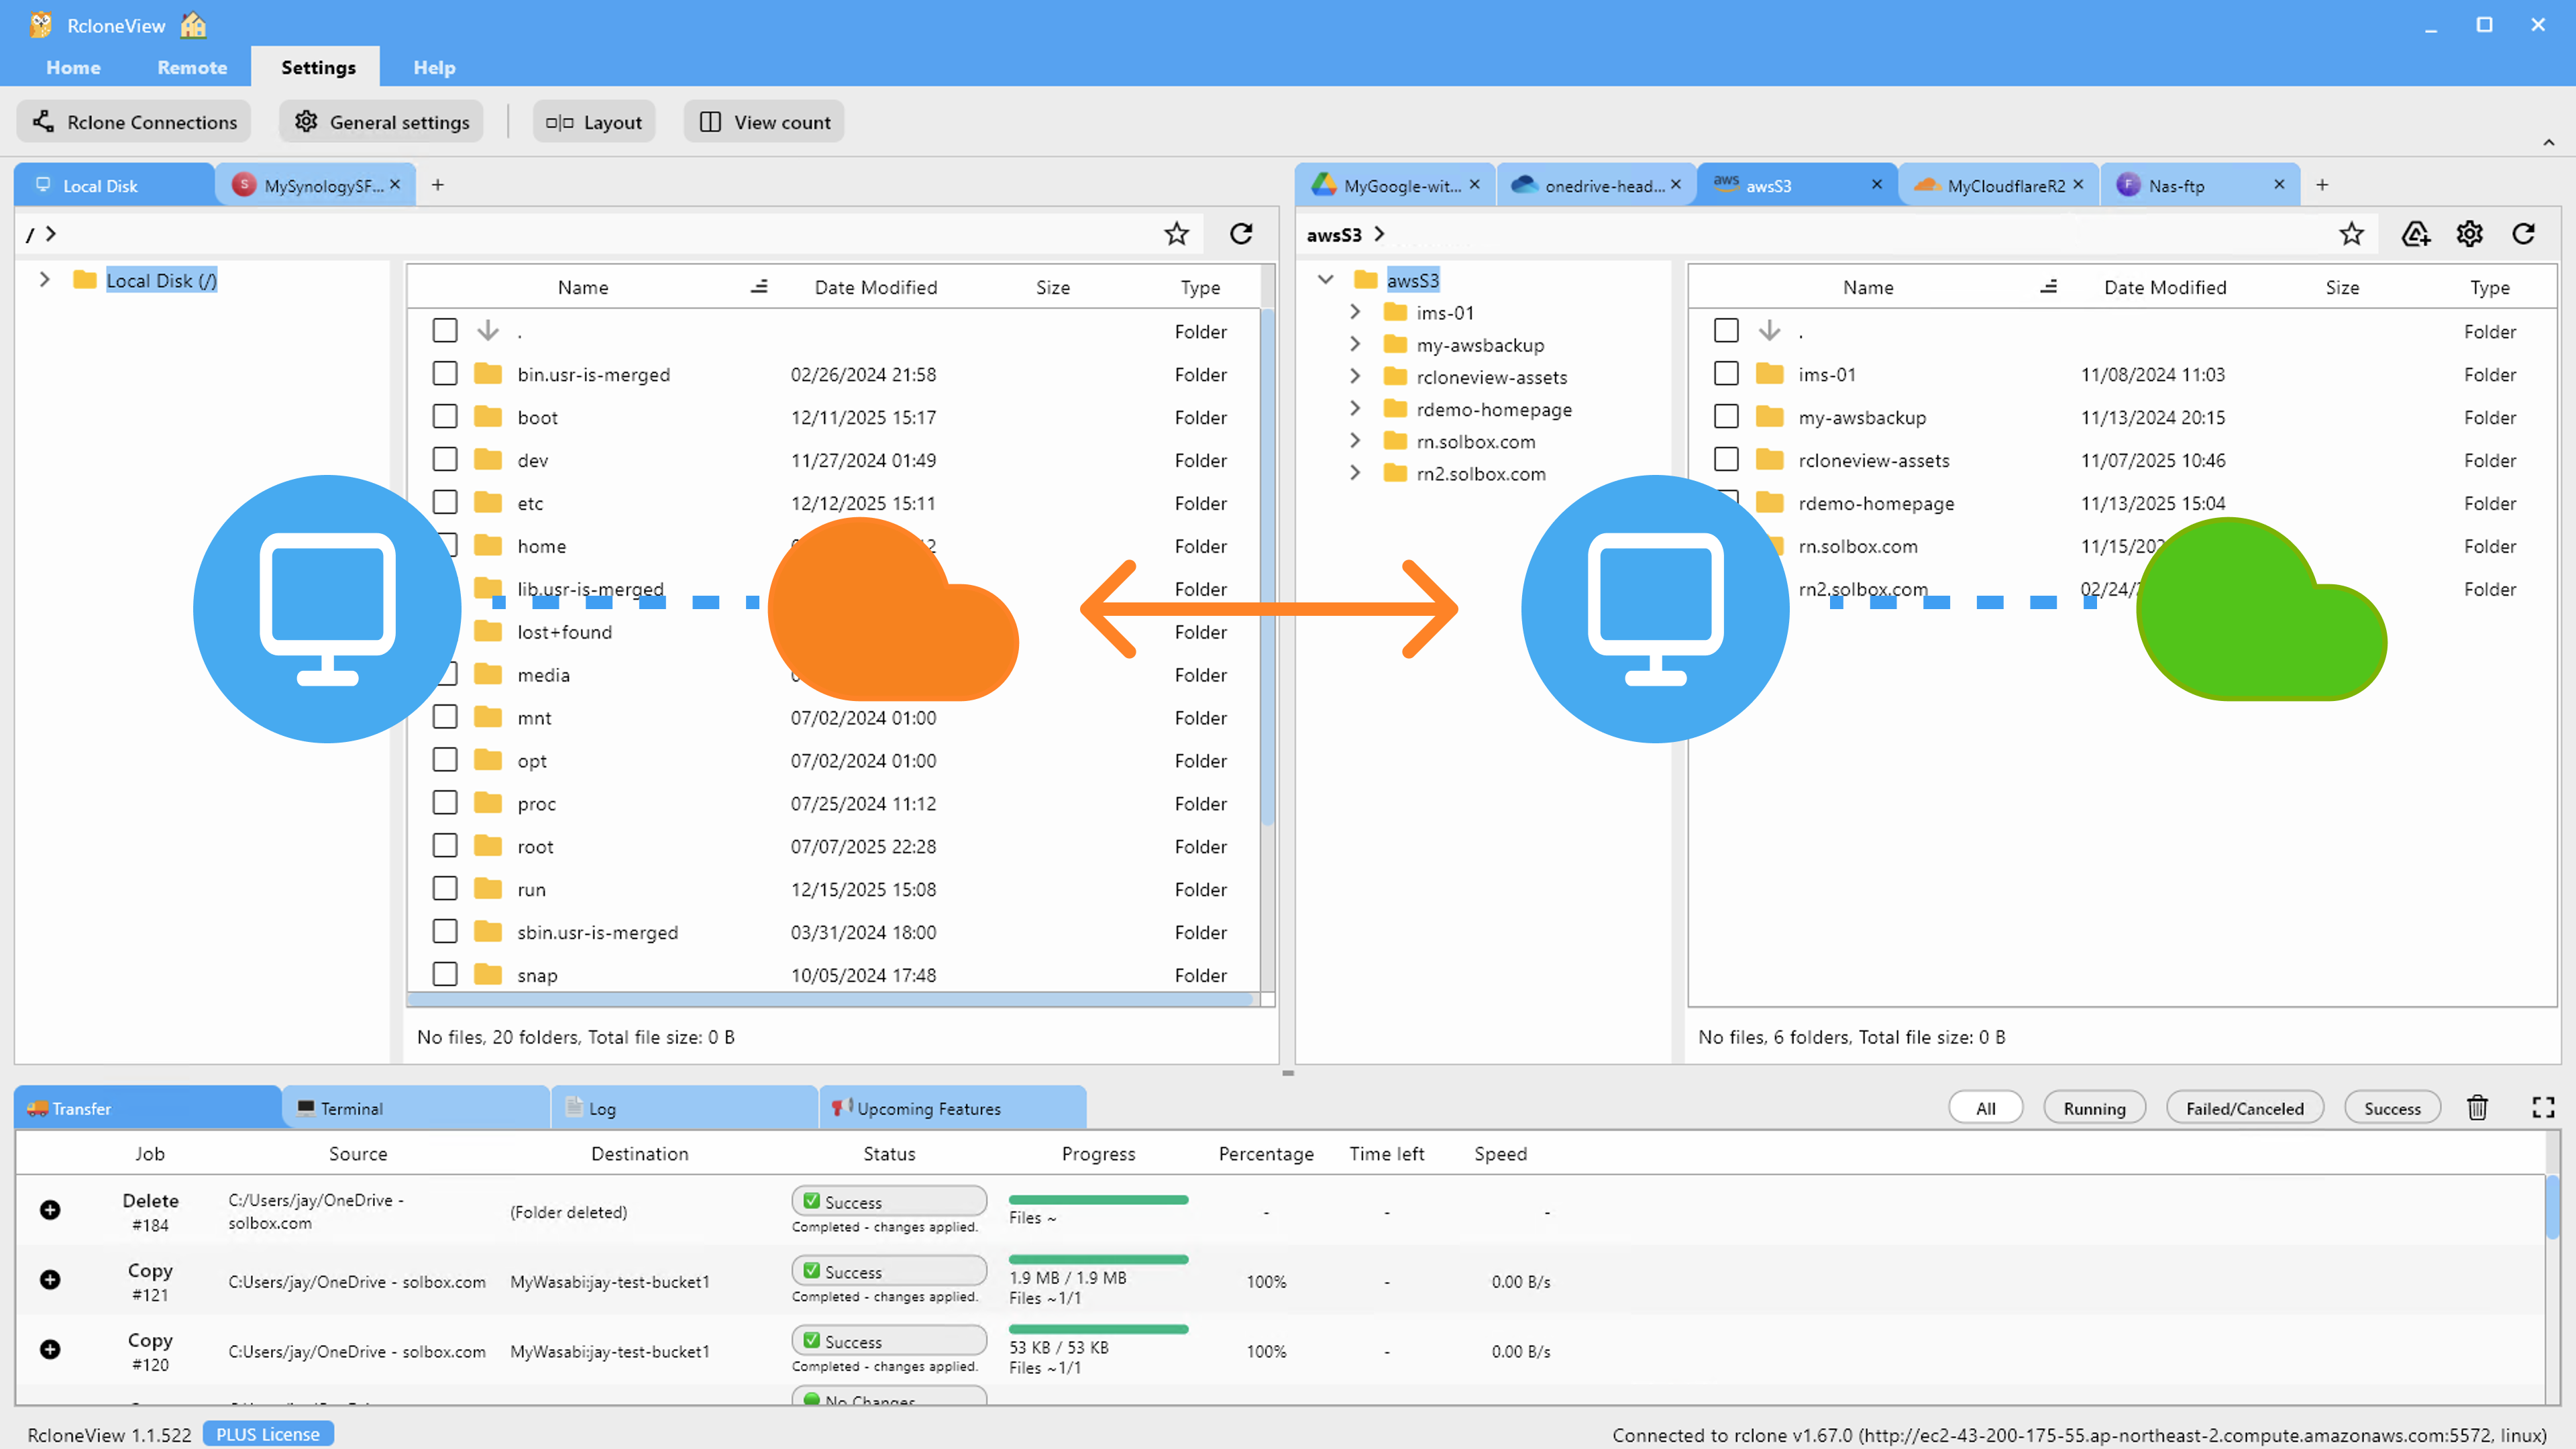
Start by adding Jottacloud as a remote through the browser-based OAuth login flow, then add Wasabi as an S3-compatible remote using your Access Key ID, Secret Access Key, and the correct regional endpoint. Both remotes appear as separate tabs in the Explorer panel, and you can open Jottacloud on the left and Wasabi on the right using a two-panel layout.
Unlike mount-only tools, RcloneView also syncs and compares folders — on the FREE license. That means you are not limited to simple drag-and-drop copies; you get the full sync engine, filtering, and dry-run tooling for this migration.
Preview the Migration with Dry Run
Before moving anything, configure a Sync job with Jottacloud as the source and your target Wasabi bucket as the destination. Set the sync direction to one-way "Modifying destination only" so nothing on Jottacloud gets altered. Run the job in Dry Run mode first — RcloneView shows exactly which files will be copied without transferring a single byte, which is essential when you are migrating a folder structure you have not fully audited in years.
If your Jottacloud account has large media libraries or archives you don't need in the new bucket, use the filtering step to exclude file types or set a max file size before the real transfer begins.
Verify and Monitor the Transfer
Once the dry run looks correct, enable checksum comparison in the Advanced Settings step so RcloneView compares files by hash and size rather than just modification time — important when moving between two very different storage backends. Start the job and switch to the Transferring tab in the bottom Info View to watch live progress, transfer speed, and file counts as data lands in Wasabi.
For large libraries, tune the number of file transfers and multi-thread transfer settings to make better use of your bandwidth, and let Job History record the full run for later reference.
Getting Started
- Download RcloneView from rcloneview.com.
- Add Jottacloud as a remote via OAuth login, then add Wasabi as an S3-compatible remote with your Access Key ID and Secret Access Key.
- Create a one-way sync job from Jottacloud to your Wasabi bucket and run a dry run to preview the exact files to be copied.
- Enable checksum verification, run the real sync, and confirm the completed transfer in Job History.
Migrating away from a general-purpose cloud into dedicated object storage doesn't have to mean juggling separate apps or a slow local re-upload — RcloneView handles the whole path in one interface.
Related Guides:
- Fix Jottacloud Sync Errors — How to Resolve with RcloneView
- Manage Wasabi Storage — Sync and Backup Files with RcloneView
- Migrate Backblaze B2 to Wasabi — Transfer Files with RcloneView
Supported Cloud Providers