Migrate Mega to Backblaze B2 — Transfer Files with RcloneView
RcloneView transfers your files directly from Mega to Backblaze B2 without downloading to your local drive — preserving folder structure and verifying every file.
Mega's generous free storage tier attracts large personal archives and project collections, but teams looking to consolidate storage on a more cost-predictable platform often move to Backblaze B2's object storage. Whether you're migrating a creative agency's asset library or a developer's backup collection, RcloneView handles the Mega-to-B2 transfer with full integrity verification and no manual file downloads.

Manage & Sync All Clouds in One Place
RcloneView is a cross-platform GUI for rclone. Compare folders, transfer or sync files, and automate multi-cloud workflows with a clean, visual interface.
- One-click jobs: Copy · Sync · Compare
- Schedulers & history for reliable automation
- Works with Google Drive, OneDrive, Dropbox, S3, WebDAV, SFTP and more
Free core features. Plus automations available.
Connect Both Mega and Backblaze B2 in RcloneView
Start by adding both accounts as remotes in RcloneView. For Mega, go to Remote tab > New Remote, select Mega, and enter your Mega email address and password. For Backblaze B2, select Backblaze B2 and enter your Application Key ID and Application Key from the B2 console. Both remotes are stored securely in RcloneView's encrypted local storage.
With both remotes connected, open them side by side in RcloneView's dual-panel explorer. You can browse your Mega folder structure on one side and your B2 bucket on the other, giving you a clear visual of what will be transferred.

Configure the Migration Sync Job
The most reliable way to migrate Mega to Backblaze B2 is through a named sync job. In RcloneView's sync wizard:
- Set the source to your Mega remote (select the root or specific folder)
- Set the destination to your B2 bucket and subdirectory
- Give the job a descriptive name like
mega-to-b2-migration - Enable checksum verification to compare files by hash after transfer
The checksum option is particularly important for Mega migrations since Mega uses its own internal encryption — verifying size and hash at the destination confirms the content was decrypted and re-uploaded correctly.

Run Dry Run First
Before committing to a full migration, use RcloneView's dry run mode to preview exactly what will be transferred. The dry run shows a list of files to be copied and any files that would be deleted on the destination — without making any actual changes. This is invaluable when migrating thousands of files, letting you verify the scope of the migration before it begins.

Monitor Progress and Verify Completion
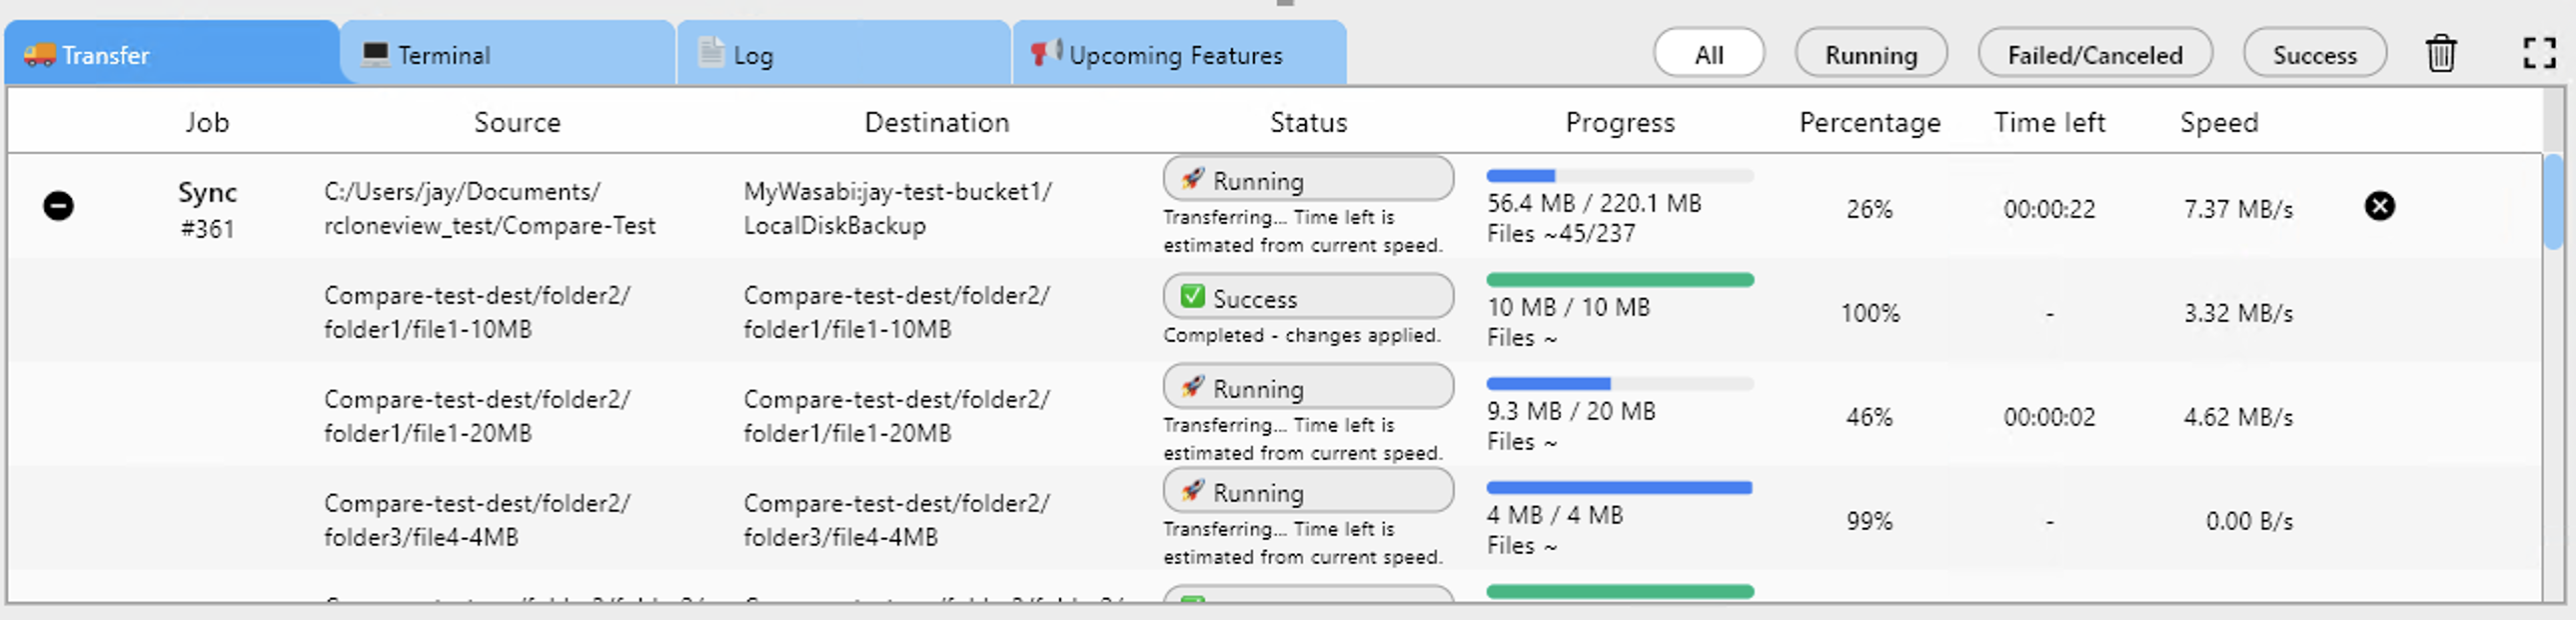
RcloneView's Transfer tab shows live migration progress: file name, transfer speed, total bytes moved, and percentage complete. For a 200GB Mega library, expect the transfer to take several hours depending on your connection speed. The Transfer tab keeps you informed without requiring you to stay at your computer.
After the job completes, check Job History for a full summary — files transferred, bytes moved, duration, and any errors. If Mega's API rate-limiting paused the transfer, RcloneView logs the retry attempts so you can see what happened.
Getting Started
- Download RcloneView from rcloneview.com.
- Add Mega (email + password) and Backblaze B2 (Application Key) as remotes.
- Create a sync job from Mega to your B2 bucket with checksum verification enabled.
- Run a dry run to preview, then execute the full migration.
Migrating from Mega to Backblaze B2 is straightforward with RcloneView handling the cloud-to-cloud transfer — no local storage required, no manual downloads.
Related Guides:
- Manage Mega Storage — Sync and Backup Files with RcloneView
- Manage Backblaze B2 Storage — Sync and Backup Files with RcloneView
- Migrate Mega to Amazon S3 with RcloneView