Fix VFS Cache Disk Full Errors — Manage Mount Cache with RcloneView

A mounted cloud drive filling up your local disk usually means the cache mode is set higher than your workflow needs — here's how to diagnose and fix it in RcloneView.
Mounting cloud storage as a local drive relies on a VFS (Virtual File System) cache to make reads and writes fast and reliable, but that cache lives on your local disk and can quietly consume gigabytes if it's misconfigured. When a mount stops accepting writes or the OS reports a full disk even though your cloud storage has plenty of room, the VFS cache — not the remote — is almost always the culprit. RcloneView exposes every relevant cache setting directly in the mount configuration screen, so fixing this doesn't require editing an rclone config file by hand.
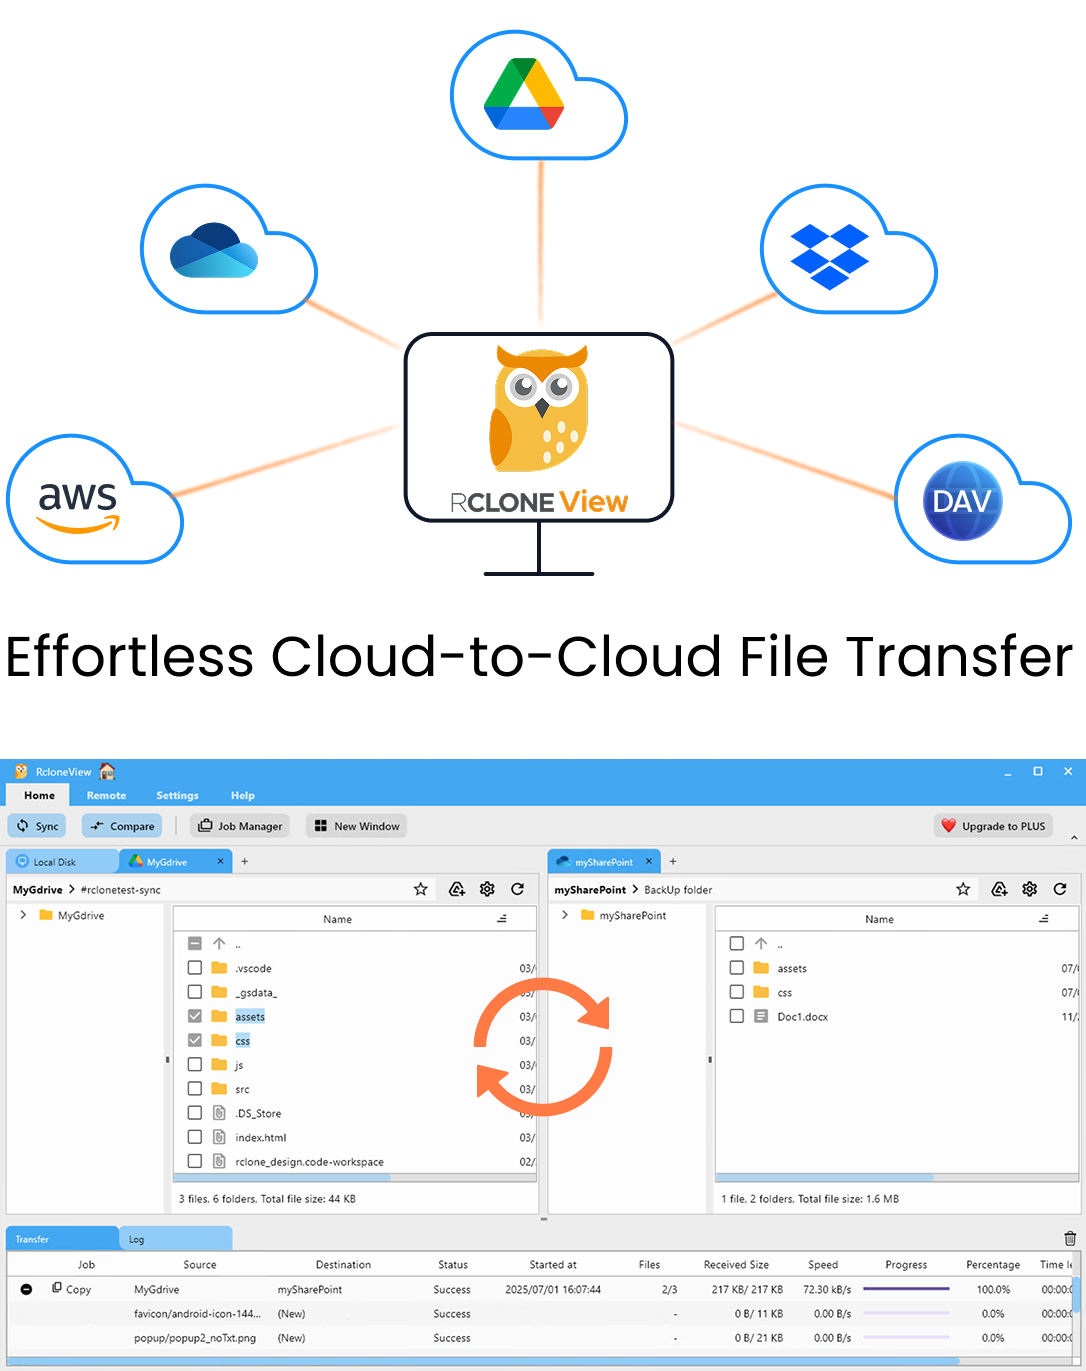
Manage & Sync All Clouds in One Place
RcloneView is a cross-platform GUI for rclone. Compare folders, transfer or sync files, and automate multi-cloud workflows with a clean, visual interface.
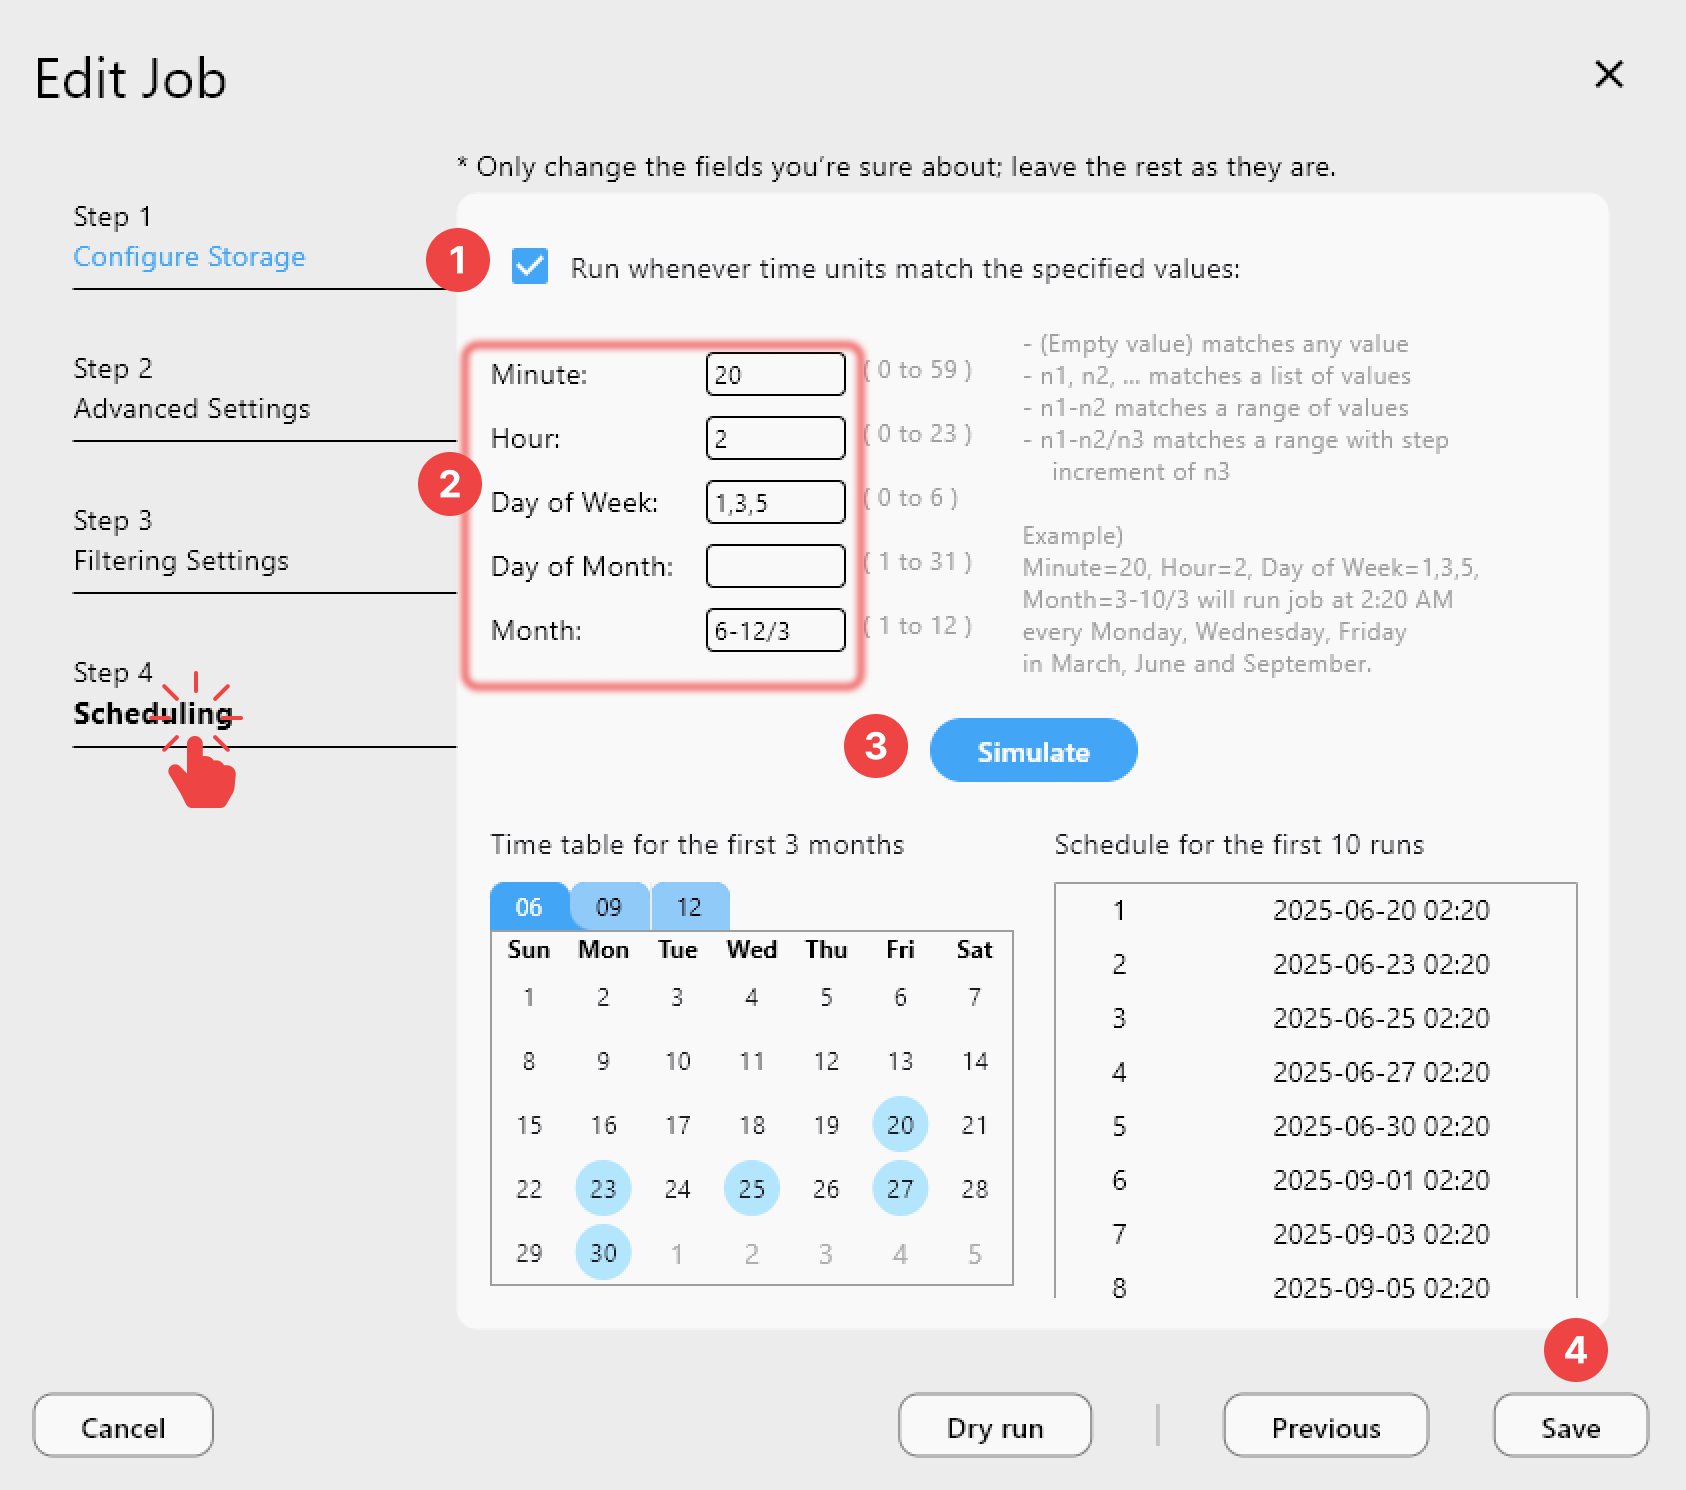
- One-click jobs: Copy · Sync · Compare
- Schedulers & history for reliable automation
- Works with Google Drive, OneDrive, Dropbox, S3, WebDAV, SFTP and more
Free core features. Plus automations available.
Why VFS Cache Fills Your Local Disk
RcloneView's mount options include four cache modes: off, minimal, writes (the default), and full. In "writes" mode, files you modify are cached locally until they finish uploading. In "full" mode, files you merely open for reading are also cached locally so they can be reread without hitting the network again — which is great for performance but means a large media library or dataset accessed through the mount can silently fill your drive.
If you're seeing disk space disappear on the drive hosting your RcloneView cache directory rather than in your cloud storage's own usage stats, this is the setting to check first.
Choosing the Right Cache Mode
For most day-to-day use, "writes" mode is the right balance: it caches only what's actively being modified, keeping disk usage bounded to your current work. Reserve "full" mode for scenarios where you genuinely need offline rereads of large files, such as video editing directly off a mount, and switch back to "writes" or "minimal" once that project wraps up. "Minimal" mode caches the least and is the safest option if disk space is tight.
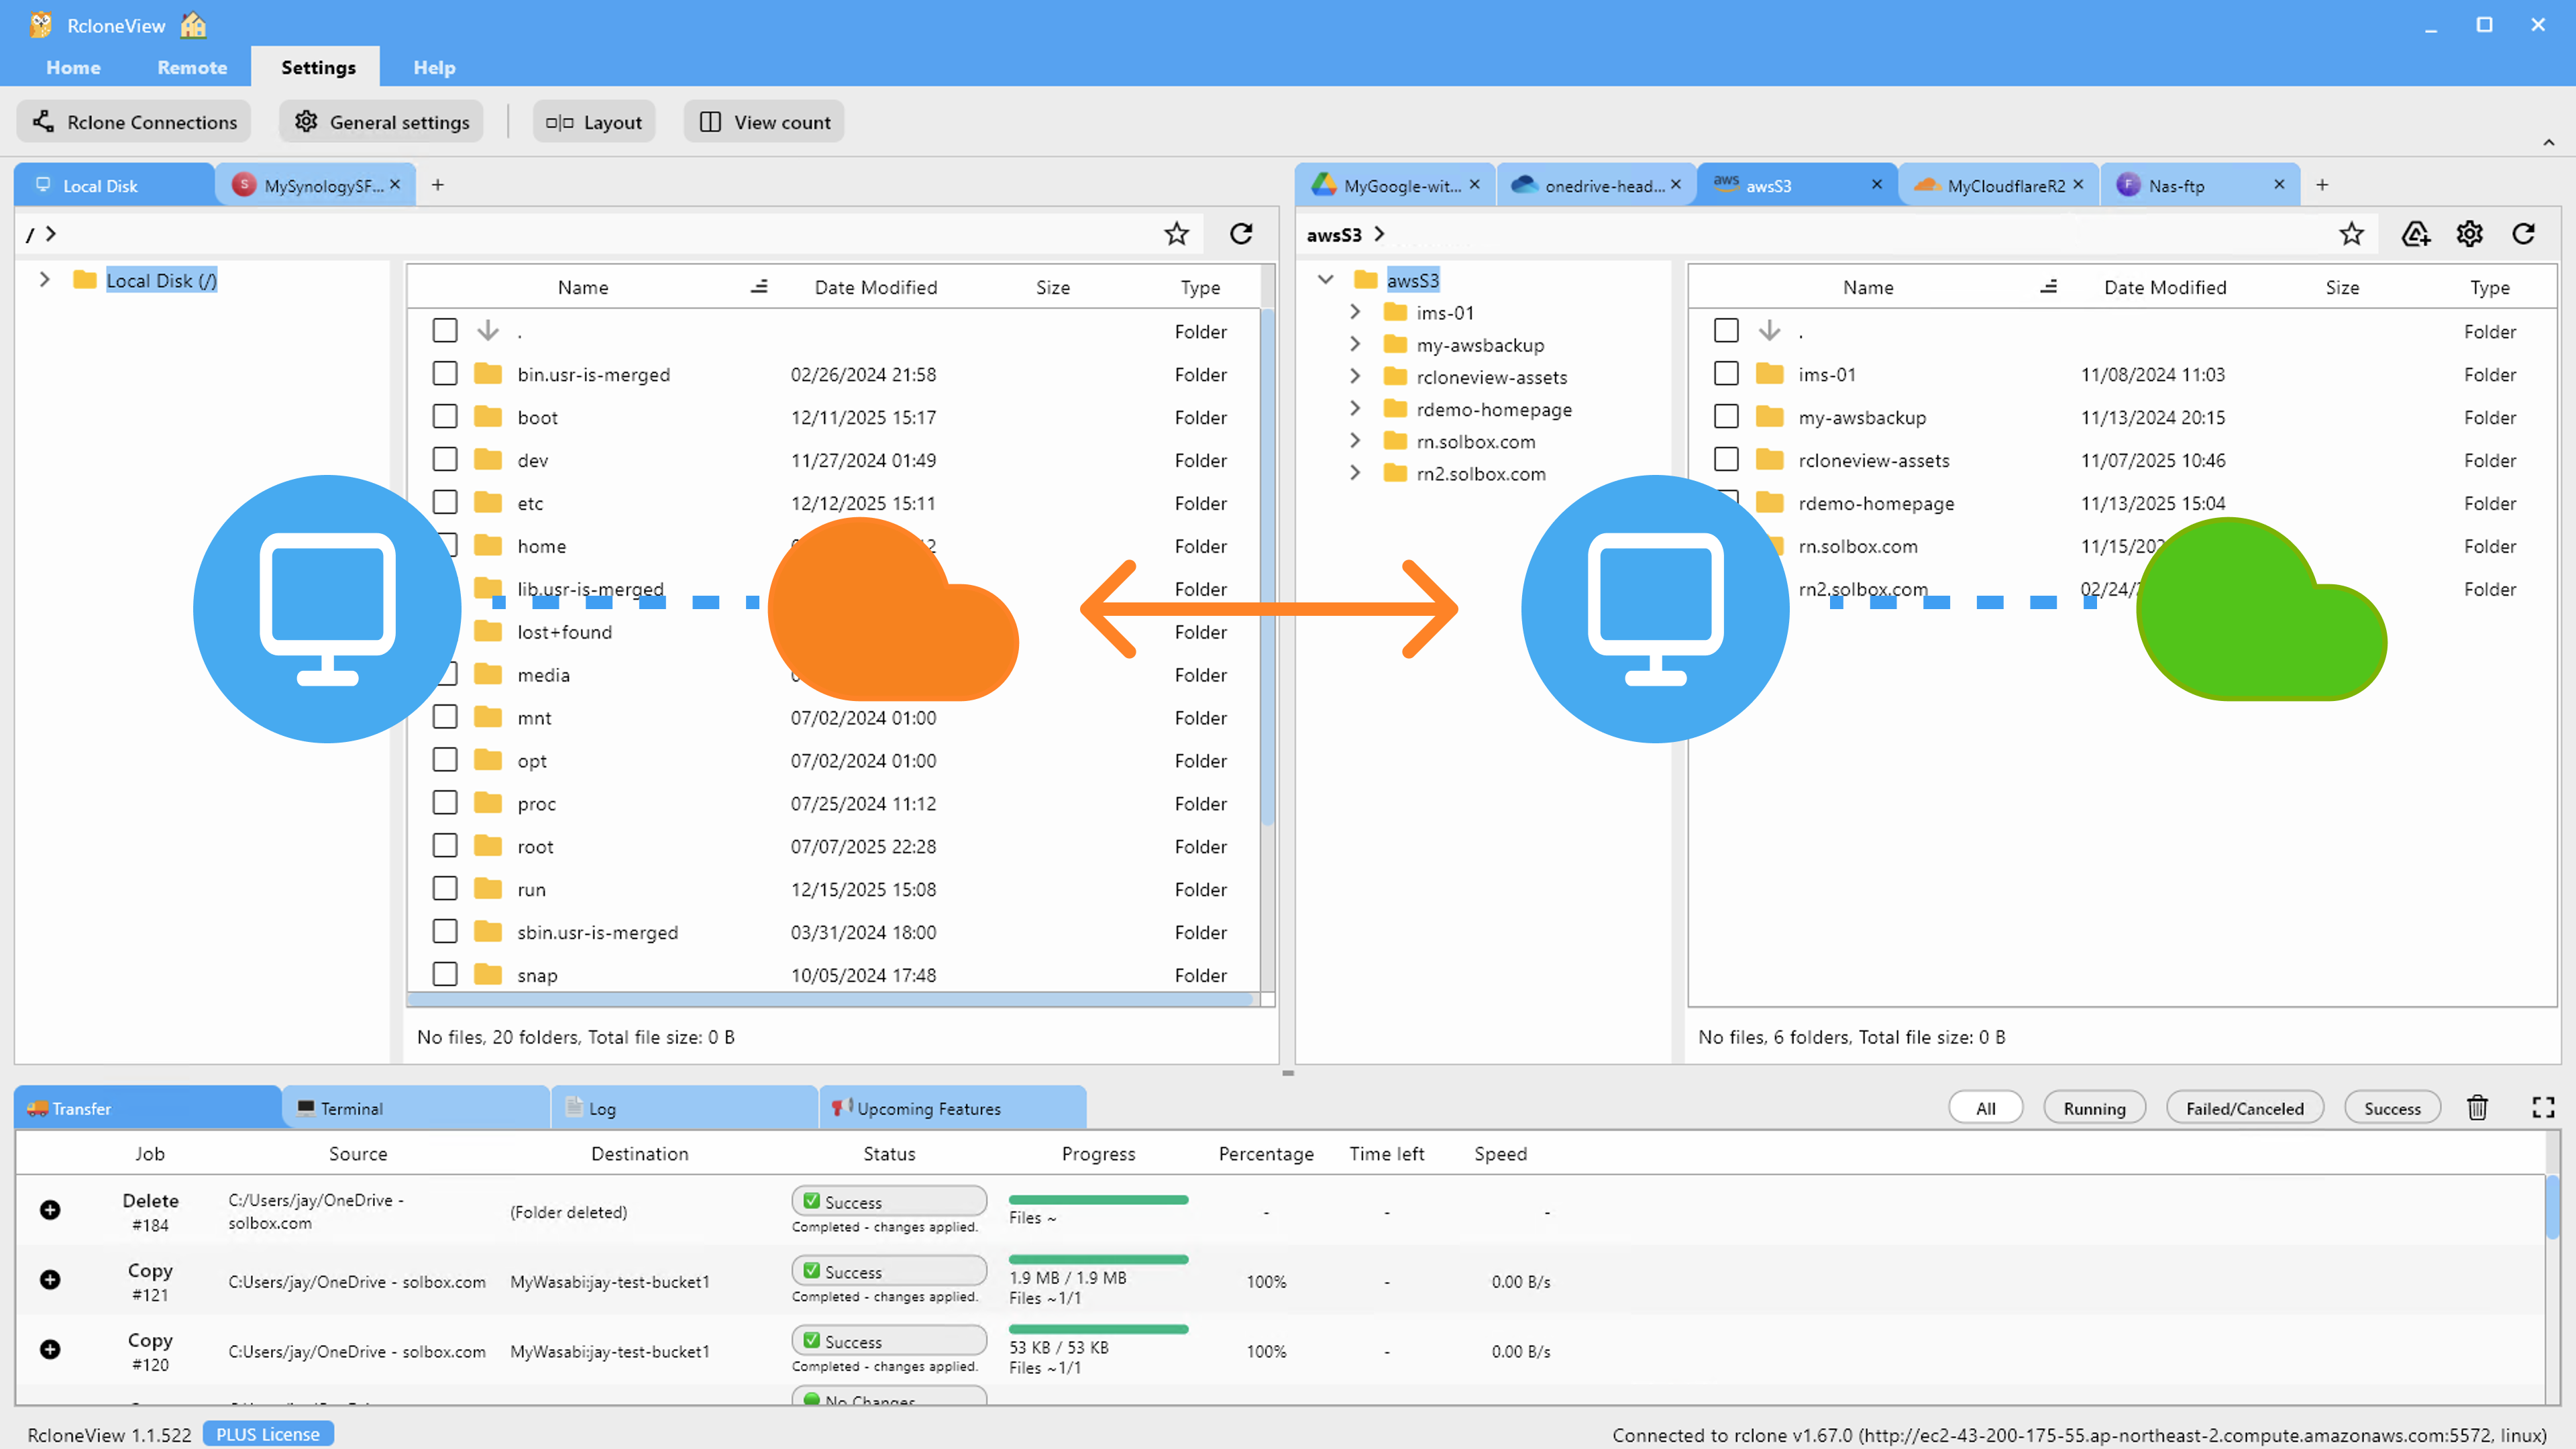
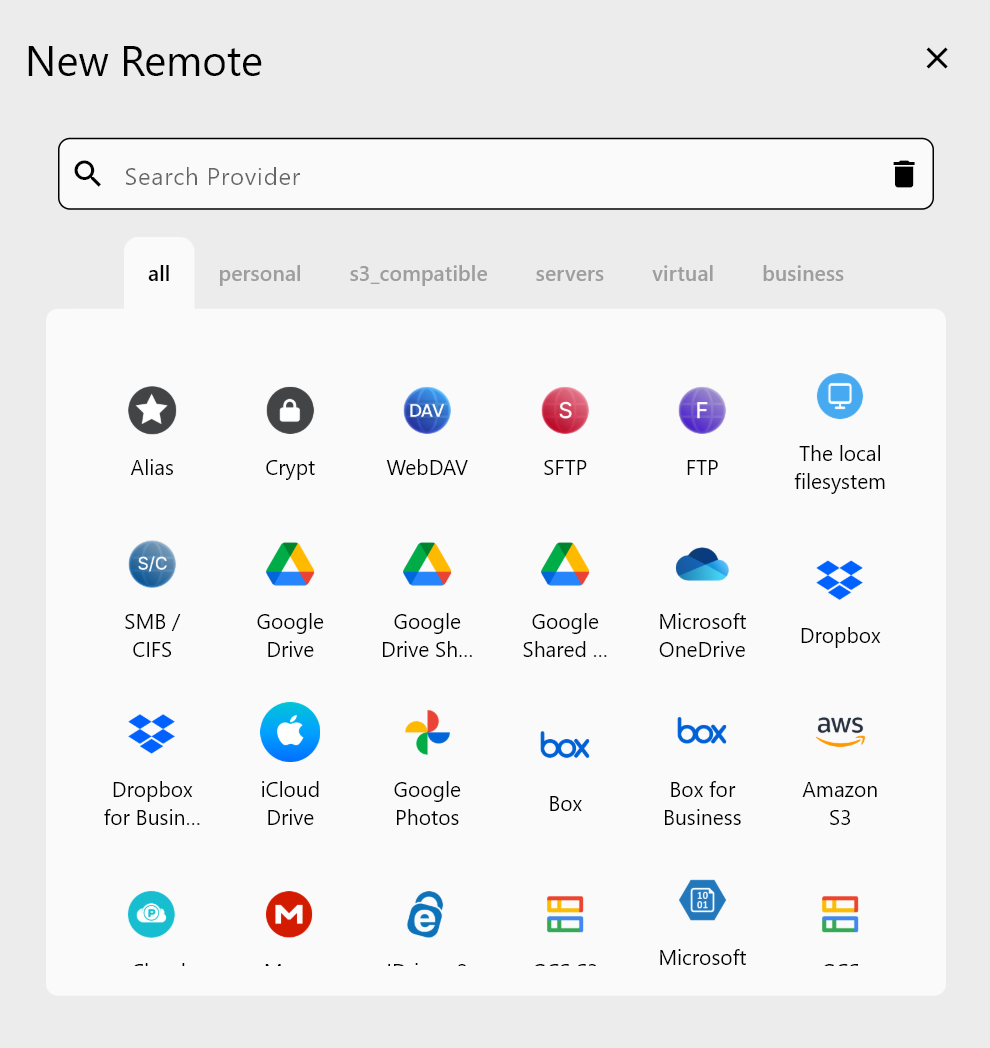
RcloneView mounts and syncs 90+ providers from one window, on Windows, macOS, and Linux, so the same cache settings apply regardless of which remote you've mounted.
Setting Cache Max Size and Max Age
Beyond the cache mode itself, RcloneView lets you cap the cache with Cache max size (in bytes, or -1 for unlimited) and Cache max age, which controls how long cached data stays valid before it's evicted. Setting a concrete max size — for example, capping it well below your free disk space — prevents a single large read session from ever consuming the entire drive, even in "full" mode. Pair that with a shorter max age if you're working with files that change frequently elsewhere.
Cleaning Up an Already-Full Cache
If a mount is already refusing writes because the cache filled up, unmount it from Mount Manager, which releases the cached data, then re-mount with a lower cache mode or an explicit max size before resuming work. Checking the Log tab with Debug-level logging enabled beforehand can confirm whether cache eviction — rather than a network or permissions error — was actually the cause.
Getting Started
- Download RcloneView from rcloneview.com.
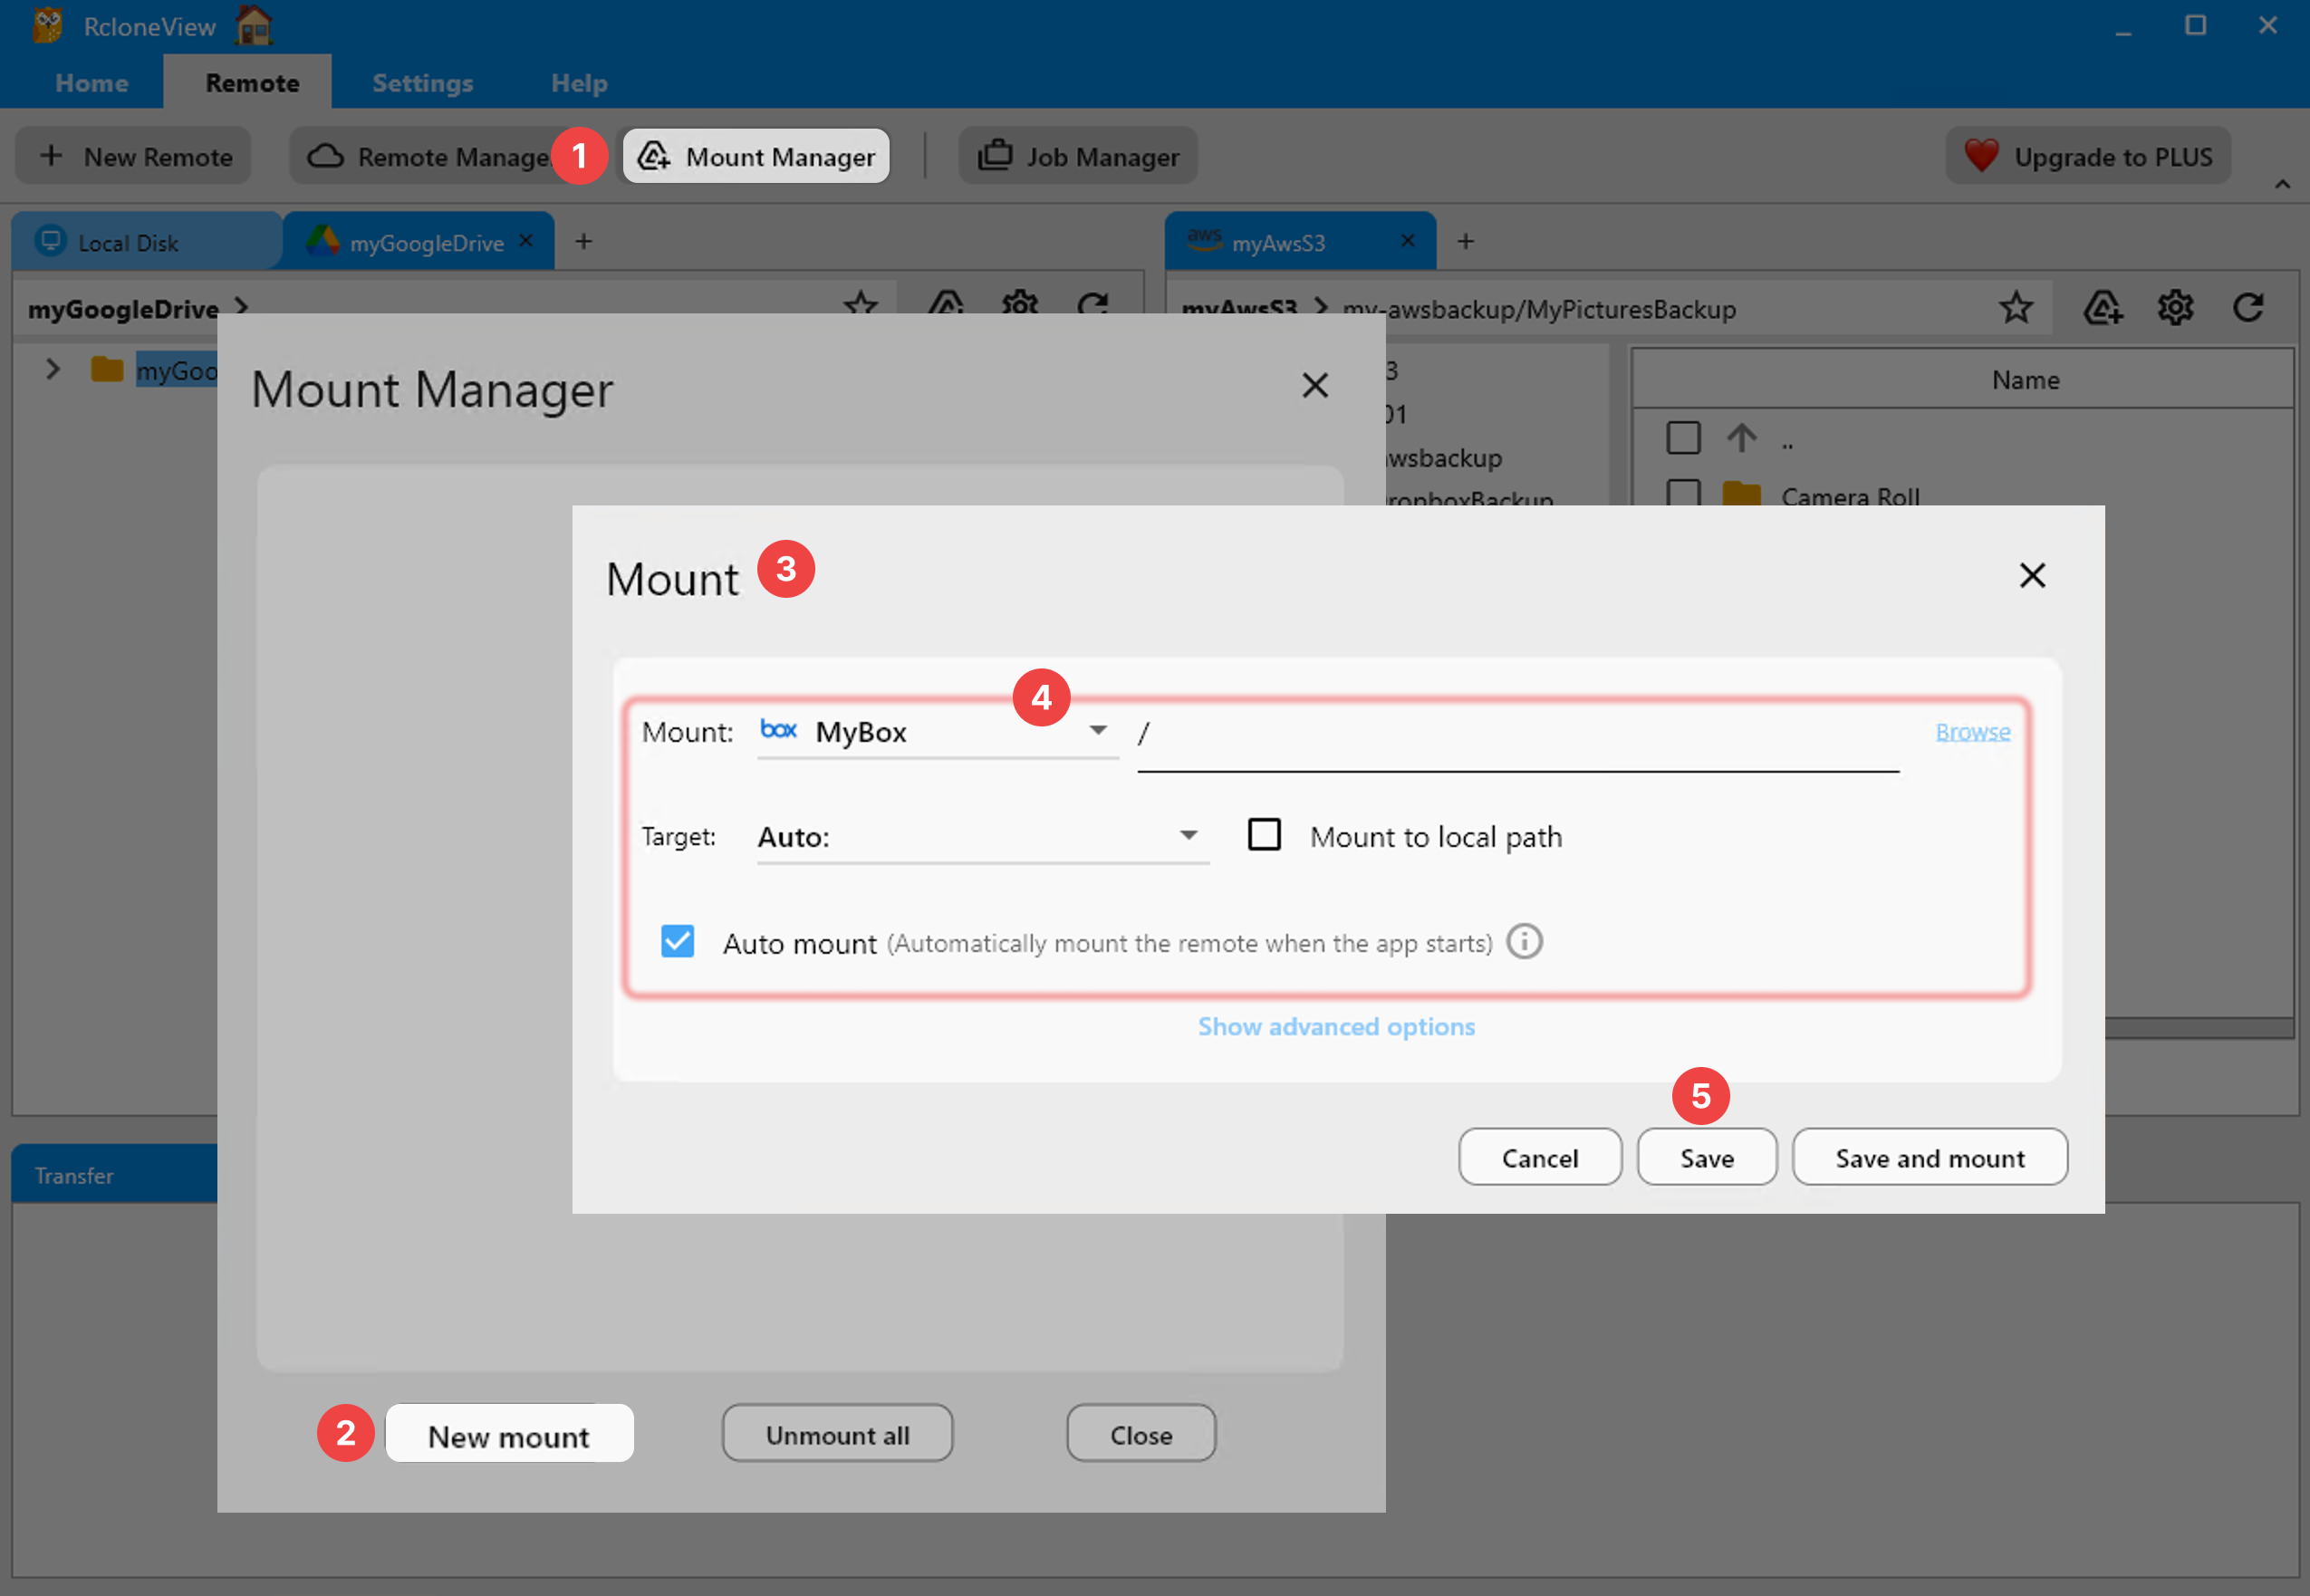
- Open Mount Manager and edit the affected mount's settings.
- Switch the cache mode to "writes" or "minimal," and set a concrete Cache max size.
- Unmount and re-mount to apply the new limits, then monitor disk usage during normal use.
A few minutes tuning cache mode and size settings turns an unpredictable disk-full error into a mount that behaves exactly as expected.
Related Guides:
- VFS Cache and Mount Performance in RcloneView
- Fix Plex Buffering with VFS Cache Tuning in RcloneView
- Fix Cloud Mount Disconnect Drops with RcloneView
Supported Cloud Providers