Migrate pCloud to Wasabi — Transfer Files with RcloneView
Move your pCloud library to Wasabi's S3-compatible object storage in one operation — verified, efficient, and GUI-driven with RcloneView.
Whether you're looking for better pricing on large archives, S3 API compatibility for developer workflows, or simply diversifying your cloud storage, migrating from pCloud to Wasabi is a smart move. RcloneView handles the entire transfer — authenticating to both providers, streaming data directly between them without touching your local disk, and verifying checksums at every step.

Manage & Sync All Clouds in One Place
RcloneView is a cross-platform GUI for rclone. Compare folders, transfer or sync files, and automate multi-cloud workflows with a clean, visual interface.
- One-click jobs: Copy · Sync · Compare
- Schedulers & history for reliable automation
- Works with Google Drive, OneDrive, Dropbox, S3, WebDAV, SFTP and more
Free core features. Plus automations available.
Setting Up Both Remotes
Before migrating, add both providers to RcloneView. For pCloud, go to Remote tab → New Remote, select pCloud, and complete OAuth browser login. For Wasabi, select Amazon S3 as the provider type, then choose Wasabi as the S3 endpoint. Enter your Wasabi Access Key ID, Secret Access Key, and select the appropriate region (e.g., s3.wasabisys.com). Both remotes will appear in the explorer panels within seconds.
Open pCloud in the left panel and your Wasabi bucket in the right panel. You can immediately browse both storages side by side, confirming file counts and folder structures before starting the migration.

Running the Migration with Checksum Verification
In the Home tab, click Sync to launch the job wizard. Set your pCloud folder as the source and the Wasabi bucket (or subfolder) as the destination. In Step 2 (Advanced Settings), enable the Checksum option — this tells rclone to verify file integrity using hash comparison rather than just size and timestamp. For a video production company migrating 2TB of raw footage, this ensures every frame arrives intact.
Set transfer concurrency to match your network capacity (8–16 is a common starting point for Wasabi), then click Dry Run first to preview exactly which files will be transferred. Once confirmed, click Run to start the live migration.

Monitoring Progress and Verifying Completion
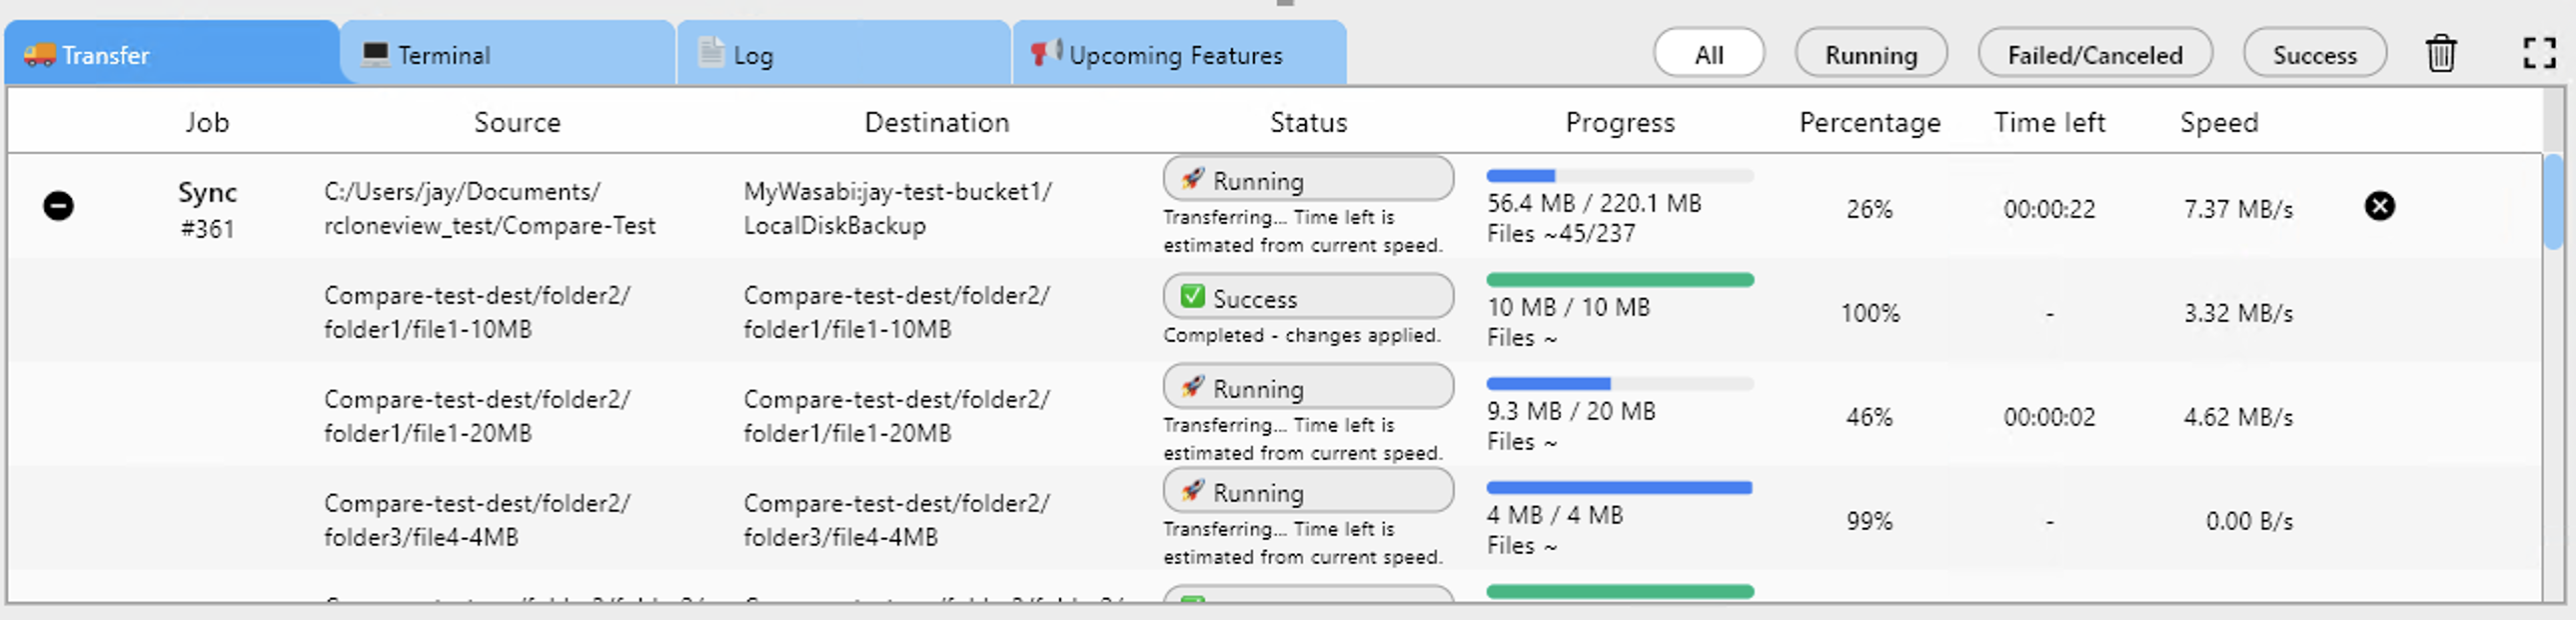
The Transferring tab shows live progress: files transferred, total size, and current throughput.
After the job completes, check the Job History tab for a full summary. Then use RcloneView's Folder Compare feature to run a final side-by-side comparison between pCloud and Wasabi — filter to show only left-only or different files to confirm nothing was missed. If the compare comes back clean, your migration is complete.
Getting Started
- Download RcloneView from rcloneview.com.
- Add pCloud (OAuth) and Wasabi (S3 credentials) as remotes.
- Create a Sync job with checksum enabled and run a dry run first.
- Execute the migration and verify with Folder Compare afterward.
Migrating from pCloud to Wasabi with RcloneView is a safe, auditable process that protects your data at every stage.
Related Guides:
- Manage pCloud Cloud Storage with RcloneView
- Manage Wasabi Cloud Storage with RcloneView
- Checksum-Verified Cloud Migrations with RcloneView