Migrate PikPak to Mega — Transfer Files with RcloneView

Move the files you've collected in PikPak into Mega's encrypted storage without routing anything through a local disk first.
PikPak is built for grabbing offline downloads and magnet links quickly, but it isn't where most people want that content to live long-term — Mega's larger storage tiers and built-in encryption make it a more natural home for keeping files around. Moving everything by hand means downloading to a local drive and re-uploading, which is slow and easy to interrupt on a large library. RcloneView transfers directly between the two remotes in a single job, so the files never touch your local disk along the way.
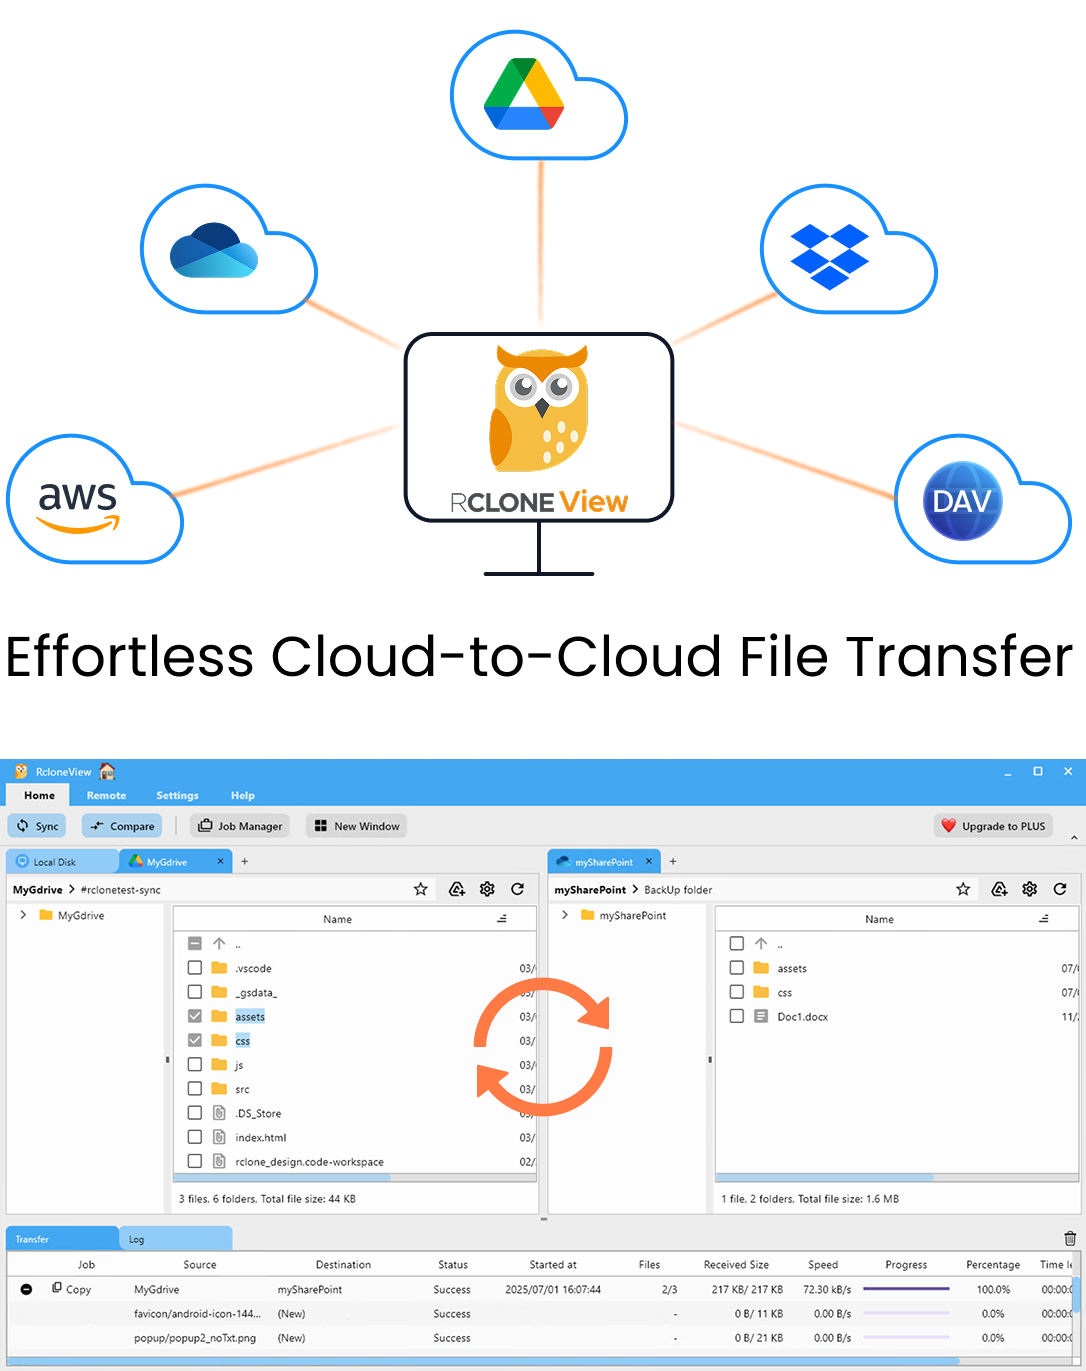
Manage & Sync All Clouds in One Place
RcloneView is a cross-platform GUI for rclone. Compare folders, transfer or sync files, and automate multi-cloud workflows with a clean, visual interface.
- One-click jobs: Copy · Sync · Compare
- Schedulers & history for reliable automation
- Works with Google Drive, OneDrive, Dropbox, S3, WebDAV, SFTP and more
Free core features. Plus automations available.
Connect PikPak and Mega as Remotes
Open Remote tab > New Remote and add PikPak first, following the on-screen prompts to authenticate your account. Then add Mega, entering the email and password for your account — Mega uses direct credential entry rather than a browser OAuth popup, so there's no separate API key to generate.
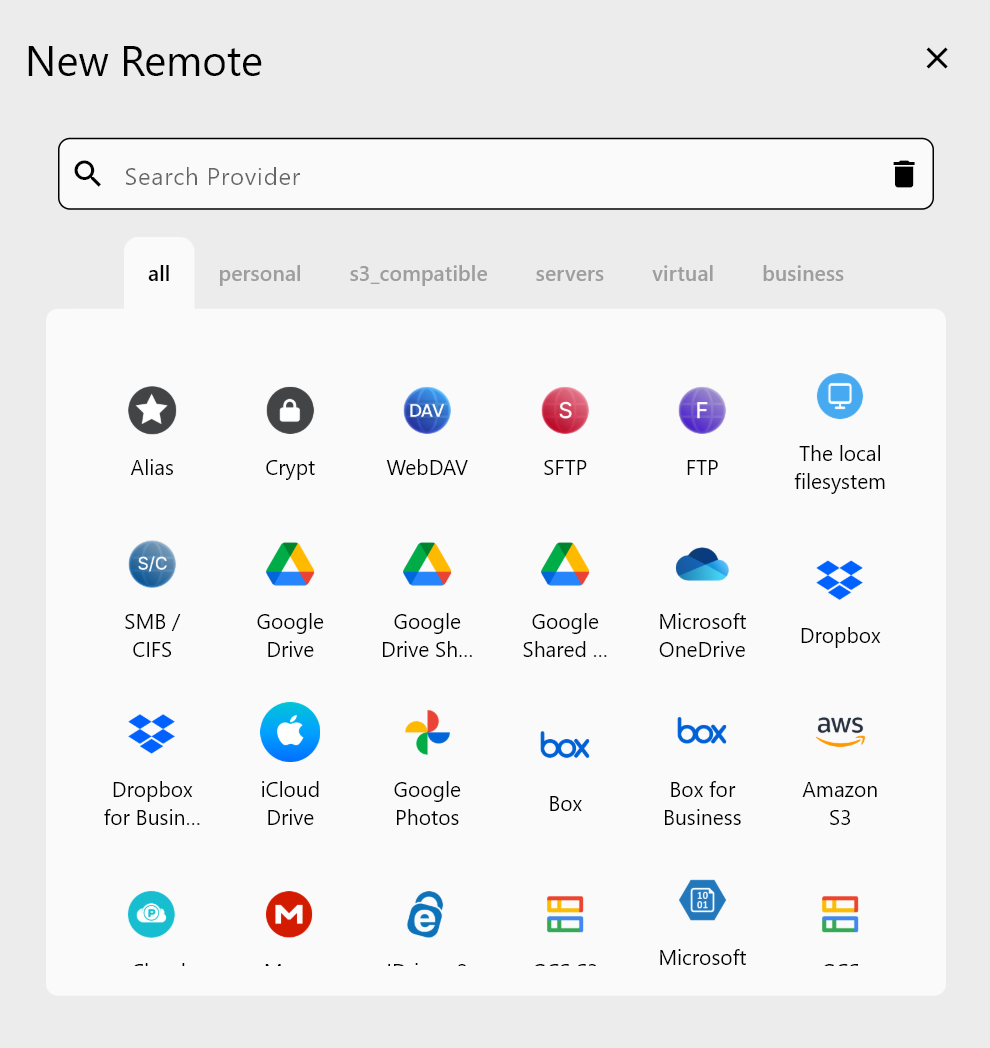
Once both remotes appear in the Remote Manager, open them side by side in the two-pane Explorer so you can confirm you're pointed at the right folders before configuring the transfer job.
Configure the Migration Job
Click Sync on the Home tab to launch the 4-step wizard. In Step 1, select your PikPak folder as the source and the target Mega folder as the destination, and choose One-way (modifying destination only) so PikPak stays untouched while Mega receives the copy. RcloneView also supports 1:N sync on the FREE license, so you could mirror the same PikPak source into Mega and a second destination in one pass if you want a redundant copy.
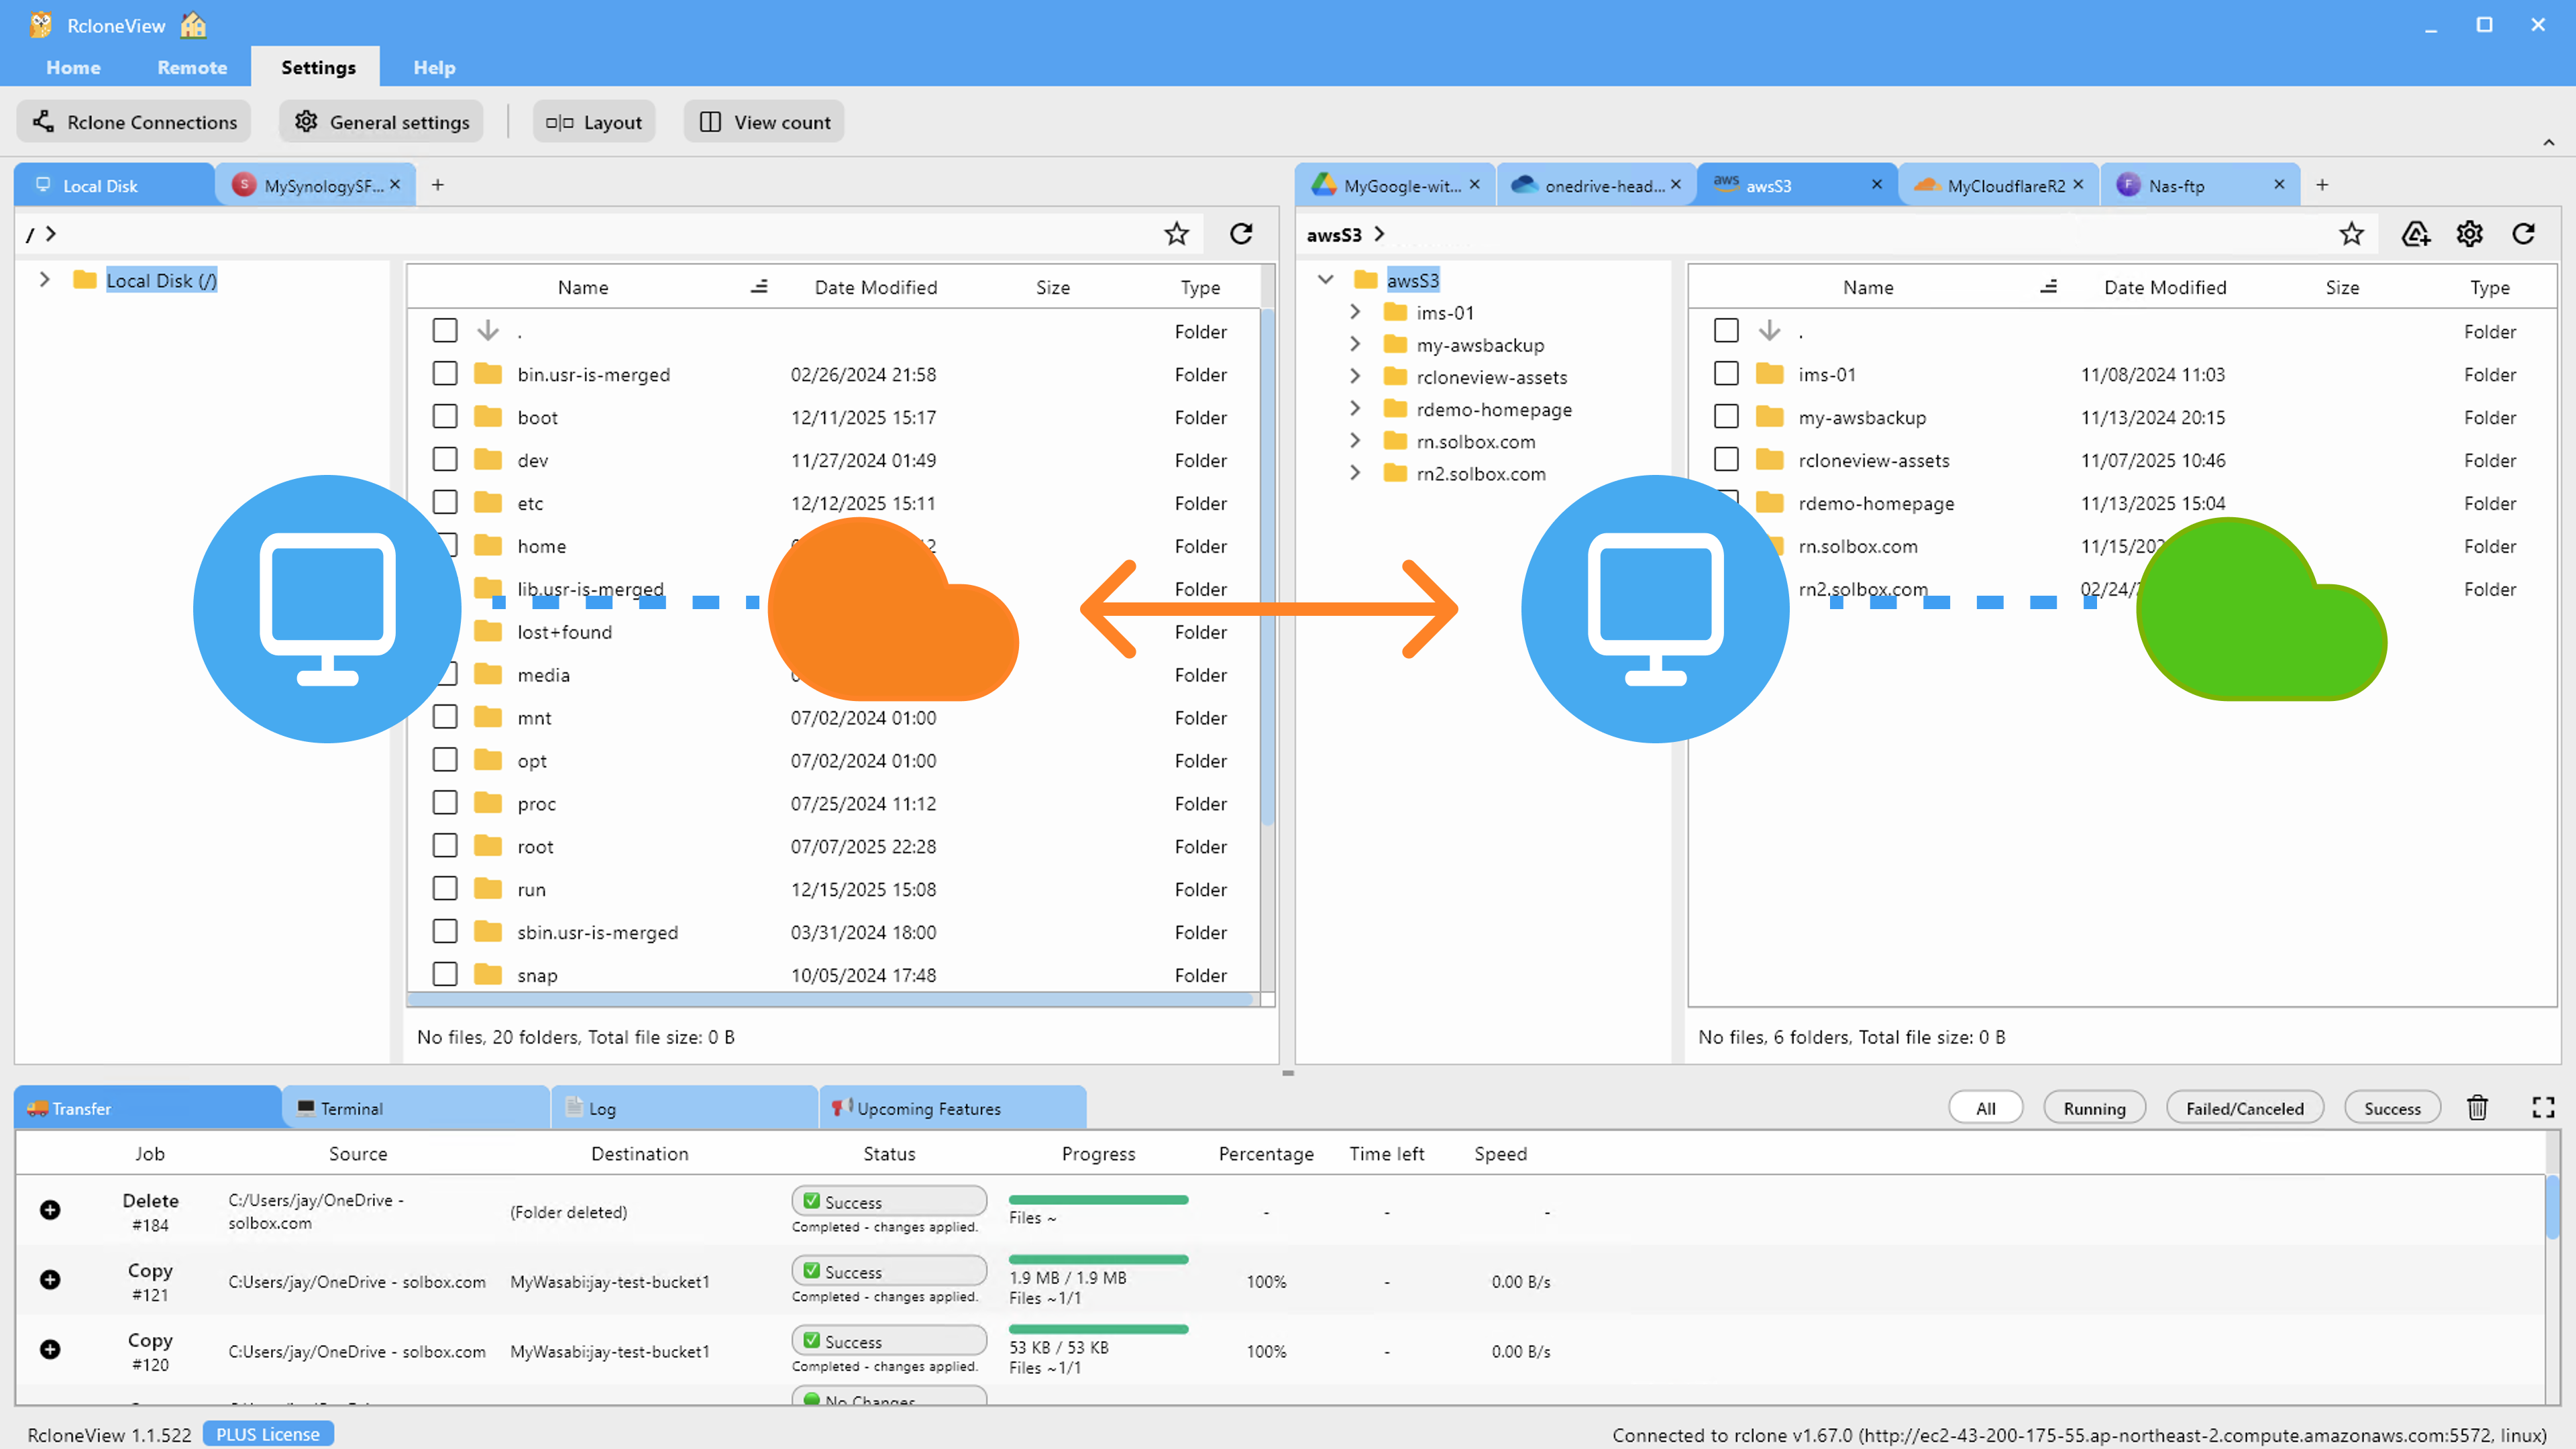
In Step 2, raise the number of file transfers if you're moving many small files at once, and in Step 3 apply a max file size or extension filter if you only want part of the library moved first. Run a Dry Run before the real transfer — it lists everything that will be copied so a wrong folder selection doesn't cost you a multi-hour transfer.
Monitor and Verify the Transfer
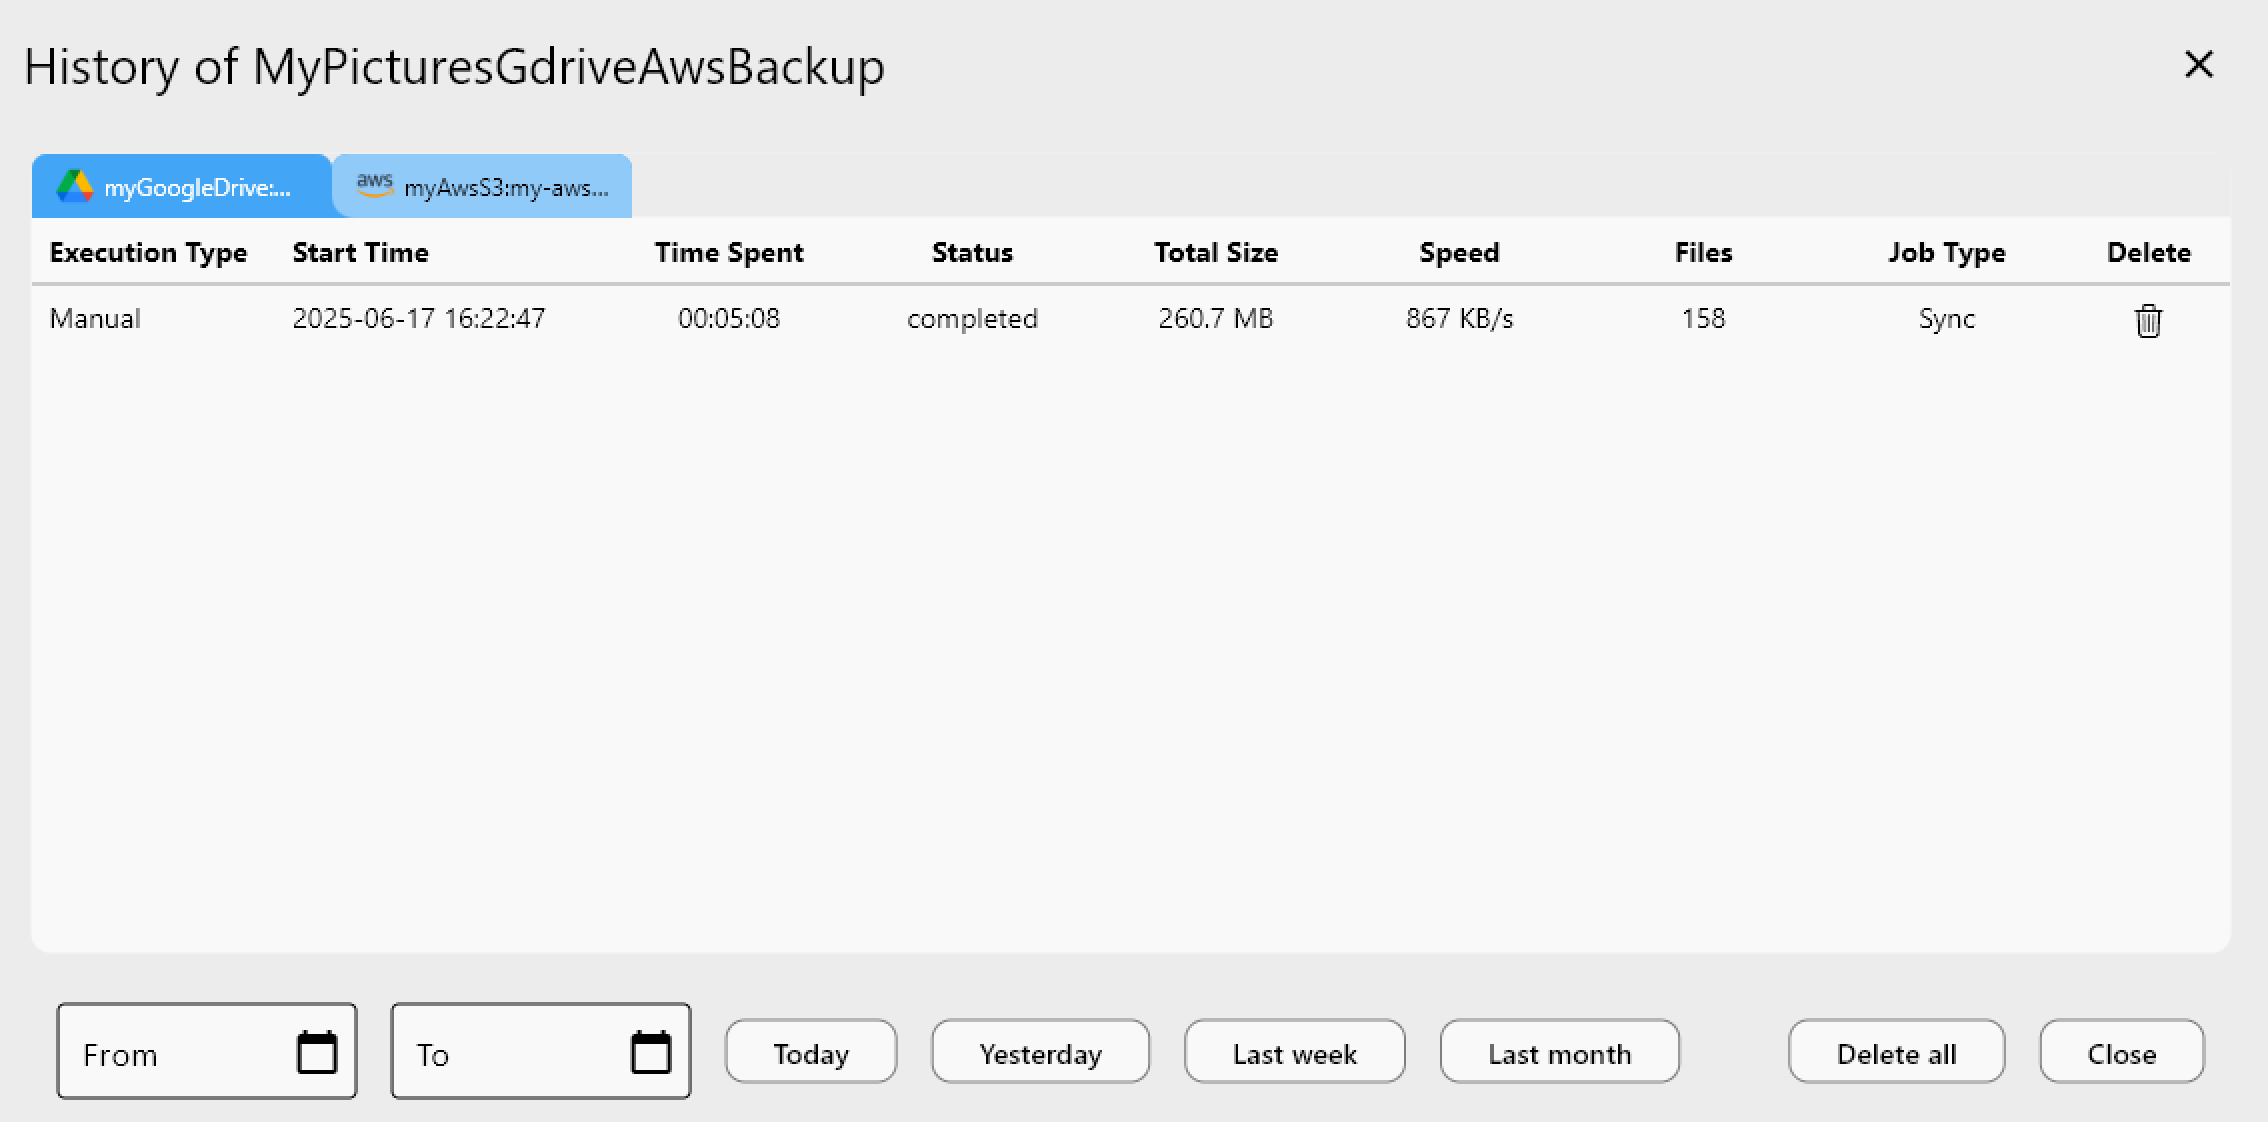
Start the job and switch to the Transferring tab for live transfer monitoring of progress, speed, and file count. Once it finishes, check Job History for the total size and file count transferred, then run Folder Compare between the PikPak source and the Mega destination to confirm both sides match before you consider the migration complete.
Getting Started
- Download RcloneView from rcloneview.com.
- Add your PikPak and Mega accounts as remotes via Remote Manager.
- Create a one-way sync job from PikPak to Mega and run a Dry Run first.
- Execute the job and verify the result with Job History and Folder Compare.
Once PikPak content lives in Mega, it's backed by encrypted storage built for keeping files around rather than a temporary downloads queue.
Related Guides:
Supported Cloud Providers