Migrate Yandex Disk to Backblaze B2 — Transfer Files with RcloneView

Copy everything from Yandex Disk into a Backblaze B2 bucket, and confirm every file arrived, without touching a command line.
If your files live on Yandex Disk but you want an independent, bucket-based copy in Backblaze B2, the usual route is a manual download-and-reupload through your own machine. RcloneView connects both services in one window and runs the transfer between them, with a dry run beforehand and a folder comparison afterward.
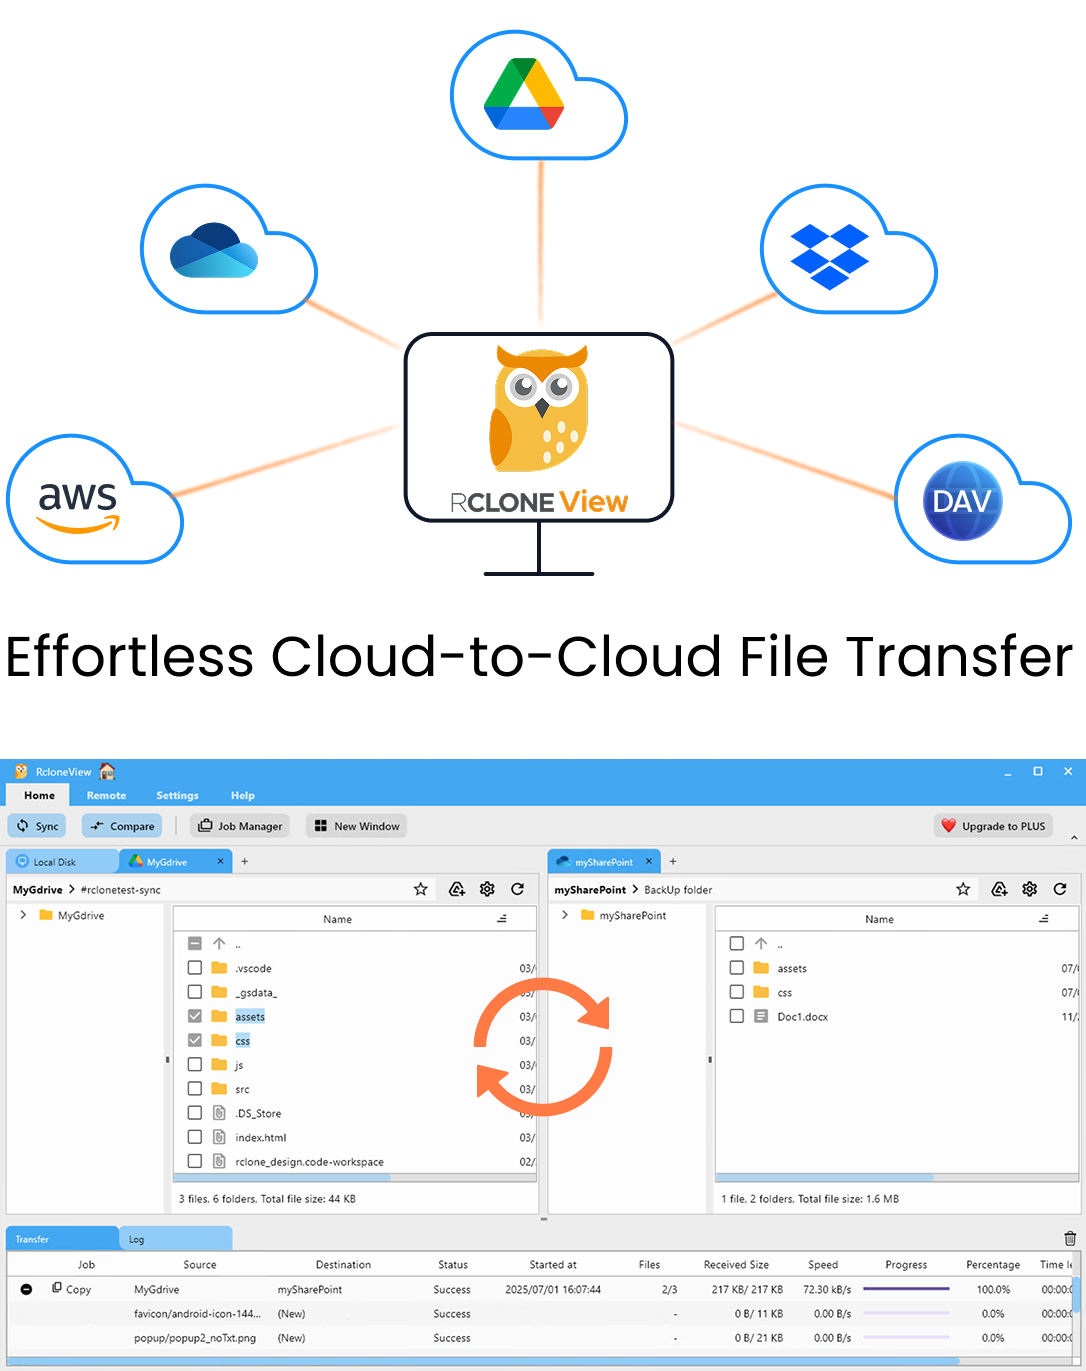
Manage & Sync All Clouds in One Place
RcloneView is a cross-platform GUI for rclone. Compare folders, transfer or sync files, and automate multi-cloud workflows with a clean, visual interface.
- One-click jobs: Copy · Sync · Compare
- Schedulers & history for reliable automation
- Works with Google Drive, OneDrive, Dropbox, S3, WebDAV, SFTP and more
Free core features. Plus automations available.
Connect Yandex Disk and Backblaze B2
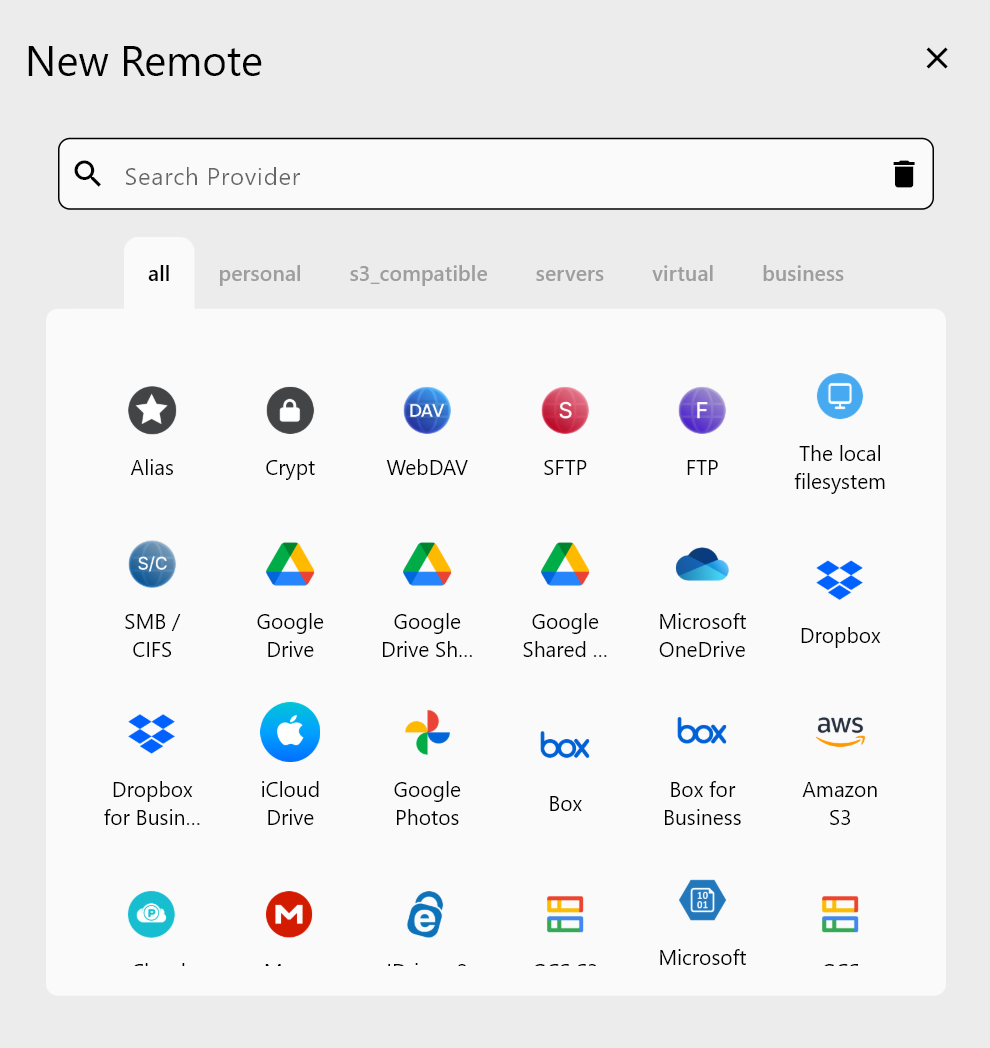
Yandex Disk uses OAuth: choose it in New Remote, and RcloneView opens your browser so you can sign in and authorize access. No API key is needed. Backblaze B2 uses an Application Key ID and Application Key from the Backblaze key management page. Create a key limited to the destination bucket so the migration credentials cannot reach anything else.
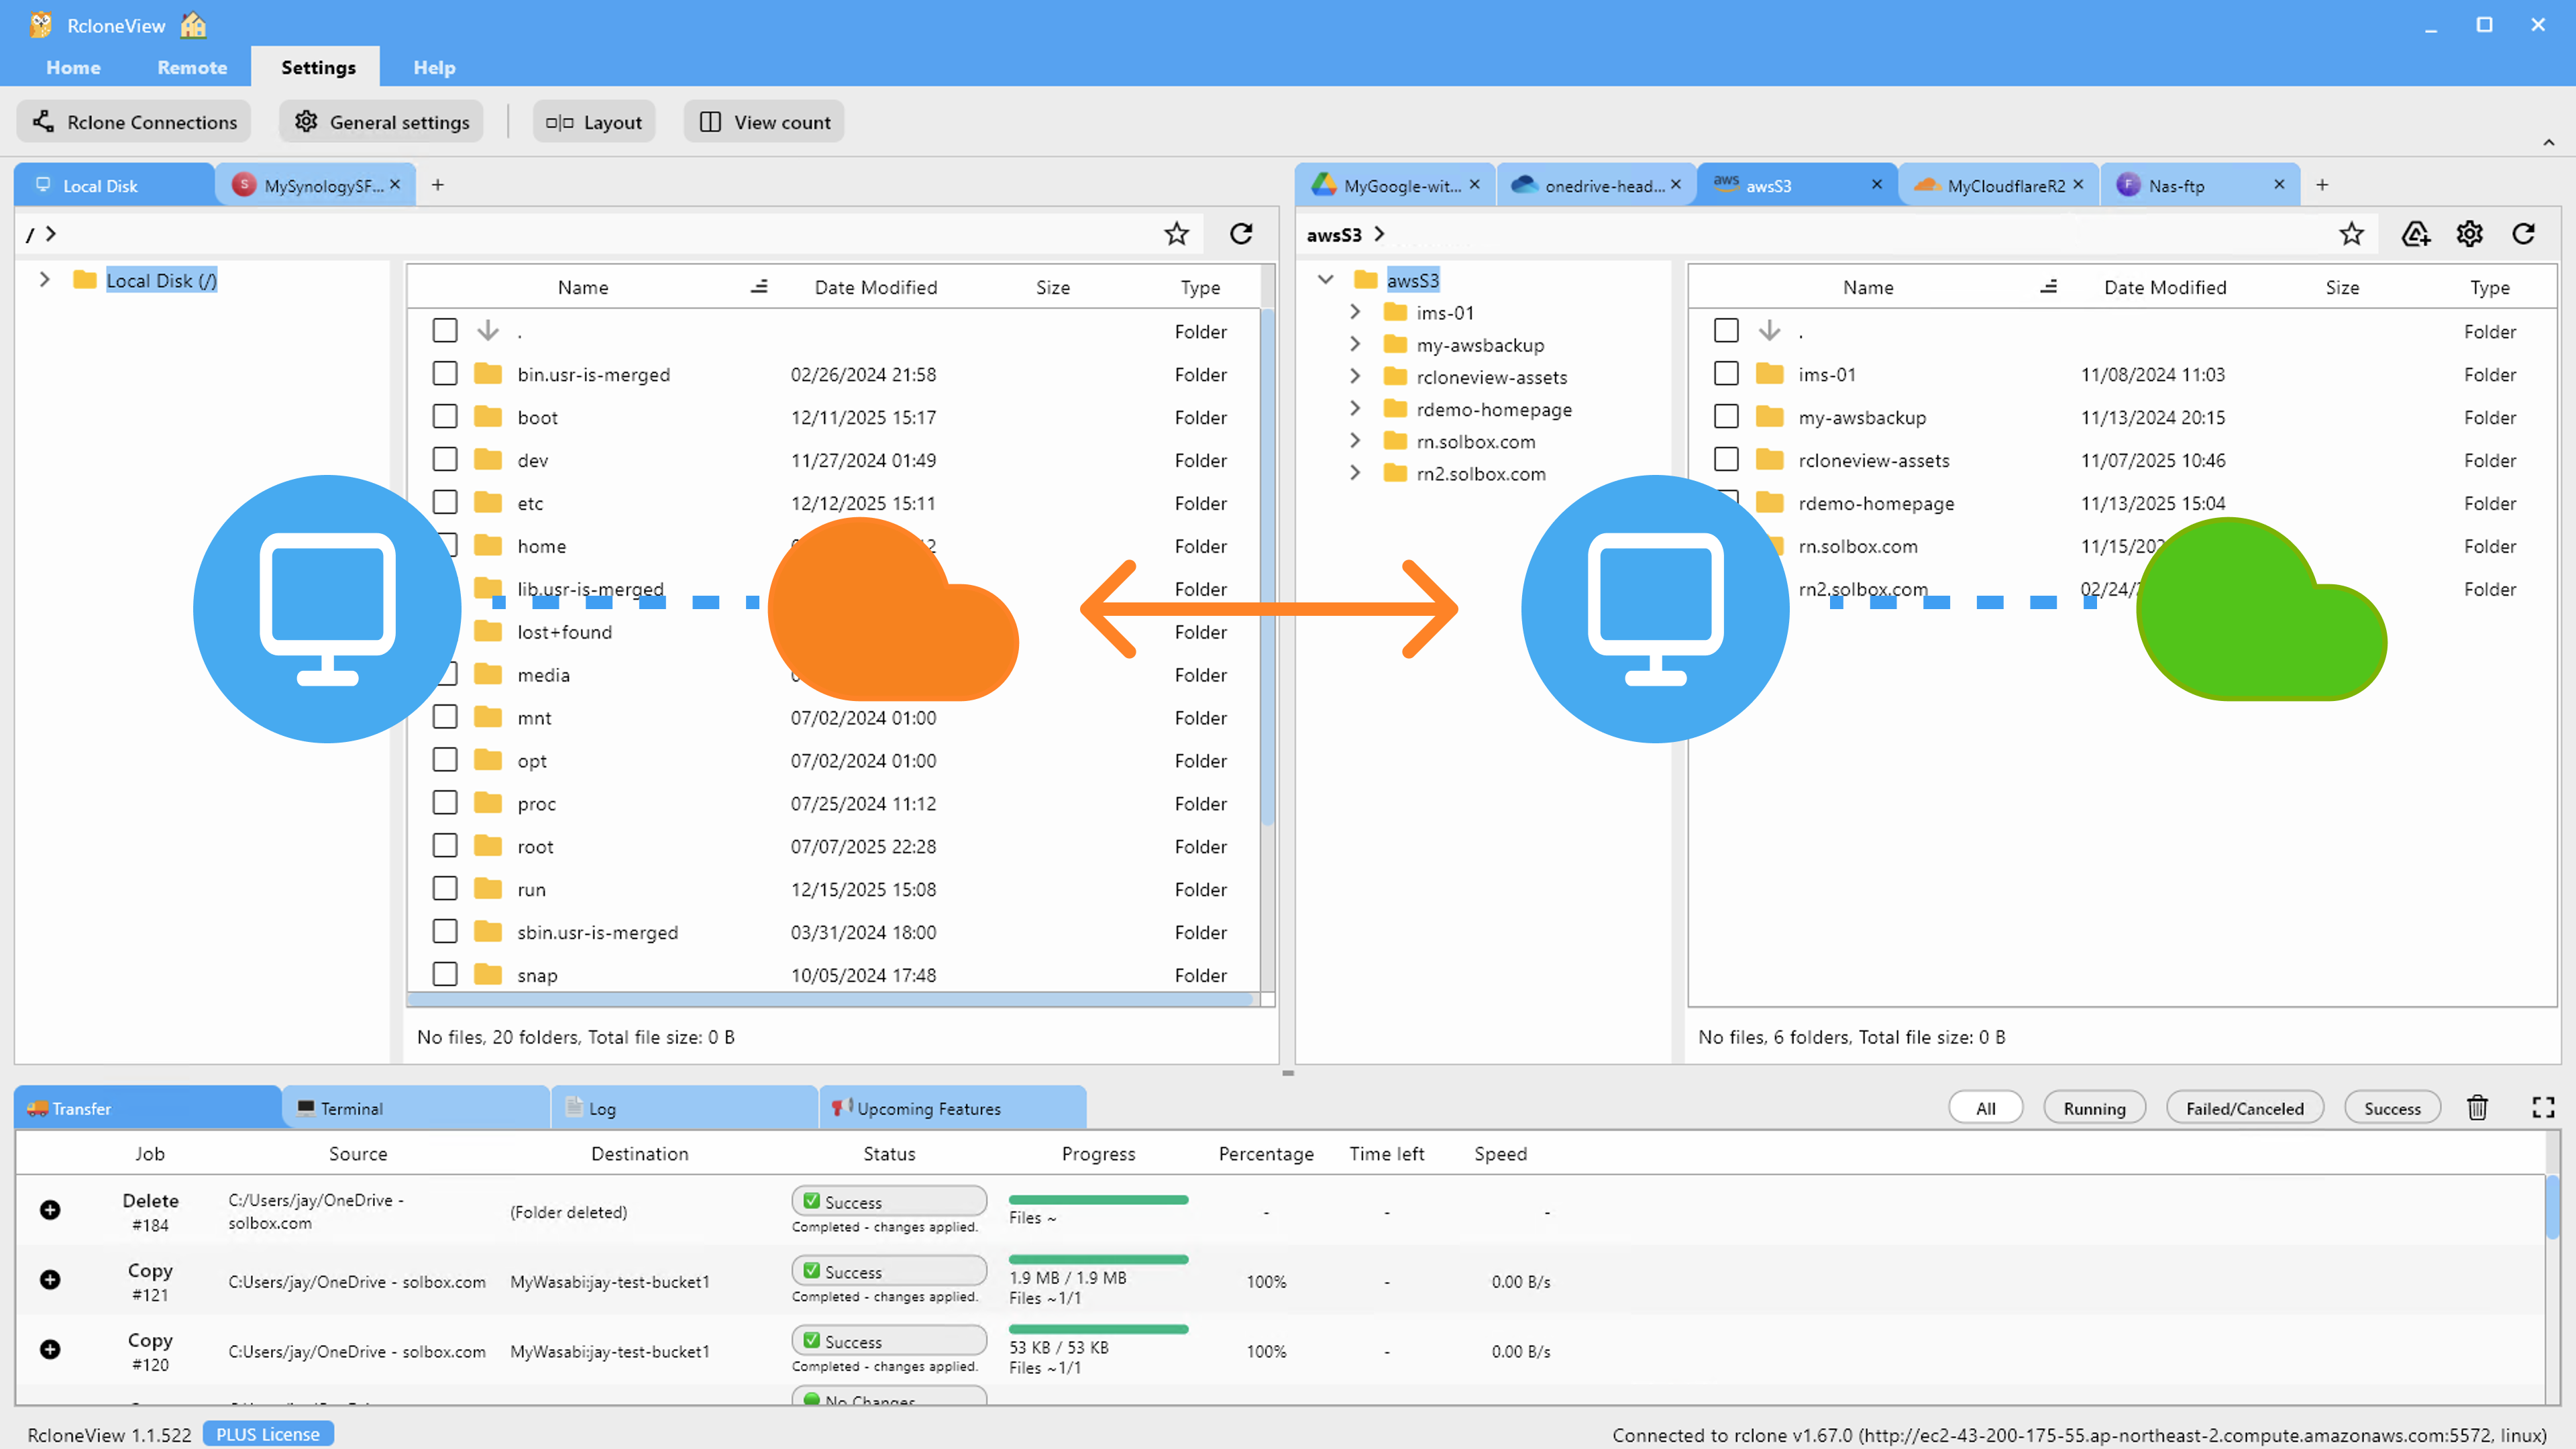
Open Yandex Disk in one Explorer panel and the B2 bucket in another. RcloneView mounts AND syncs 90+ providers from one window, on Windows, macOS, and Linux, so both sides stay visible while you work.
Plan the Layout and Copy
Decide how folders map onto the bucket. A small design studio with a decade of project folders might mirror each top-level Yandex Disk folder as a prefix in one bucket, which keeps paths readable later. Create the destination folders first with New Folder.
Drag a folder from the Yandex Disk panel to the B2 panel; between different remotes, drag and drop copies, so your originals stay in place. For a larger or repeatable migration, use the Sync wizard instead: set Yandex Disk as source, the bucket path as destination, and name the job with letters, numbers, hyphens, or underscores.
Dry Run and Monitor the Transfer
Run Dry Run first. It lists which files would be copied and which would be deleted, so a wrong source or destination is caught before it does damage. This matters most with one-way sync, which modifies the destination to match the source.
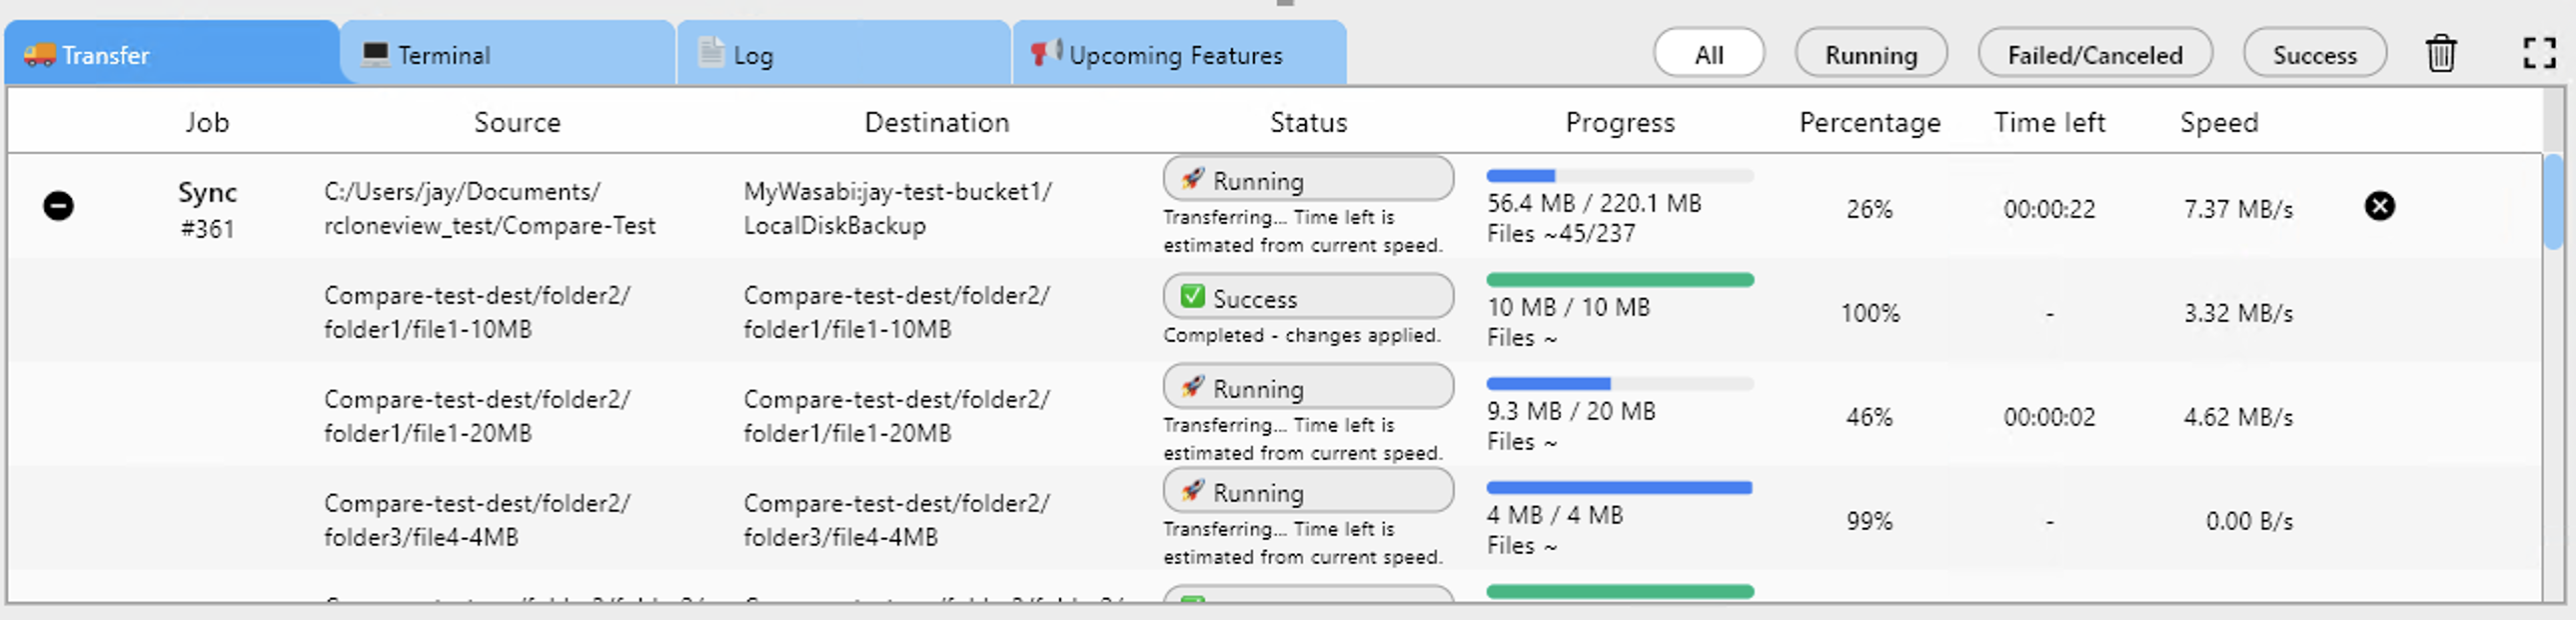
In Advanced Settings, adjust the number of concurrent file transfers and enable checksum comparison if you want hash-plus-size verification. Start conservatively, then raise concurrency once the transfer is stable. Watch progress, speed, and file counts in the Transferring tab.
Verify with Folder Compare
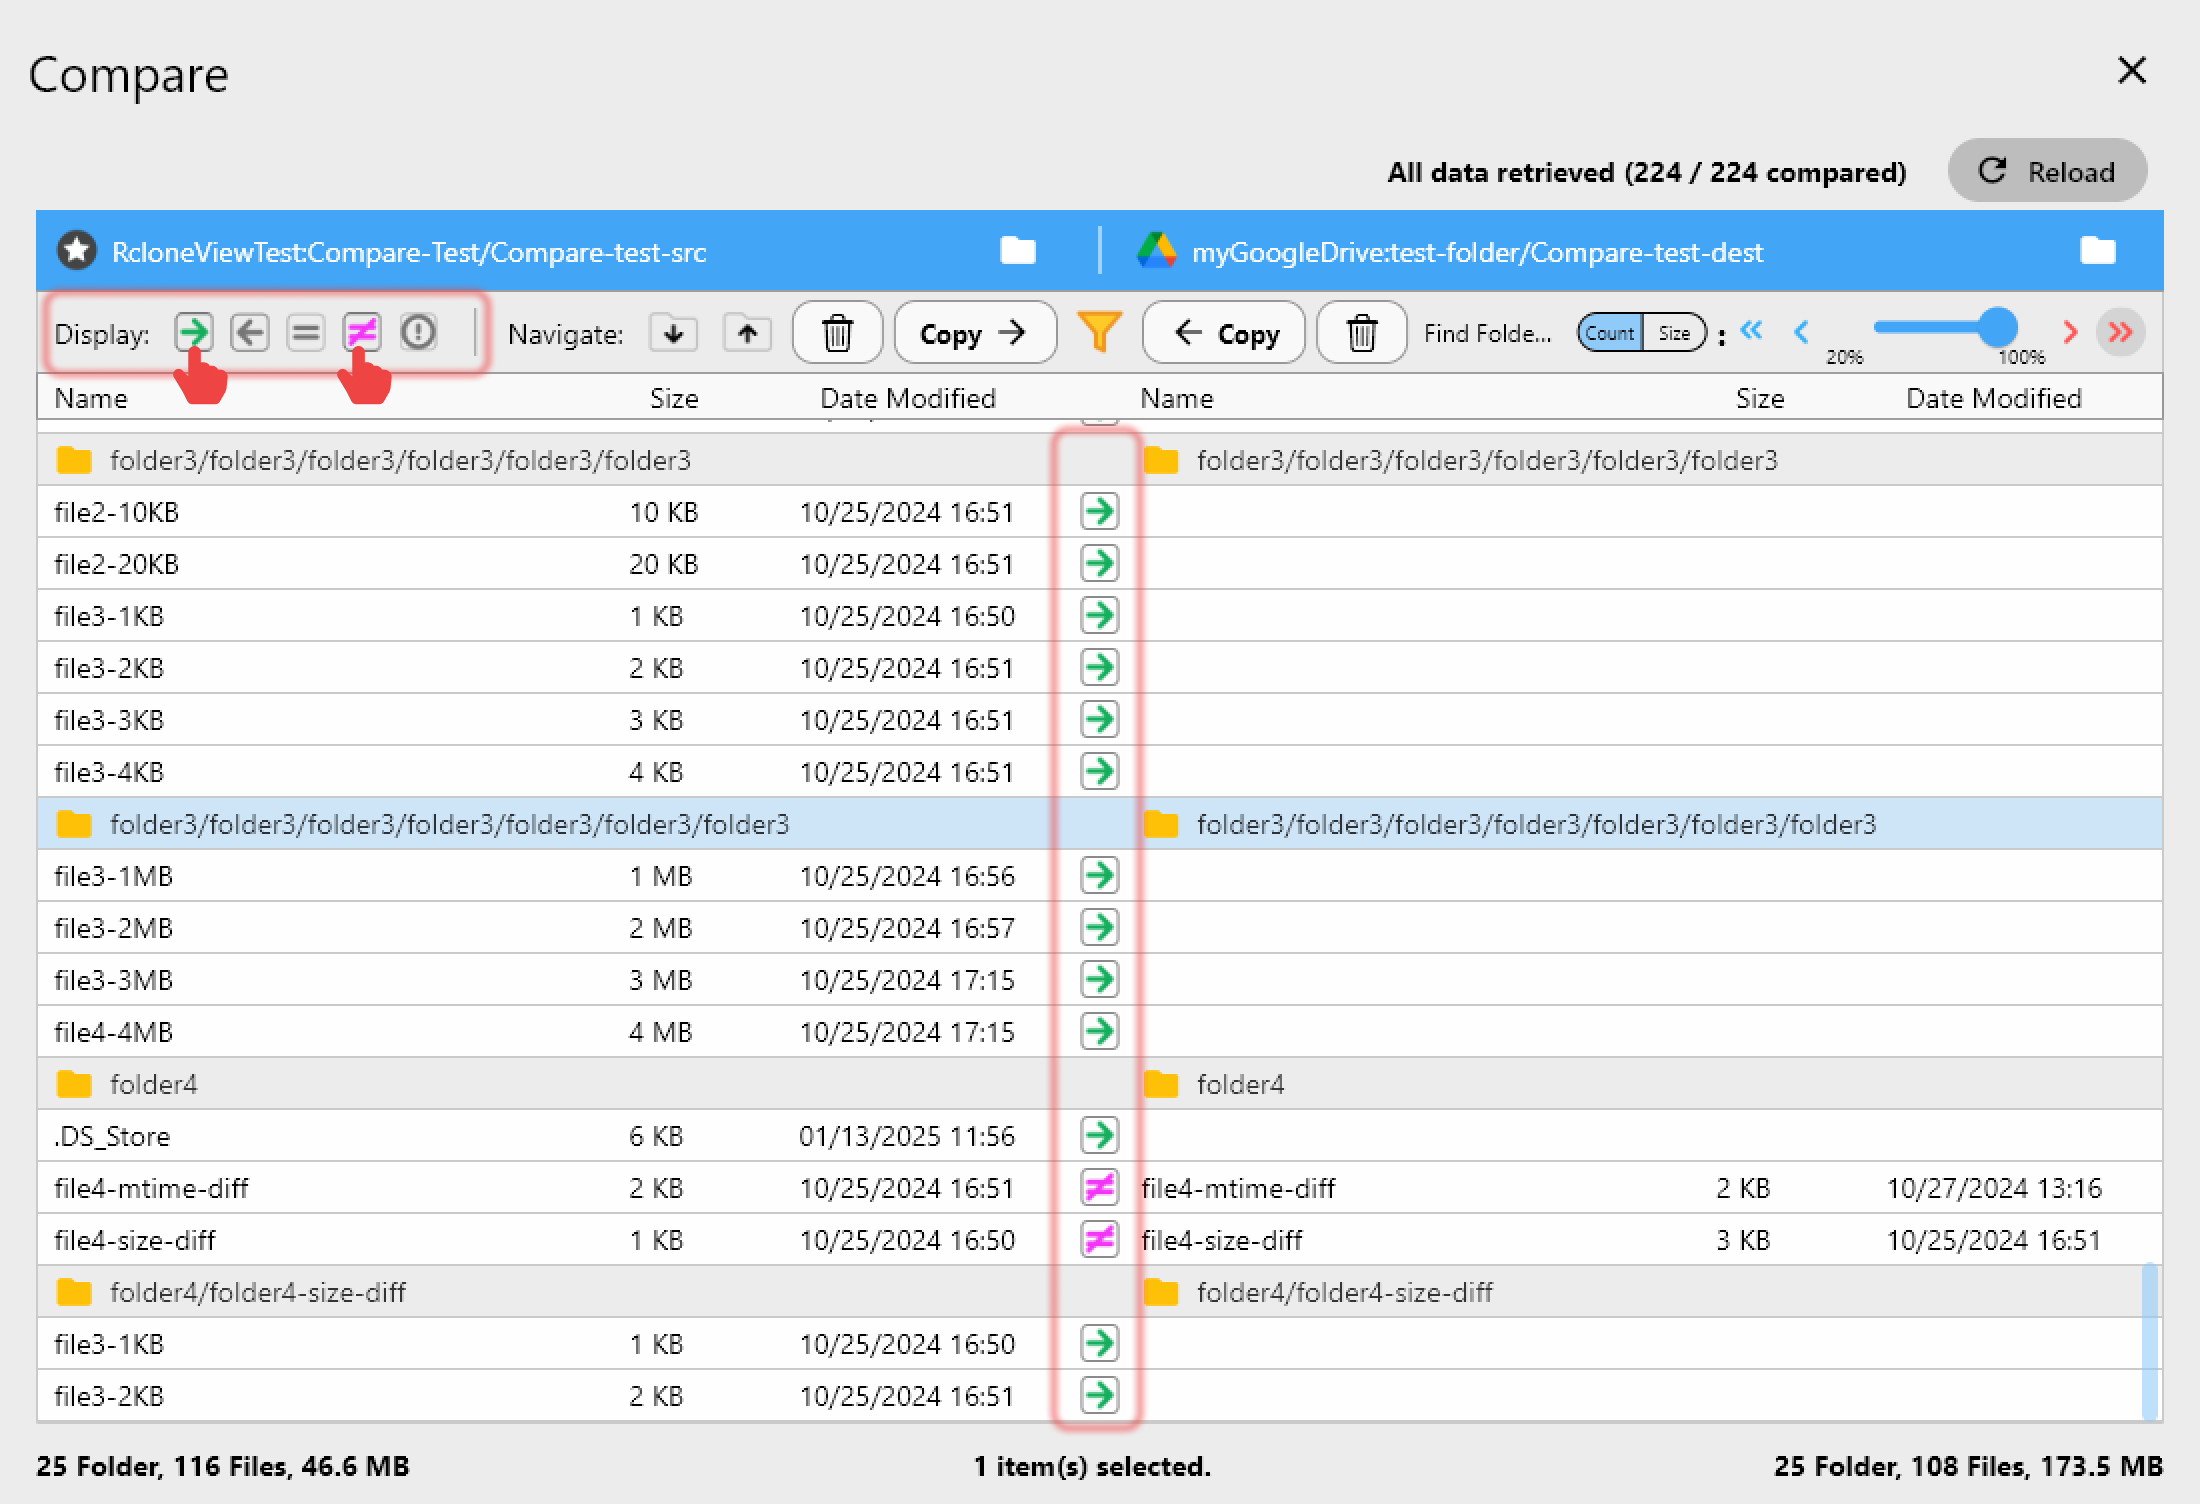
When the job finishes, open Compare from the Home tab with Yandex Disk on the left and B2 on the right. Filter to left-only or different files to spot anything missing, then use Copy right to fill gaps. Job History records status, size, speed, and file count for each run, which is handy as a migration record.
Getting Started
- Download RcloneView from rcloneview.com.
- Add Yandex Disk through OAuth and Backblaze B2 with a bucket-scoped application key.
- Run a Dry Run, then start the copy or sync job.
- Use Folder Compare to confirm the bucket matches the source.
A verified second copy in object storage means Yandex Disk is no longer the sole place your files live.
Related Guides:
- Migrate HiDrive to Backblaze B2
- Migrate Yandex Disk to Dropbox
- Dry Run: Preview Sync Before Transfer
Supported Cloud Providers