Migrate HiDrive to Backblaze B2 — Transfer Files with RcloneView

Move a growing HiDrive account onto Backblaze B2 object storage with checksum-verified transfers and a dry run before anything changes.
HiDrive works well for day-to-day file access, but teams that need cheaper long-term retention or an offsite object storage copy often look to Backblaze B2 once the dataset grows past what a personal or business cloud plan is meant for. RcloneView connects both services from the same window — HiDrive over OAuth and Backblaze B2 with an Application Key — so the migration runs as a single configured job instead of downloading everything locally first. RcloneView mounts AND syncs 90+ providers from one window, on Windows, macOS, and Linux.
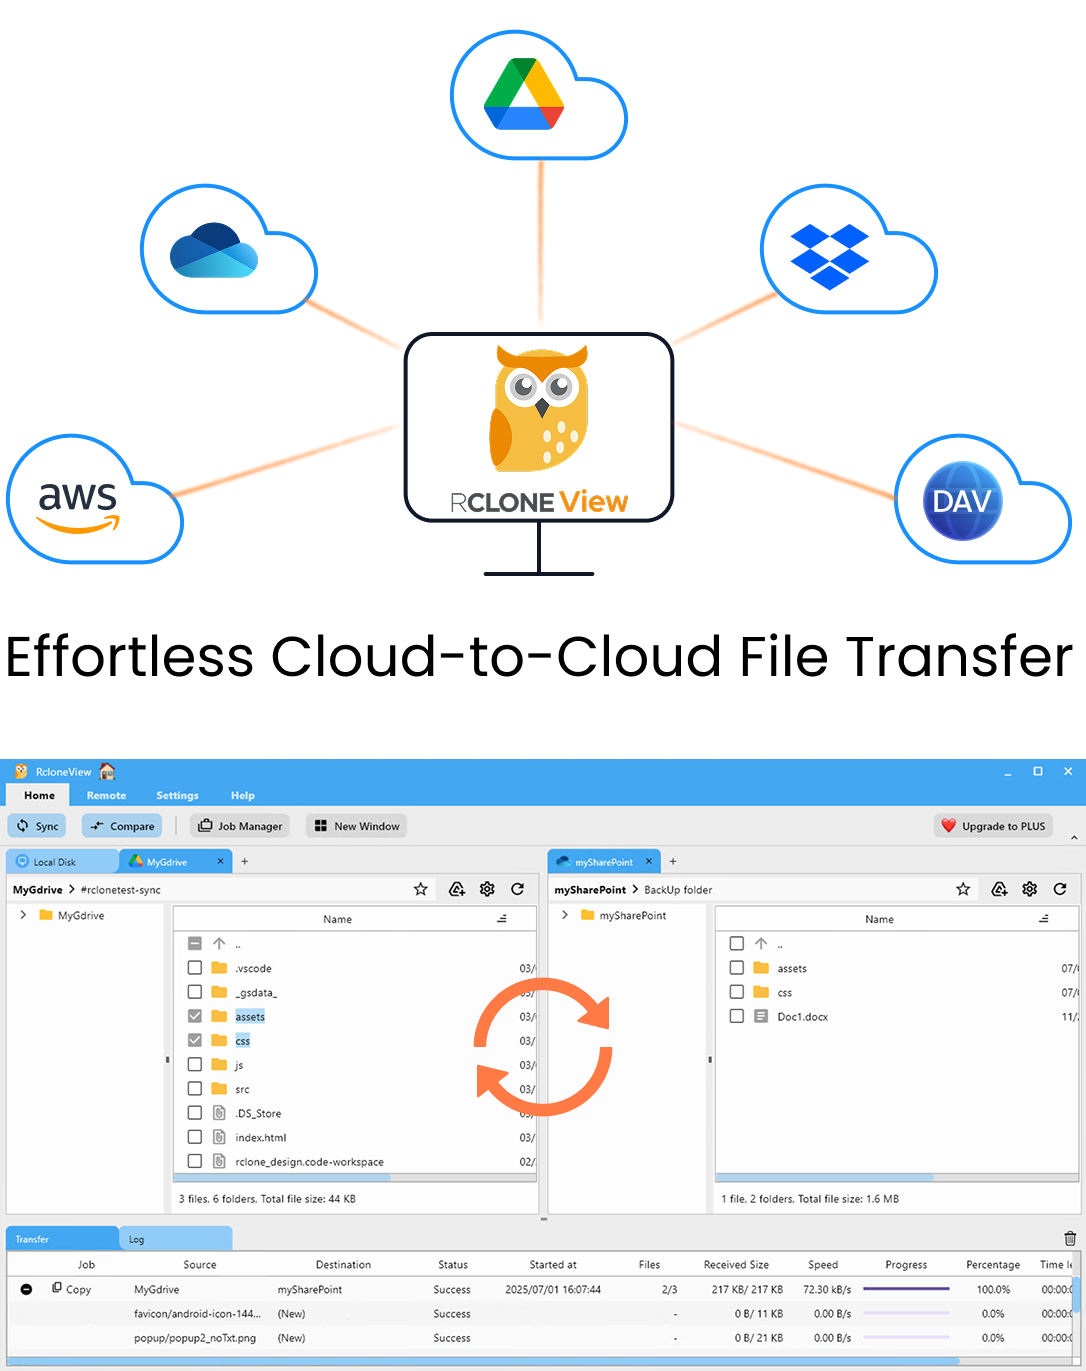
Manage & Sync All Clouds in One Place
RcloneView is a cross-platform GUI for rclone. Compare folders, transfer or sync files, and automate multi-cloud workflows with a clean, visual interface.
- One-click jobs: Copy · Sync · Compare
- Schedulers & history for reliable automation
- Works with Google Drive, OneDrive, Dropbox, S3, WebDAV, SFTP and more
Free core features. Plus automations available.
Connecting HiDrive and Backblaze B2
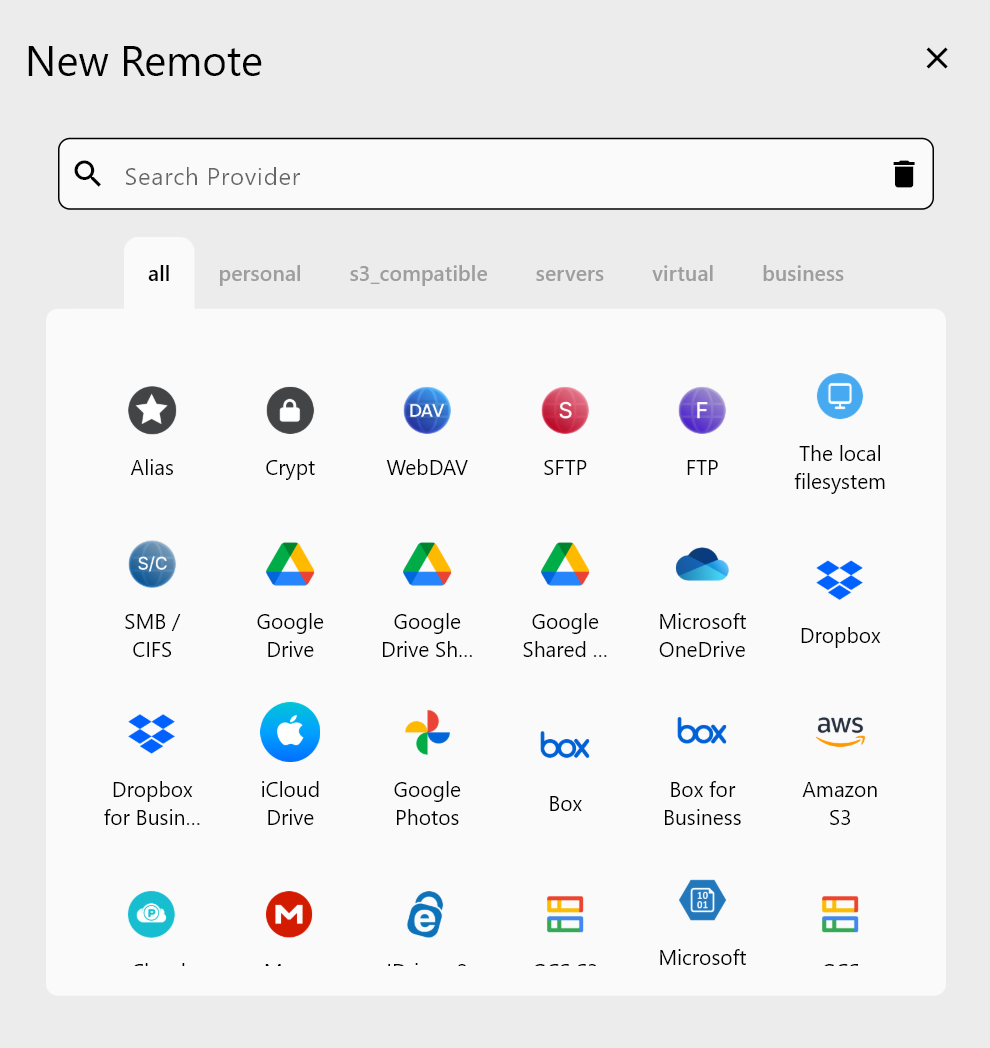
HiDrive is added through RcloneView's browser-based OAuth login — no API key entry required. Backblaze B2 needs an Application Key ID and Application Key, generated from the Backblaze account console, entered directly into the remote setup form. Once both remotes appear in the Remote Manager, they show up as separate tabs in the Explorer, so you can browse the HiDrive source and the B2 destination side by side before committing to a transfer.
Configuring the Migration Job
Use the Home tab's Sync button to open the 4-step wizard. In Step 1, select the HiDrive source folder and the Backblaze B2 bucket as the destination, and choose one-way sync so the migration only writes to B2 without touching HiDrive. Step 2 lets you enable checksum comparison so files are matched by hash and size rather than modification time alone, which matters when moving between two very different storage backends. Step 3 supports filtering by file type, max size, or age if you only want to migrate a subset first.
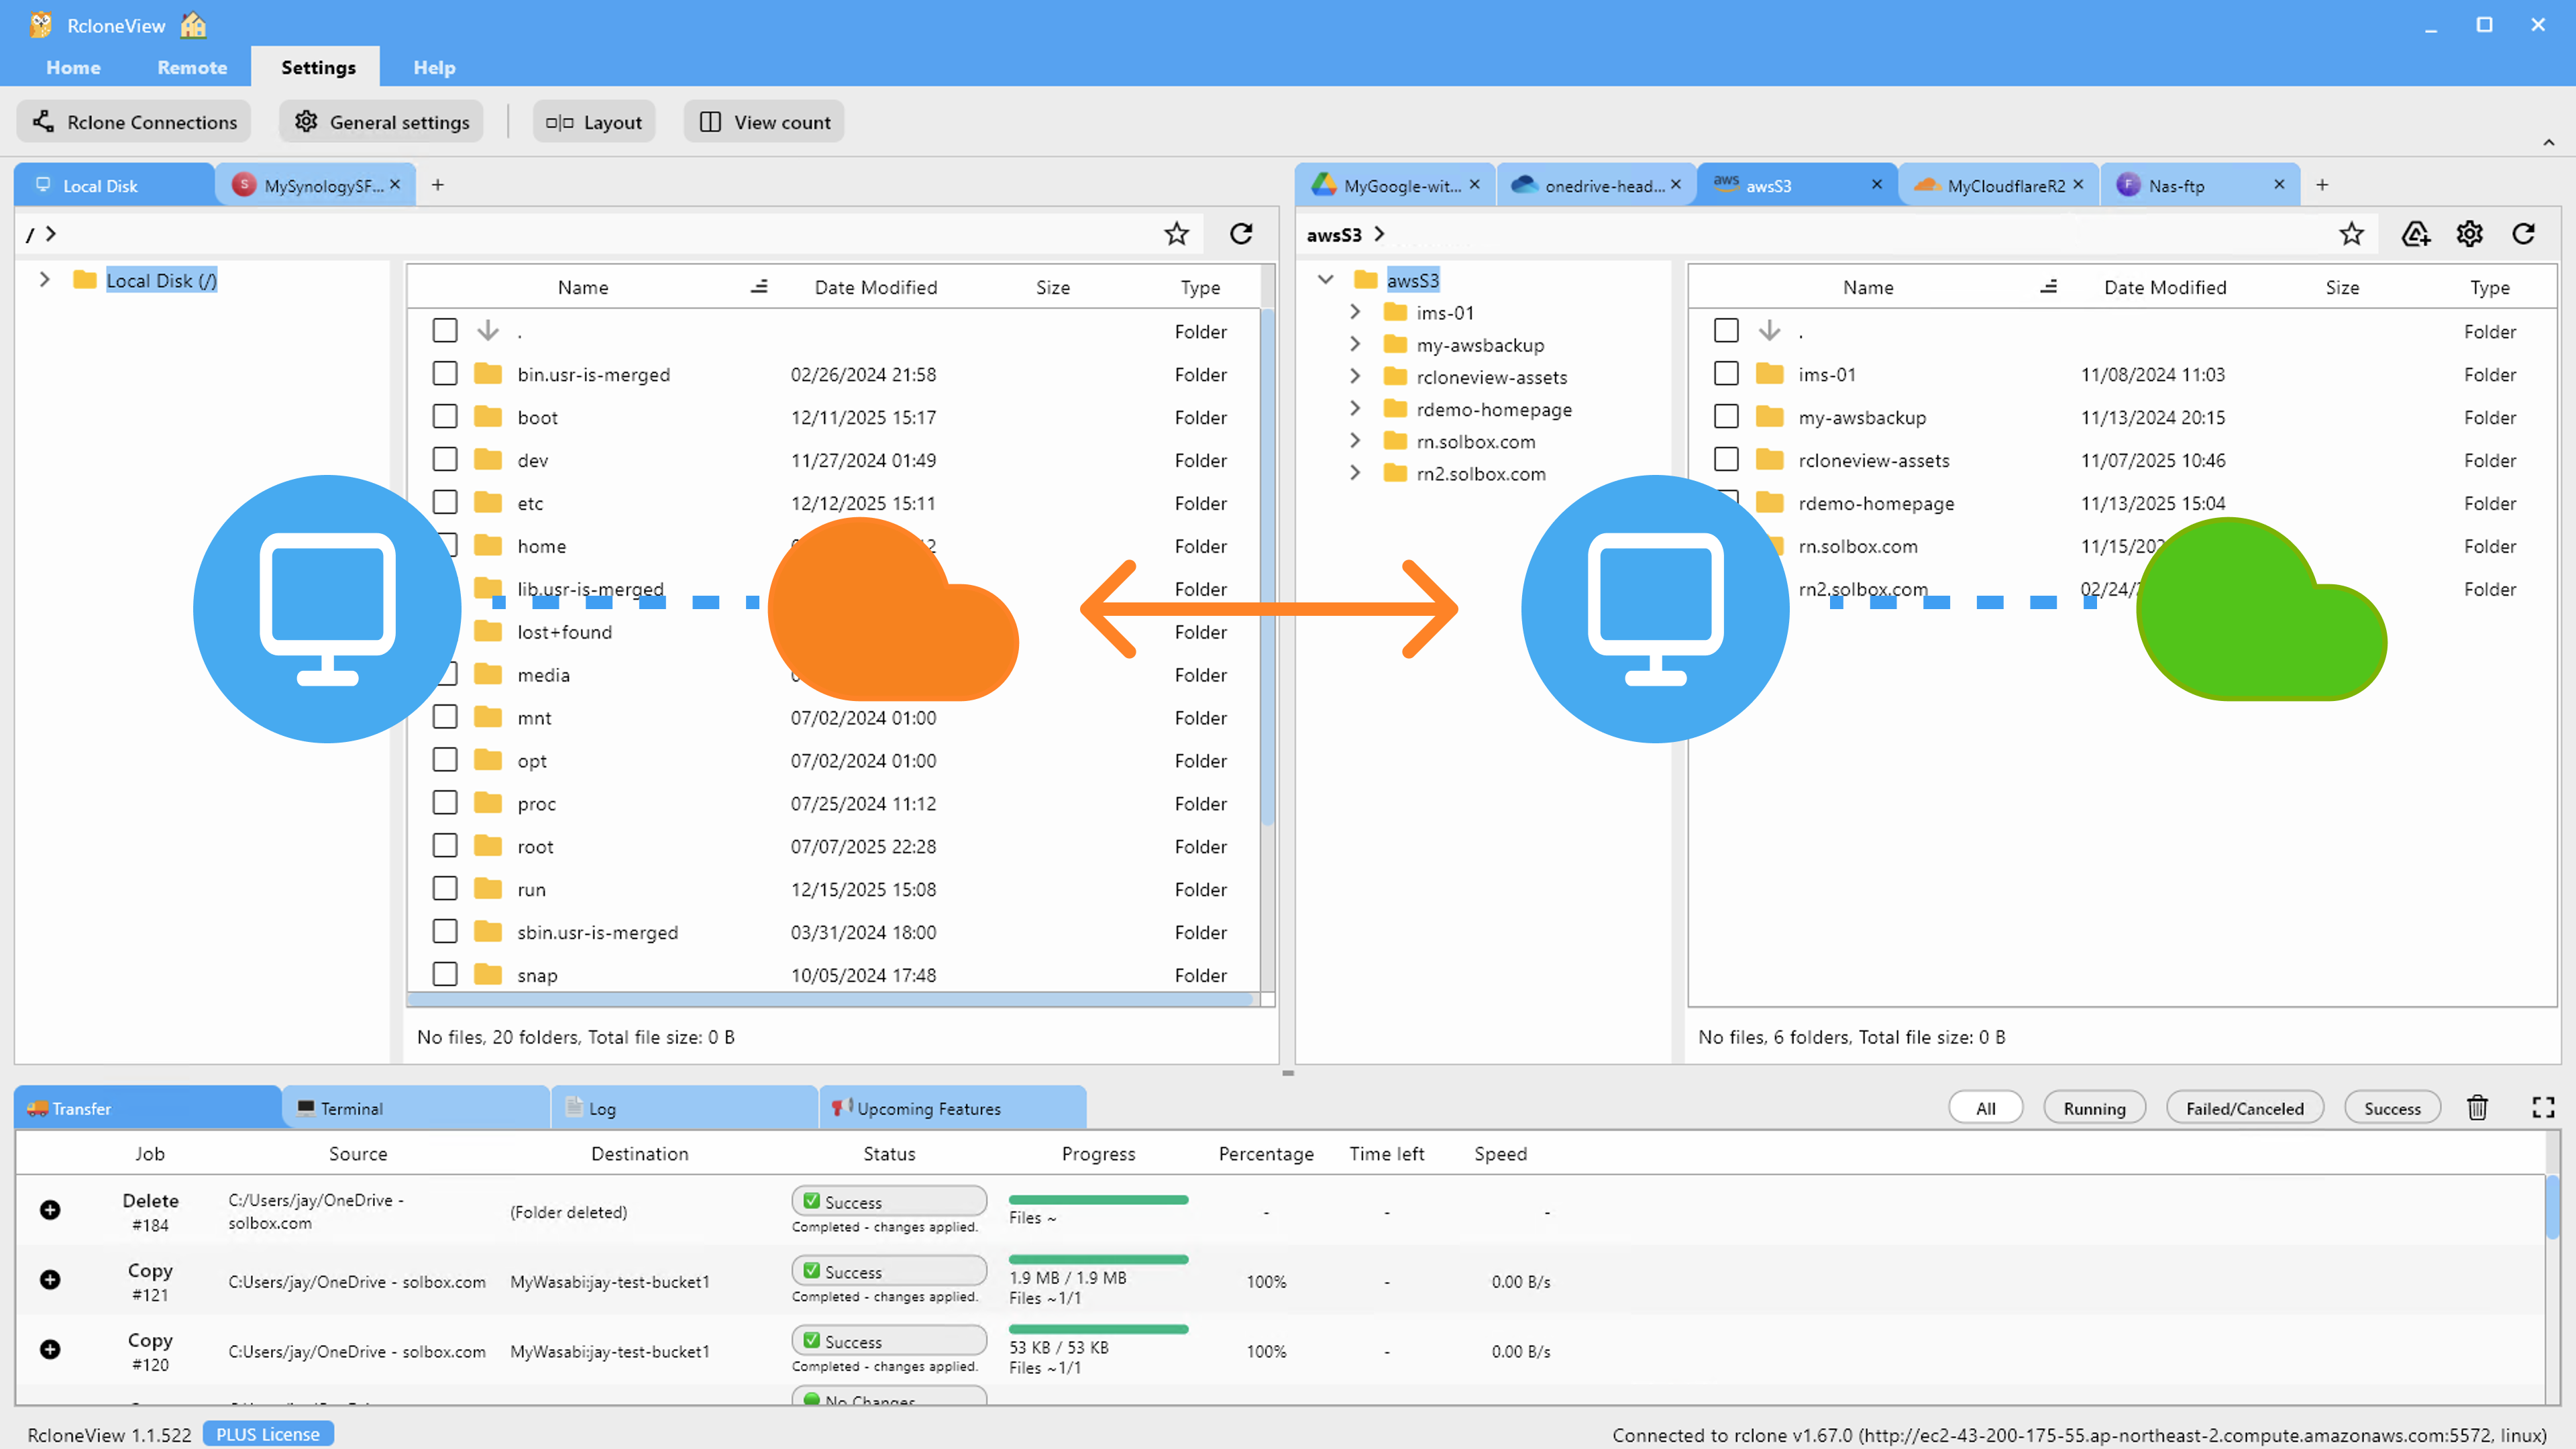
Run a Dry Run before the real transfer — it lists exactly what will be copied without moving a single byte, which is the safest way to catch a misconfigured folder path before it becomes a large unwanted transfer.
Verifying the Migration
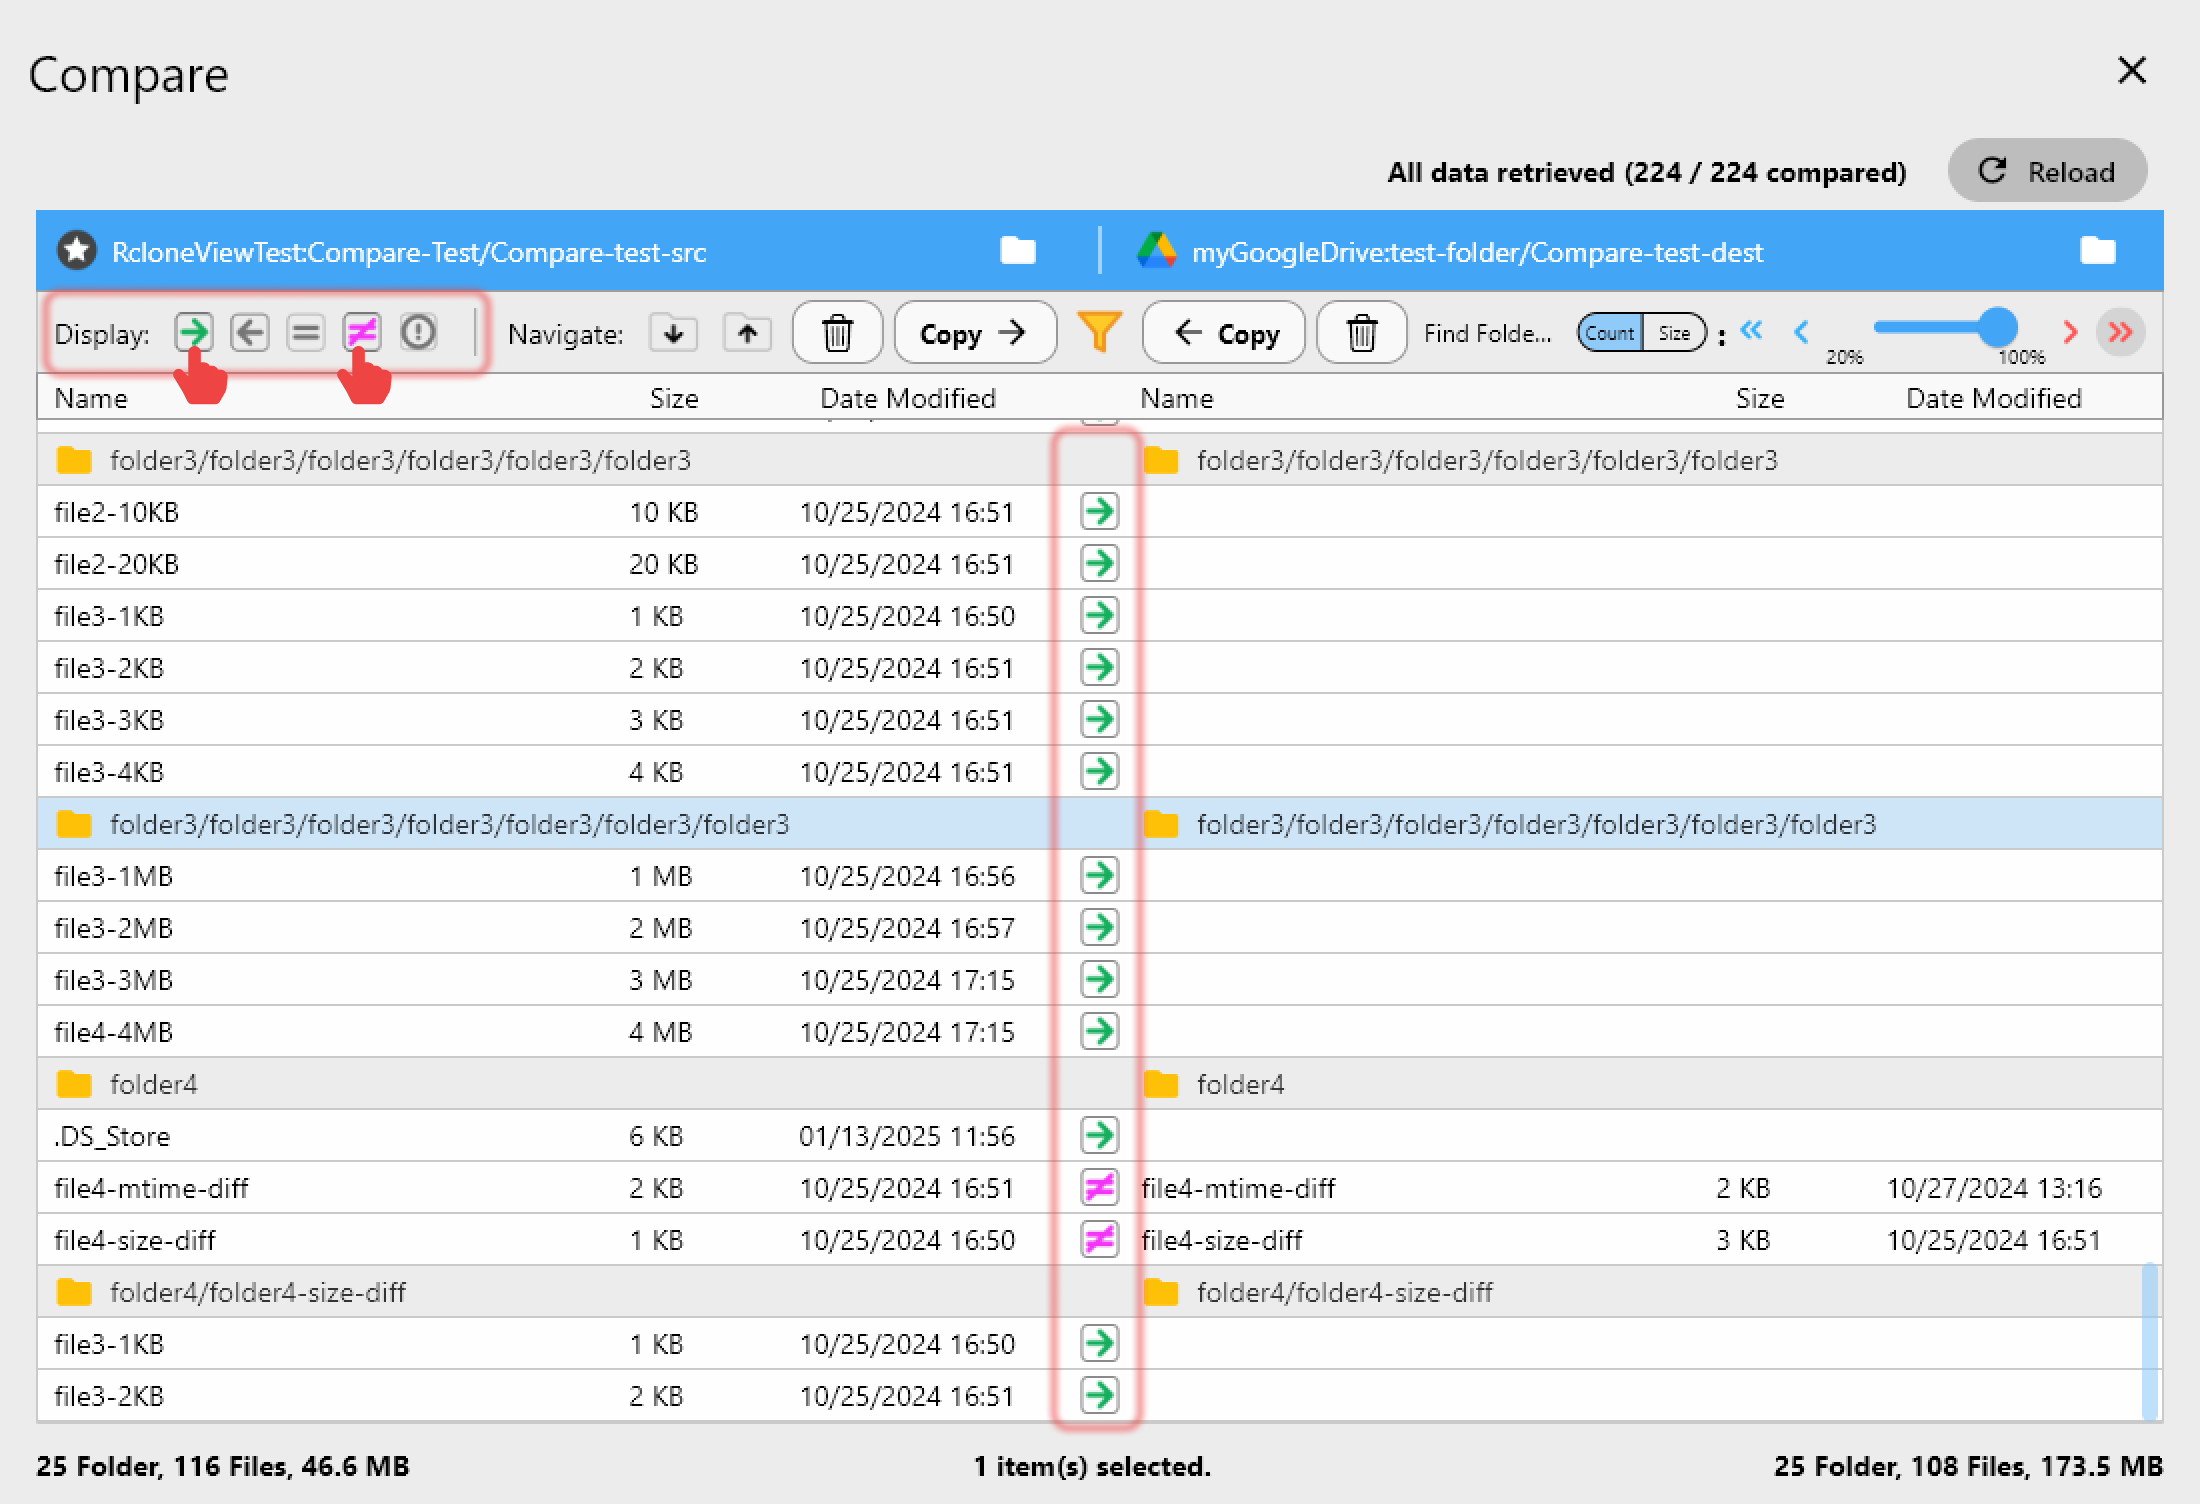
After the sync completes, open Folder Compare between the HiDrive source and the B2 destination to confirm file counts and sizes line up on both sides. Job History records the total size transferred, transfer speed, and file count for every run, so you have a record to check against if anything looks off.
Getting Started
- Download RcloneView from rcloneview.com.
- Connect your HiDrive account via OAuth and add Backblaze B2 with your Application Key ID and Key.
- Configure a one-way sync job with checksum comparison enabled, then run a Dry Run first.
- Confirm the result with Folder Compare and Job History before decommissioning the HiDrive copy.
Moving to Backblaze B2 doesn't mean giving up the folder structure and file organization already built on HiDrive — RcloneView keeps that intact through the transfer.
Related Guides:
- Manage HiDrive Storage — Sync and Backup Files with RcloneView
- Manage Backblaze B2 Storage — Sync and Backup Files with RcloneView
- Fix HiDrive Sync Errors — Reliable Cloud Backup with RcloneView
Supported Cloud Providers