Auto Mount on Startup — Always-Ready Cloud Drives in RcloneView
Instead of opening RcloneView and manually mounting each cloud drive every morning, Auto Mount on Startup brings them online automatically the moment your machine boots.
Anyone who relies on a mounted cloud drive as part of their daily workflow — editing files directly from Google Drive, pulling assets from an S3 bucket, or browsing an SFTP server like a local folder — knows the friction of remounting after every restart. RcloneView's Auto Mount on Startup setting removes that step entirely, reconnecting your configured mounts as soon as the app launches with the system.
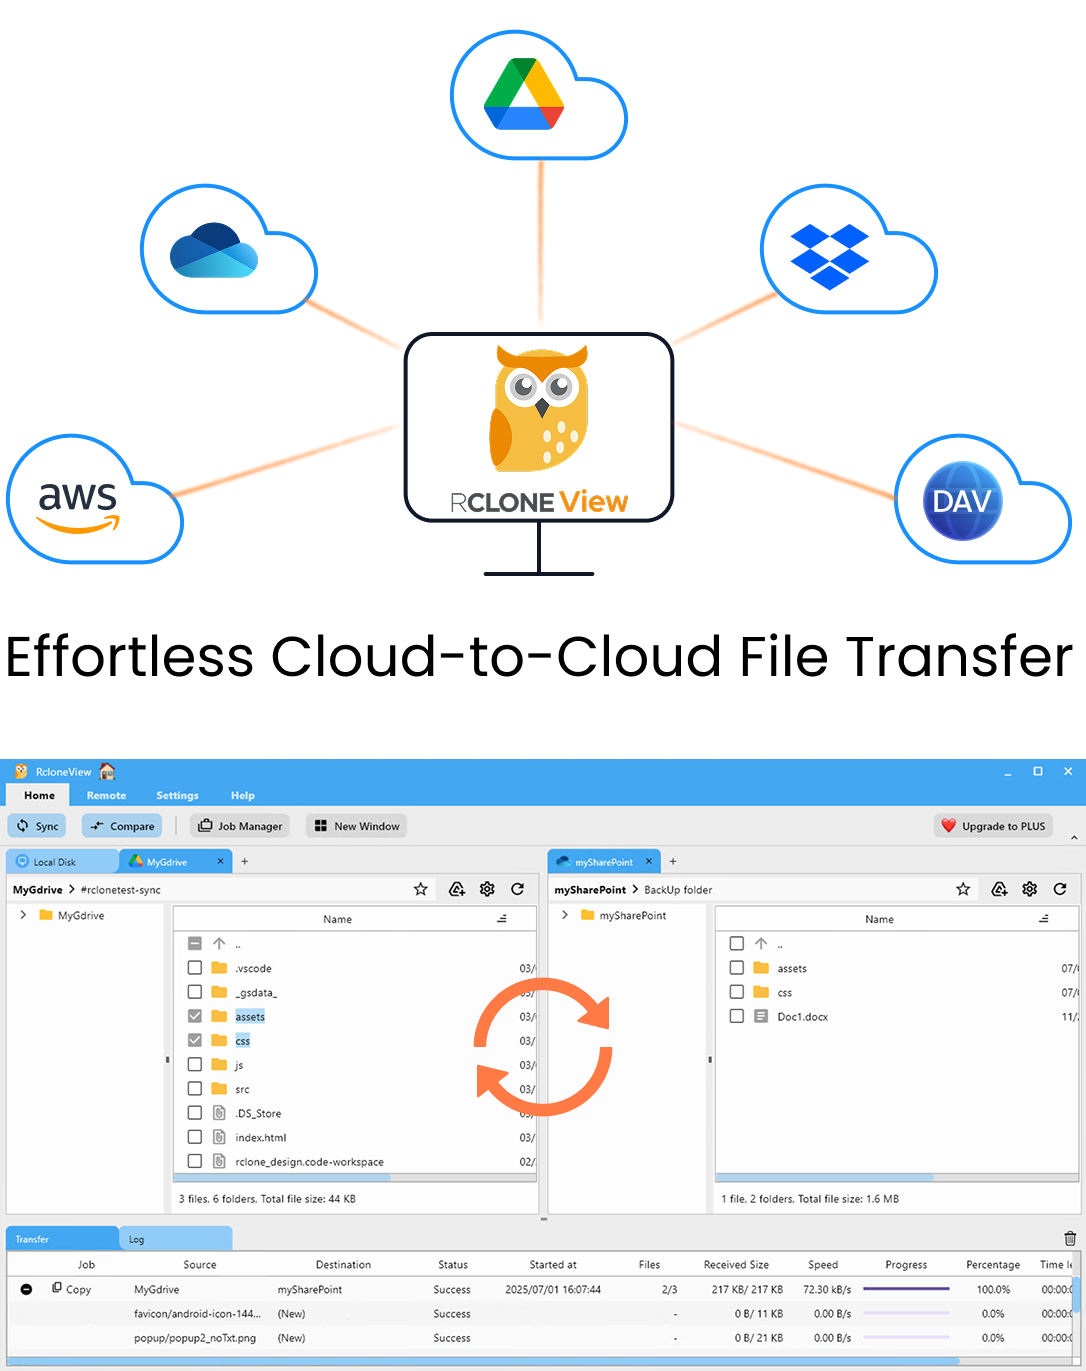
Manage & Sync All Clouds in One Place
RcloneView is a cross-platform GUI for rclone. Compare folders, transfer or sync files, and automate multi-cloud workflows with a clean, visual interface.
- One-click jobs: Copy · Sync · Compare
- Schedulers & history for reliable automation
- Works with Google Drive, OneDrive, Dropbox, S3, WebDAV, SFTP and more
Free core features. Plus automations available.
What Auto Mount on Startup Does
When enabled on a specific mount, RcloneView reconnects that remote's mount point automatically each time the app starts, using the exact cache mode, drive letter or path, and read-only settings you configured when you first created it. Combined with "Launch at login" in General settings, this means a mounted drive can be available in your file explorer before you've even opened the RcloneView window. This is a PLUS license feature, alongside Schedule-Based Sync and Multi-Window support — the FREE license still covers manual mounting, unmounting, and full file explorer access to every mount.
The setting is per-mount, not global, so you can choose exactly which drives reconnect automatically. A rarely used archive remote can stay manual while your primary working drives — say, a Google Drive folder and an S3 bucket used daily — mount themselves every time.
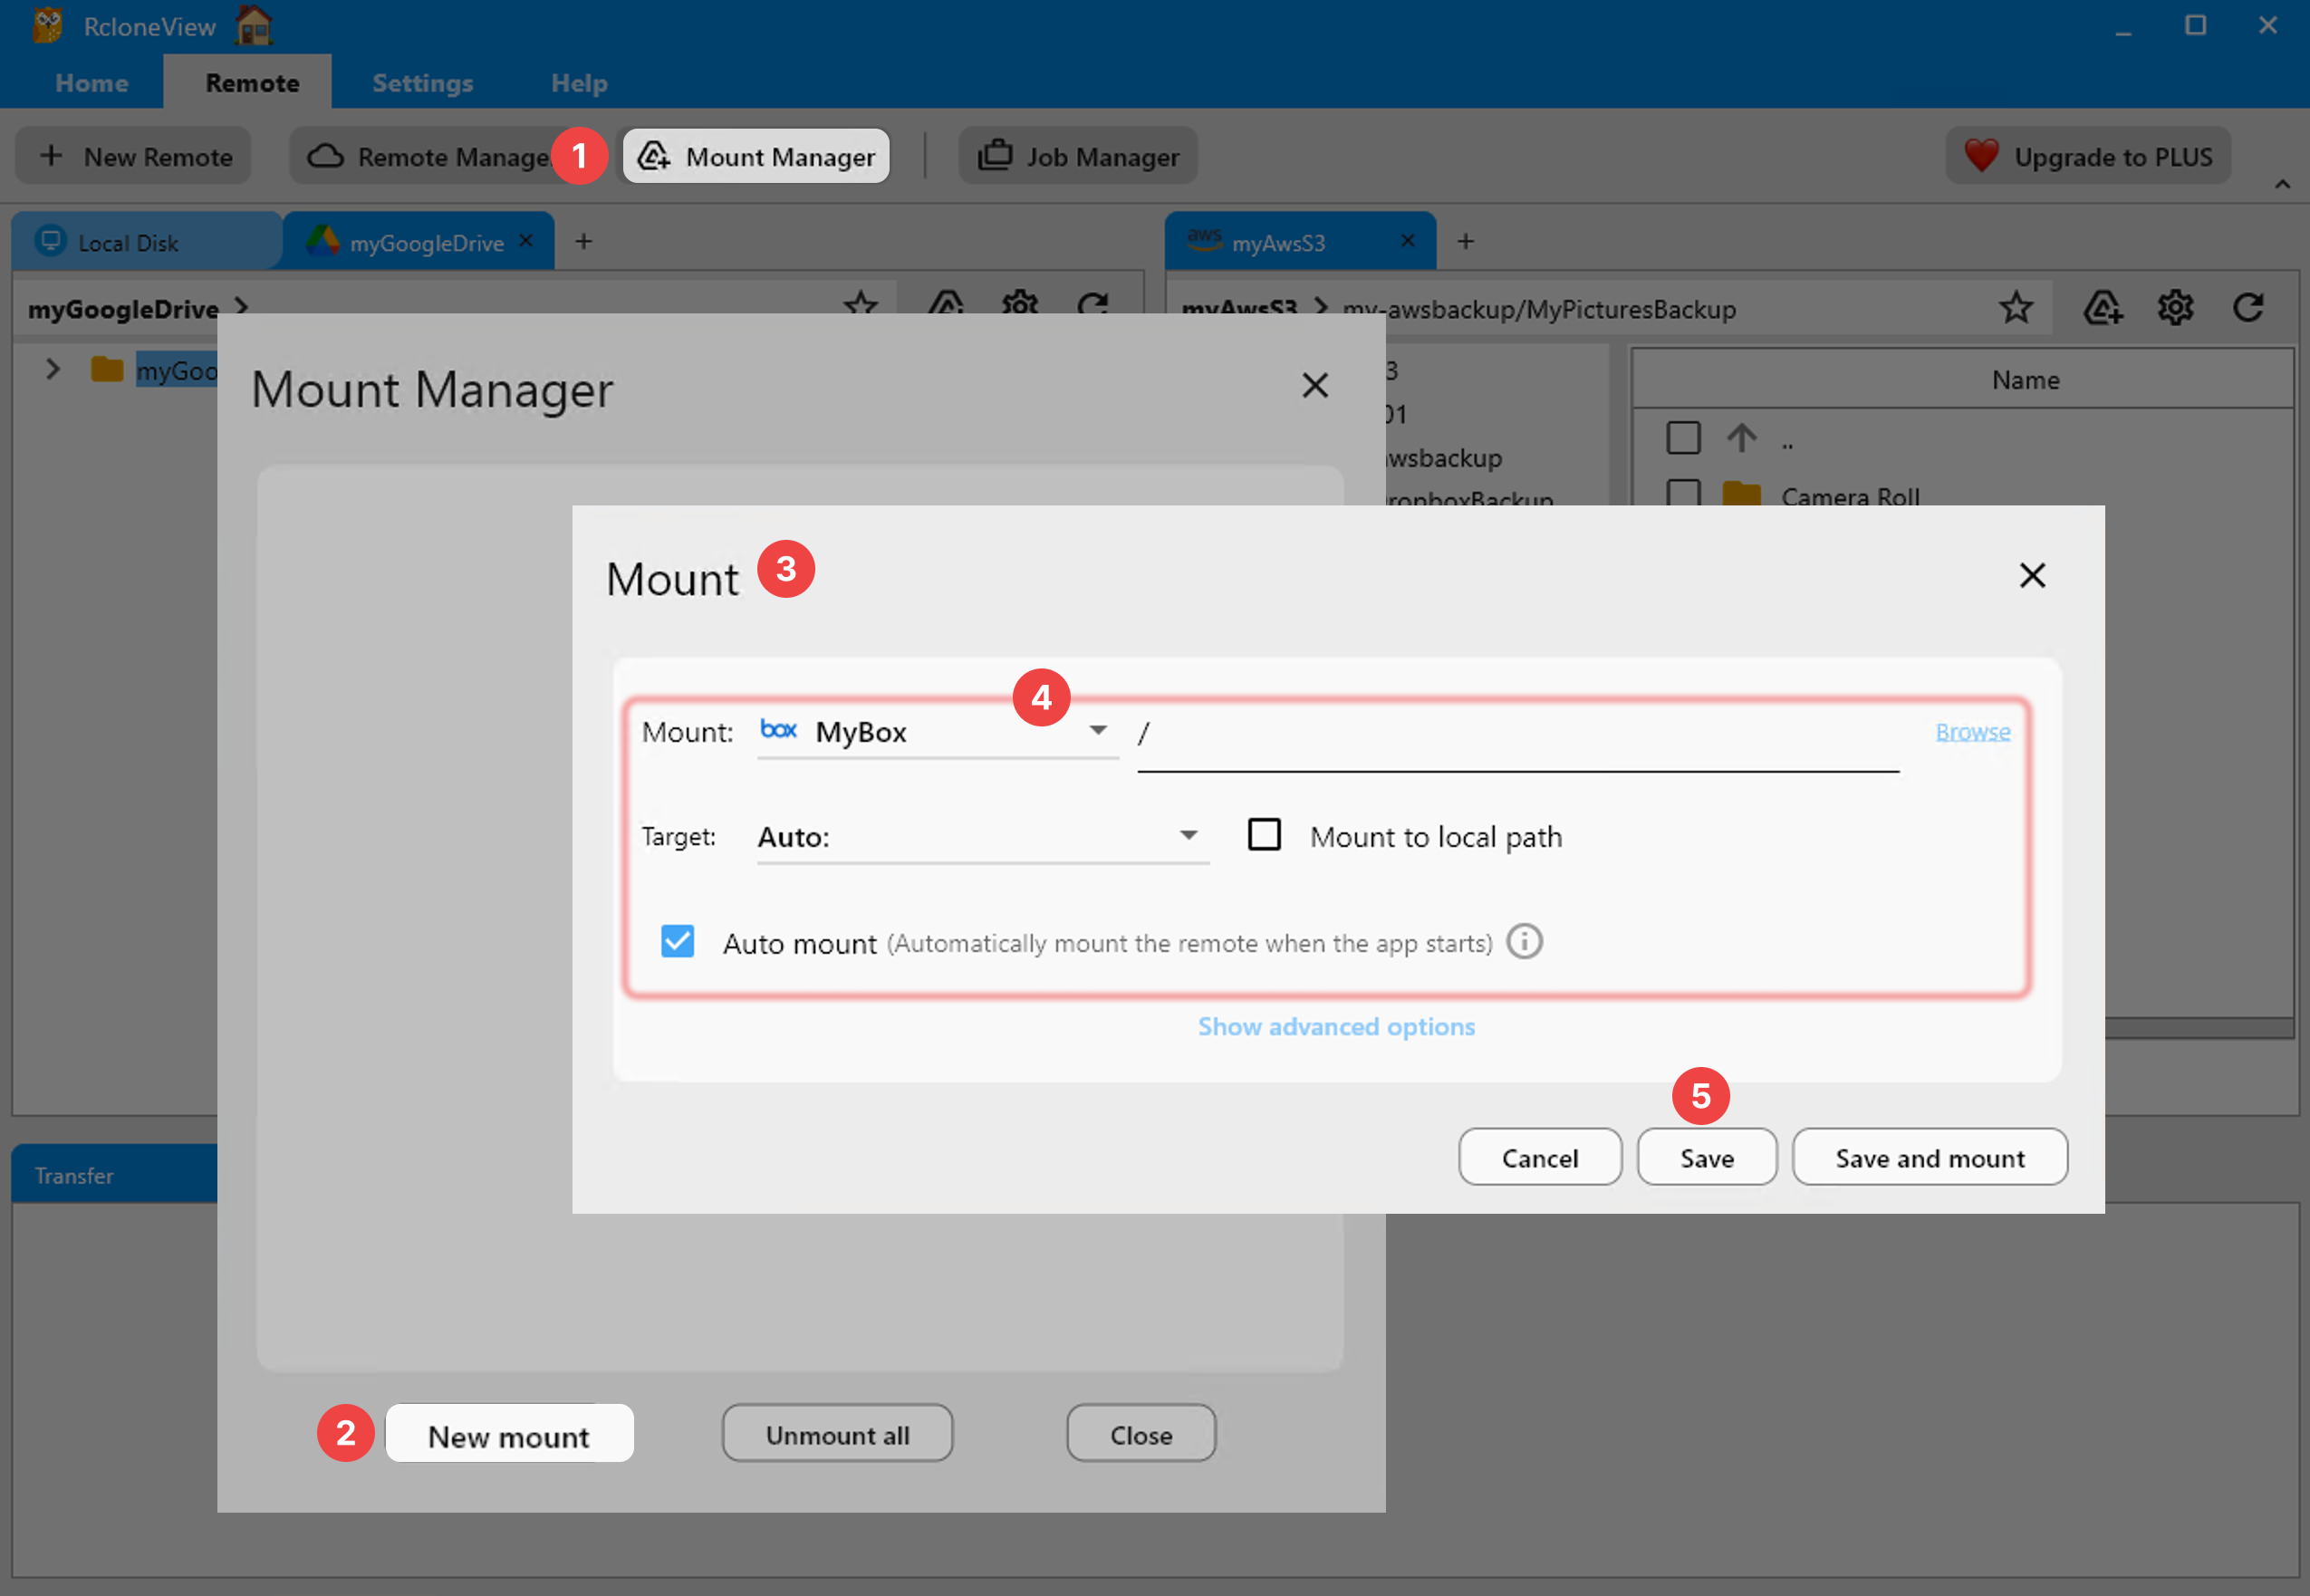
Setting It Up in Mount Manager
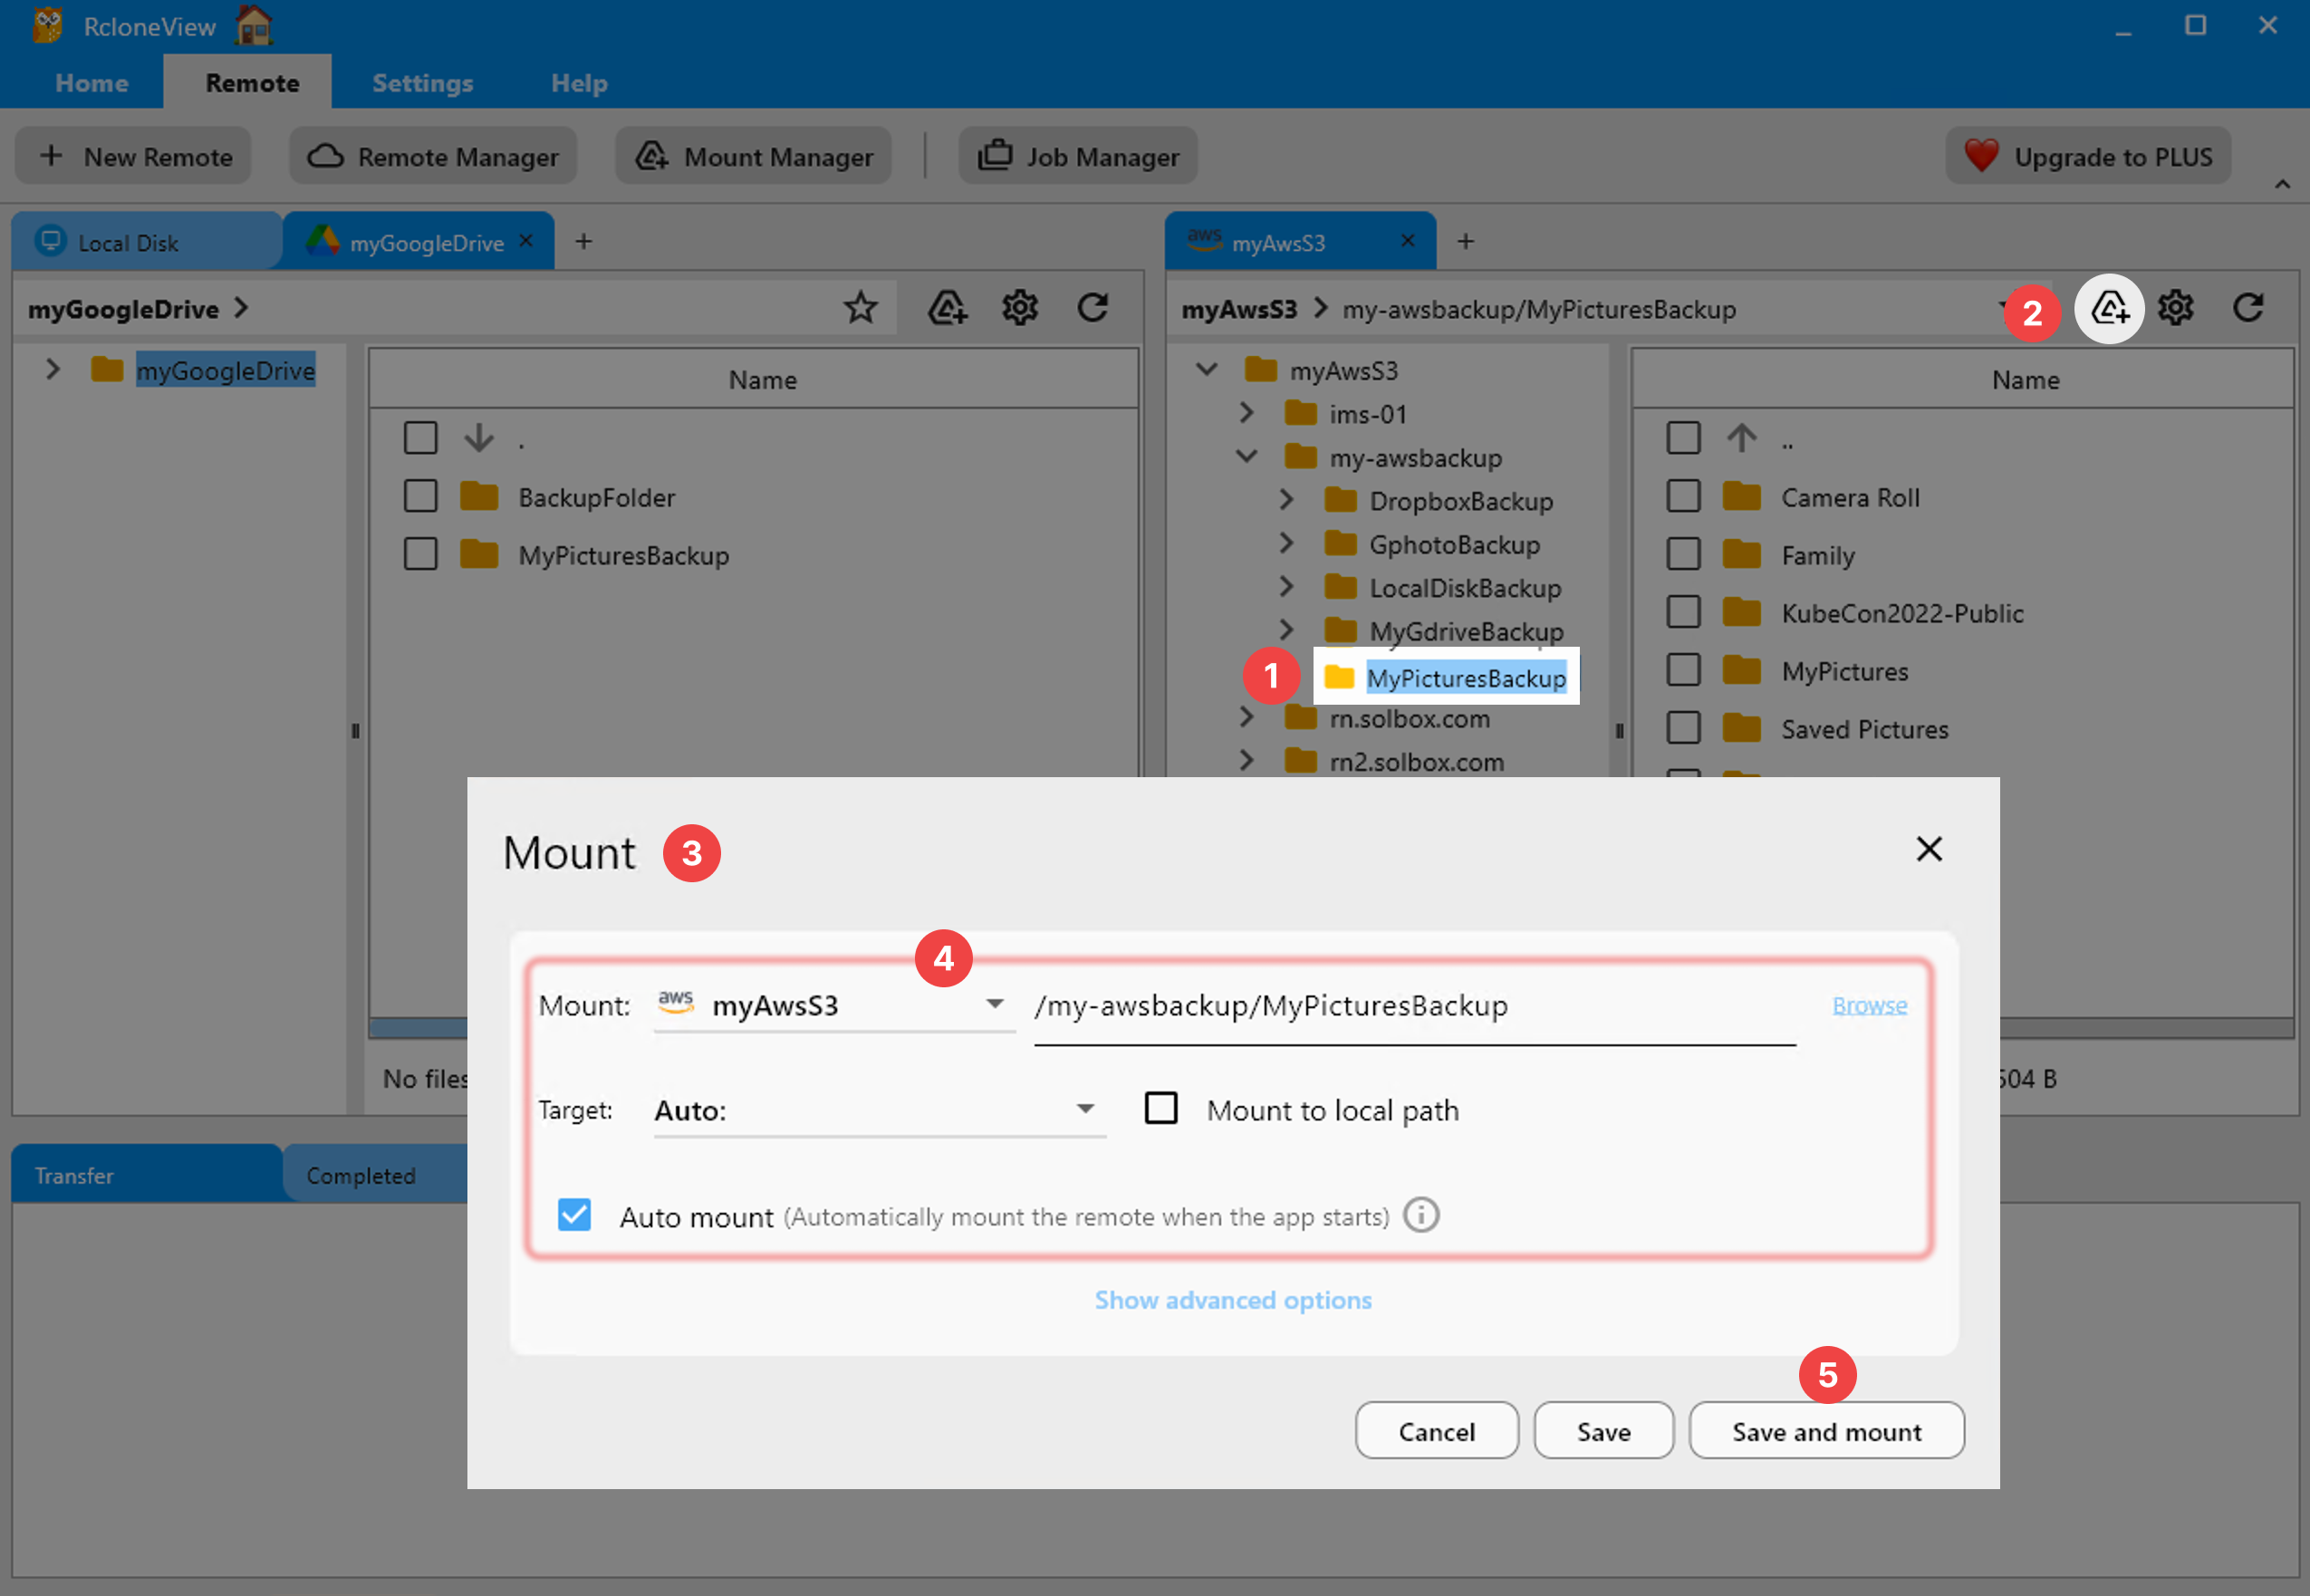
Open Mount Manager from the Remote tab and either create a new mount or edit an existing one. In the mount configuration screen, toggle Auto mount alongside your other settings — cache mode, volume name, and read-only status — then save. RcloneView mounts AND syncs 90+ providers from one window, on Windows, macOS, and Linux, so the same auto-mount toggle works identically whether the underlying remote is Google Drive, an S3-compatible bucket, or an SFTP server.
For mounts already running, remember that Edit is disabled while a mount is active; unmount it first, apply the Auto mount toggle, then remount to confirm it's saved correctly.
Pairing Auto Mount with System Tray
Auto Mount on Startup works best alongside "Start minimized" and System Tray, since the combination lets RcloneView launch into the background, mount your configured drives, and stay out of the way until you need it. The Mount menu in the system tray icon still lets you check status or unmount a drive on demand, so automation doesn't cost you manual control when you need it.
Getting Started
- Download RcloneView from rcloneview.com and confirm your PLUS license is active under Help > Activate License.
- Open Mount Manager and select the mount you want reconnected automatically.
- Enable the Auto mount toggle in that mount's settings and save.
- Turn on "Launch at login" in General settings so RcloneView — and its auto-mounted drives — are ready before you sit down.
Once configured, your cloud storage behaves like a permanent part of your file system, no manual remounting required.
Related Guides:
- Mount Cloud Storage as a Local Drive — Complete Guide to Using Google Drive, S3, and OneDrive Like Local Folders
- System Tray and Background Sync — Keep Cloud Jobs Running in RcloneView
- RcloneView Mount Performance Tuning: Cache, Read Ahead, and VFS Settings for Smooth Cloud Drives
Supported Cloud Providers