Manage Seagate Lyve Cloud — Sync and Backup Files with RcloneView

Connect Seagate Lyve Cloud to RcloneView and gain full GUI control over your S3-compatible object storage — browse, sync, back up, and mount without touching a command line.
Seagate Lyve Cloud is an S3-compatible object storage platform built for high-throughput workloads and long-term data retention. Whether you're managing surveillance footage, large media archives, or enterprise datasets, Lyve Cloud's architecture makes it a compelling storage tier for bulk data. Connecting it to RcloneView transforms every bucket into a browsable file tree you can drag, drop, sync, and schedule against any of the 90+ other providers RcloneView supports.
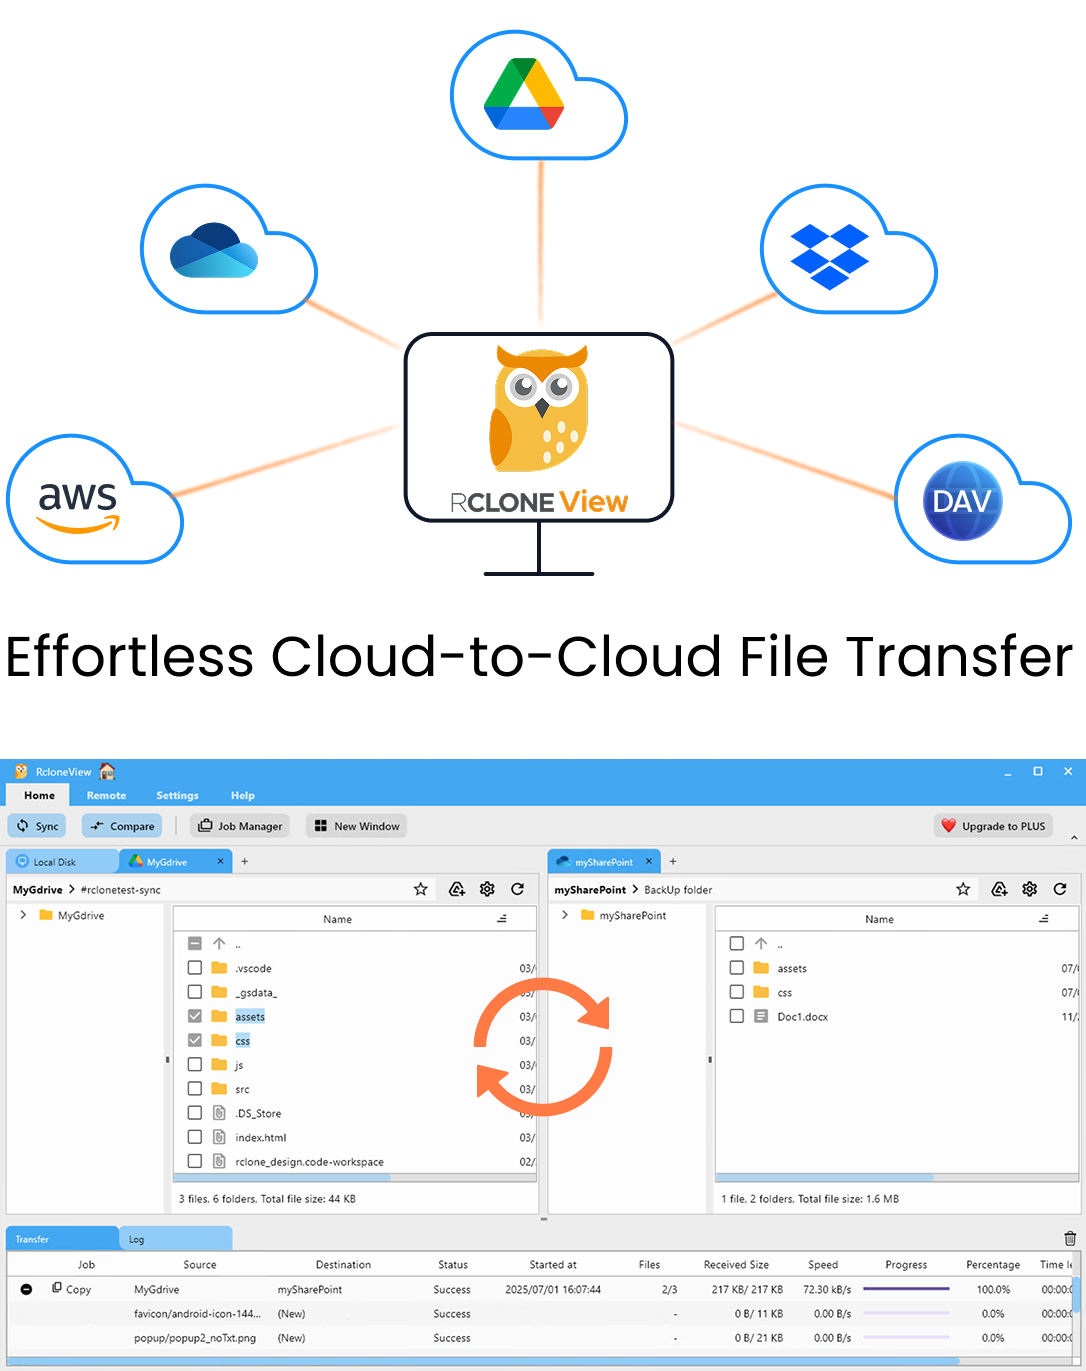
Manage & Sync All Clouds in One Place
RcloneView is a cross-platform GUI for rclone. Compare folders, transfer or sync files, and automate multi-cloud workflows with a clean, visual interface.
- One-click jobs: Copy · Sync · Compare
- Schedulers & history for reliable automation
- Works with Google Drive, OneDrive, Dropbox, S3, WebDAV, SFTP and more
Free core features. Plus automations available.
Adding Seagate Lyve Cloud as a Remote in RcloneView
Seagate Lyve Cloud uses the S3 protocol, so you configure it the same way as any S3-compatible provider: with an Access Key, Secret Key, and the Lyve Cloud endpoint for your region.
Open RcloneView, go to Remote > New Remote, and choose Amazon S3 as the provider type. On the next screen, select Seagate Lyve Cloud from the provider sub-type list — RcloneView automatically applies the correct endpoint format for your region. Enter your Lyve Cloud API credentials (Access Key ID and Secret Access Key) generated from the Lyve Cloud console, then save the remote. Within seconds your buckets appear in the file explorer exactly like any local folder.
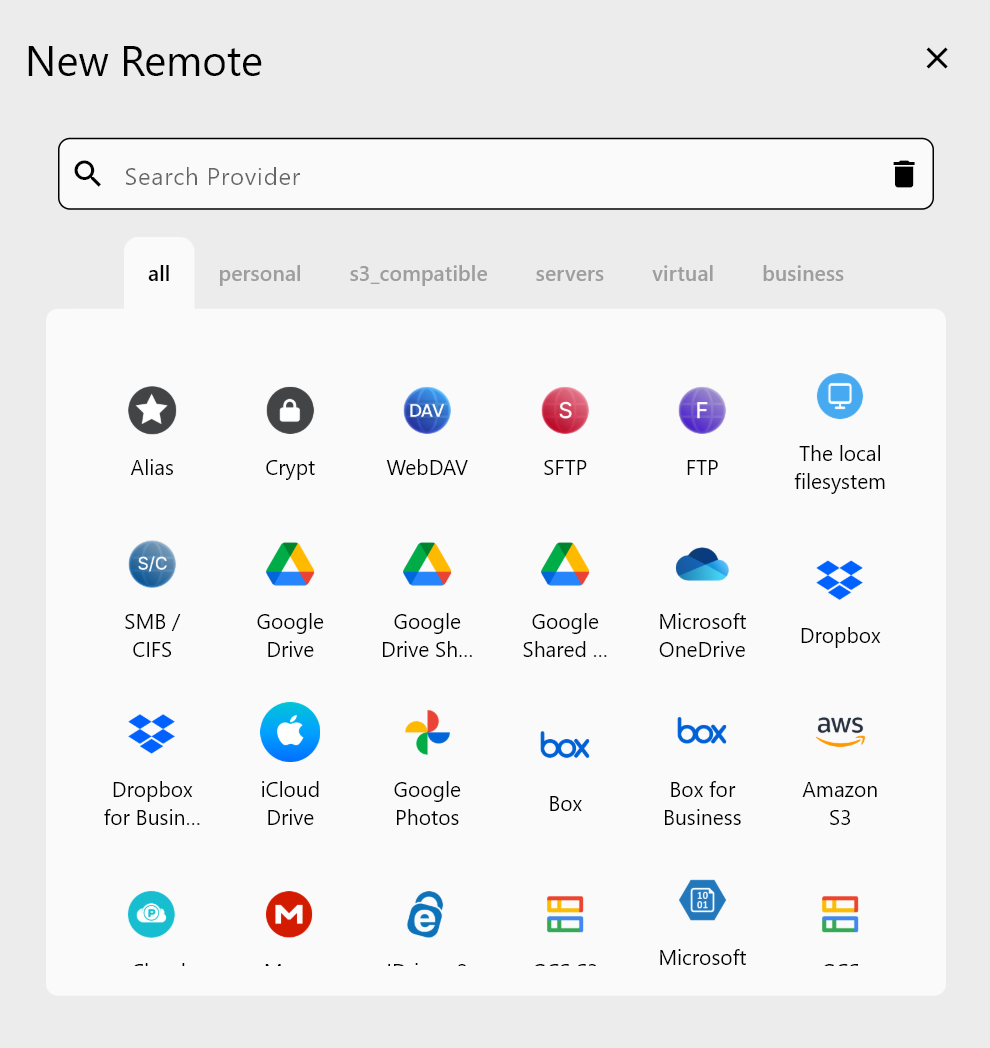
If your organization operates across multiple Lyve Cloud regions, add each as a separate named remote — for example lyve-us, lyve-eu, lyve-ap — and compare or sync between them side by side in RcloneView's dual-panel explorer.
Syncing and Backing Up Files to Lyve Cloud
With the remote connected, you can initiate ad-hoc transfers immediately via drag and drop, or build repeatable sync jobs using the Job Manager. A common workflow is a video production studio syncing 4K project renders from a local server to Lyve Cloud for long-term archive while keeping a simultaneous mirror on another cloud for rapid access.
Go to Home > Sync, pick your local folder or another cloud remote as the source, and select your Lyve Cloud bucket as the destination. In the sync wizard's Advanced Settings you can tune concurrent transfer threads, enable checksum verification by hash, and set file age or size filters in the Filtering step — for example, excluding .tmp and .part files from surveillance recordings. Once satisfied with the configuration, click Dry Run to preview exactly which files will move without touching production data.
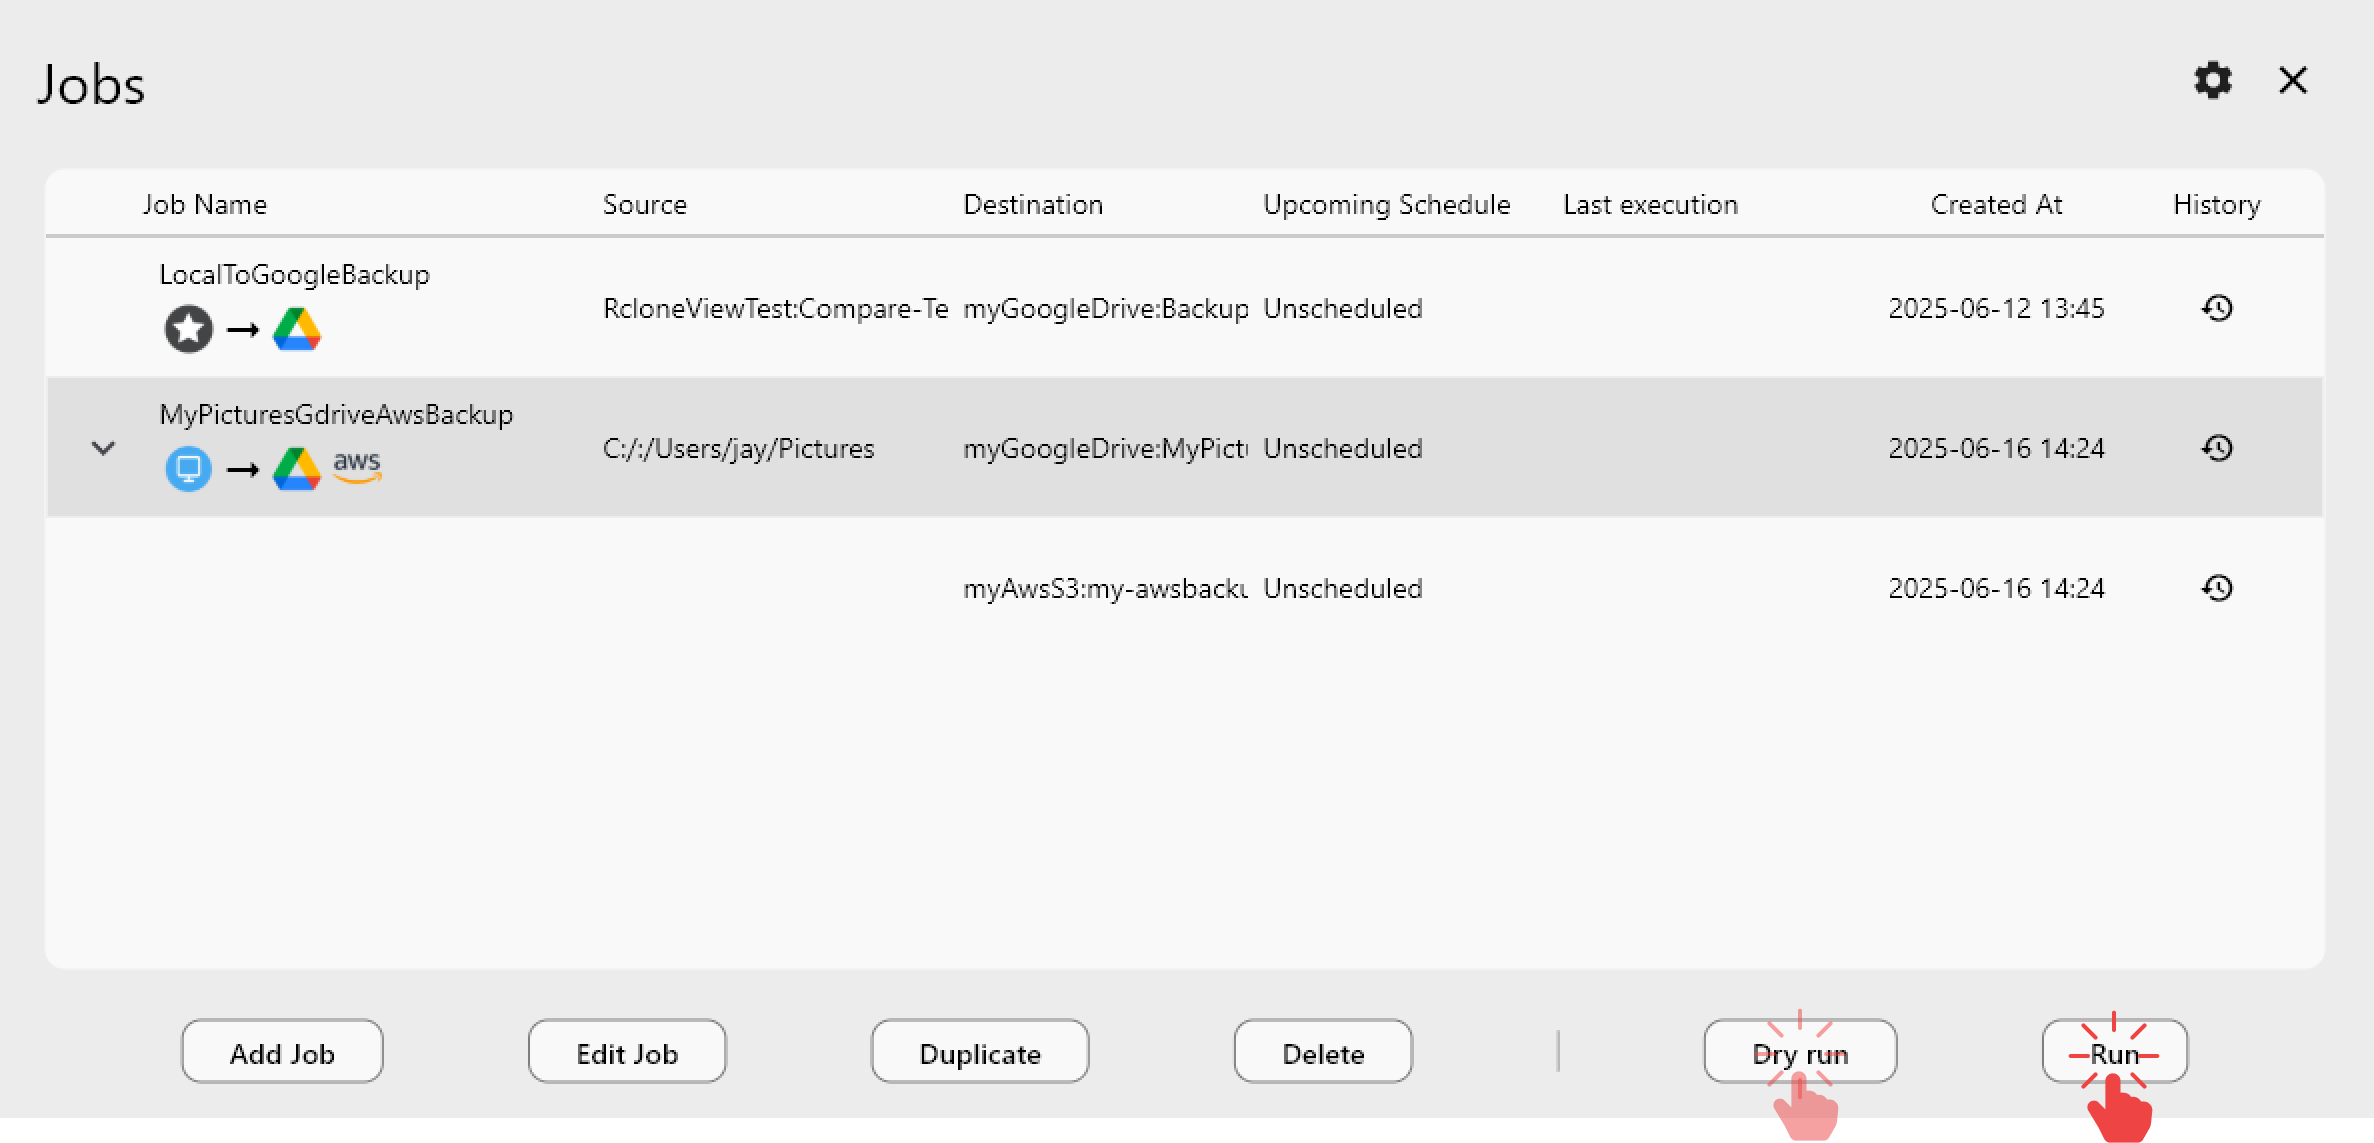
With a PLUS license you can schedule jobs via crontab-style expressions — set daily off-peak transfers to Lyve Cloud without any manual intervention.
Monitoring Transfers and Reviewing Job History
The Transferring tab in RcloneView's bottom panel shows live progress for every active job: transfer speed, file count, percentage complete, and a cancel button for any running transfer. After each job finishes, the Job History view records start time, duration, total bytes moved, average speed, and final status — providing an auditable trail that matters for compliance-heavy industries where storage provenance needs documentation.
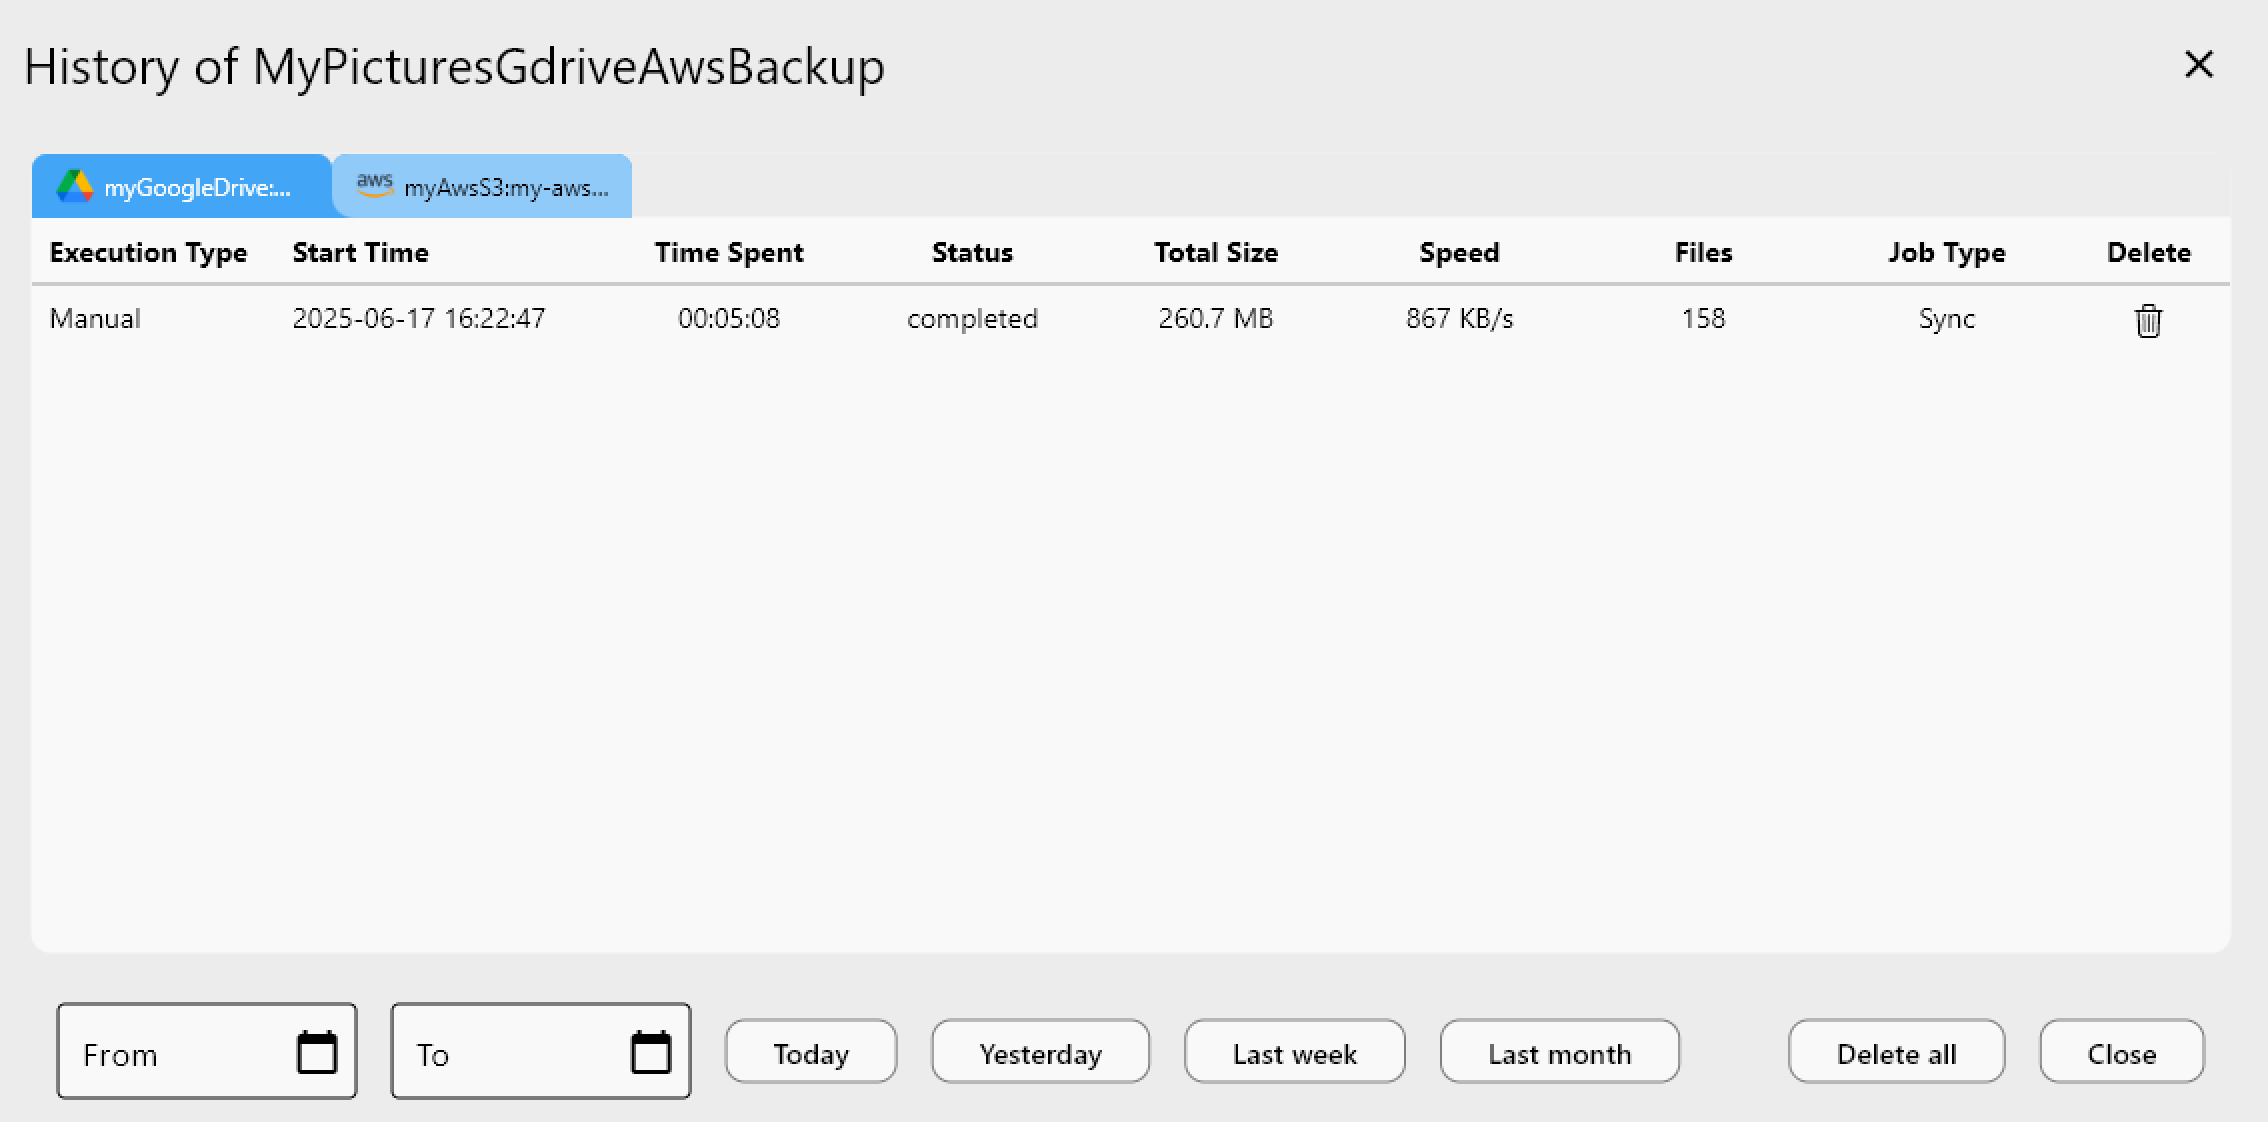
For teams running Lyve Cloud across multiple sites, export your sync job configuration to a JSON file and import it on other machines — ensuring identical job settings without manual re-entry.
Mounting Lyve Cloud as a Local Drive
For workflows that require applications to read directly from Lyve Cloud without downloading files first, RcloneView's mount feature maps your Lyve Cloud bucket to a local drive letter (Windows) or mount path (macOS/Linux). Navigate to Remote > Mount Manager, create a new mount targeting your Lyve Cloud remote, and click Save and mount. The bucket appears as a drive in Windows Explorer or macOS Finder.
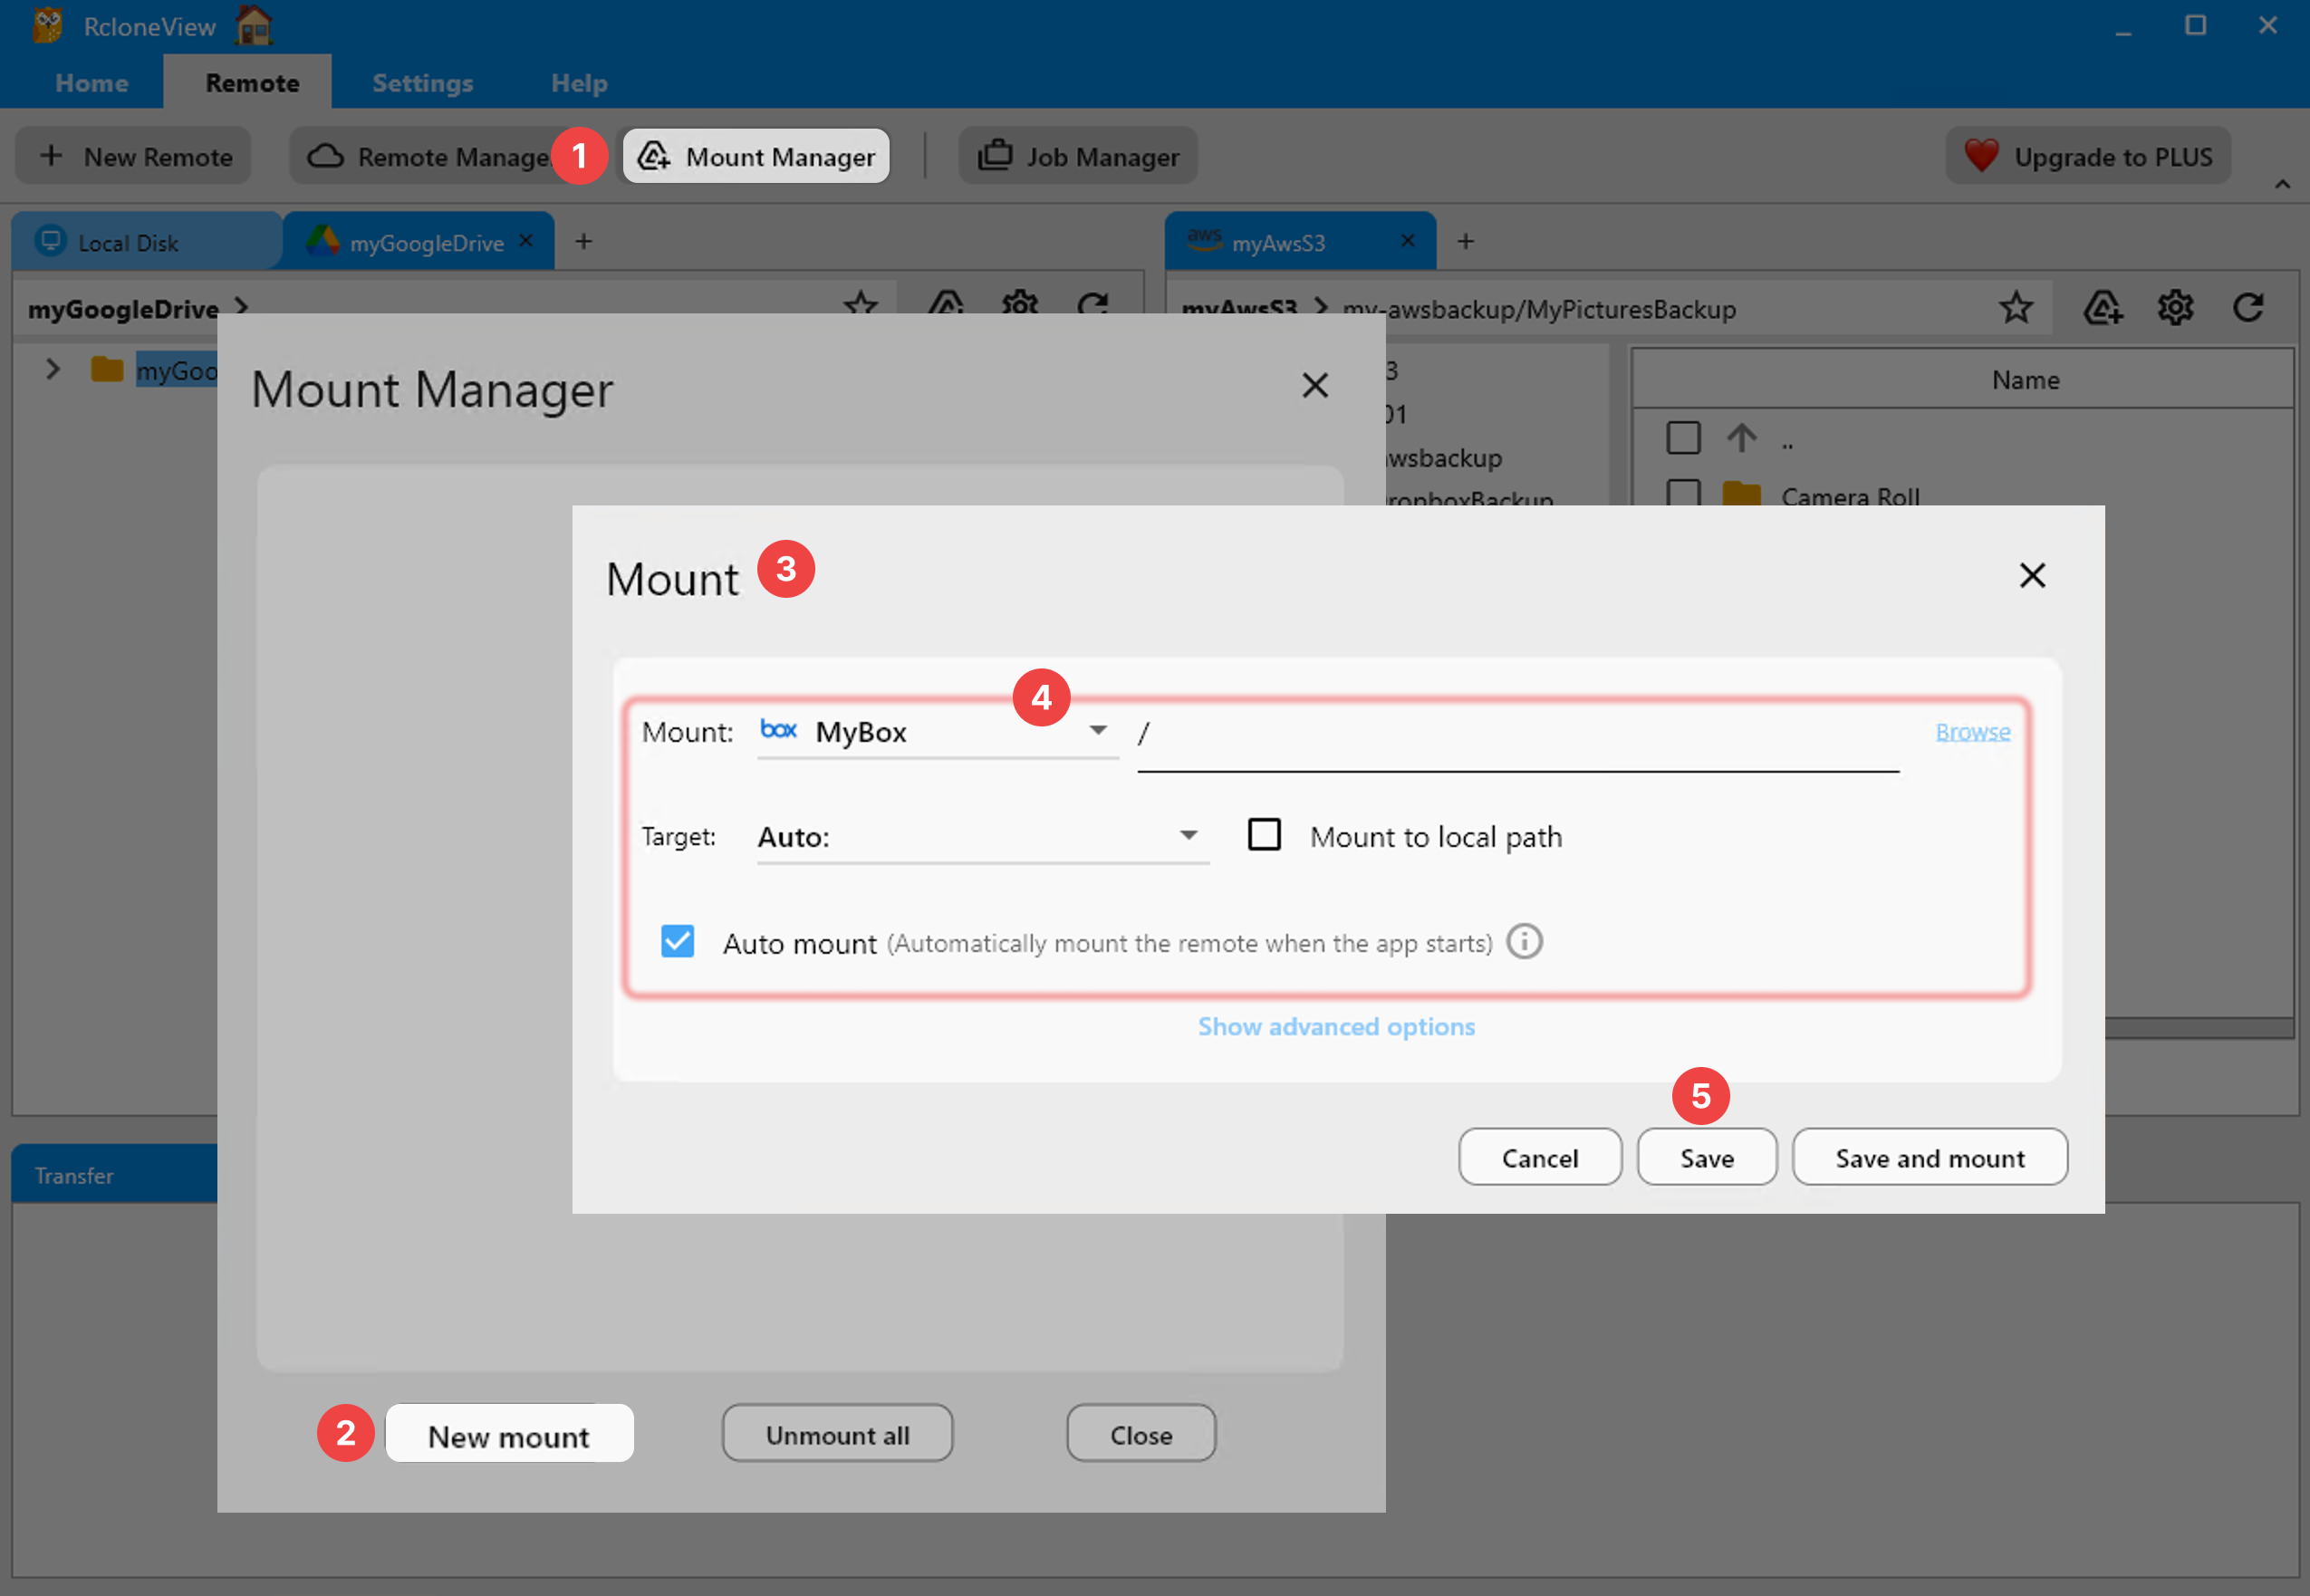
The default VFS cache mode (writes) buffers writes locally before uploading, giving responsive performance even on higher-latency connections. For read-heavy workflows that benefit from local caching, switch to full cache mode in the mount settings.
Getting Started
- Download RcloneView from rcloneview.com.
- Go to Remote > New Remote, select Amazon S3, then choose Seagate Lyve Cloud as the provider sub-type.
- Enter your Lyve Cloud Access Key ID and Secret Access Key, then save the remote.
- Open the Seagate Lyve Cloud remote in the file explorer and start browsing your buckets immediately.
Once connected, create a sync job to move files from local storage or another cloud to Lyve Cloud — then schedule it to run automatically each night for hands-free archiving.
Related Guides:
- Manage Wasabi Cloud Storage — Sync and Backup Files with RcloneView
- Manage Backblaze B2 Cloud Storage — Sync and Backup Files with RcloneView
- Manage Amazon S3 — Sync and Backup Files with RcloneView
Supported Cloud Providers