Hasher Remote — Add File Integrity Checksums to Any Cloud Storage in RcloneView

The Hasher virtual remote silently adds checksum tracking to cloud backends that don't natively support it, turning every sync into a verified, corruption-resistant transfer.
Not every cloud storage provider calculates and stores file checksums. Providers that rely solely on file size and modification timestamp for comparison can miss silent data corruption — the kind that happens when a file transfers completely but arrives with flipped bits. For archivists, sysadmins, and businesses with data integrity requirements, this is a meaningful gap. RcloneView supports rclone's Hasher remote, a virtual remote wrapper that adds MD5, SHA-1, or other hash tracking on top of any existing cloud backend without changing how you store or retrieve files.
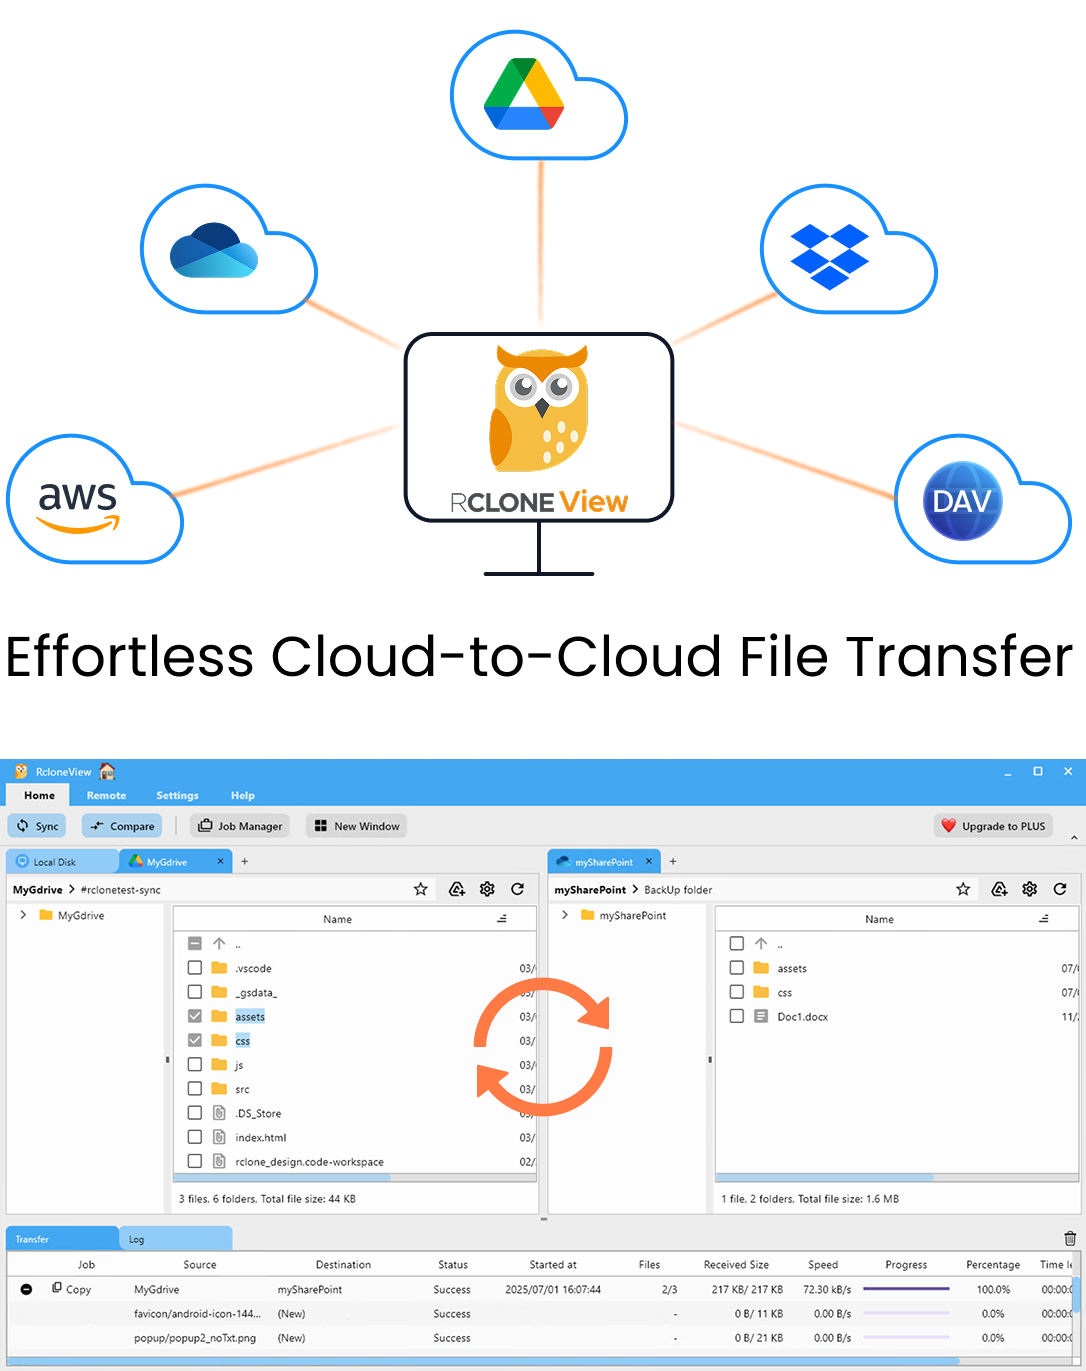
Manage & Sync All Clouds in One Place
RcloneView is a cross-platform GUI for rclone. Compare folders, transfer or sync files, and automate multi-cloud workflows with a clean, visual interface.
- One-click jobs: Copy · Sync · Compare
- Schedulers & history for reliable automation
- Works with Google Drive, OneDrive, Dropbox, S3, WebDAV, SFTP and more
Free core features. Plus automations available.
What Is the Hasher Remote and Why It Matters
The Hasher remote is one of rclone's virtual remote types — a wrapper that sits in front of an existing remote and enhances its capabilities. Specifically, the Hasher remote stores checksums alongside your files, caching hash values so that subsequent sync operations can compare files by content rather than relying on size-only comparisons. This matters most when you're syncing to cloud providers that don't expose native hash APIs, or when you need to detect bit-level corruption that would not change a file's size.
A practical example: a media production company archiving 4K video dailies to a WebDAV-based storage server has no native hash support from the server. Without checksums, rclone compares files by size and timestamp — but a subtly corrupted file with an identical size would appear unchanged. Wrapping the WebDAV remote in a Hasher remote adds hash comparison to every sync, catching the corrupted file and flagging it for review before it silently overwrites a good copy.
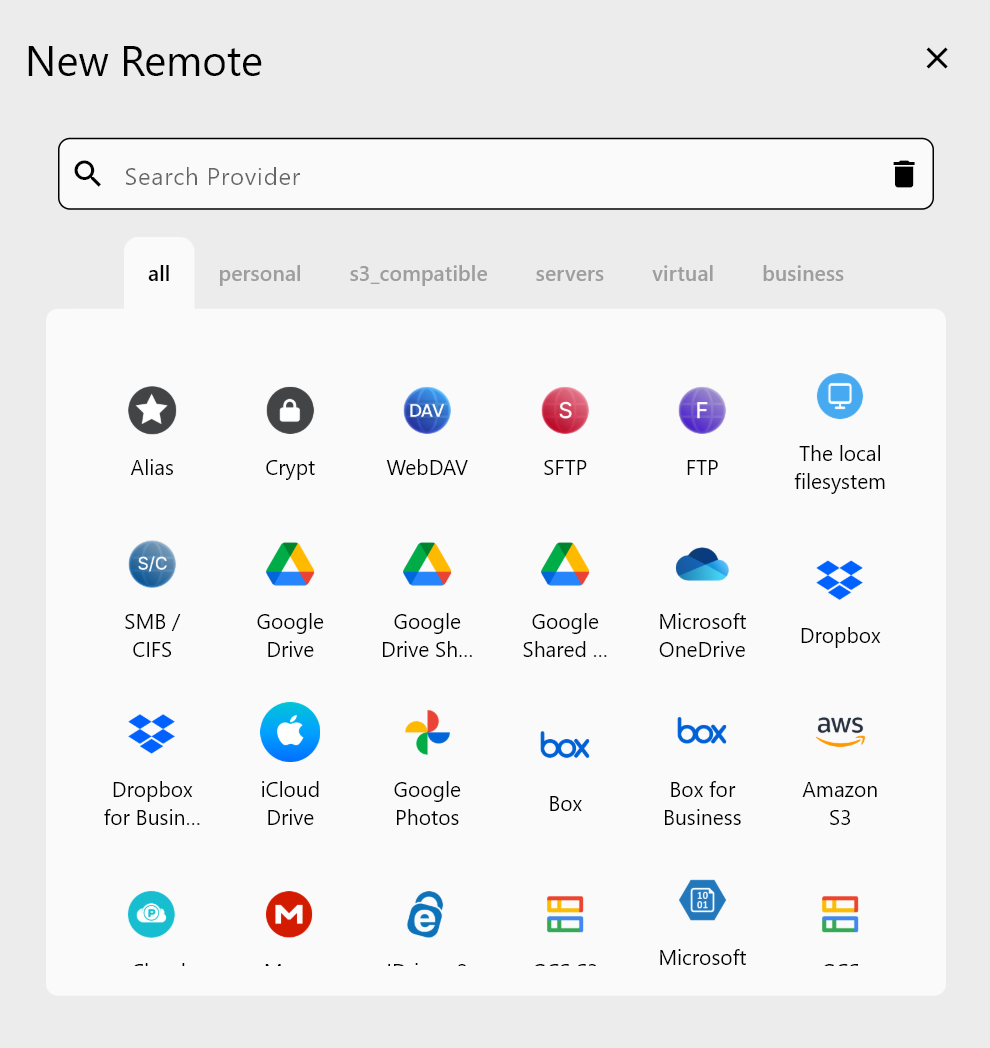
Setting Up a Hasher Remote in RcloneView
In RcloneView, virtual remotes like Hasher are created through the same New Remote wizard as any cloud provider. From the Remote tab, click New Remote, then scroll to the virtual remote types — you'll find Hasher listed alongside Crypt, Union, Combine, and others. Select the underlying remote you want to wrap (for example, your WebDAV or FTP server), choose which hash algorithms to enable, and save. The Hasher remote wraps your backend transparently.
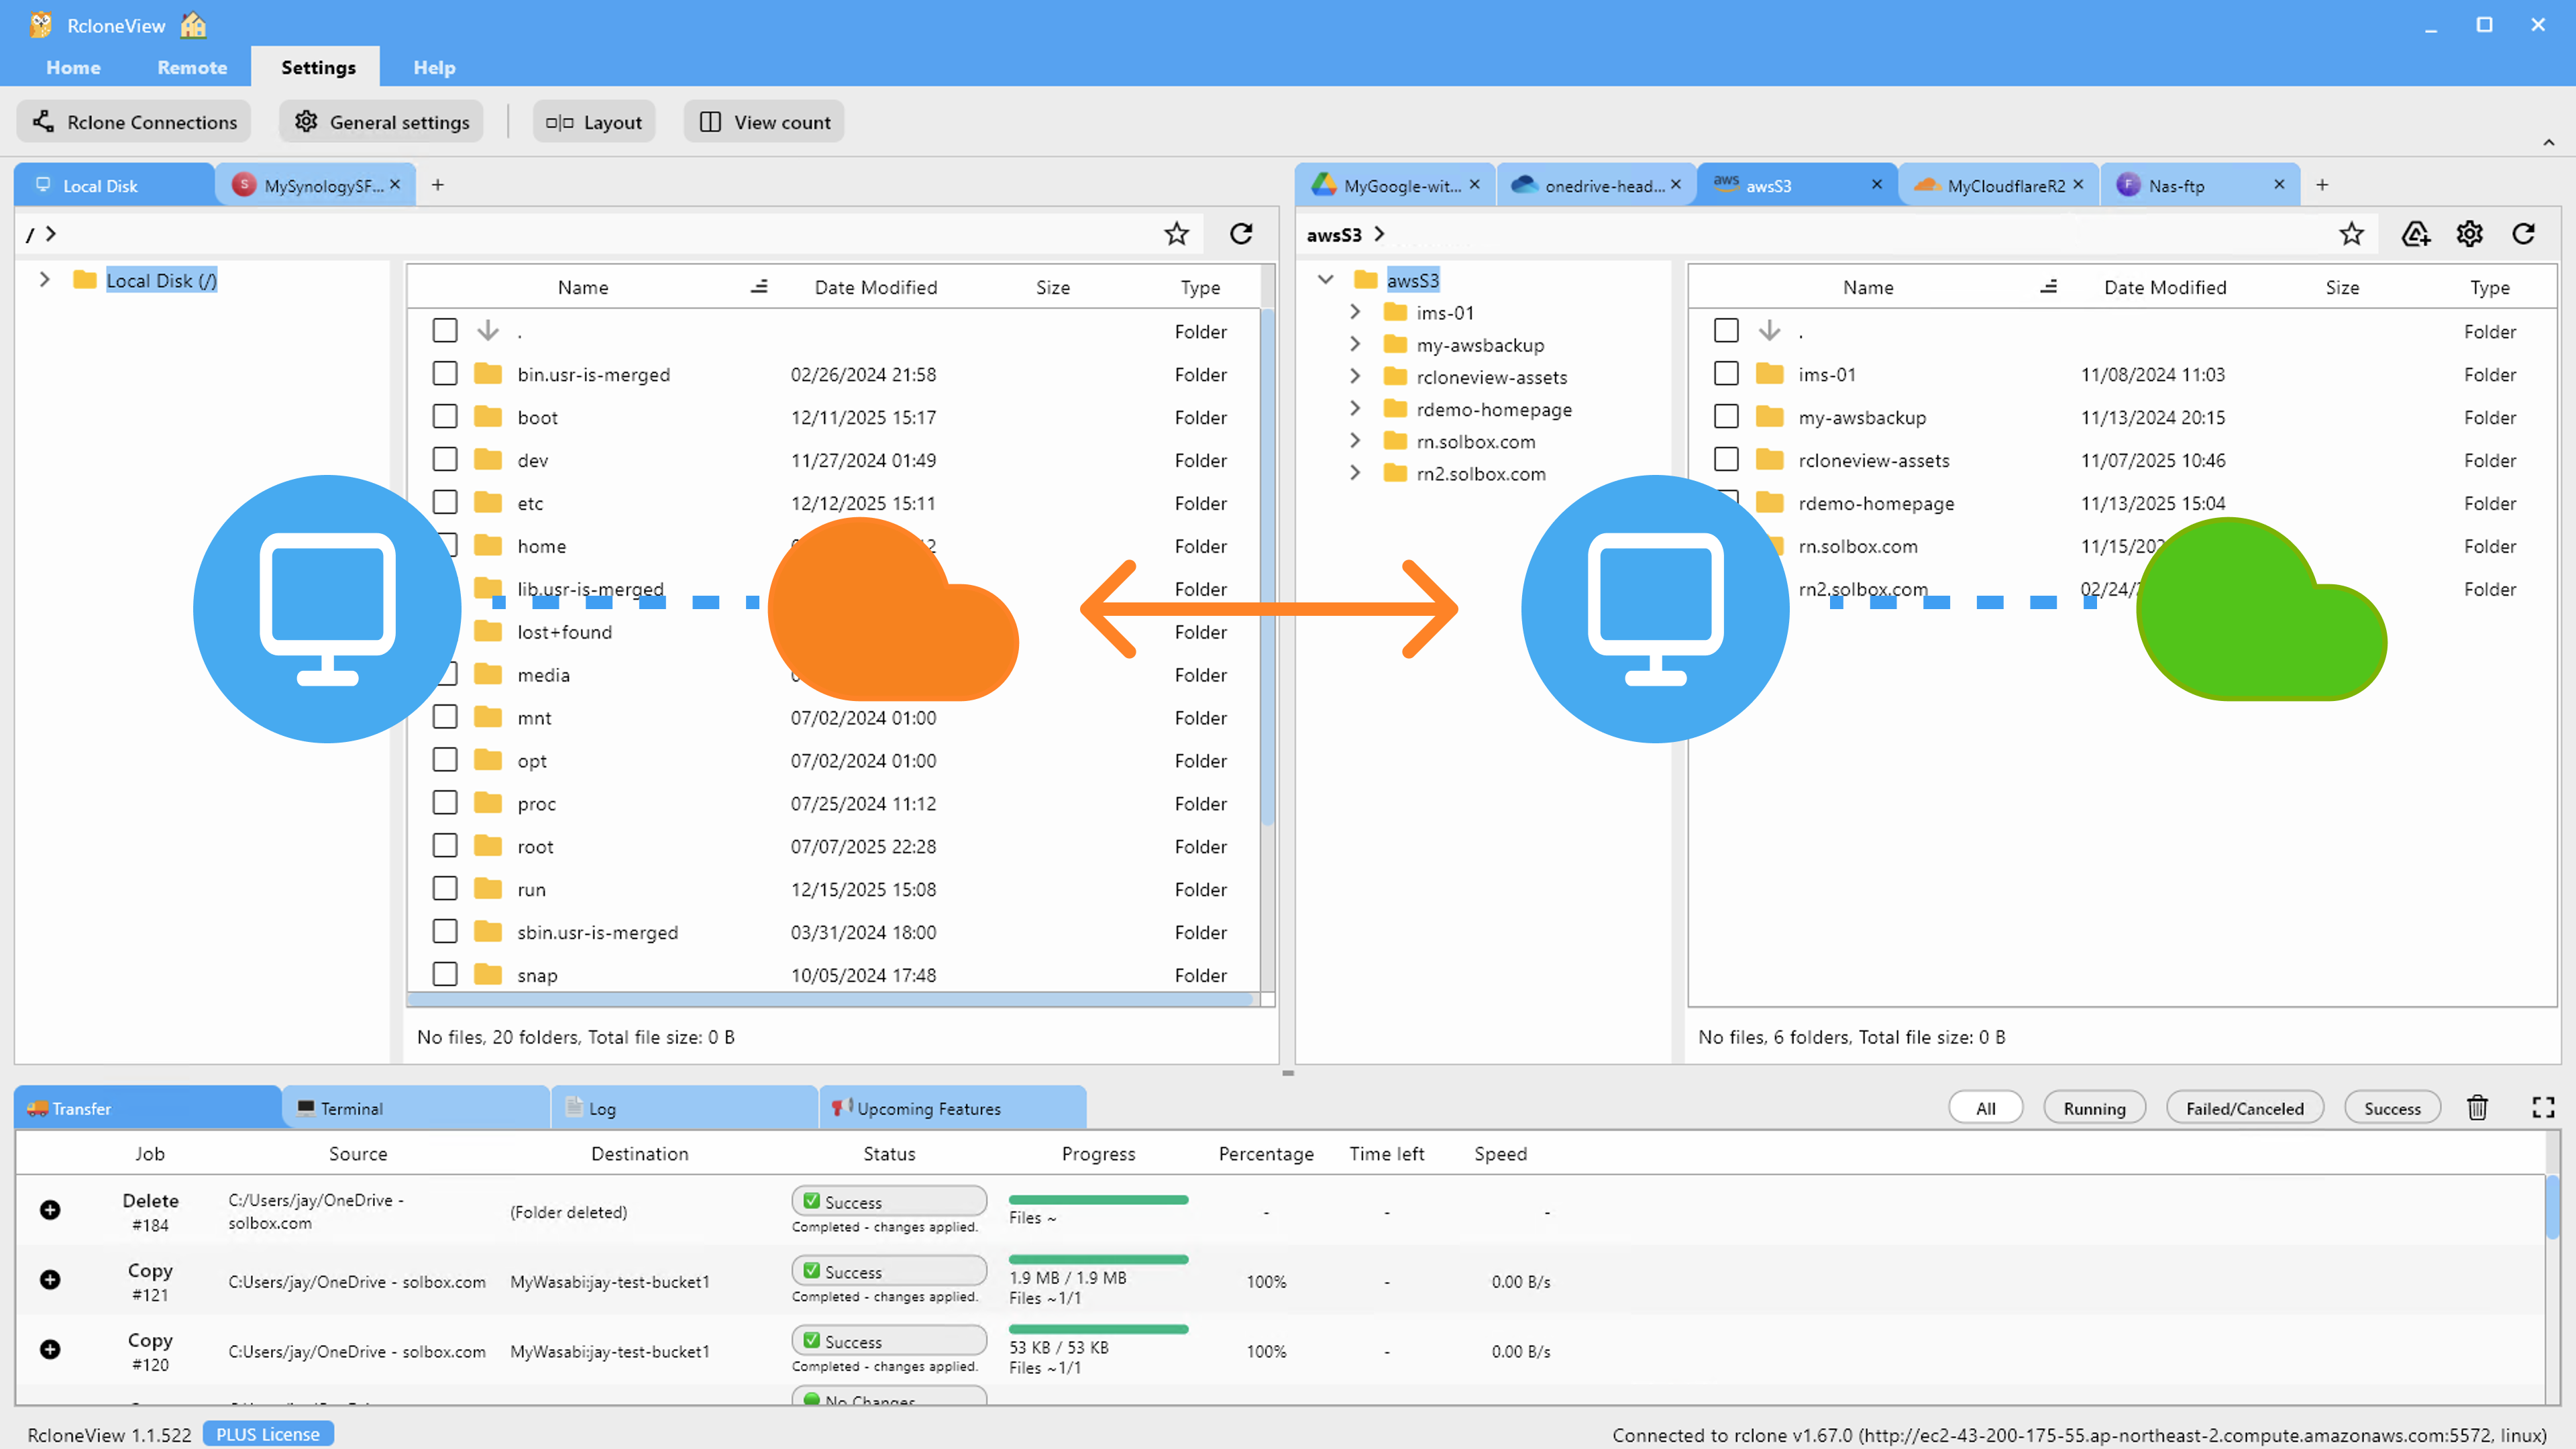
Once saved, the Hasher remote appears in the Remote Manager just like any other remote. You can open it in the Explorer panel, browse files, and run sync jobs against it. The hash database is maintained automatically — RcloneView and rclone handle the bookkeeping, and you interact with the Hasher remote exactly as you would the underlying storage. No workflow changes are required on your end.
Running Integrity-Verified Transfers
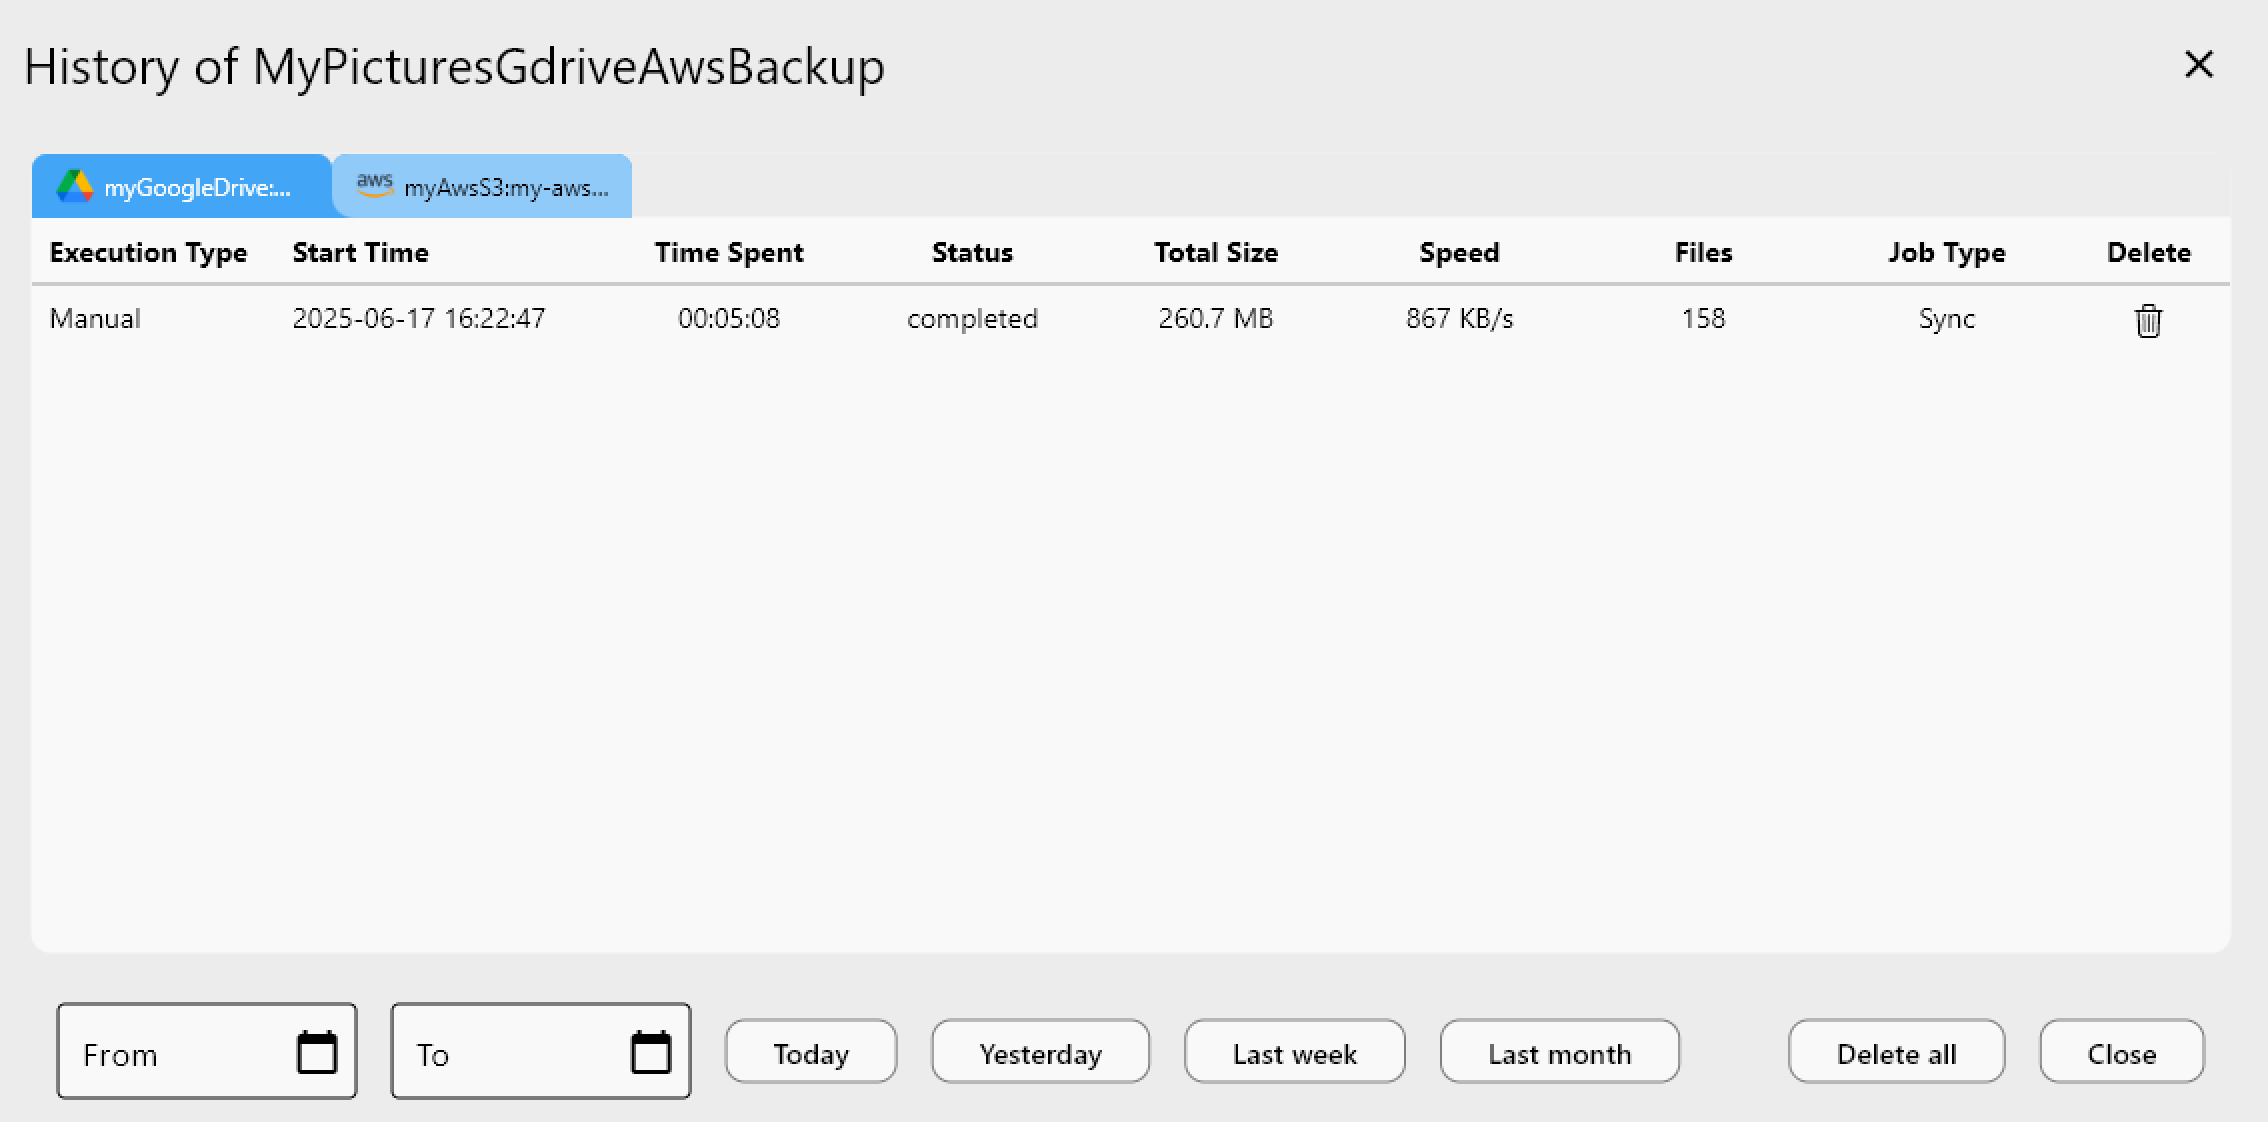
With the Hasher remote configured, enable the Enable checksum option in Step 2 (Advanced Settings) of RcloneView's sync job wizard. This tells rclone to compare files using cached hash values rather than just size and timestamp. On the first run, hashes are computed and stored. Subsequent runs compare against those stored hashes, skipping re-hashing for files that haven't changed — keeping sync times fast even on large archives.
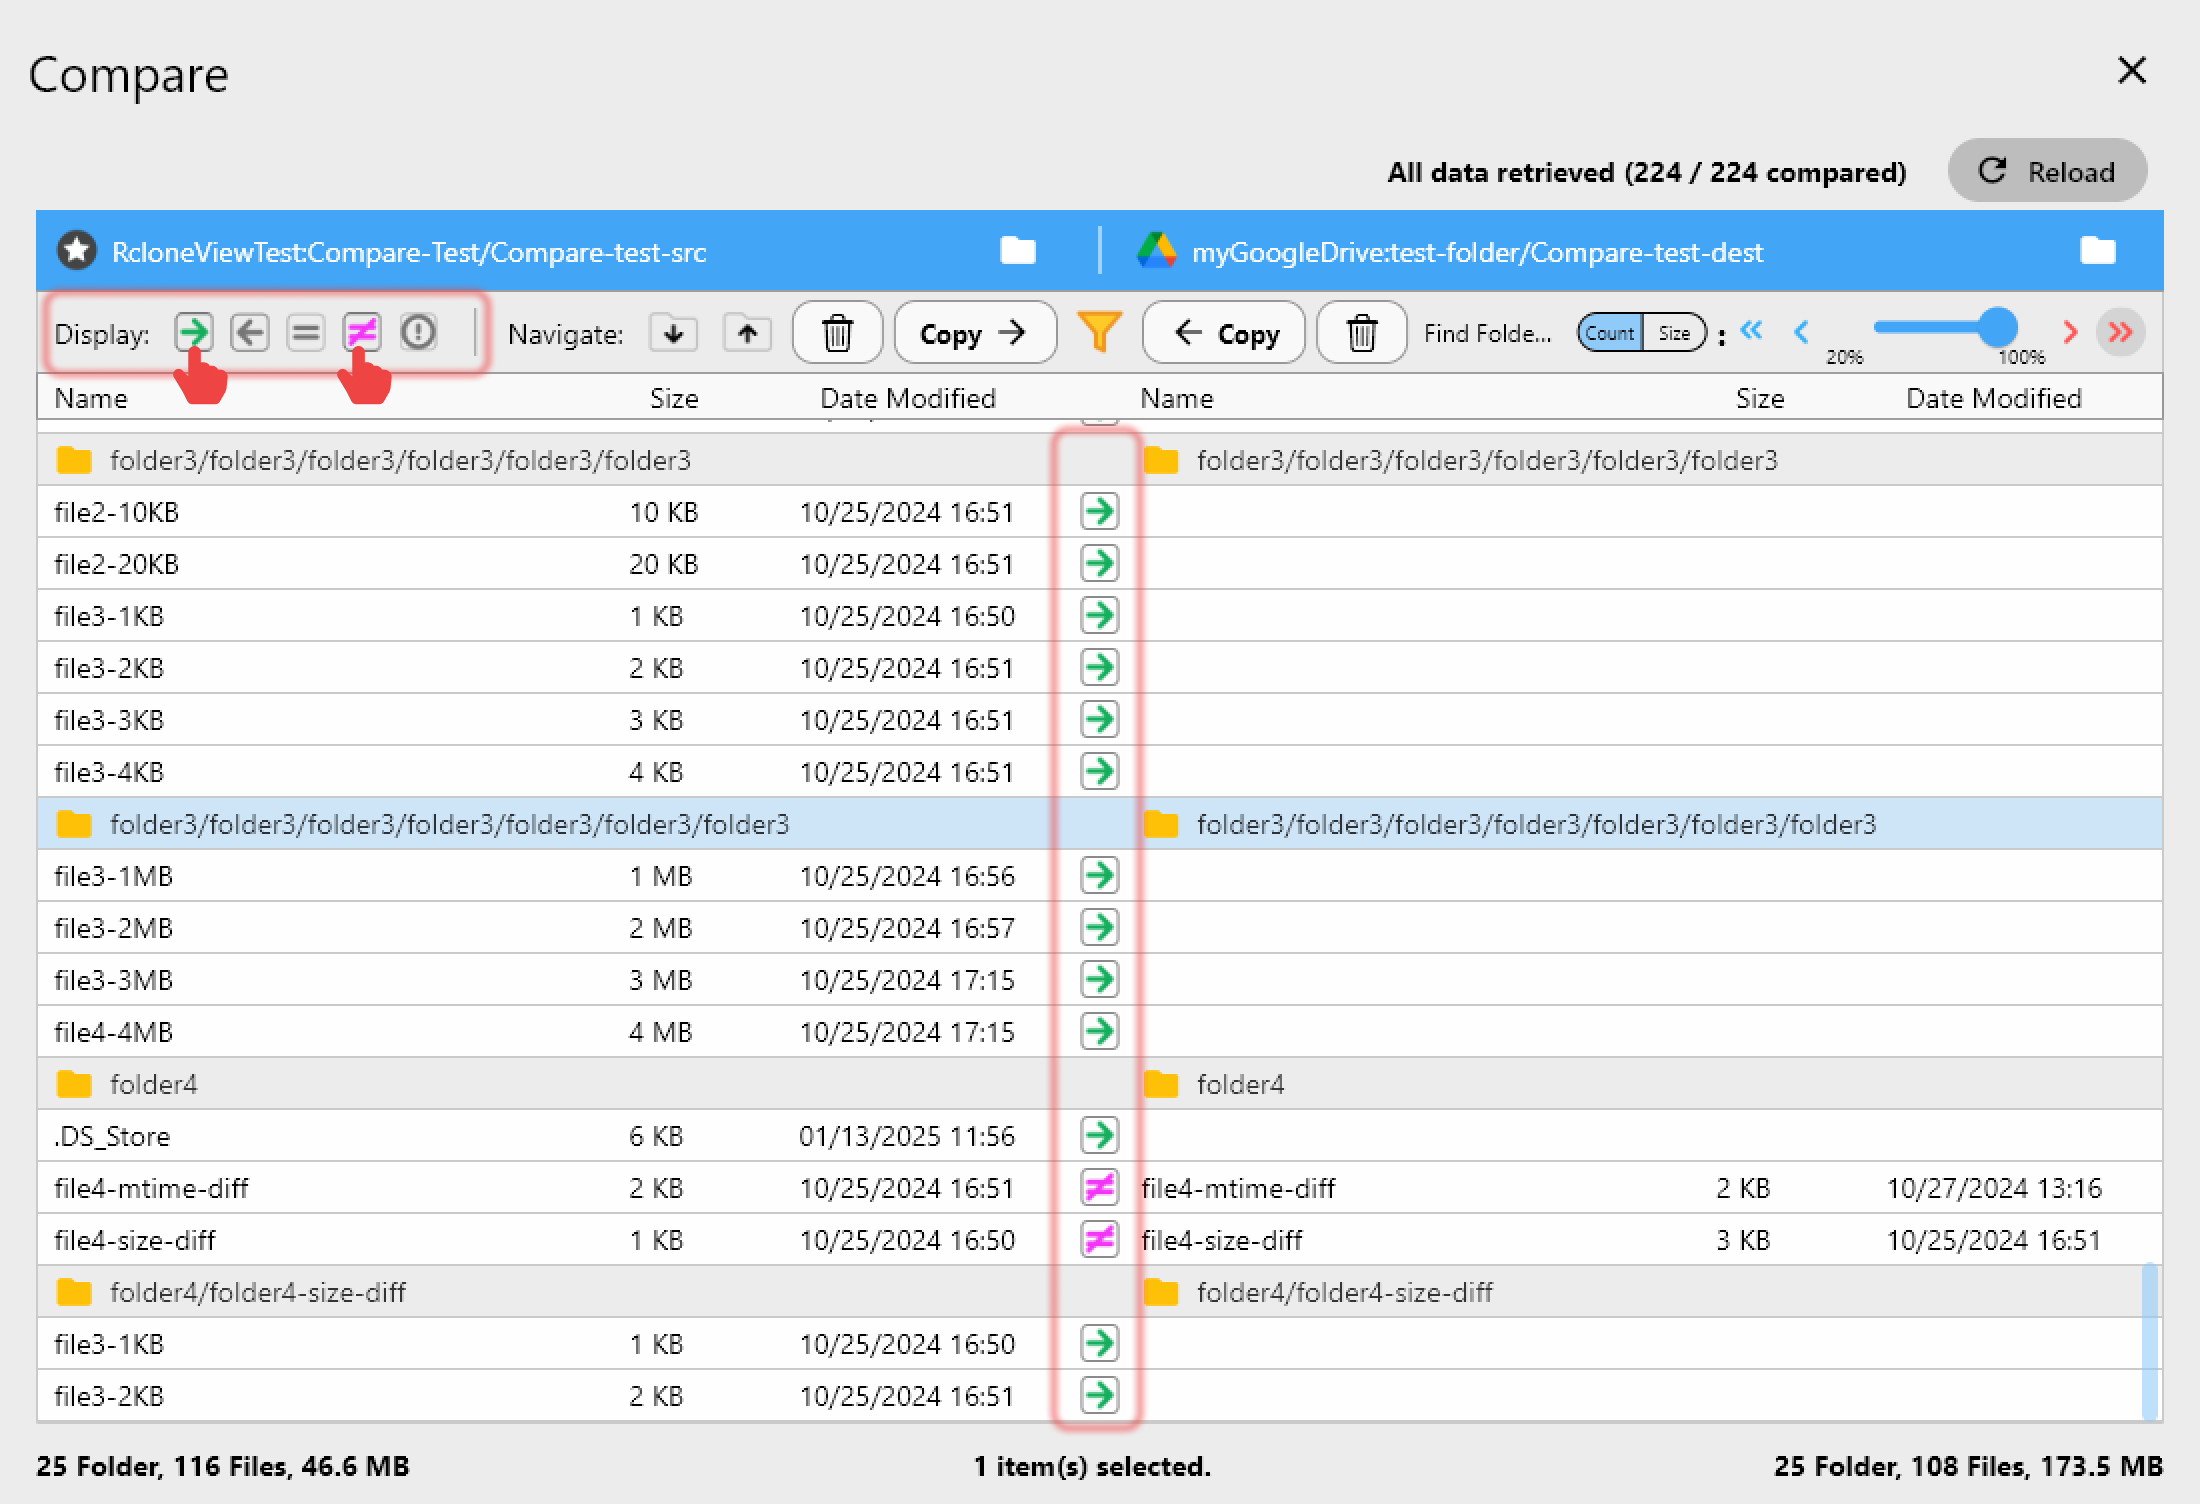
The Dry Run feature works seamlessly with Hasher remotes. Before committing a large archive sync, run a dry run to preview exactly which files would be copied, modified, or skipped based on hash comparison. This is invaluable before overwriting months of archived footage, and it costs nothing — no files are moved until you confirm.
Getting Started
- Download RcloneView from rcloneview.com.
- In the Remote tab, click New Remote and select Hasher from the virtual remote section.
- Wrap your existing cloud remote — WebDAV, FTP, or any backend without native checksums — with the Hasher remote.
- Create a sync job, enable checksum comparison in Step 2 Advanced Settings, and run your first integrity-verified backup.
Protecting your archives from silent corruption takes just a few minutes of setup, and the Hasher remote makes that protection available for every backend RcloneView supports.
Related Guides:
- Check and Verify Cloud File Integrity with RcloneView
- Encrypt Cloud Backups with the Crypt Remote in RcloneView
- Virtual Remotes: Combine, Union, and Alias in RcloneView
Supported Cloud Providers