Manage Vultr Object Storage — Sync and Backup Files with RcloneView

RcloneView connects to Vultr Object Storage's S3-compatible API, giving you a full GUI for browsing buckets, scheduling backups, and mounting cloud storage as a local drive.
Vultr Object Storage is an S3-compatible object storage service built on the Vultr cloud infrastructure, favored by developers and infrastructure teams who need globally distributed, cost-efficient storage alongside Vultr's compute offerings. While the service is straightforward to configure programmatically, managing files day-to-day through the CLI or writing custom scripts is friction most teams want to avoid. RcloneView resolves this by treating Vultr buckets exactly like any other remote — you browse them in a split-pane file explorer, set up recurring sync jobs through a wizard, and monitor transfers live without writing a single rclone command.
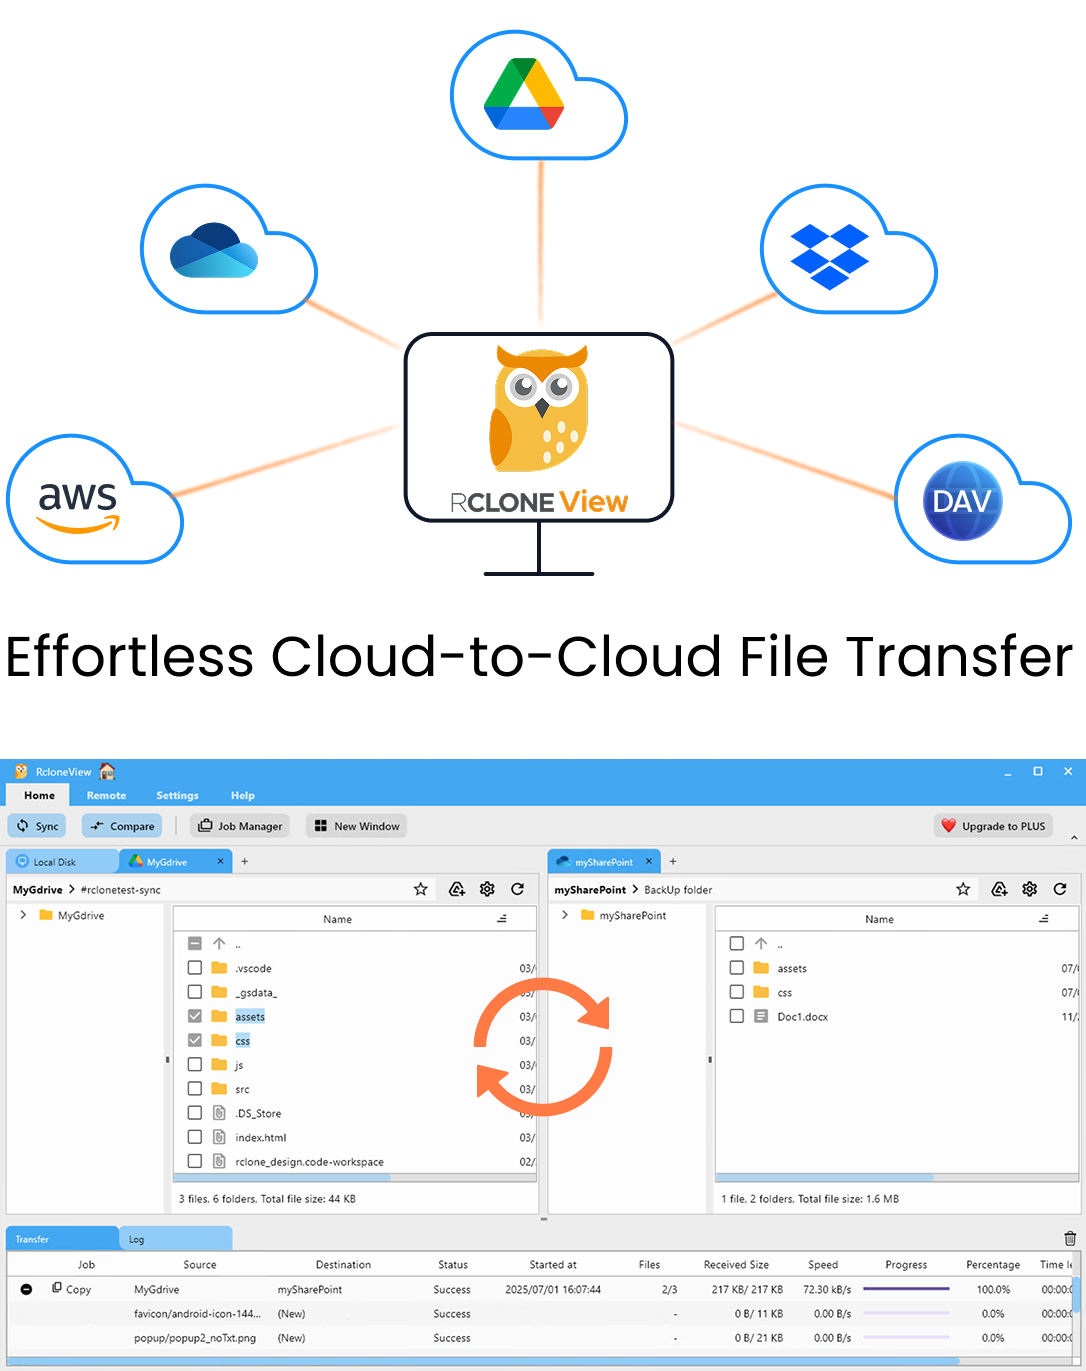
Manage & Sync All Clouds in One Place
RcloneView is a cross-platform GUI for rclone. Compare folders, transfer or sync files, and automate multi-cloud workflows with a clean, visual interface.
- One-click jobs: Copy · Sync · Compare
- Schedulers & history for reliable automation
- Works with Google Drive, OneDrive, Dropbox, S3, WebDAV, SFTP and more
Free core features. Plus automations available.
Connecting Vultr Object Storage in RcloneView
Adding Vultr to RcloneView uses the standard S3-compatible setup. Open the Remote tab and click New Remote, then select Amazon S3 as the provider type. Enter your Vultr Object Storage Access Key and Secret Key — these are available in the Vultr control panel under your Object Storage instance's credentials section. In the Endpoint field, paste the endpoint URL shown in your Vultr dashboard (each datacenter region has its own endpoint URL). Leave the region field as auto or blank; Vultr handles routing based on the endpoint.
Once saved, your Vultr bucket appears as a top-level folder in RcloneView's Explorer panel. Navigate object prefixes through the breadcrumb path bar, switch between list and thumbnail view, and see file name, size, and modification date at a glance. The dual-pane layout lets you open Vultr in one panel and a local folder, NAS path, or another cloud in the other — making drag-and-drop uploads, downloads, and cross-provider copies straightforward.
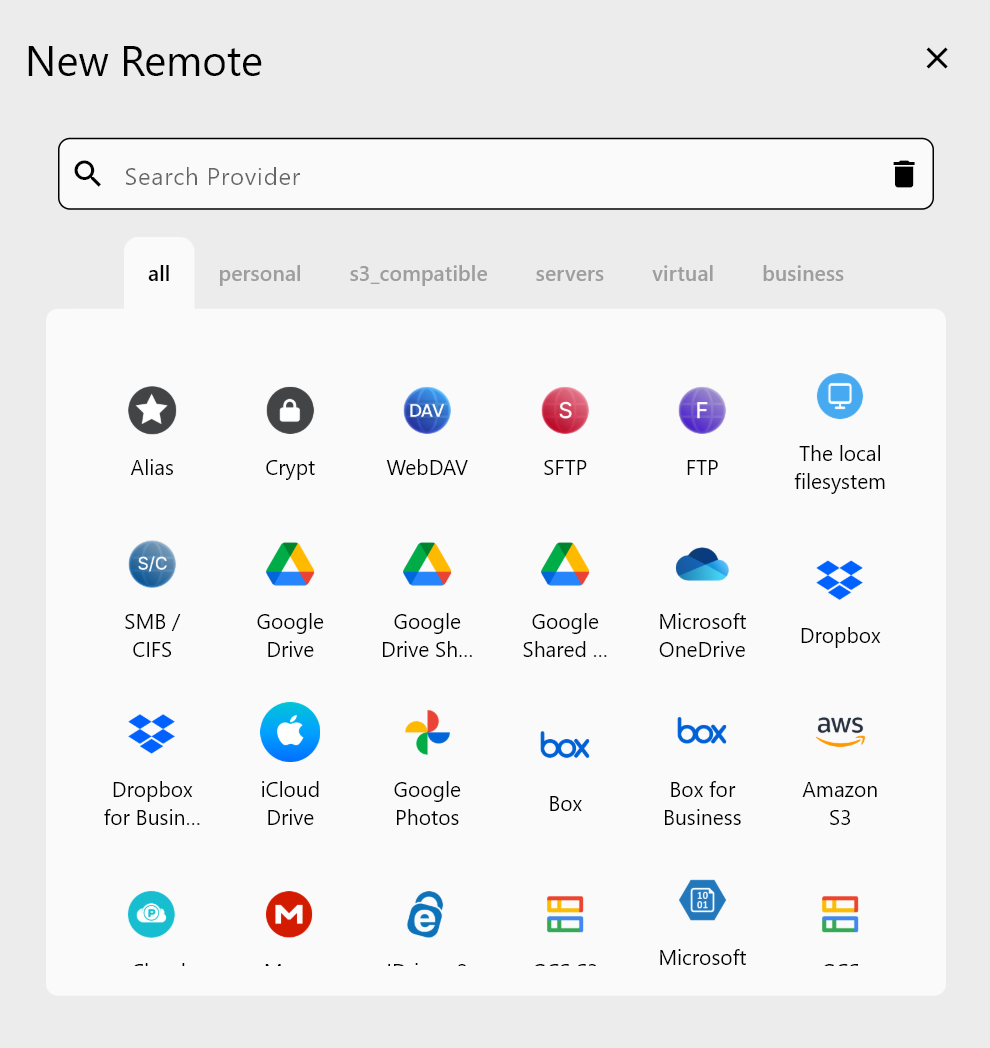
RcloneView can display up to four Explorer panels simultaneously, which is useful when moving data between multiple Vultr regions or cross-uploading between Vultr and a provider like Backblaze B2.
Syncing and Backing Up Files to Vultr Object Storage
Automated backup jobs in RcloneView follow a 4-step wizard. Select your source — a local folder, an external drive, or another cloud remote — and choose the Vultr bucket as the destination. Name the job, pick one-way sync to mirror data into Vultr, then configure filtering and advanced options. Increasing the concurrent transfer count speeds throughput for workloads like a software team backing up nightly build artifacts (hundreds of small files). Enabling checksum comparison ensures every file arrives byte-for-byte identical, which matters when archiving compiled binaries or database dumps.
Before the first live run, click Dry Run to preview the full list of files that would be transferred or removed. This safety check prevents unexpected deletions in shared buckets. Once satisfied, click Run — the Transferring tab at the bottom of RcloneView shows file count, transfer speed, and total bytes with live updates.
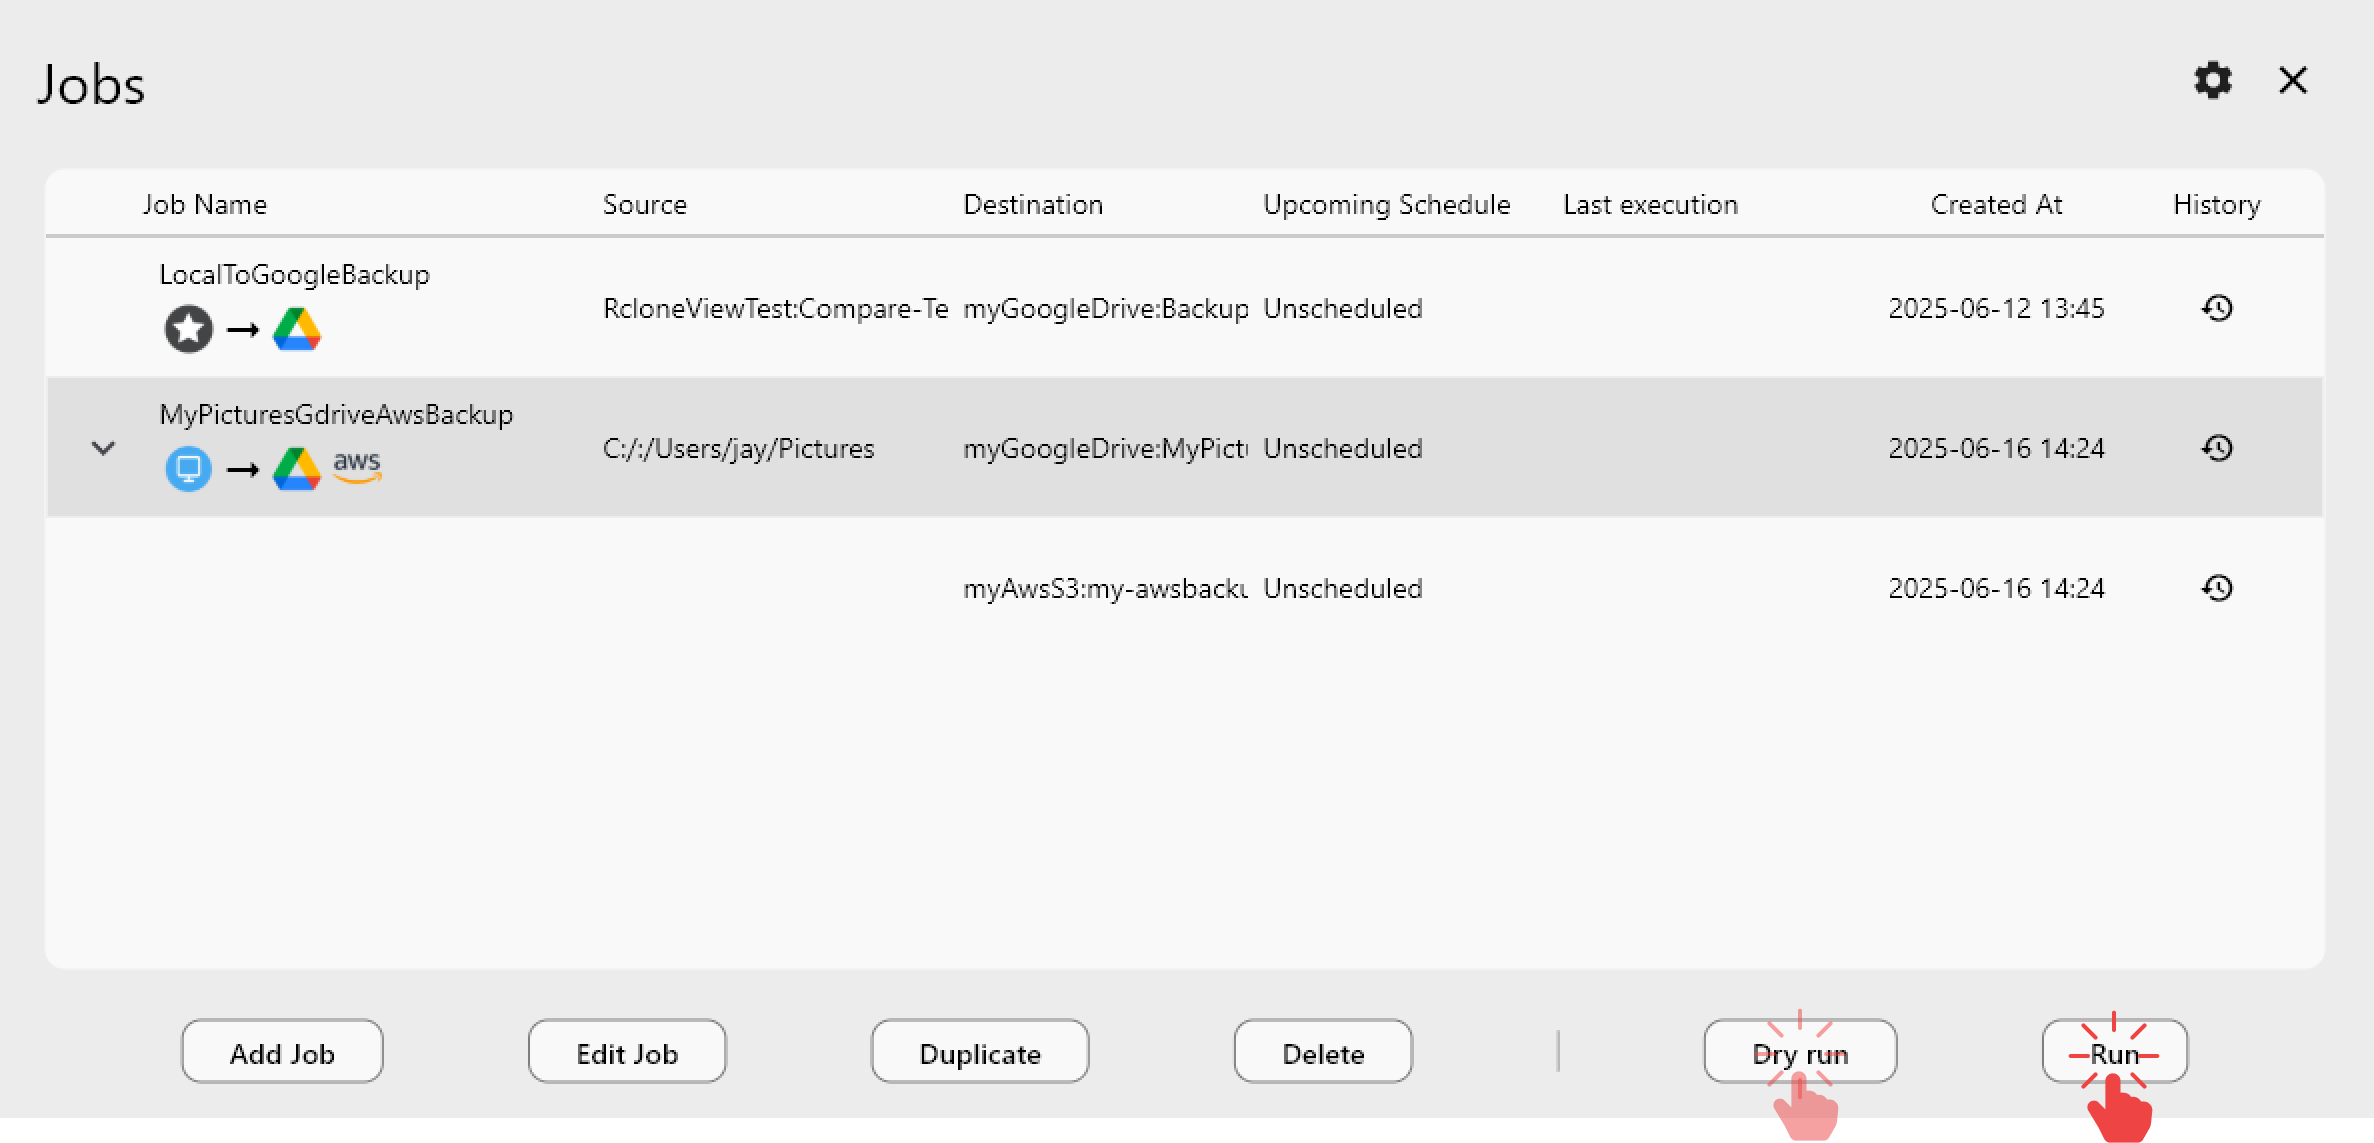
RcloneView PLUS users can schedule jobs with crontab-style rules — for example, a nightly backup at 03:00 that runs Monday through Friday — and receive completion notifications.
Mounting Vultr Storage as a Local Drive
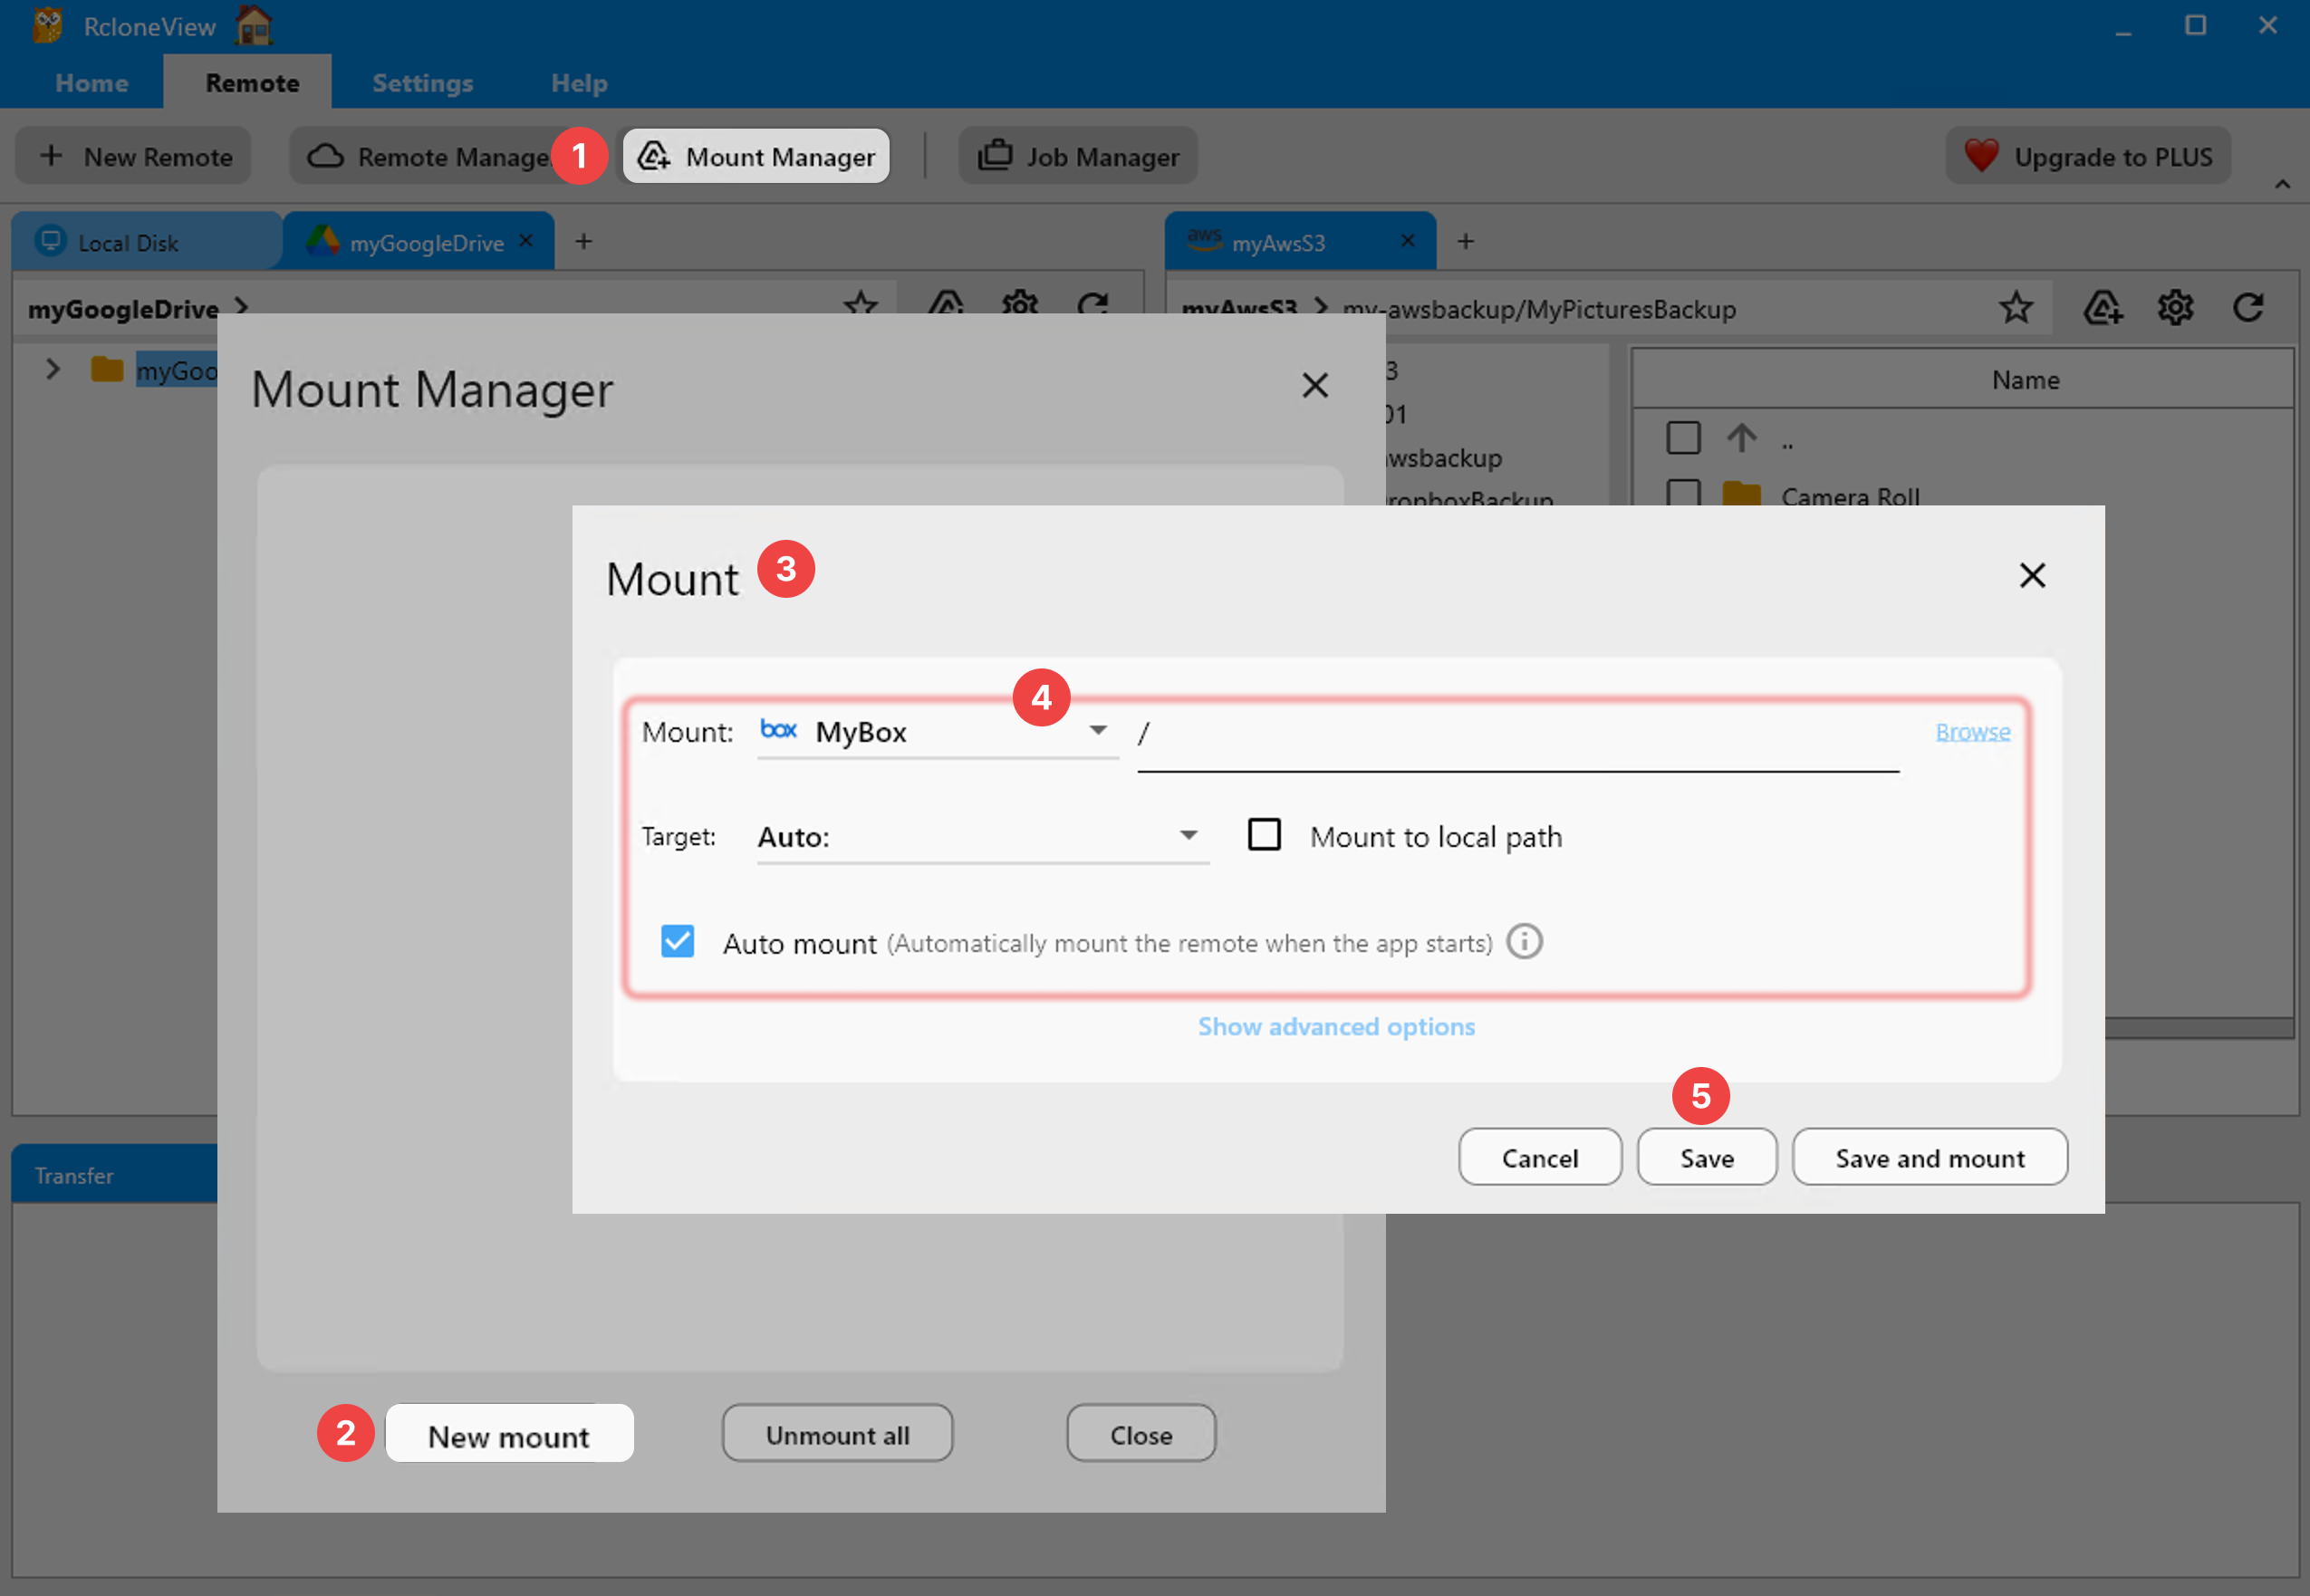
RcloneView's Mount feature lets you attach a Vultr bucket directly as a local drive letter (Windows) or mount point (macOS/Linux), making it accessible to any application without explicit sync steps. Open Mount Manager from the Remote tab, click New Mount, select your Vultr remote, and choose the bucket or subfolder to expose. Set the VFS cache mode to writes for most workloads, then click Save and Mount.
The bucket appears as a local volume. A CI pipeline that deposits build artifacts directly to a mounted drive, for instance, doesn't need any awareness of Vultr's API — it writes files as if to a local disk, and rclone handles the upload transparently.
Getting Started
- Download RcloneView from rcloneview.com.
- In the Vultr control panel, open your Object Storage instance and copy the Access Key, Secret Key, and endpoint URL.
- In RcloneView, go to Remote tab → New Remote → Amazon S3, enter your credentials and the Vultr endpoint, then save.
- Browse your bucket in the Explorer panel or configure automated backup jobs via the Job Manager.
Once connected, Vultr Object Storage integrates seamlessly into any multi-cloud workflow you manage in RcloneView — alongside local storage, NAS, and other cloud providers in a single interface.
Related Guides:
- Sync Vultr Object Storage to Google Drive with RcloneView
- Manage Cloudflare R2 Cloud Storage with RcloneView
- Mount Amazon S3 Buckets as a Local Drive with RcloneView
Supported Cloud Providers