Manage ImageKit Storage — Sync and Backup Files with RcloneView

Connect ImageKit to RcloneView to browse, sync, and back up your media assets using a visual GUI — no command line required.
Teams that rely on ImageKit for image and video delivery often accumulate thousands of original assets in the platform's media library. While ImageKit's web dashboard handles individual uploads well, moving large volumes of media — or maintaining an off-site backup — is far more practical with a dedicated sync tool. RcloneView connects directly to ImageKit through rclone's backend, giving you a dual-panel file explorer, one-click sync jobs, and job history, all from a single window on Windows, macOS, or Linux.

Manage & Sync All Clouds in One Place
RcloneView is a cross-platform GUI for rclone. Compare folders, transfer or sync files, and automate multi-cloud workflows with a clean, visual interface.
- One-click jobs: Copy · Sync · Compare
- Schedulers & history for reliable automation
- Works with Google Drive, OneDrive, Dropbox, S3, WebDAV, SFTP and more
Free core features. Plus automations available.
Connect ImageKit as a Remote in RcloneView
Adding ImageKit to RcloneView takes just a few steps through the guided remote setup wizard. Open the Remote tab and click New Remote, then locate ImageKit in the provider list. Enter your credentials when prompted — available from your ImageKit developer settings — and save the remote. Once configured, your ImageKit media library appears as a browsable panel in the file explorer alongside any other remotes you have connected.

Unlike mount-only tools, RcloneView also lets you sync and compare folders across any connected remote — including ImageKit — on the FREE license. A digital agency managing hundreds of client image assets, for example, can mirror their ImageKit library to local NAS or a separate cloud bucket by running a sync job from the ImageKit panel, keeping a verified archive without touching the command line.
Browse and Transfer Media Files
Once connected, ImageKit's folder structure appears in the dual-panel explorer. You can navigate directories, select multiple files using Ctrl+Click or Shift+Click, and drag files between ImageKit and any other connected remote — a local drive, an S3 bucket, or another cloud service. Right-click any file to Download it locally, or drag items from your file manager into RcloneView to upload them directly to ImageKit.

Set Up Automated Backups from ImageKit
For teams that publish new visual assets regularly, a sync job ensures every file has a current backup. In the Job Manager, create a new Sync job with ImageKit as the source and your backup destination — a local folder, Backblaze B2, Amazon S3, or any other connected remote. In the Advanced Settings step, enable checksum verification to confirm each file transferred correctly by comparing content hashes, not just file size and name.
Before committing to a full transfer, use Dry Run to preview which files will be copied or removed. This is especially valuable after changing filter settings or adding a new destination, as it shows the exact file list without making any changes to your data.
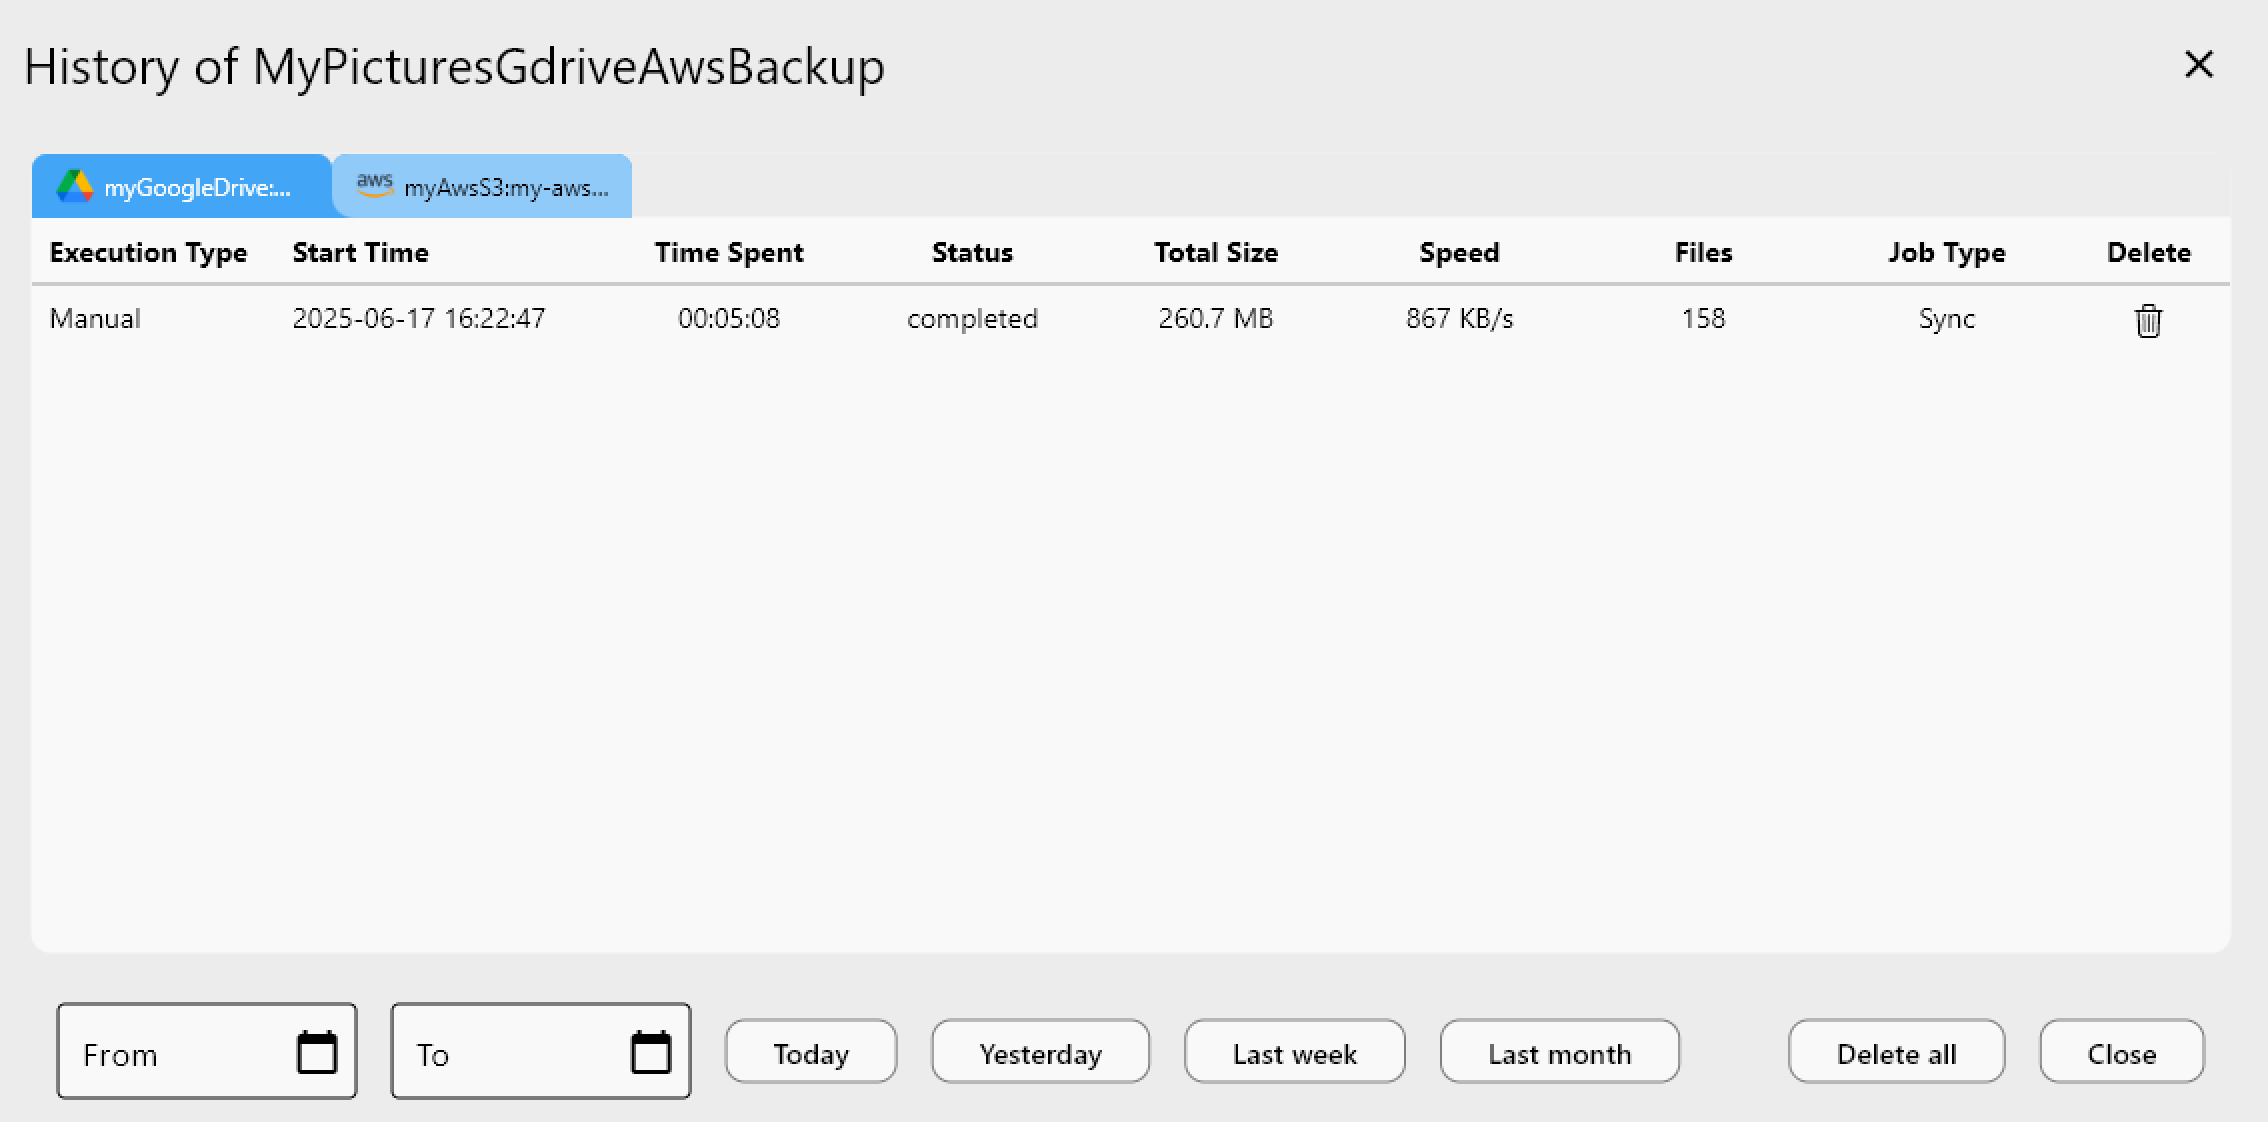
Job History records every transfer with start time, duration, file count, total size, and completion status, giving you a clear audit trail for your media backup operations over time.
Getting Started
- Download RcloneView from rcloneview.com.
- Open the Remote tab, click New Remote, and select ImageKit from the provider list.
- Enter your ImageKit credentials and save the remote.
- Create a Sync job in Job Manager with ImageKit as the source and your backup destination.
With RcloneView, your ImageKit media library becomes part of a broader, automated backup strategy without writing a single command.
Related Guides:
- Manage Cloudinary Storage — Sync and Backup Files with RcloneView
- Manage Google Photos Storage — Sync and Backup Files with RcloneView
- Drag and Drop Cloud Transfer Guide with RcloneView