Migrate Yandex Disk to pCloud — Transfer Files with RcloneView

Move years of Yandex Disk files into pCloud through a GUI-based copy job you can preview, monitor, and verify.
Consolidating storage accounts usually stalls at the same point: downloading everything to a laptop just to upload it again. RcloneView connects Yandex Disk and pCloud side by side and copies files between them through rclone, so nothing has to be staged on a local disk first. Both providers sign in through a browser OAuth login, which means no API keys to generate.
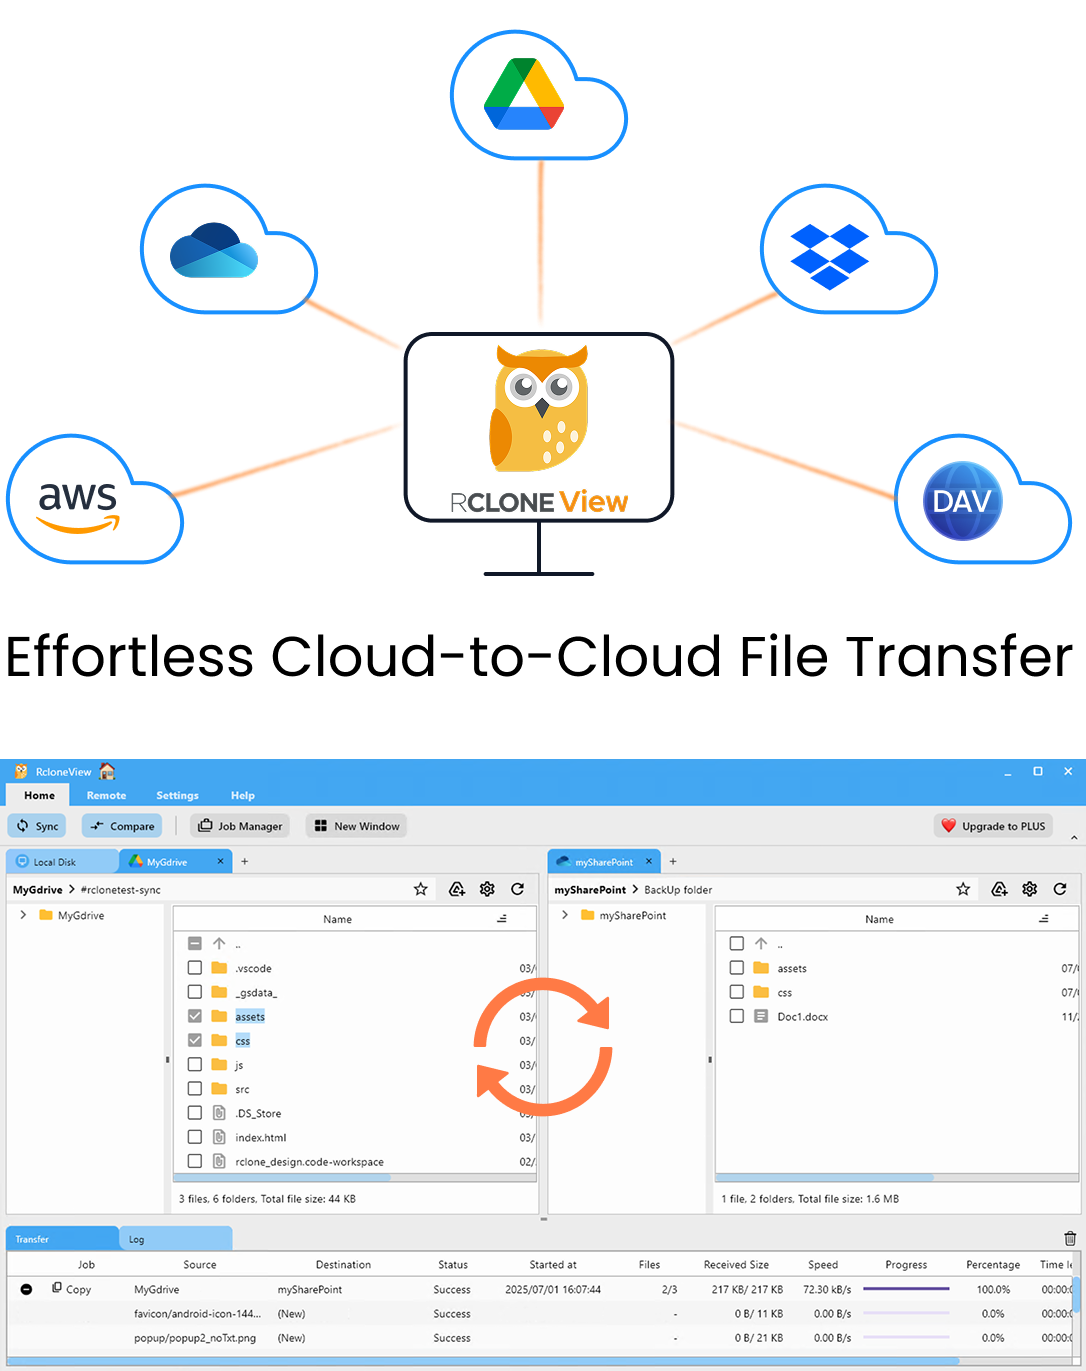
Manage & Sync All Clouds in One Place
RcloneView is a cross-platform GUI for rclone. Compare folders, transfer or sync files, and automate multi-cloud workflows with a clean, visual interface.
- One-click jobs: Copy · Sync · Compare
- Schedulers & history for reliable automation
- Works with Google Drive, OneDrive, Dropbox, S3, WebDAV, SFTP and more
Free core features. Plus automations available.
Connect Yandex Disk and pCloud as Remotes
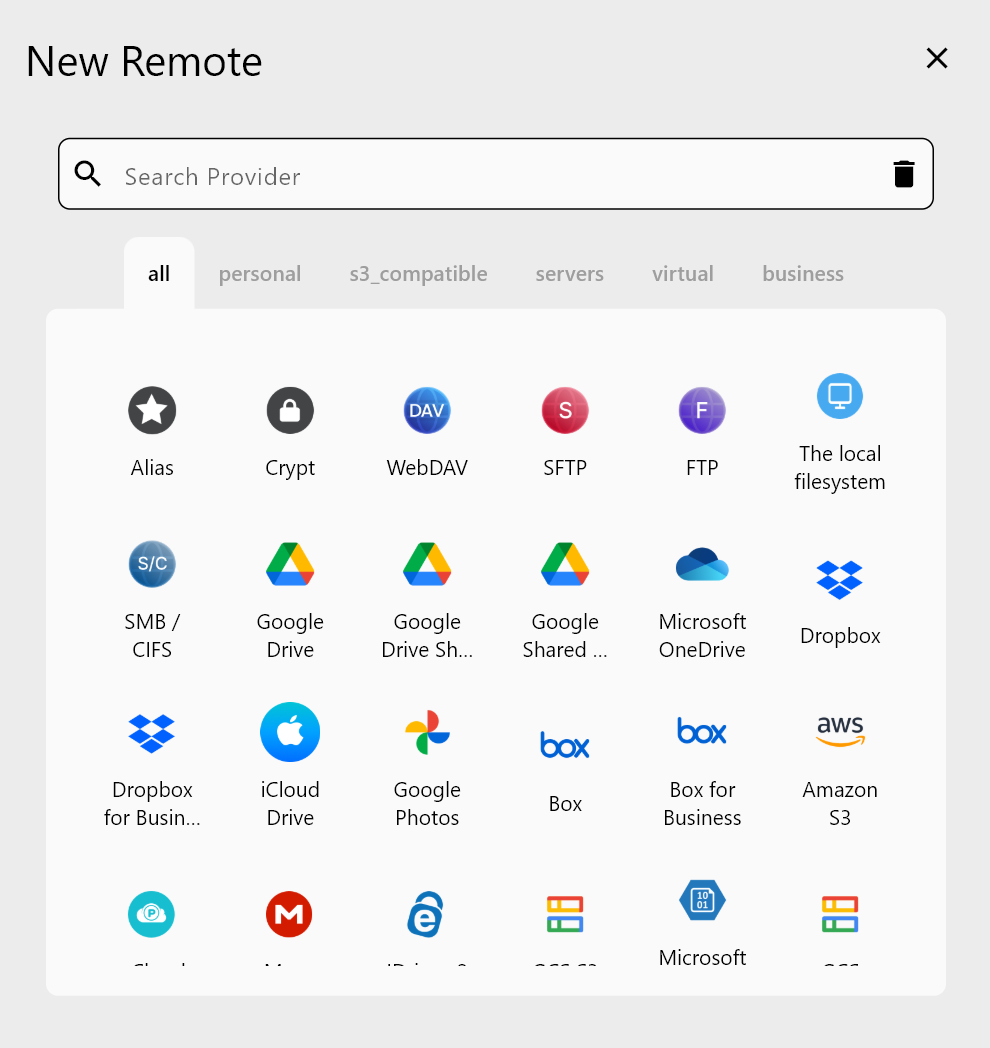
Open the Remote tab and click New Remote. Choose Yandex Disk, give the remote a short name such as yandex, and complete the browser login. Repeat the process for pCloud with a name like pcloud. Both appear in Remote Manager, where you can edit or remove them later.
Once connected, open two Explorer panels — one per remote — and browse the folder trees. Right-click a top-level folder and choose Get Size to see how much data you are about to move. That number helps you confirm your pCloud plan has room before the first file is copied.
Plan the Copy Job and Preview It
For a one-off migration, a Copy job is the safer choice: it adds files to pCloud without deleting anything there. Use Sync only if you want pCloud to mirror Yandex Disk exactly, including removals.
Create the job in Job Manager. In Step 1, pick a Yandex Disk folder as the source and a pCloud folder as the destination. In Step 2, consider enabling checksum comparison so files are compared by hash plus size where both sides share a hash type (Yandex Disk uses MD5, and pCloud offers MD5 only on US-region accounts), and keep the retry setting (default: 3) for unstable connections. Step 3 lets you skip what you no longer need — for example a max file age, or custom rules that exclude .iso images or .git/ folders.
Before running, use Dry Run. It lists every file that would be copied, so a photographer moving 400 GB of RAW archives can confirm the folder layout is right before committing hours of transfer time.
Run and Monitor the Transfer
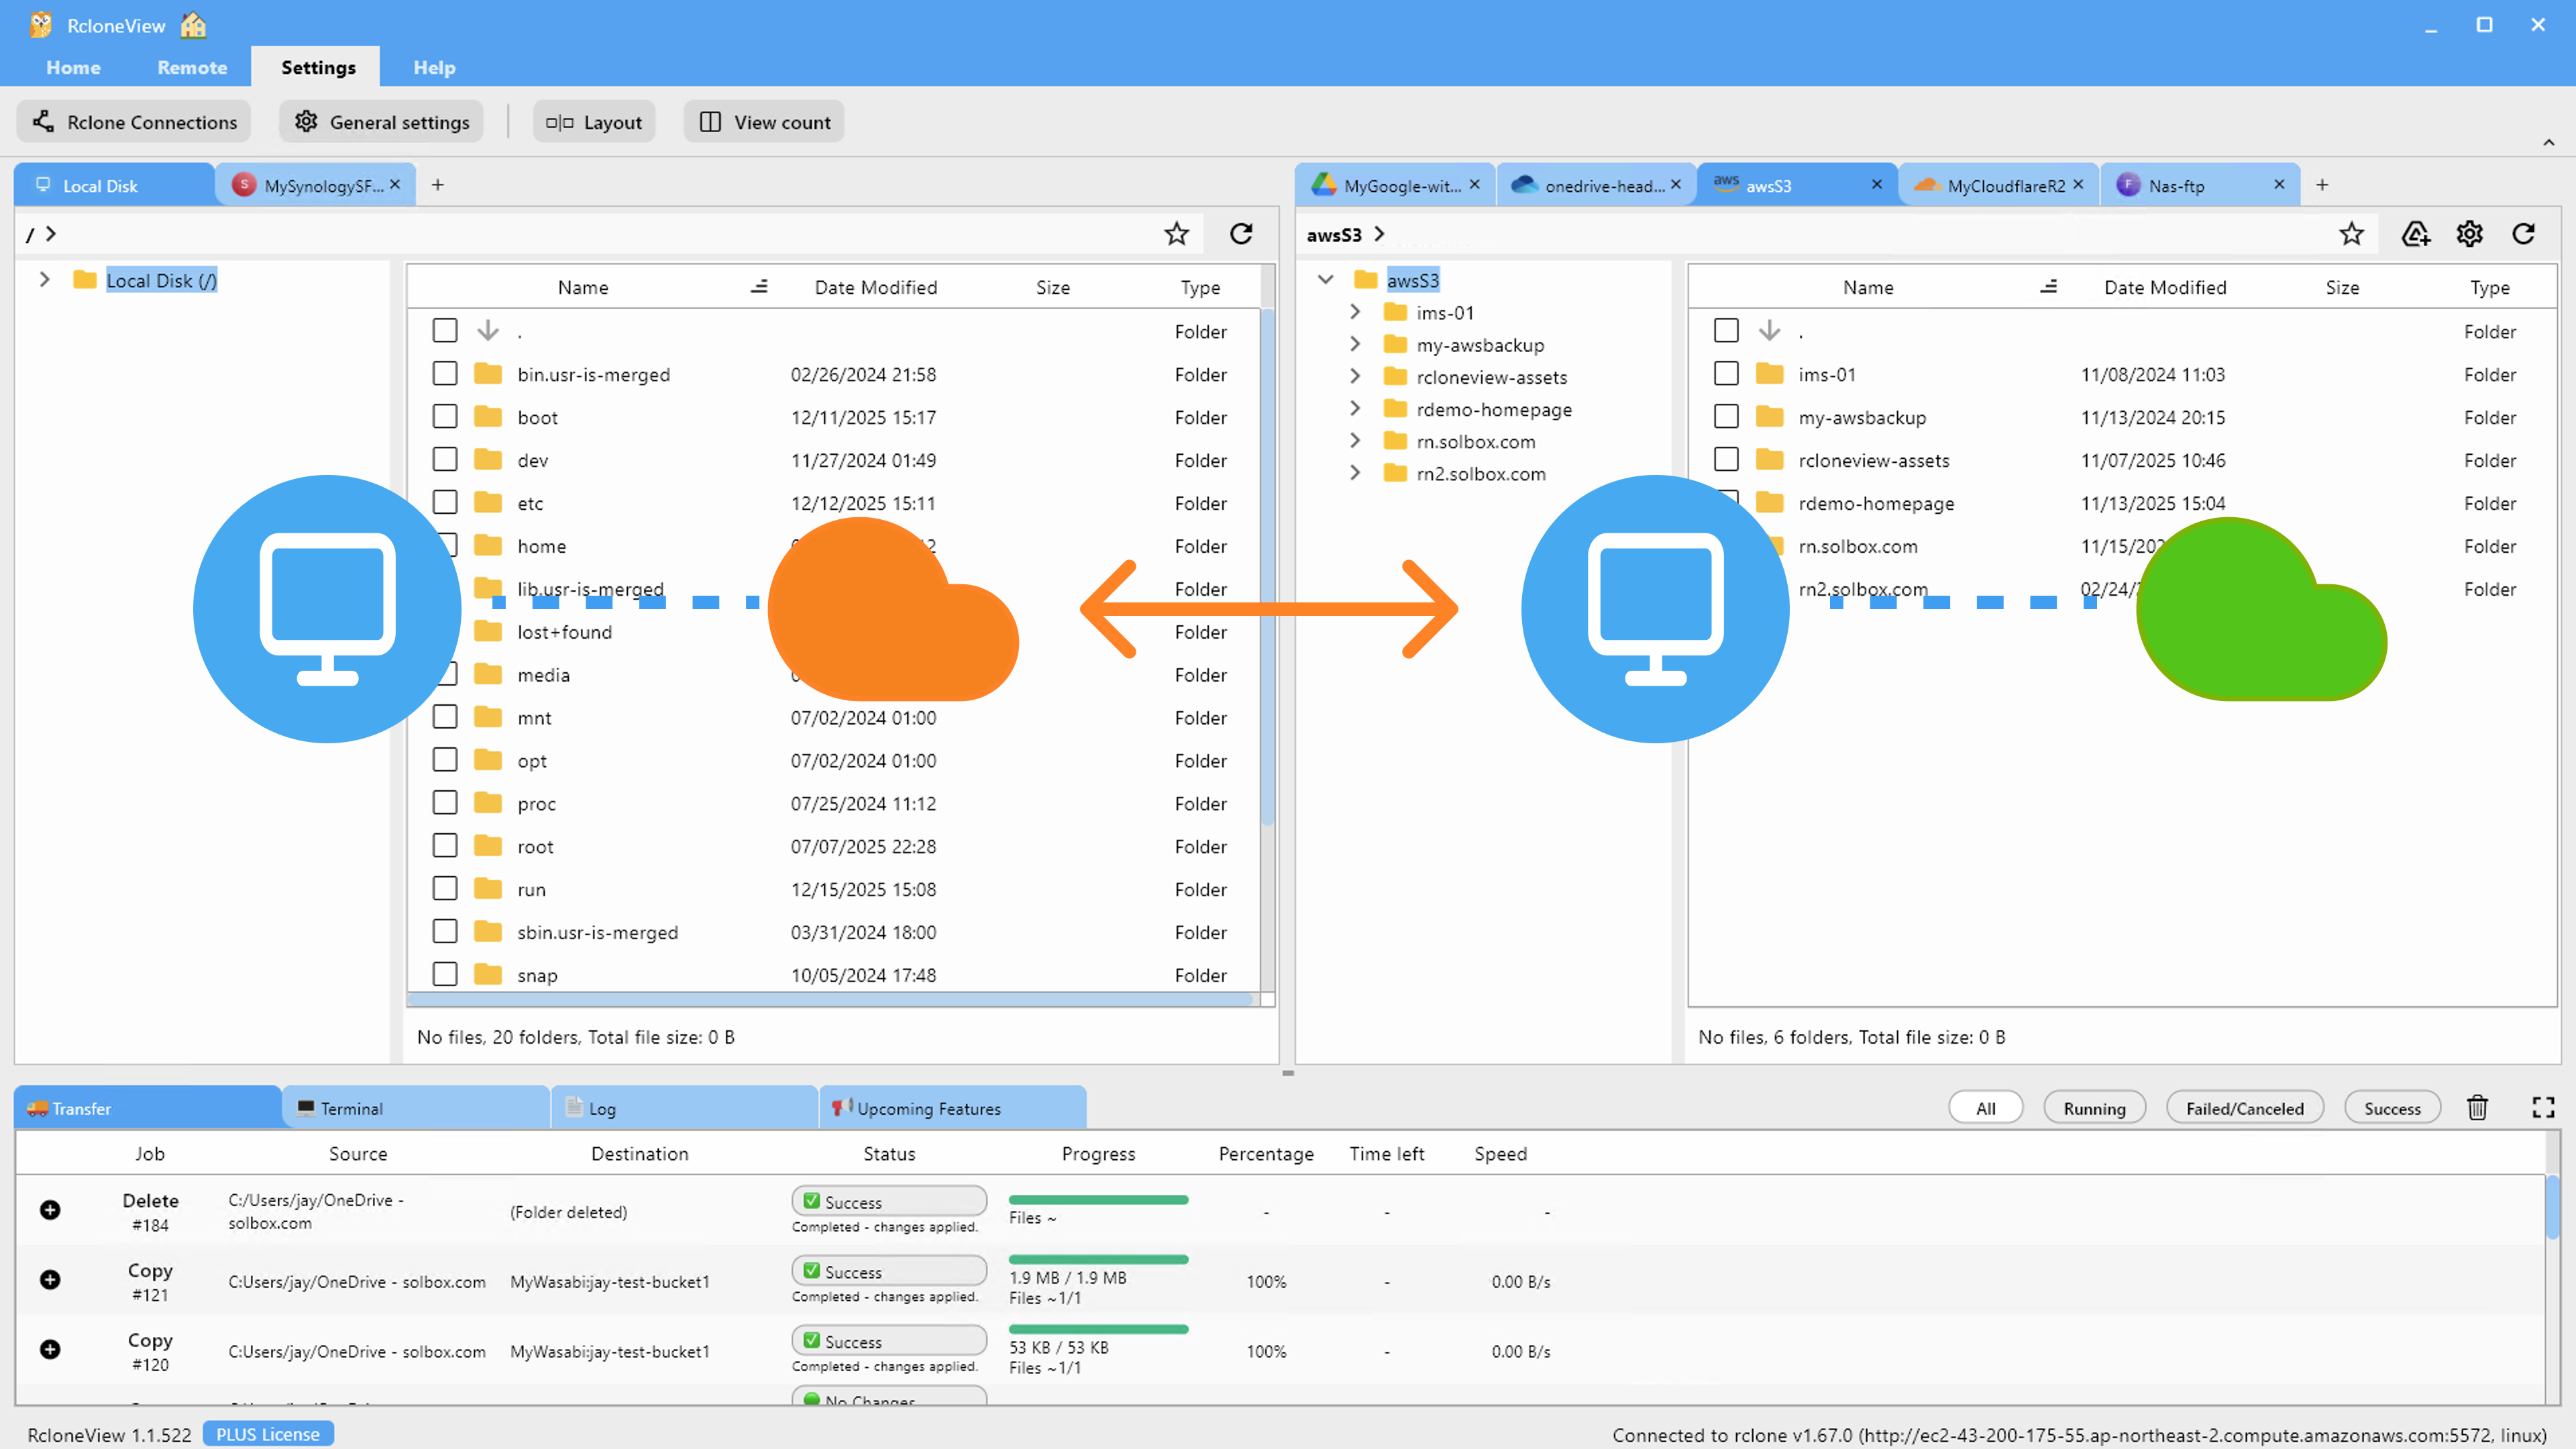
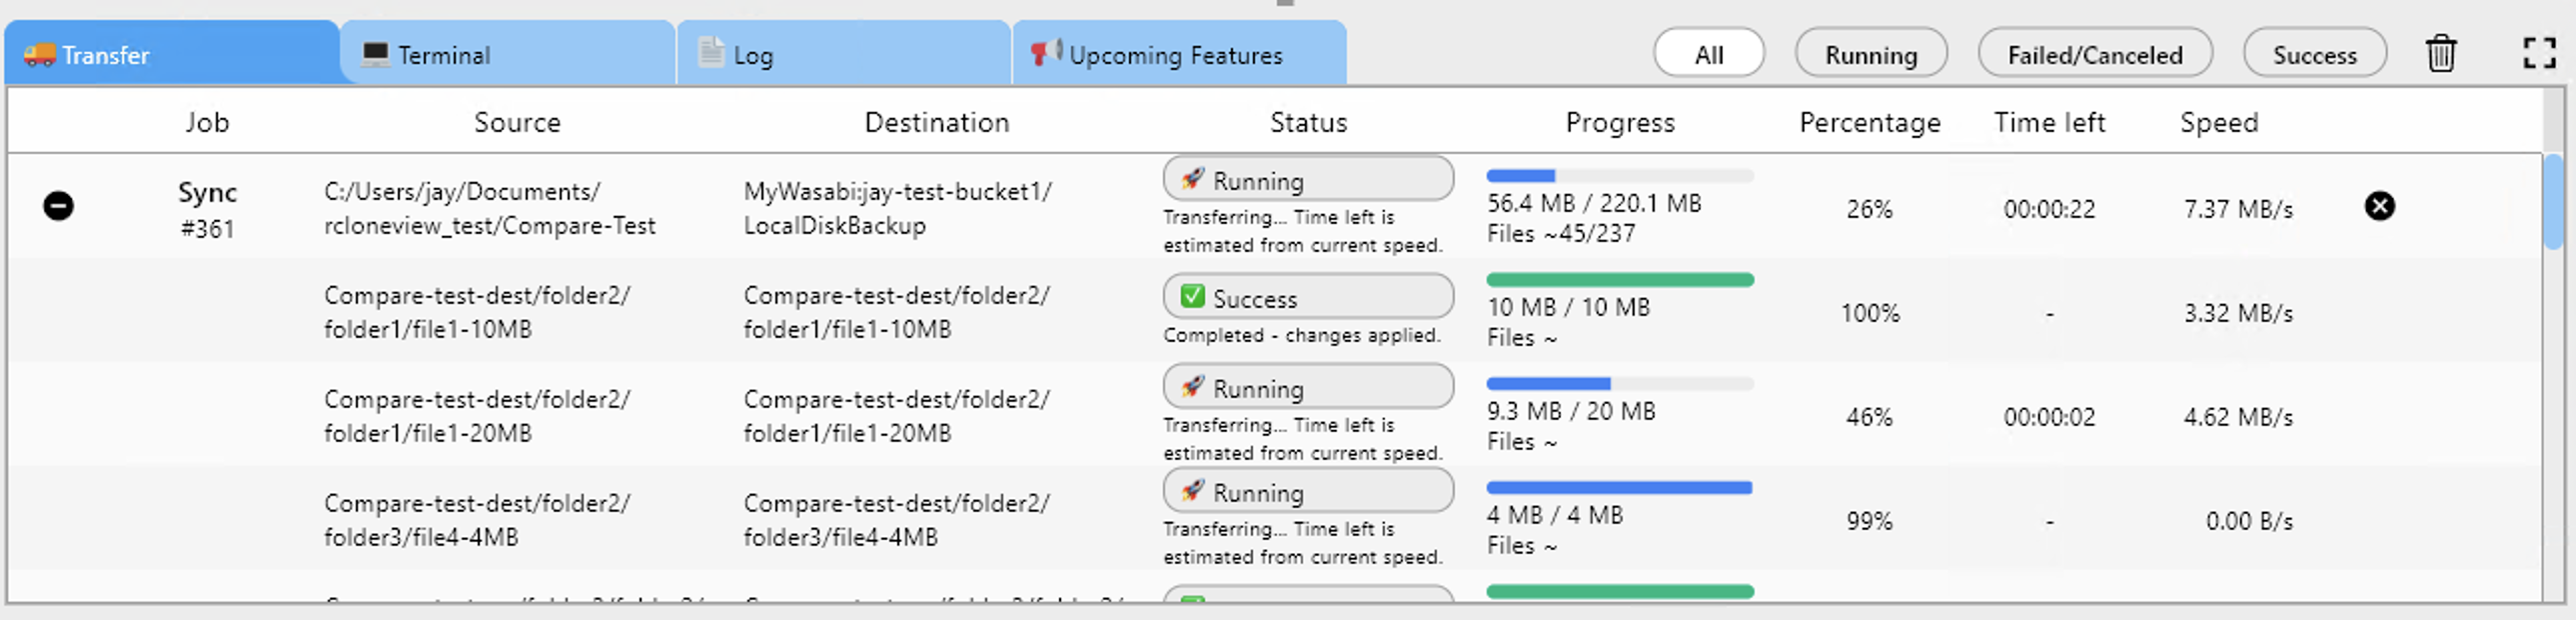
Start the job and watch the Transferring tab for progress, speed, and file counts. Large libraries are worth splitting into several jobs — one per top-level folder — so a network hiccup only affects one batch. Every run is recorded in Job History with its status, total size, and file count, which gives you an audit trail for the move.
Verify with Folder Compare
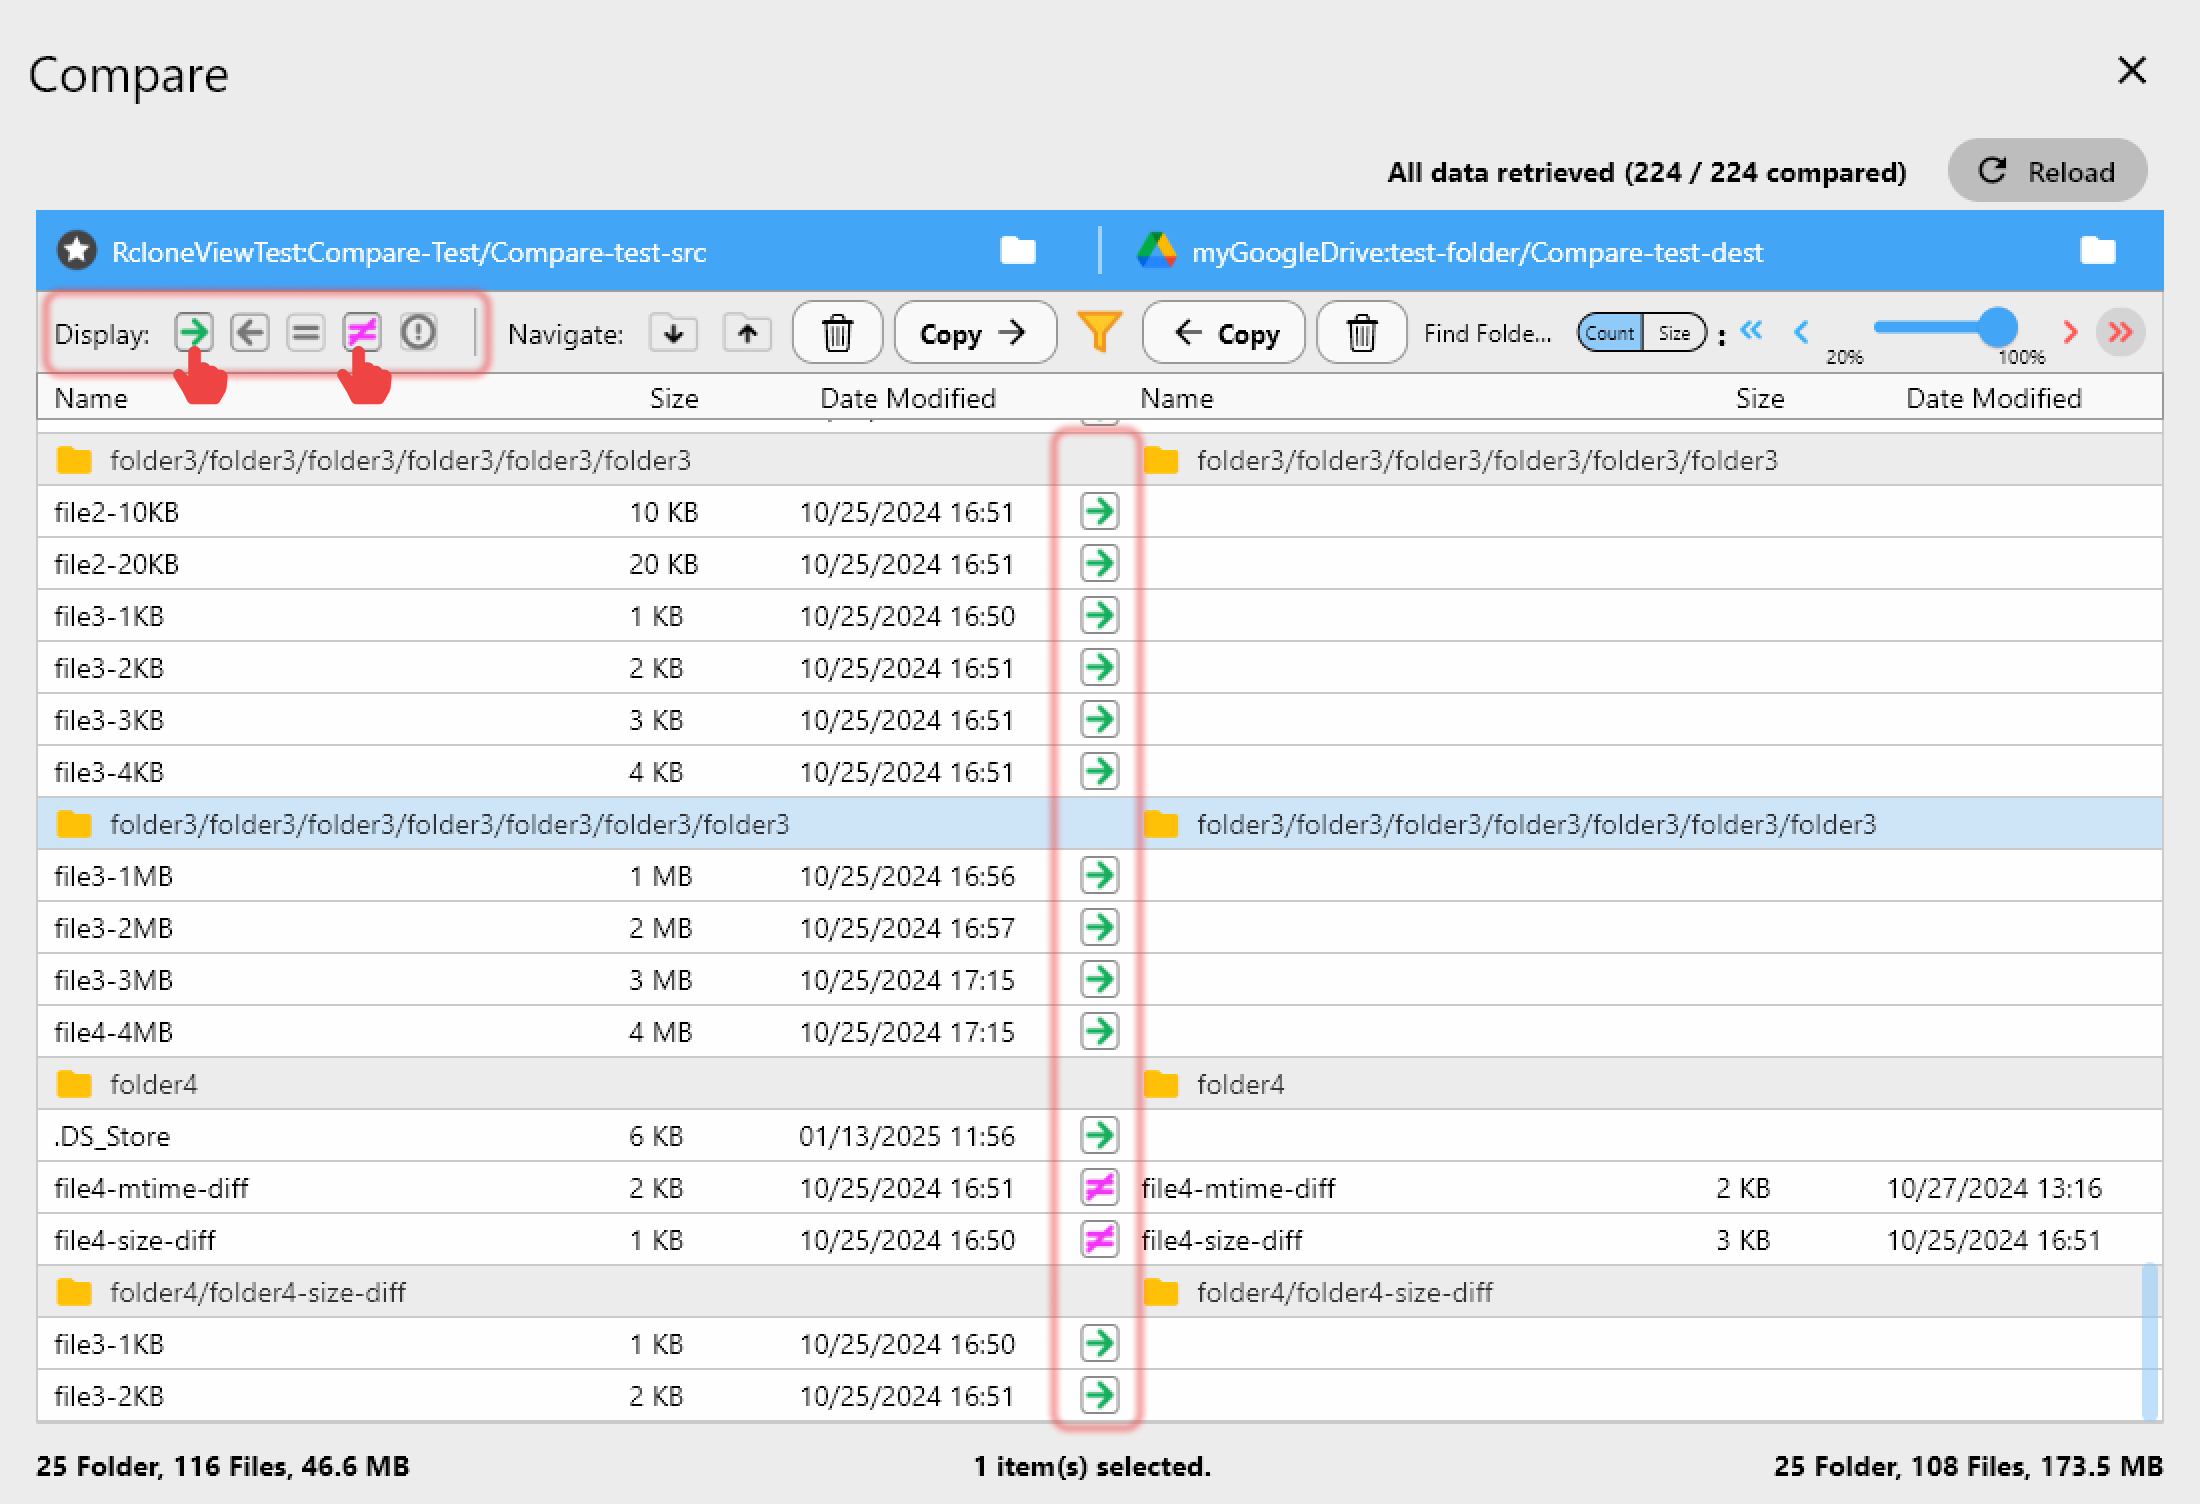
After the job finishes, open Compare with the Yandex Disk folder on the left and the pCloud folder on the right. Filter to "left-only" and "different" files to spot anything that was skipped. Copy right sends the stragglers across in one click.
Getting Started
RcloneView mounts and syncs 90+ providers from one window, on Windows, macOS, and Linux.
- Download RcloneView from rcloneview.com.
- Add Yandex Disk and pCloud as remotes through their OAuth browser logins.
- Create a Copy job from Yandex Disk to pCloud and review it with Dry Run.
- Run the job, then confirm the result with Folder Compare before closing your Yandex Disk account.
A verified migration means you can retire the old account knowing every folder made the trip.
Related Guides:
- Manage Yandex Disk Storage — Sync and Backup Files with RcloneView
- Manage pCloud Storage — Sync and Backup Files with RcloneView
- Fix Yandex Disk Sync Errors — Diagnose and Resolve Failed Transfers with RcloneView
Supported Cloud Providers