WebDAV
How to Add WebDAV using RcloneView
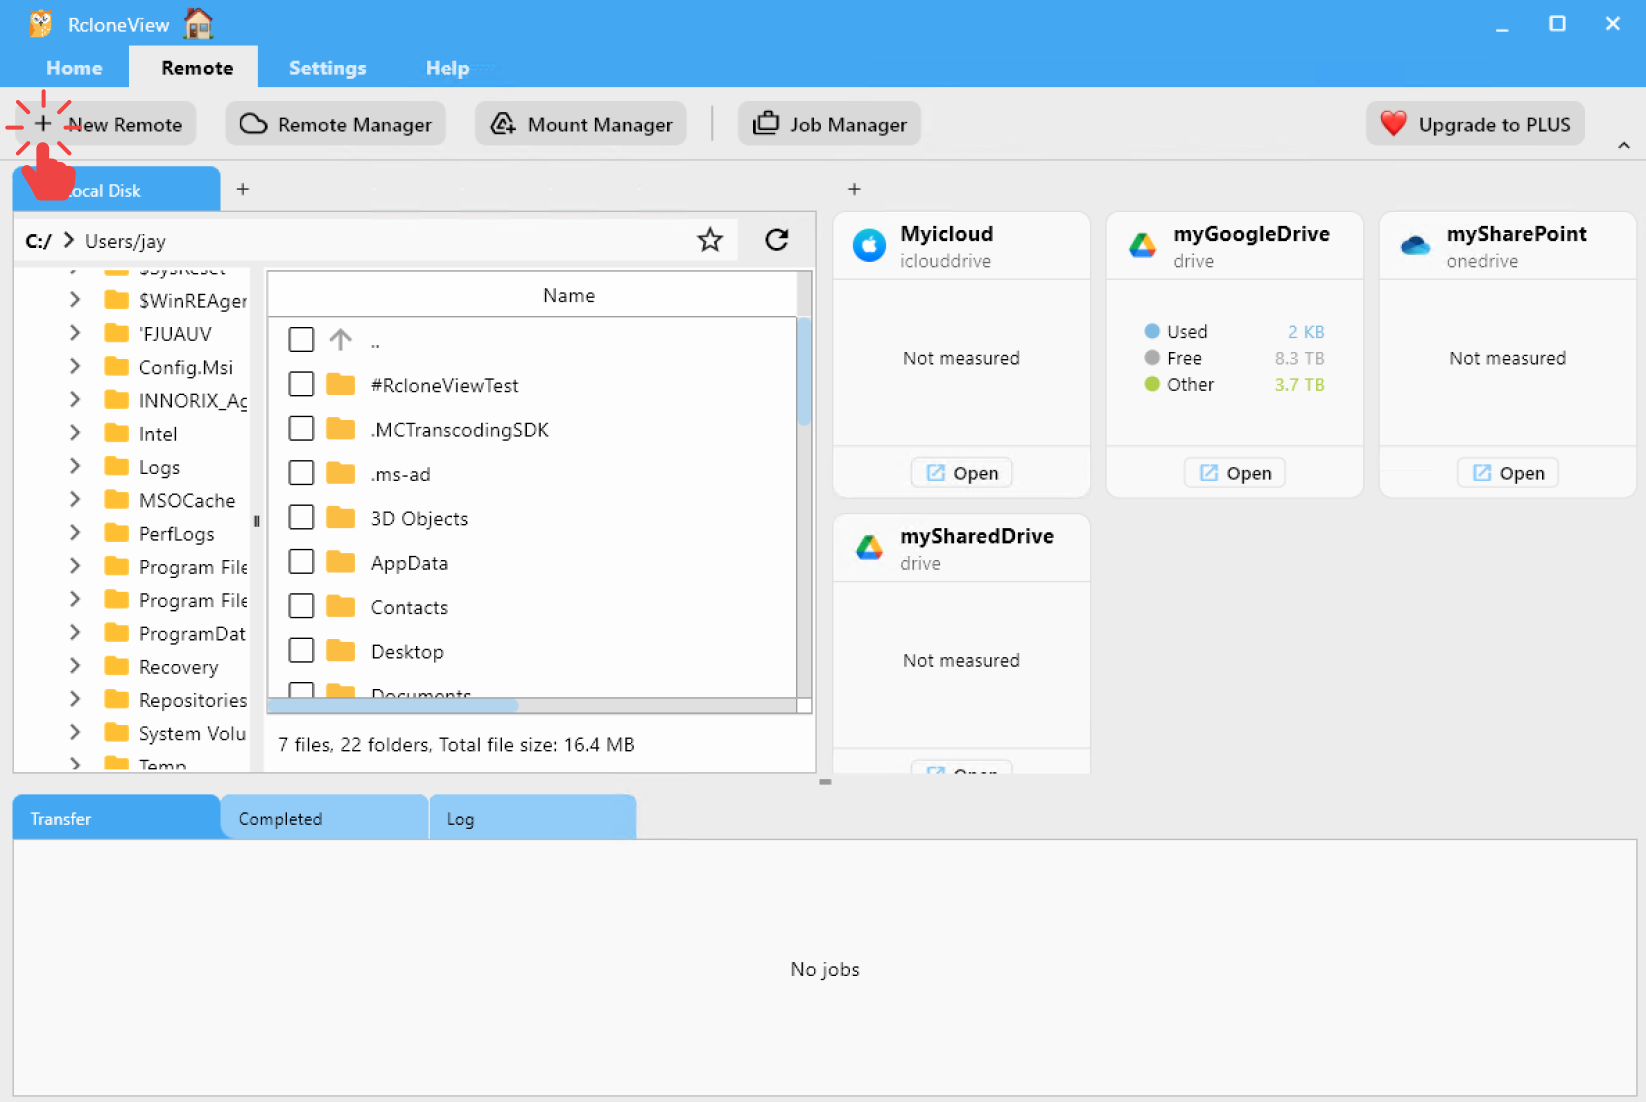
Step 1: Opening New Remote Configuration Window
- Click
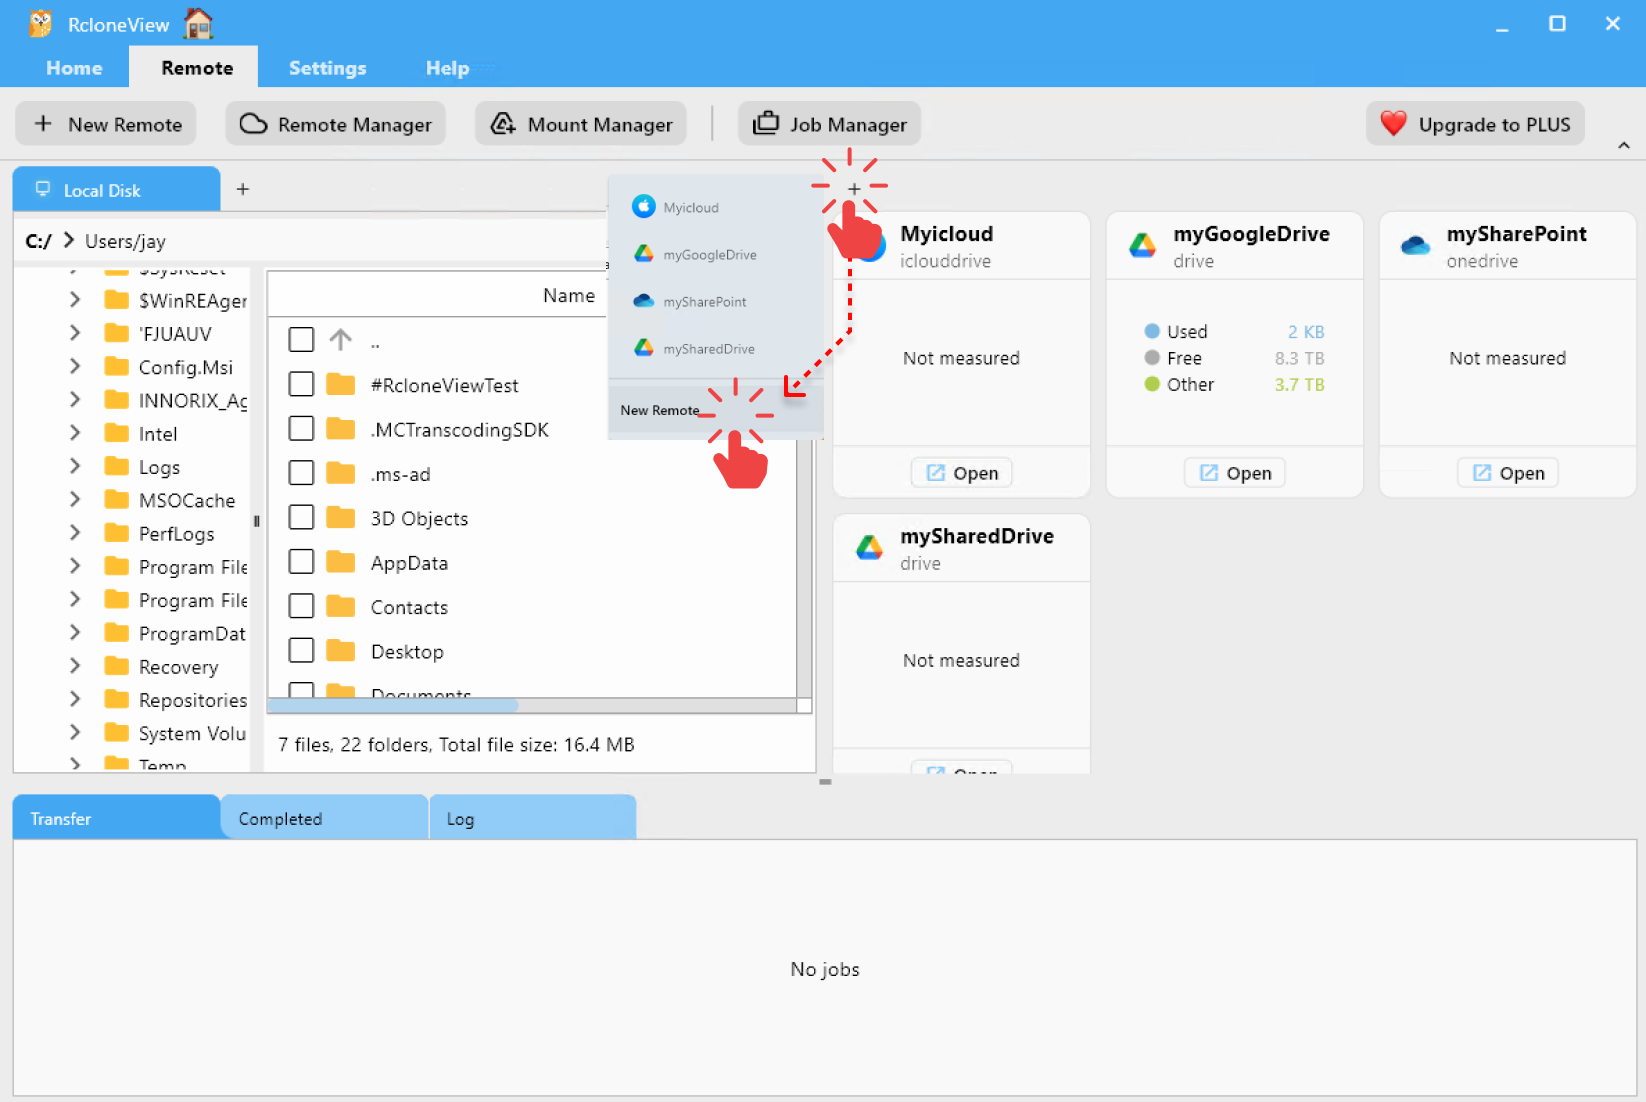
+ New Remotefrom the top menu underRemote. - Alternatively, click the
+button in the Explorer pane and selectNew Remoteto start remote configuration.
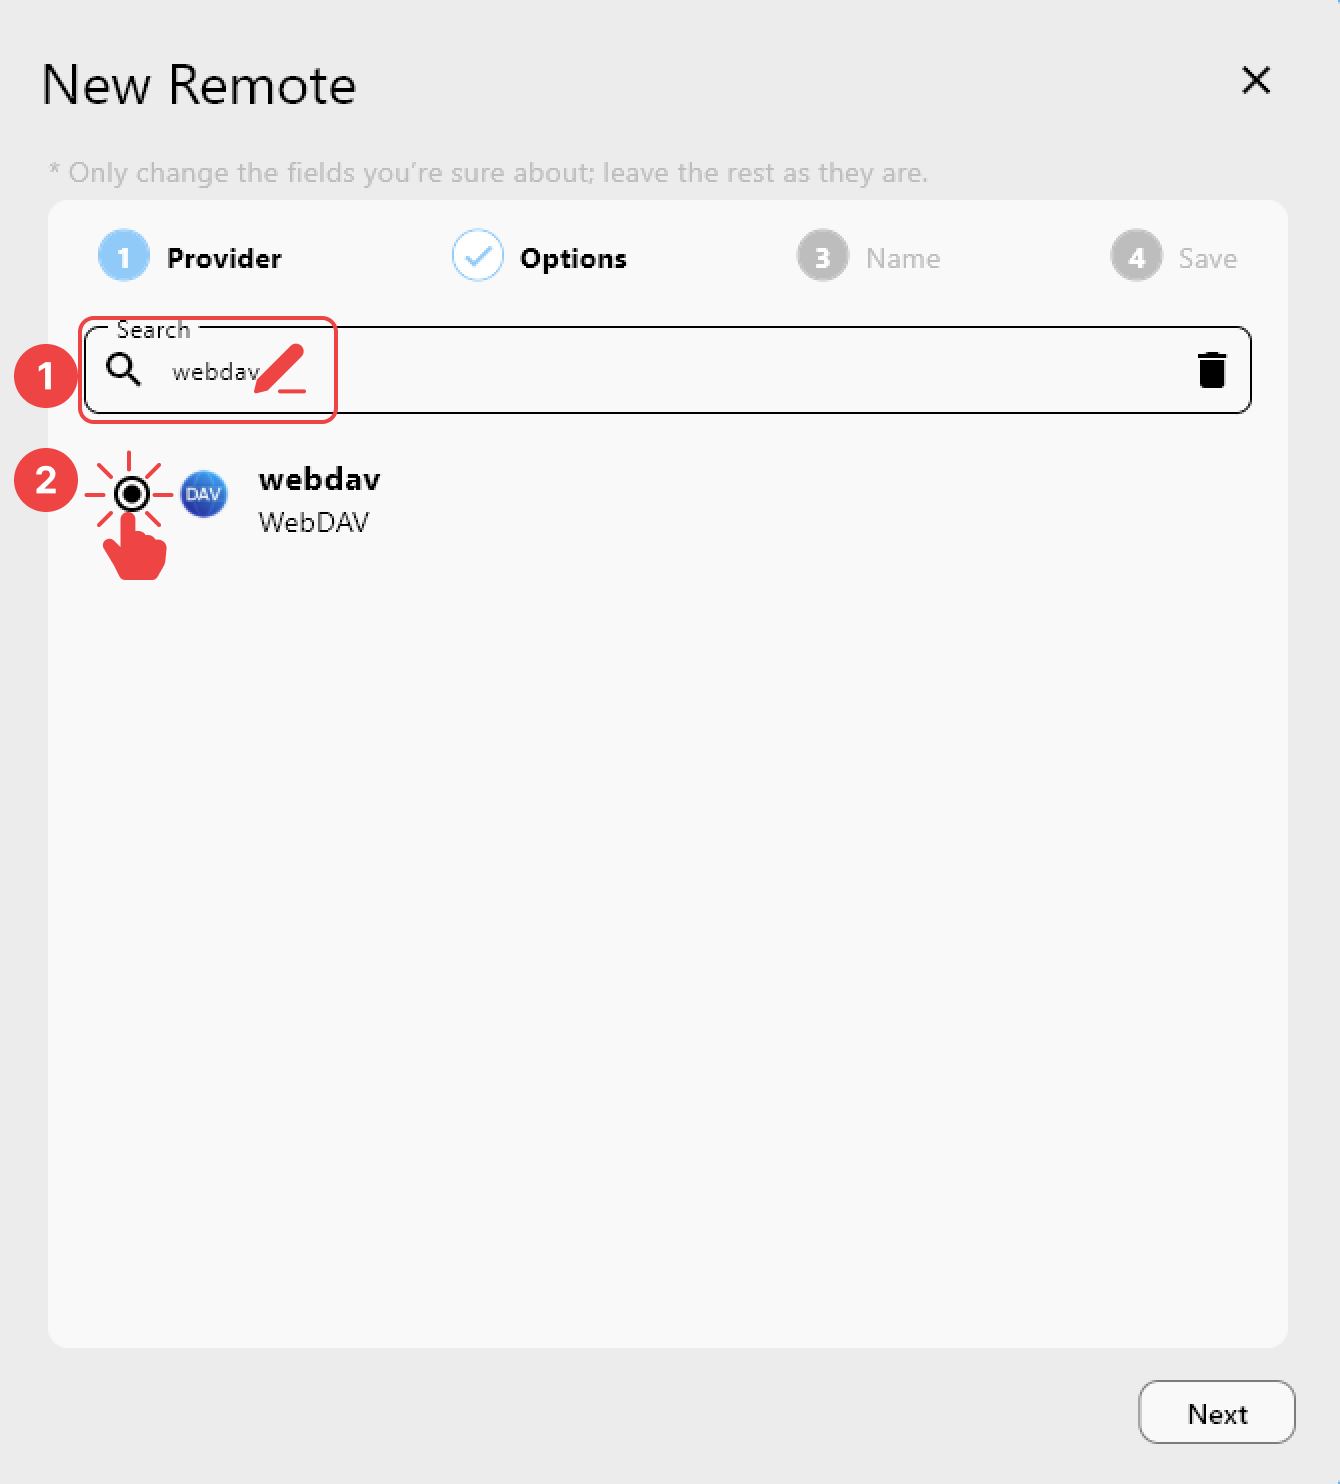
Step 2: Adding WebDAV Remote
In the Provider tab:
- Search for
webdav. - Select
WebDAVfrom the list.
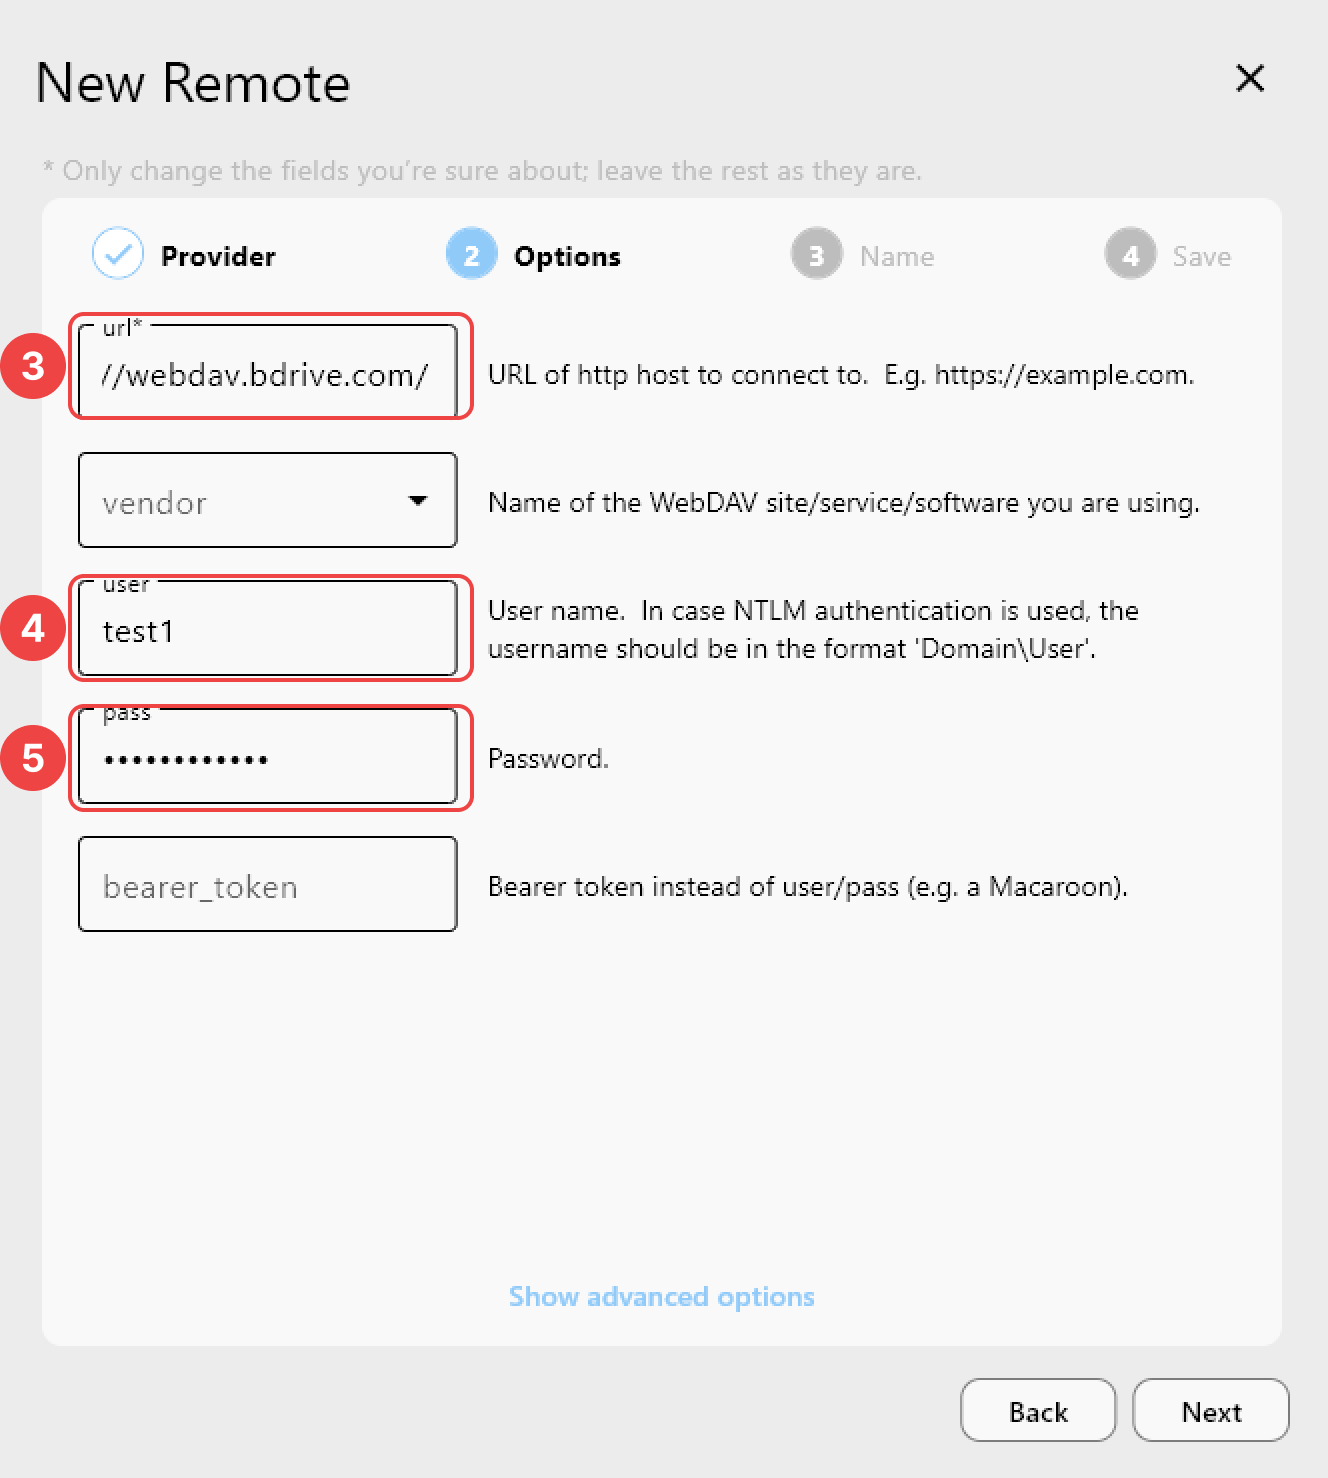
In the Options tab:
- Enter Remote URL
- Enter your login user name
- Enter your password
Options Details
Options Details
| Field | Description |
|---|---|
url | The remote WebDAV URL (e.g., https://webdav.example.com/) You can also specify a custom port number (e.g., https://webdav.example.com:5020) |
vendor | (Optional) Leave blank or WebDAV-compatible service provider (e.g., fastmail, nextcloud, owncloud, sharepoint, sharepoint-ntlm, rclone) See full list: WebDAV Provider Notes |
user | Your login username |
pass | Your login password (masked) |
bearer_token | (Optional) Usually left blank |
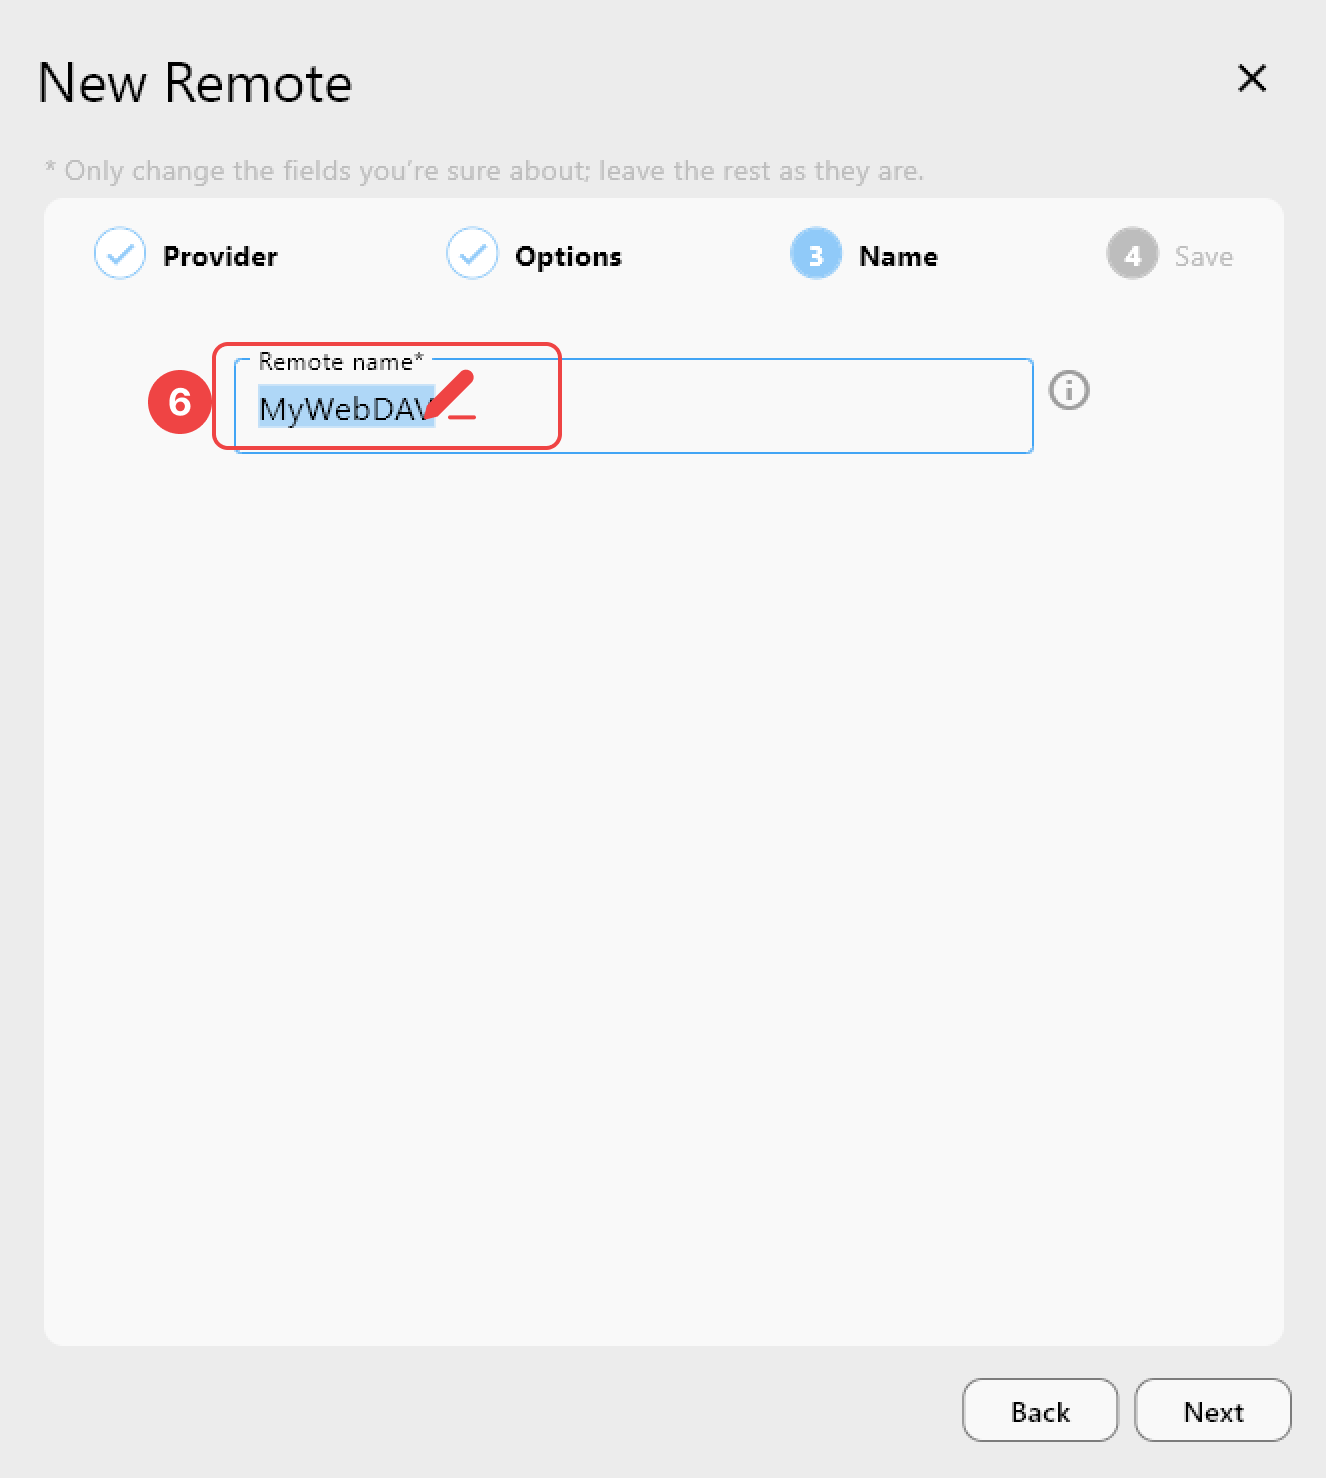
In the Name tab:
- Enter a unique and identifiable name for this remote (e.g.,
myWebDAV).
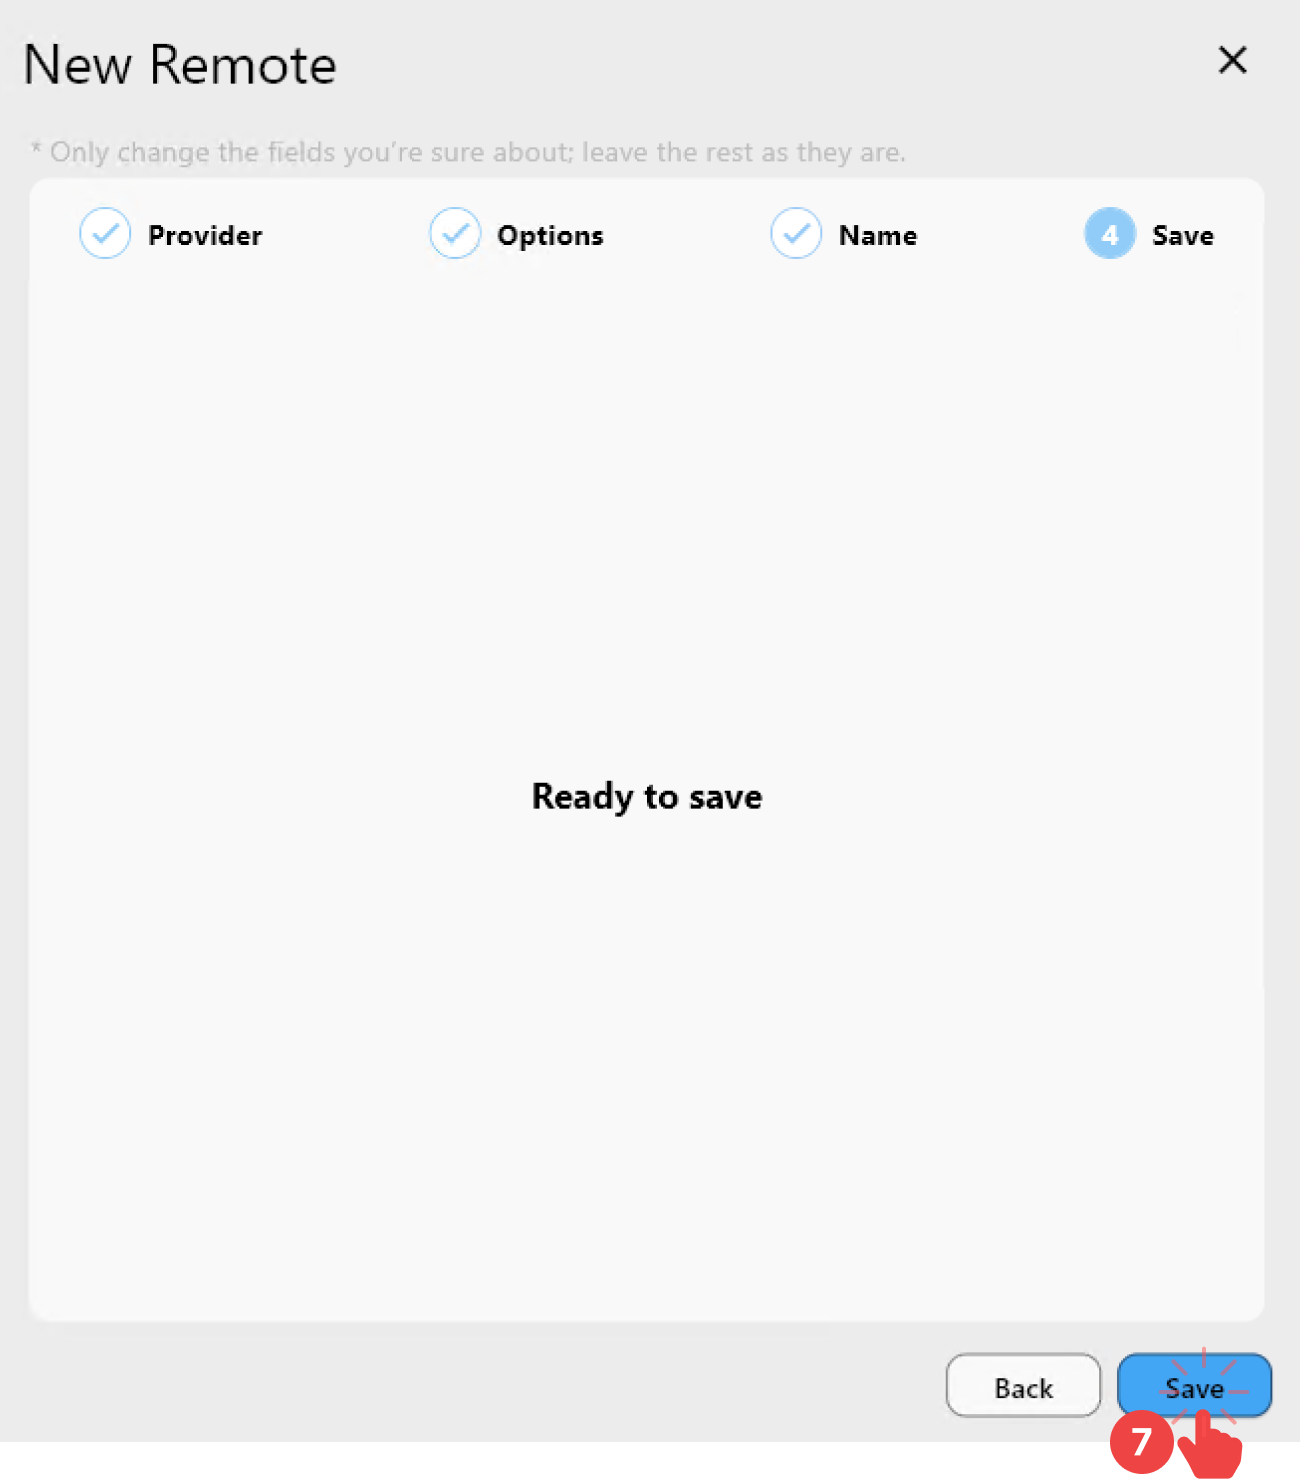
In the Save tab:
- Click
Saveto complete the remote setup.
Step 3: Verify the Added WebDAV Remote in RcloneView
- From the top menu, click
Remote Managerunder theRemotetab. - Confirm that your WebDAV remote appears in the Remote Manager window.
✅ Done! Your WebDAV remote is now successfully configured and ready to use in RcloneView.