Migrate Cloudflare R2 to Wasabi — Transfer Files with RcloneView

Copy a Cloudflare R2 bucket into Wasabi from one window, with a dry run first and a visual check afterward.
Both Cloudflare R2 and Wasabi speak the S3 protocol, so moving data between them is conceptually simple — but doing it with raw CLI flags means juggling two endpoints, two credential sets, and no easy way to confirm what landed. RcloneView connects both as remotes and lets you copy, monitor, and verify in a GUI. Connect S3-compatible services with full read/write on the FREE license.
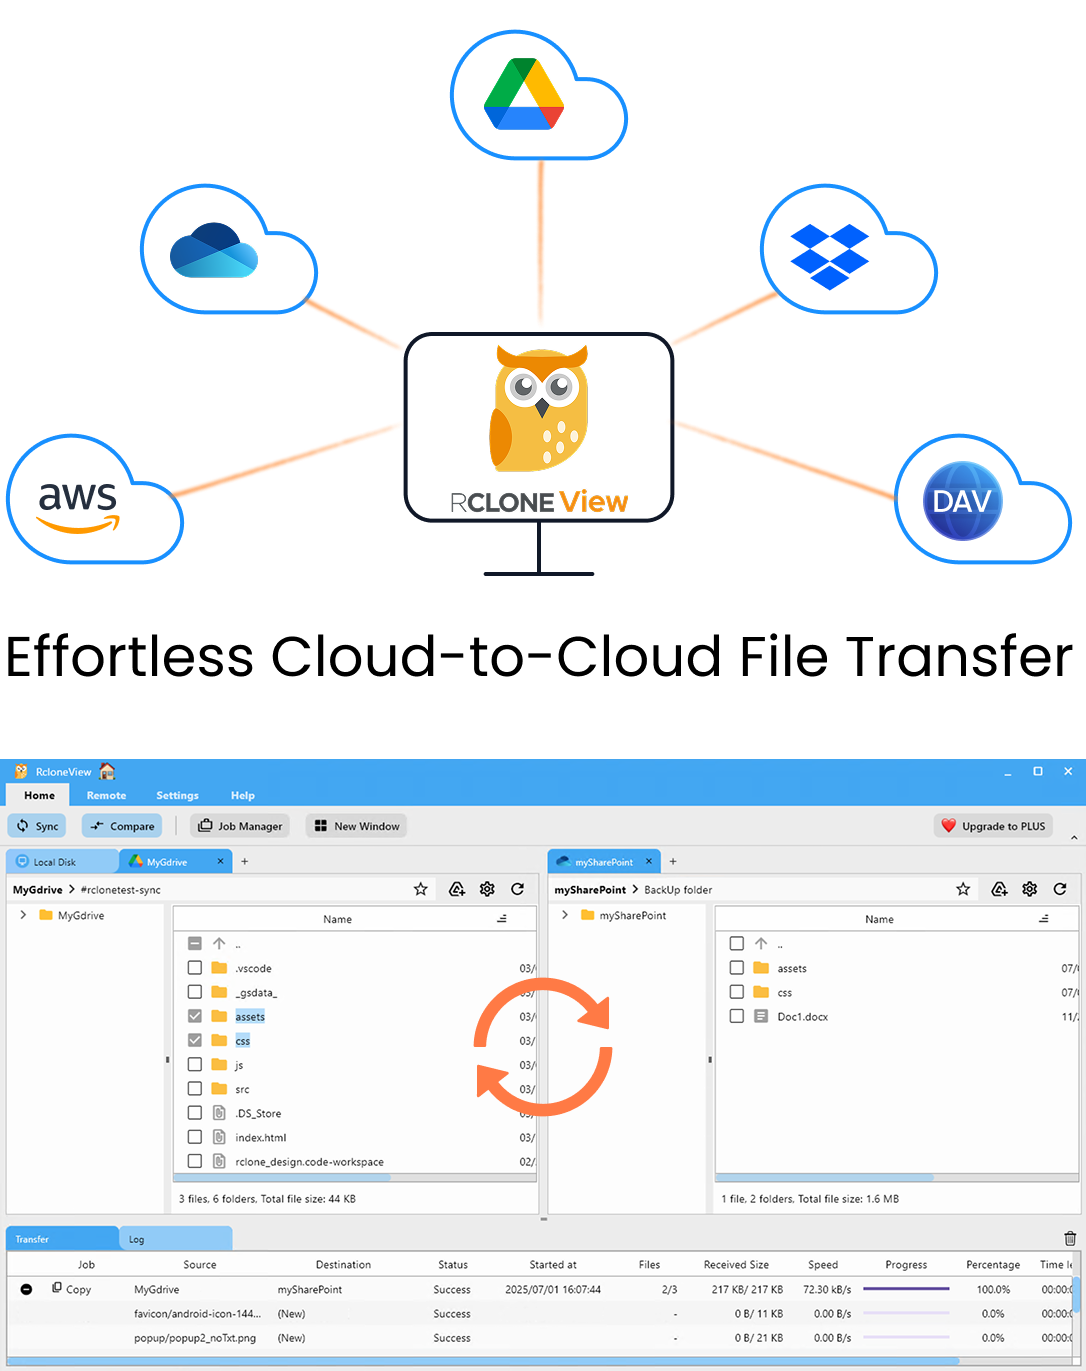
Manage & Sync All Clouds in One Place
RcloneView is a cross-platform GUI for rclone. Compare folders, transfer or sync files, and automate multi-cloud workflows with a clean, visual interface.
- One-click jobs: Copy · Sync · Compare
- Schedulers & history for reliable automation
- Works with Google Drive, OneDrive, Dropbox, S3, WebDAV, SFTP and more
Free core features. Plus automations available.
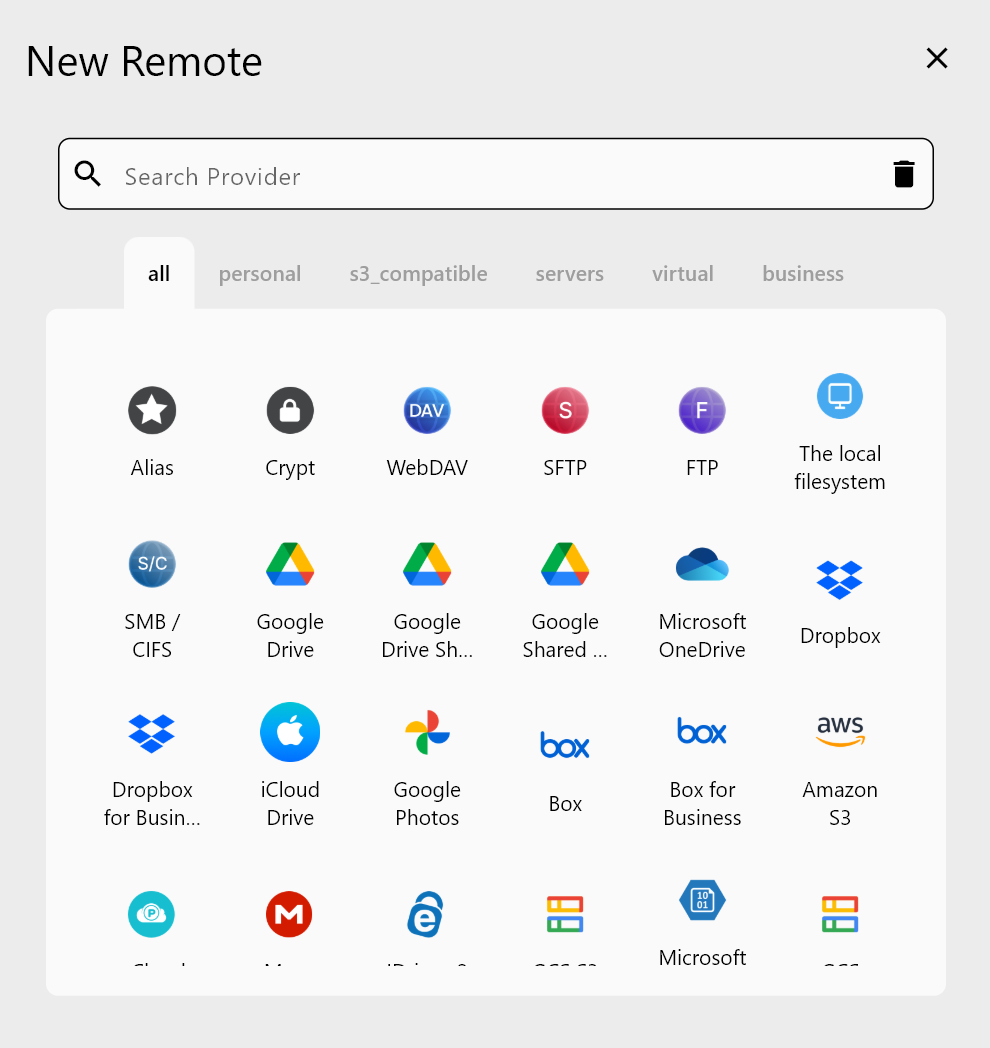
Connect Both S3-Compatible Remotes
Open the New Remote dialog and add Cloudflare R2 first. R2 needs an API token, your Account ID, and the endpoint in the form https://<ACCOUNT_ID>.r2.cloudflarestorage.com. Generate the token in the Cloudflare dashboard after creating the bucket; RcloneView's R2 setup requires Admin Read & Write permissions on the token.
Next add Wasabi. Enter the Access Key and Secret Key from your Wasabi console and choose the endpoint matching the region where your destination bucket lives. Create the destination bucket in Wasabi beforehand, or create a folder from the Explorer panel.
Plan the Copy in Two Panels
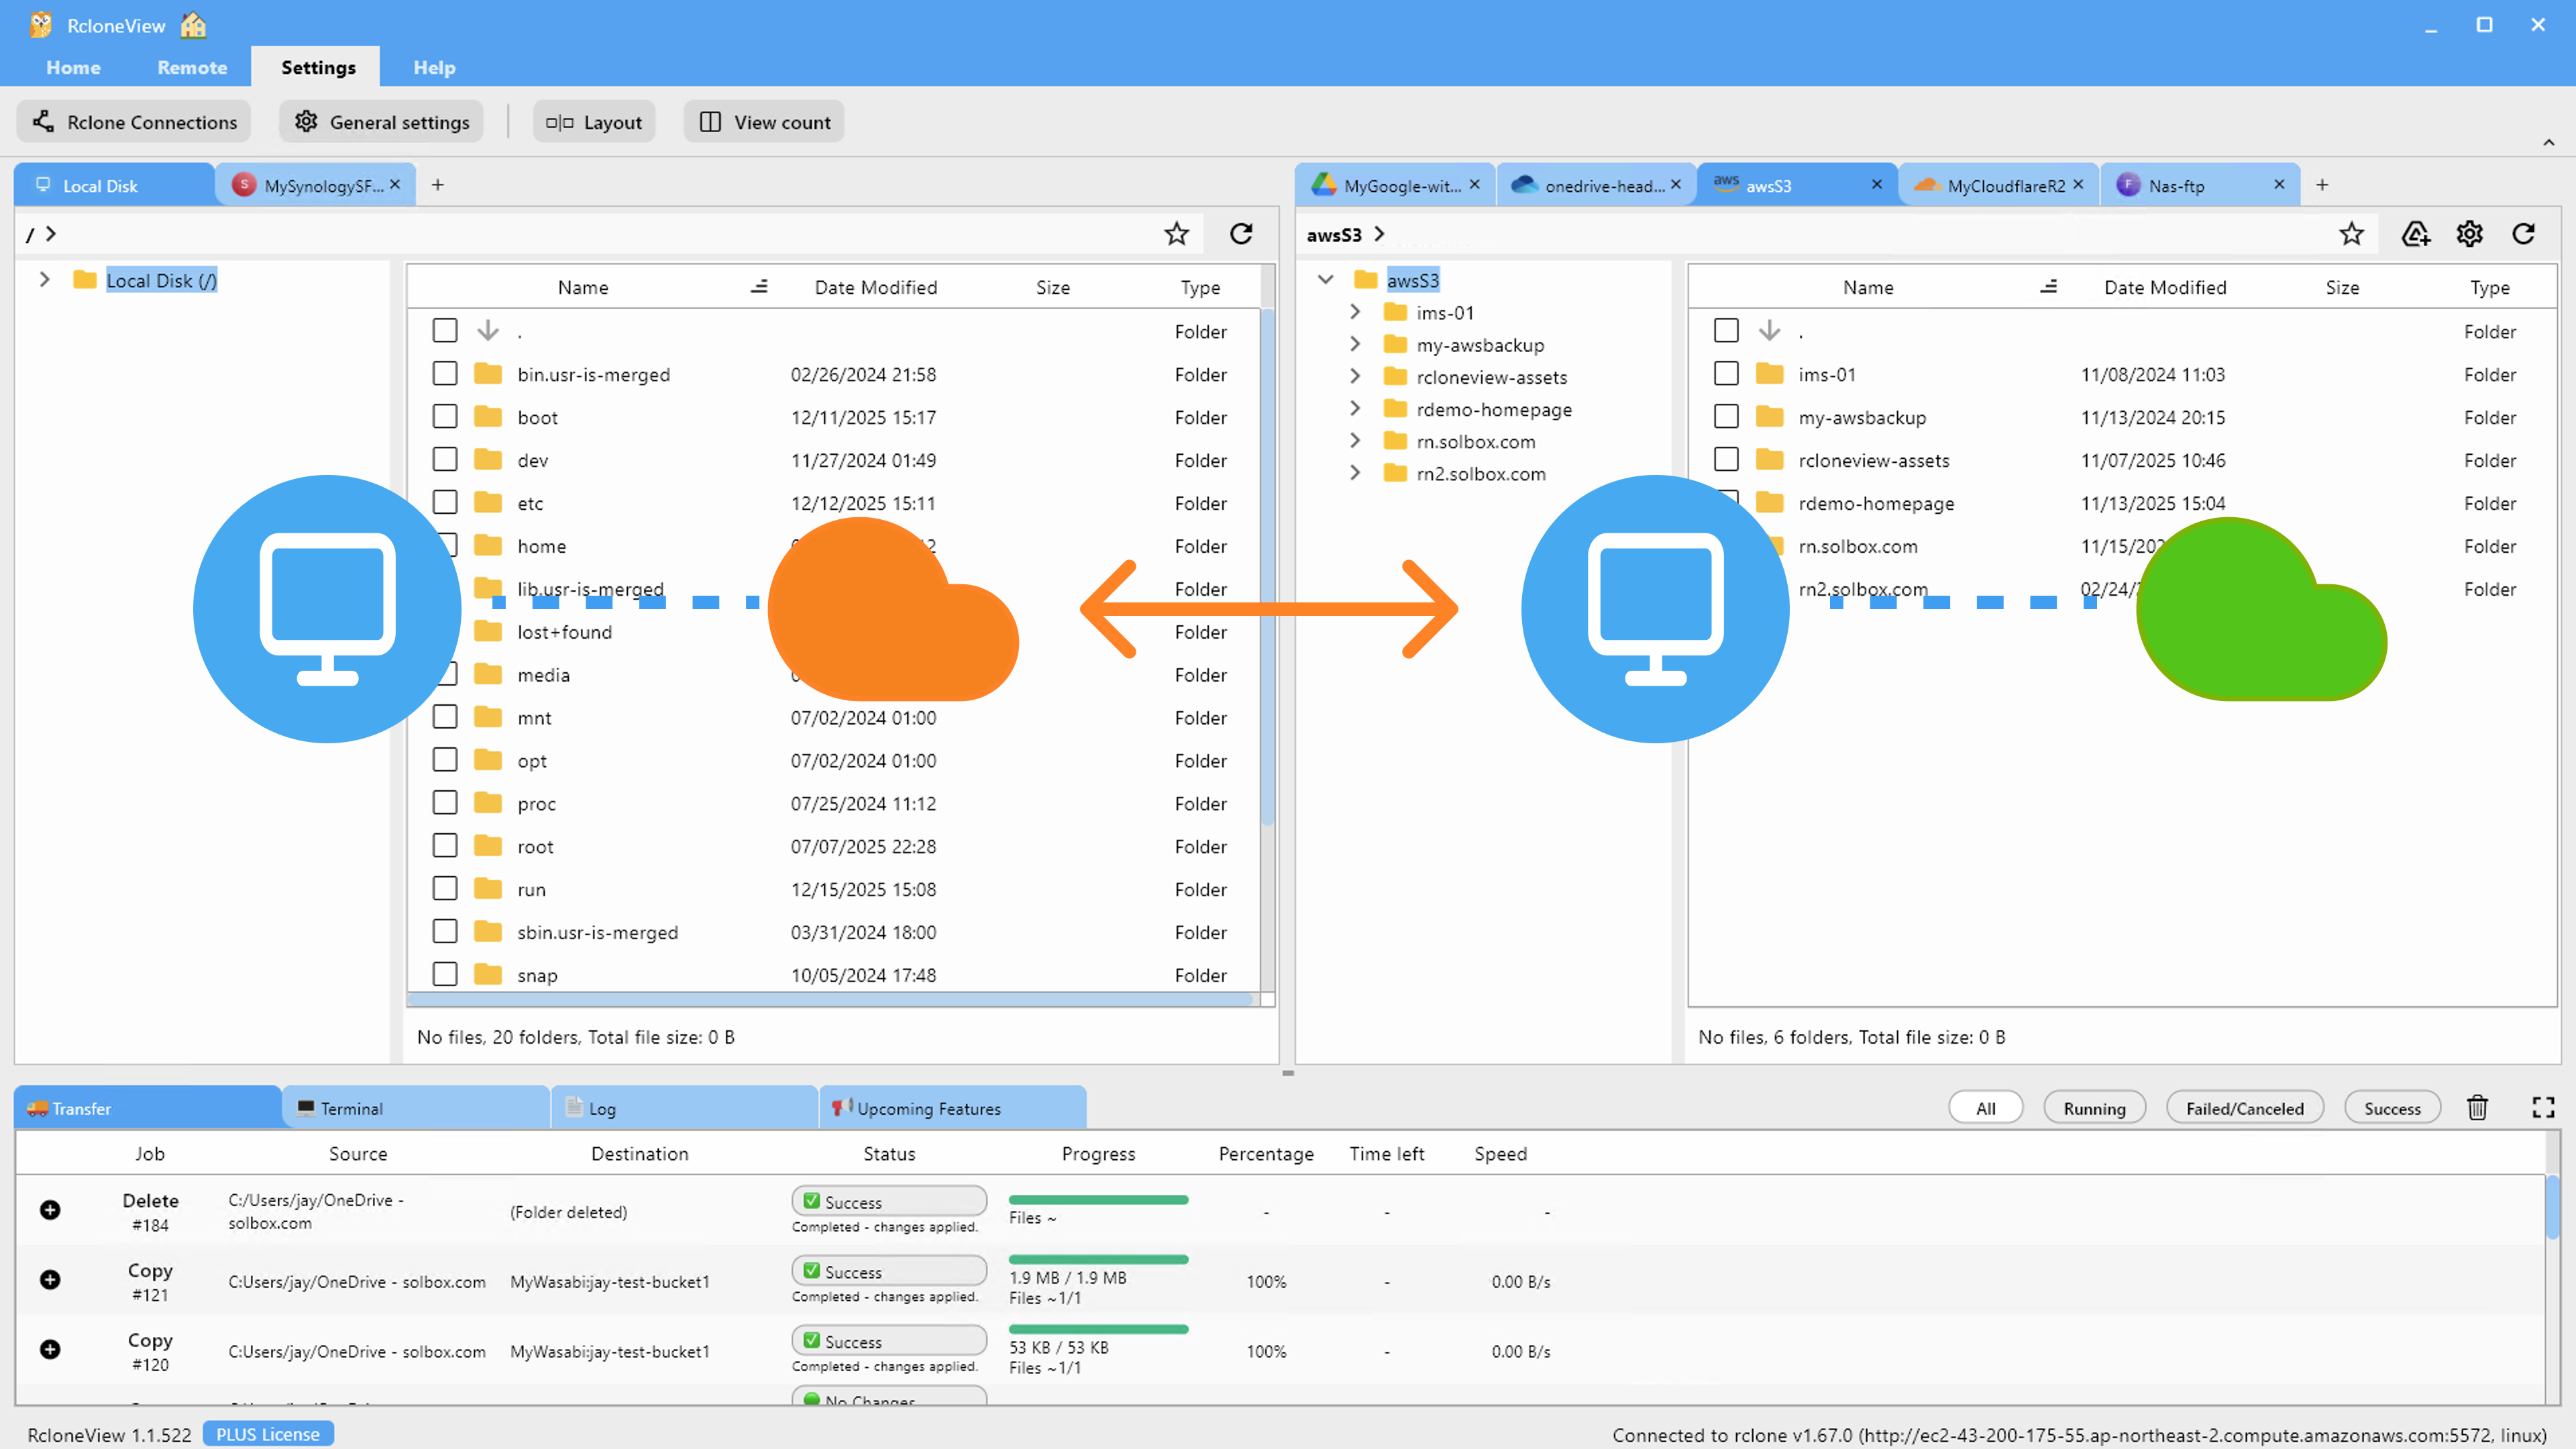
Open the R2 remote in the left Explorer panel and the Wasabi remote in the right. Browse into the bucket or prefix you want to move. For a studio archive with a few terabytes of media, you might migrate one project prefix first to confirm permissions and naming before committing to the full bucket.
Because both ends are remote, RcloneView runs this as a cloud-to-cloud transfer between the two remotes, so you don't have to manage a manual download-then-upload step yourself. Drag between panels copies by default when remotes differ, or build a Copy job in the Sync wizard for repeatable runs.
Dry Run, Tune, and Run
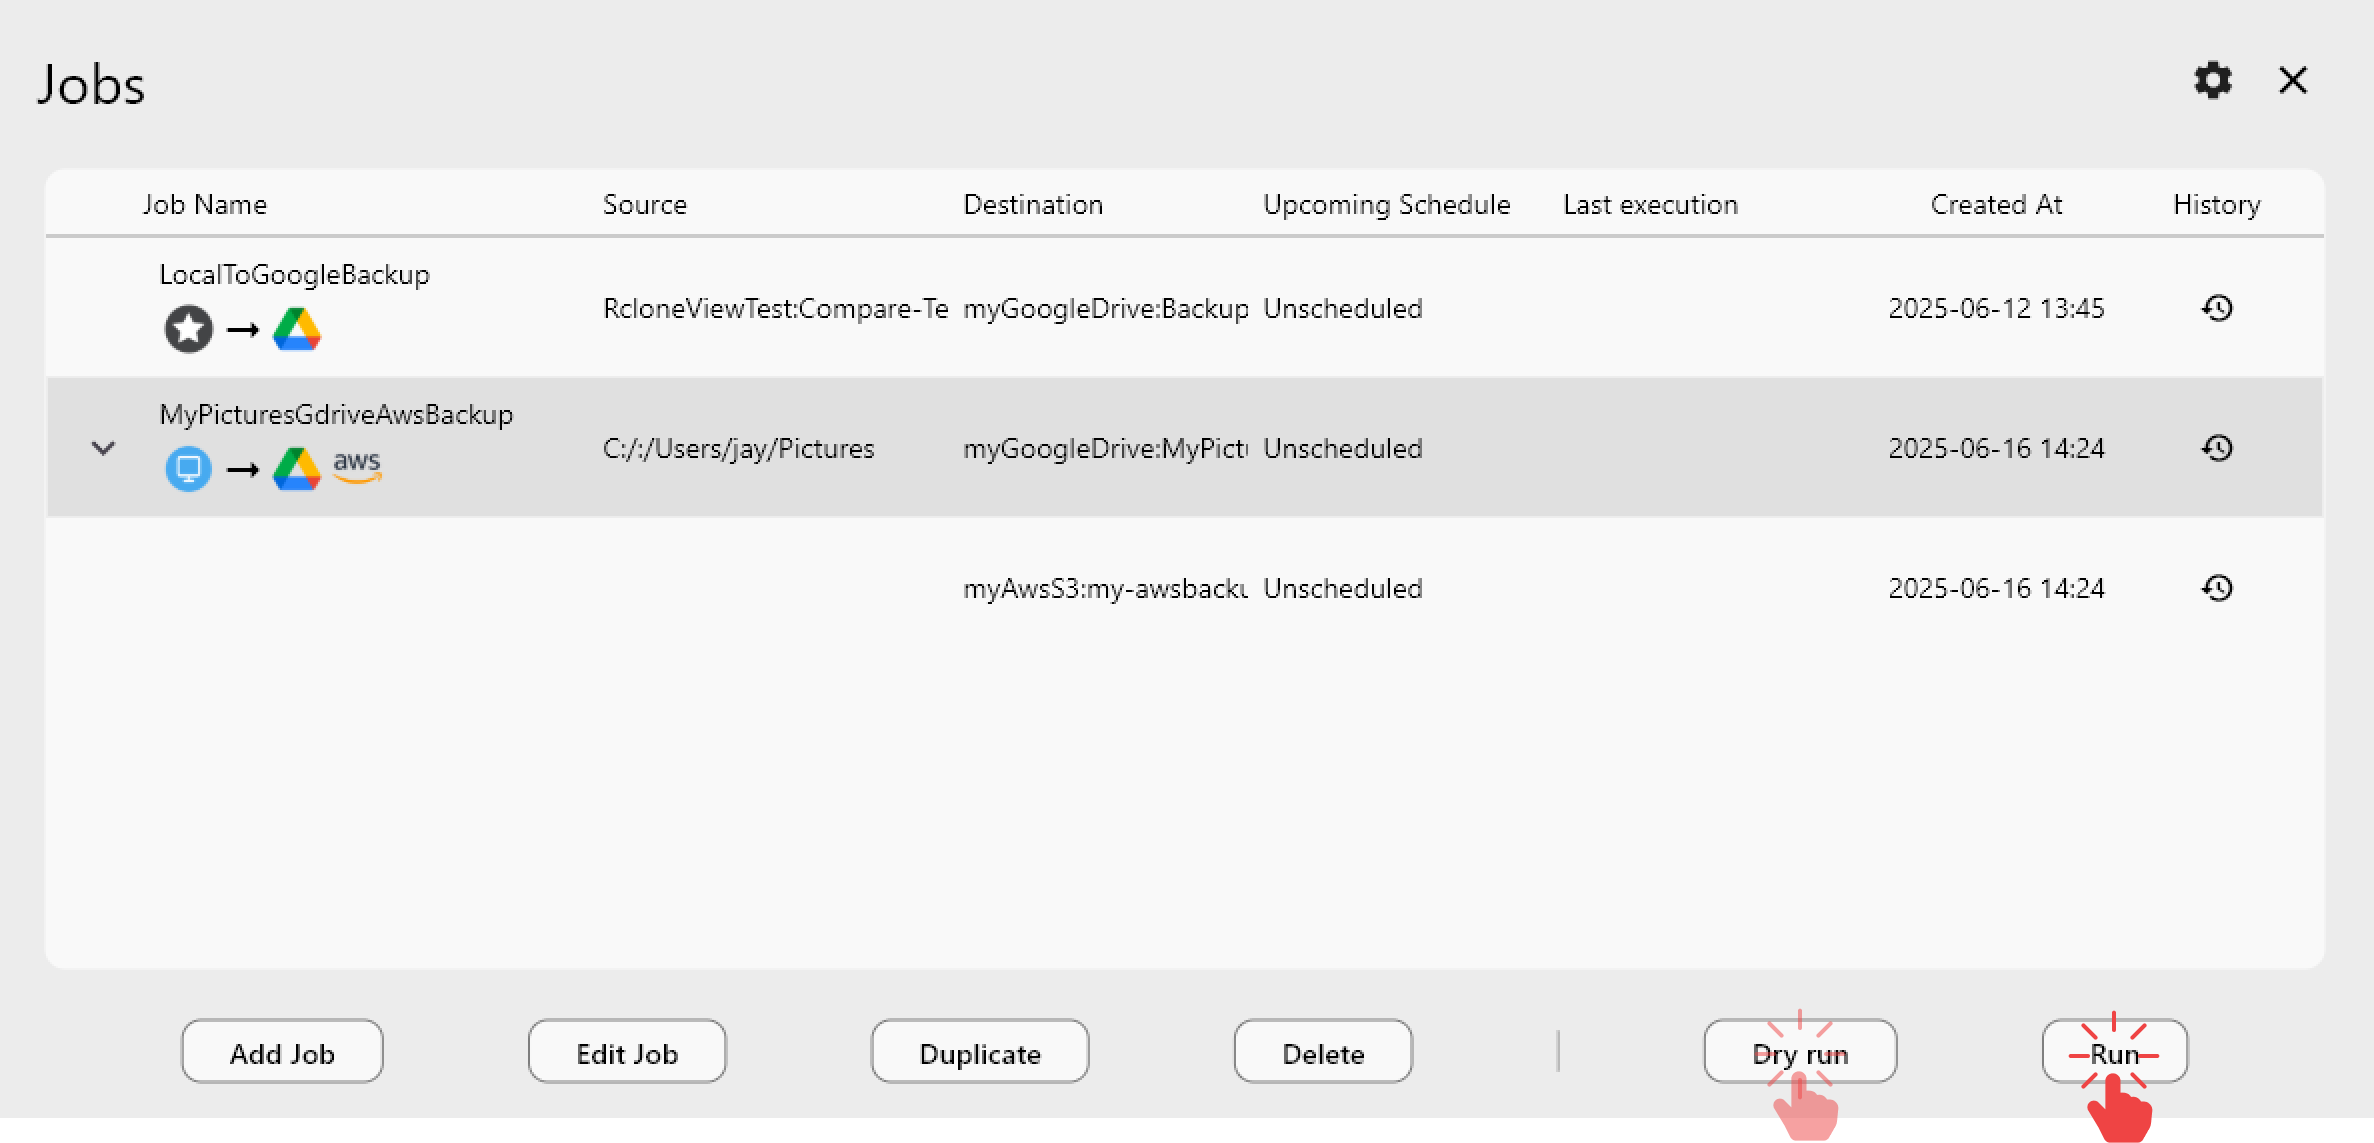
Before the real transfer, enable Dry Run in the job wizard. It lists exactly which files would be copied, so you can catch a wrong prefix before any data moves. In Advanced Settings, raise the number of file transfers for buckets with many small objects, and turn on checksum comparison if you want hash-and-size matching rather than size alone. Use the filter step to skip temp folders or limit by file age.
Start the job from the Job Manager and watch progress in the Transferring tab: speed, file count, and bytes moved update live.
Verify with Folder Compare
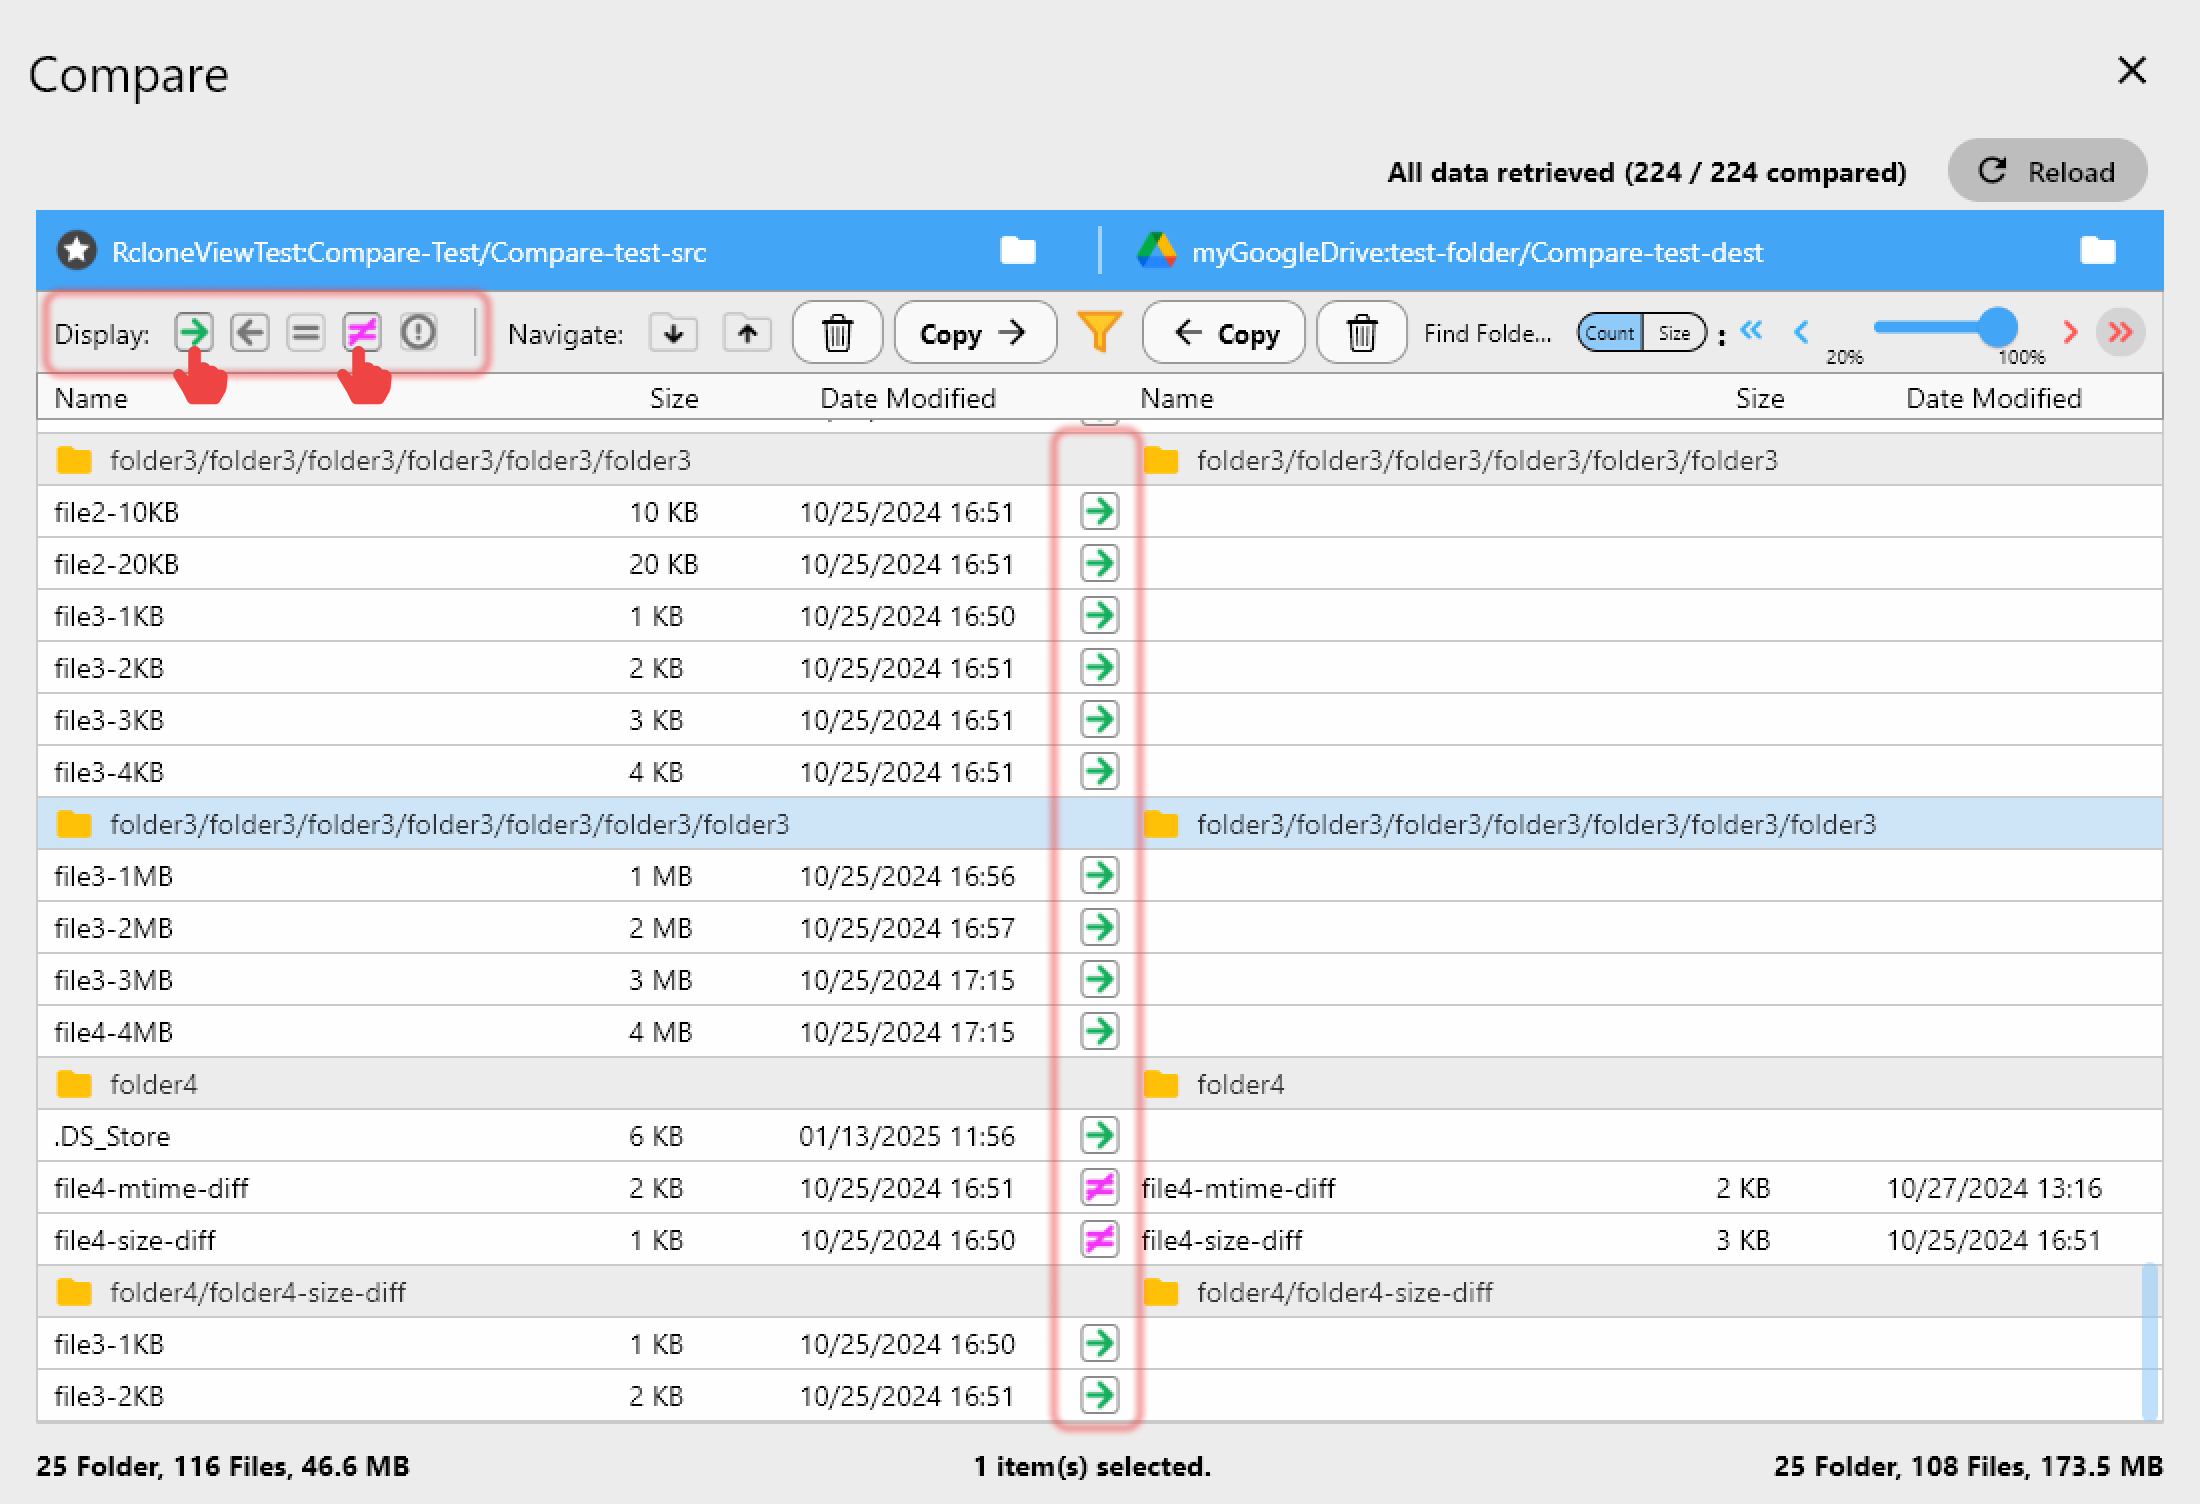
When the job finishes, open Compare with R2 on the left and Wasabi on the right. Filter to left-only files to see anything missing, or different files to spot size mismatches. If something is left over, use Copy right to fill the gap, then re-compare until the result is clean. Check Job History for the status, duration, and file totals of the run.
Getting Started
- Download RcloneView from rcloneview.com.
- Add your Cloudflare R2 and Wasabi remotes from New Remote.
- Open both in side-by-side panels and run a Dry Run Copy job.
- Run the job, then confirm the result with Folder Compare.
Keep R2 untouched until Compare shows a clean match, and you can switch storage with confidence.
Related Guides:
- Migrate Wasabi to Cloudflare R2
- Manage Wasabi Storage with RcloneView
- Manage Cloudflare R2 with RcloneView
Supported Cloud Providers