Proton Drive
How to Add Proton Drive Using RcloneView (Windows)
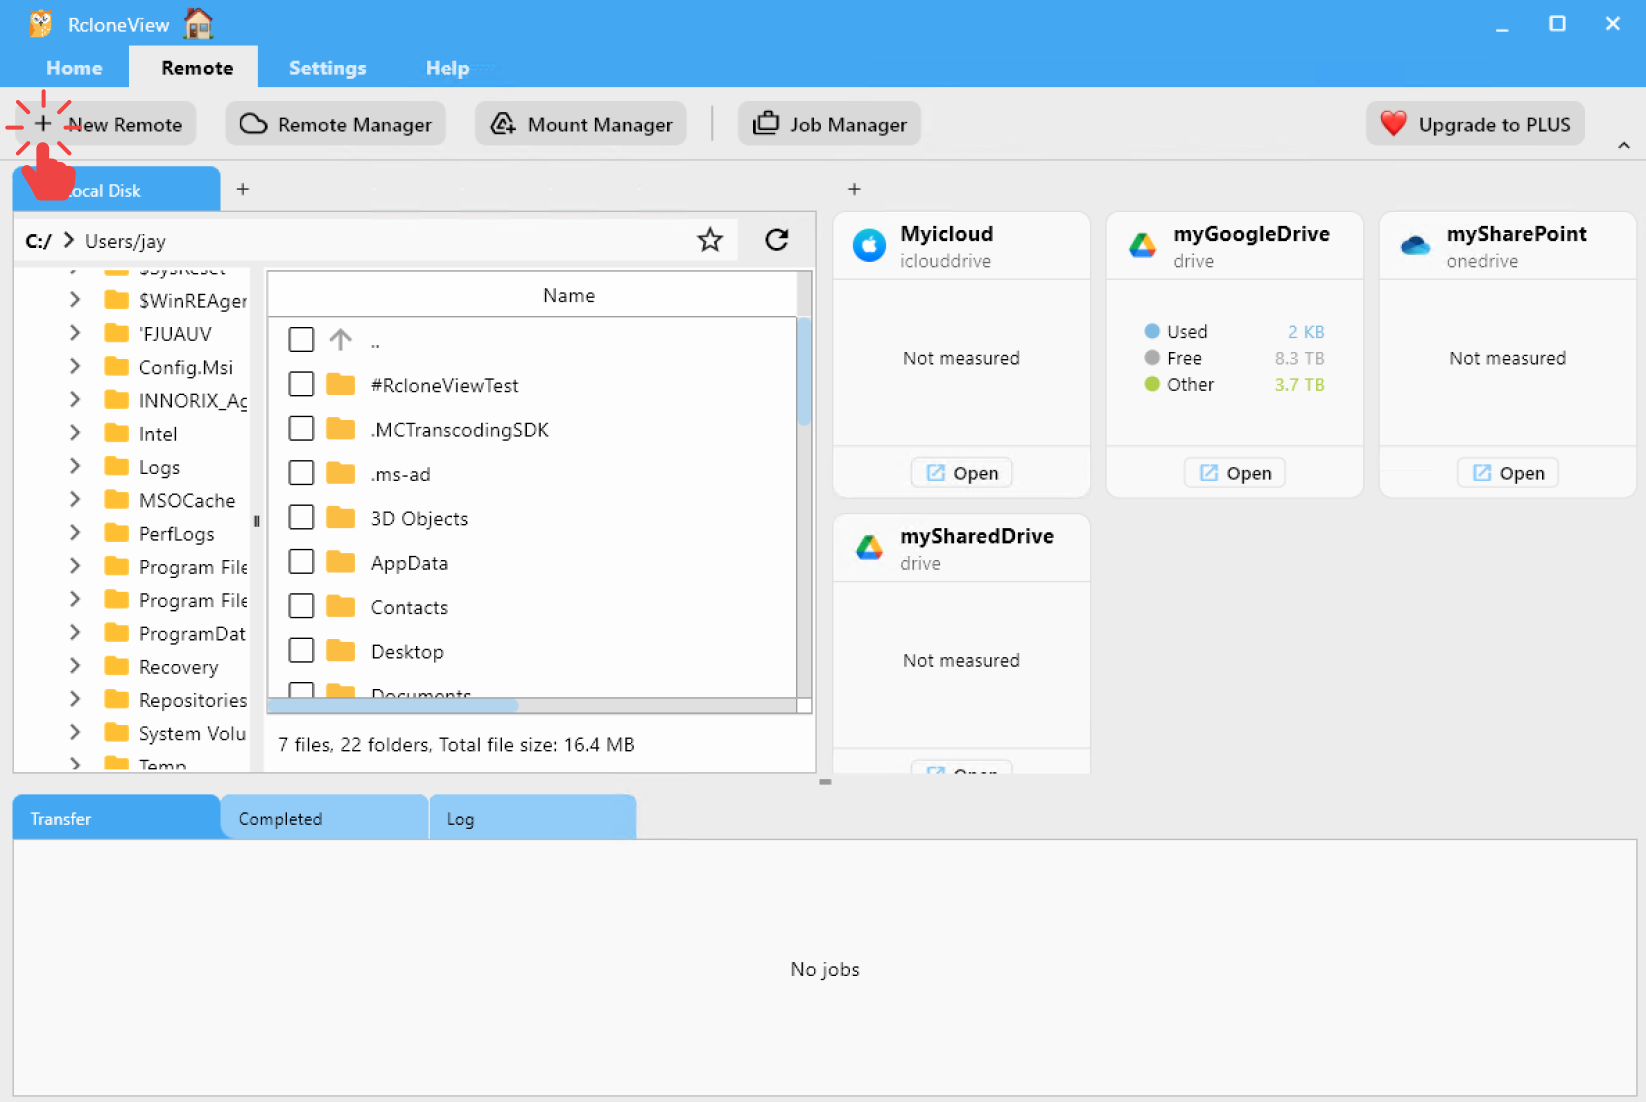
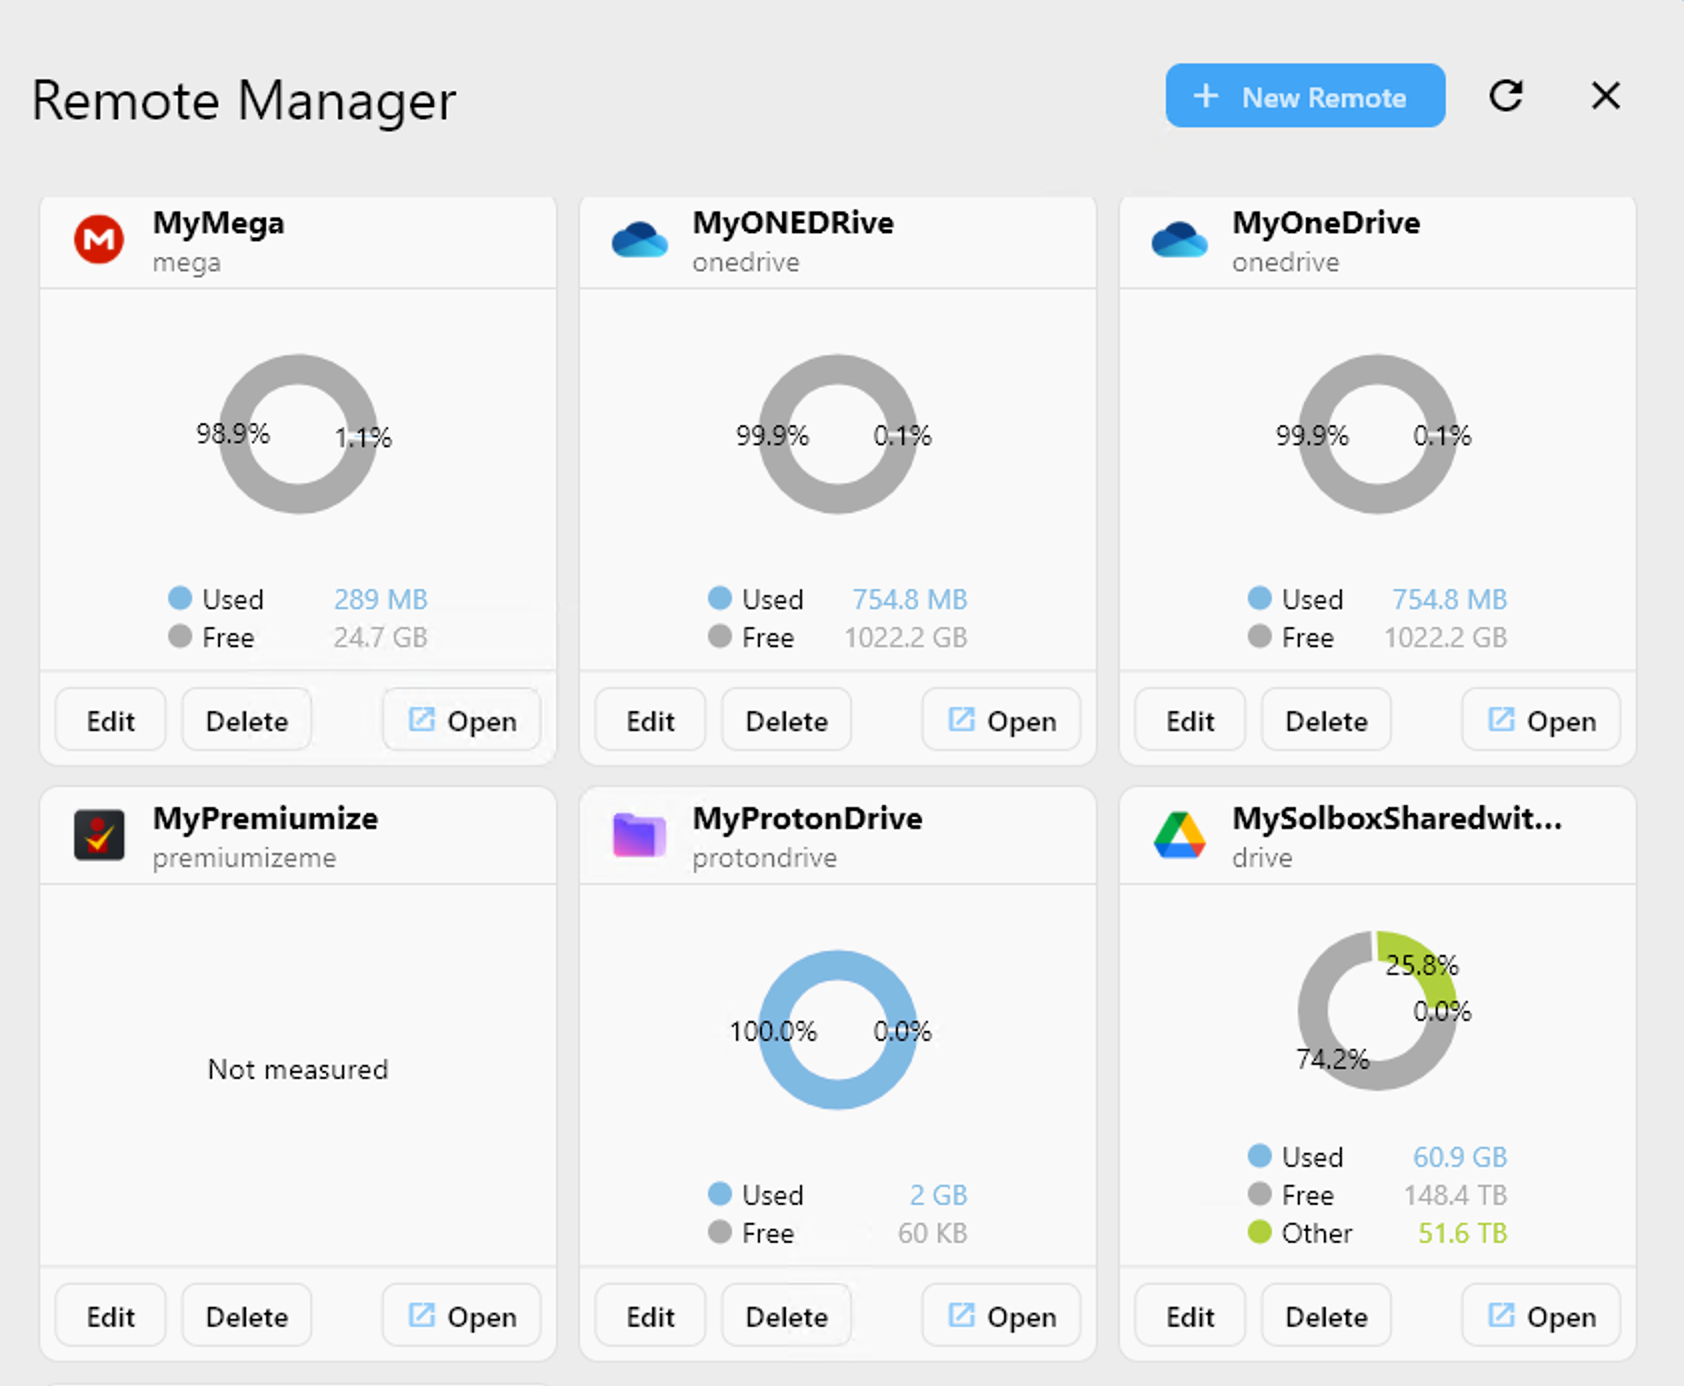
Step 1: Open the Remote Manager
- Click
+ New Remotefrom the top-right corner of the Remote Manager. - Alternatively, click the
+button in the Explorer pane and selectNew Remoteto start remote configuration.
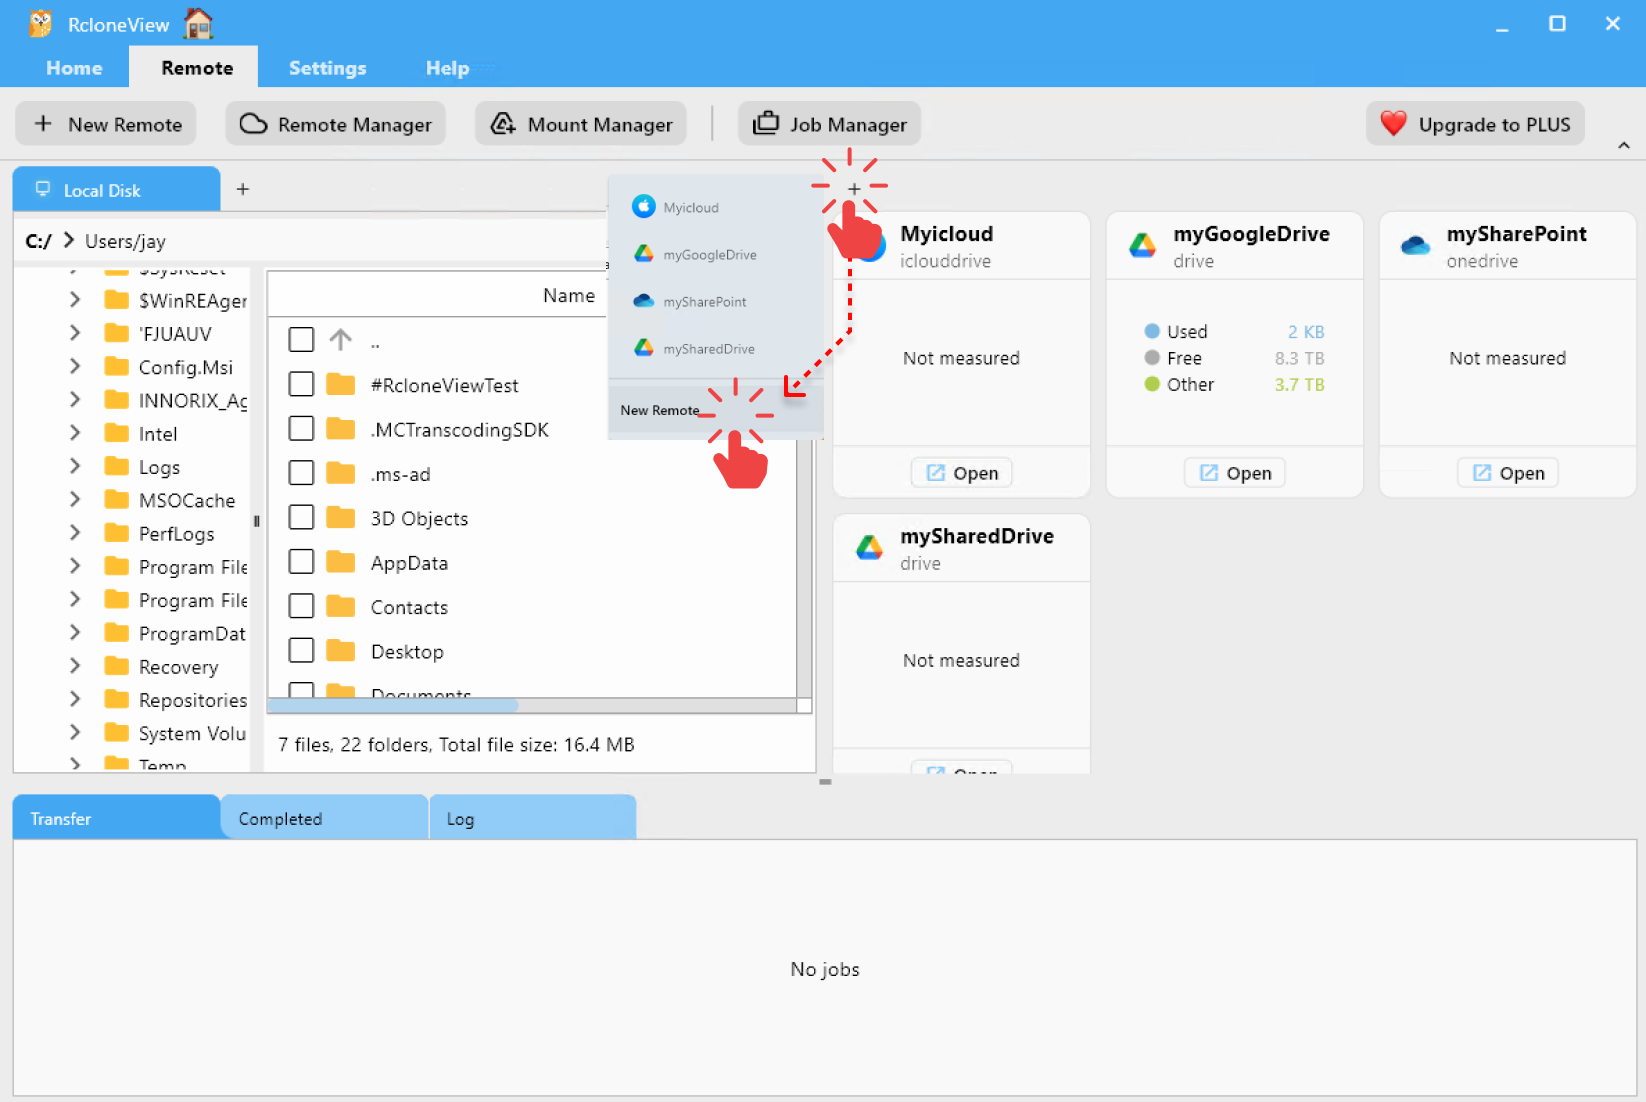
Step 2: Select Proton Drive as the Storage Provider
- In the Search Provider bar, type
proton. - Select Proton Drive from the list.
You’ll then be taken to the configuration screen for Proton Drive.
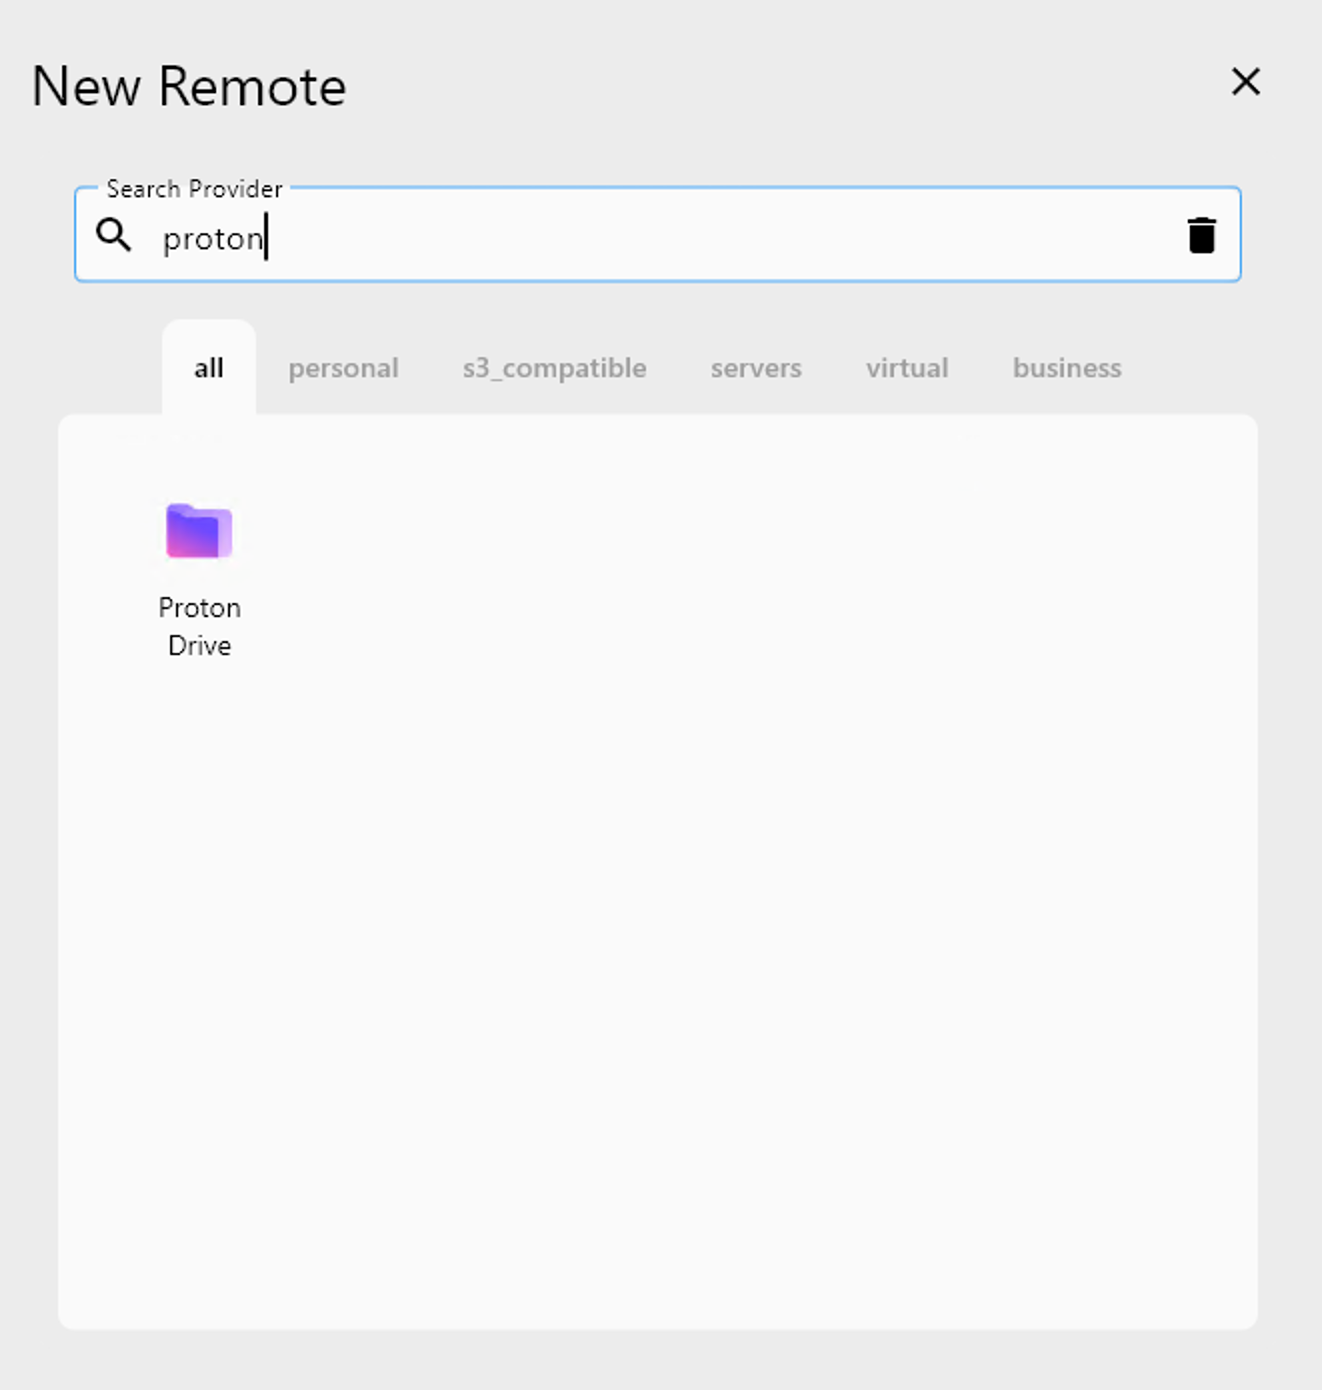
Step 3: Configure Your Proton Drive Remote
Fill in the required fields in the configuration form:
- Remote name: A friendly name for your remote (e.g.,
MyProtonDrive) - username: Your Proton email address
- password: Your Proton account password
- 2fa (optional): Your current 2FA code (only if 2FA is enabled)
After entering all necessary information, click Add Remote to finish the setup.
Step 4: Confirm the Added Remote
Once added, your Proton Drive remote (e.g., MyProtonDrive) will appear in the Remote Manager list.
You can now:
- Click
Opento browse your Proton Drive contents. - Use it in transfers, mounts, or scheduled tasks.
- Edit or delete the remote configuration anytime.
✅ Done! Your Proton Drive is now successfully connected to RcloneView.