Google 共用雲端硬碟(原 Team Drive)
如何使用 Rclone CLI 新增 Google 共用雲端硬碟(Windows)
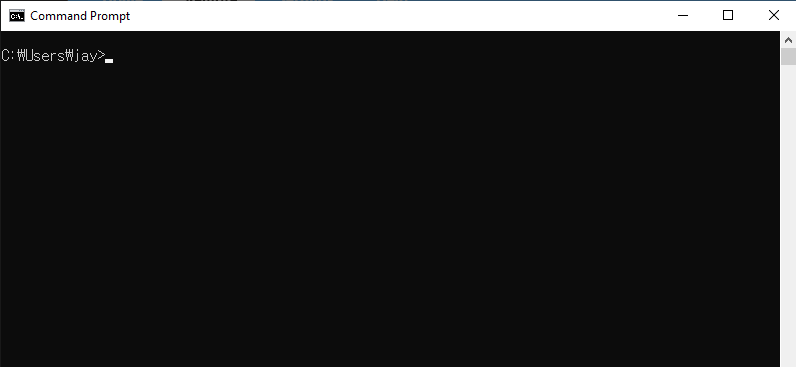
步驟 1:開啟命令提示字元
- 按下 Win + R,輸入 cmd,然後按下 Enter。
步驟 2:啟動 Rclone 設定
開啟命令提示字元並啟動 Rclone 設定流程:
rclone config
您將會看到以下選單:
No remotes found - make a new one
n) New remote
s) Set configuration password
q) Quit config
n/s/q> n
輸入 n 並按下 Enter 以建立新的遠端。
步驟 3:設定 Google 共用雲端硬碟
依照以下提示操作:
- 名稱:為您的新遠端指定一個名稱(例如 mySharedDrive)。
Enter name for new remote.
name> mySharedDrive
- 儲存空間:透過輸入
drive或其對應的編號(通常為20)從儲存空間選項清單中選擇 Google Drive。
Storage> 20
- client_id 與 client_secret:除非您有特定的憑證,否則請保留空白。
client_id> (press Enter)
client_secret> (press Enter)
- 範圍(Scope):輸入
1以授予對您 Google Drive 的完整存取權限。
scope> 1
- 服務帳戶憑證:除非有特別需要,否則請保留空白。
service_account_file> (press Enter)
- 進階設定:除非需要,否則請跳過進階設定。
Edit advanced config? (y/n)
y/n> n
- 自動設定:使用自動設定以簡化設定流程。
If not sure try Y. If Y failed, try N.
y) Yes (default)
n) No
y/n> y
系統將自動開啟瀏覽器視窗。使用您的 Google 帳戶登入並授予所需的權限。
步驟 4:設定共用雲端硬碟
完成 Google 驗證後:
- 您將會看到提示訊息:「Configure this as a Shared Drive?」,輸入
y以確認。
Configure this as a Shared Drive (Team Drive)?
y) Yes
n) No (default)
y/n> y
- Rclone 將顯示您的共用雲端硬碟清單。請輸入您欲新增的共用雲端硬碟對應的編號。
Choose a number from below, or type in your own value of type string.
Press Enter for the default (0APnCeqmeA1p1Uk9PVA).
 1 / Team shared drive
   \ (0APnCeqmeA1p1Uk9PVA)
config_team_drive> 1
- 檢視顯示的設定詳細資訊並確認。
Keep this "mySharedDrive" remote?
y) Yes this is OK (default)
e) Edit this remote
d) Delete this remote
y/e/d> y
- 結束 Rclone 設定介面。
Current remotes:

Name                 Type
====                 ====
mySharedDrive        drive

e) Edit existing remote
n) New remote
d) Delete remote
r) Rename remote
c) Copy remote
s) Set configuration password
q) Quit config
e/n/d/r/c/s/q> q
完成! 您的 Google 共用雲端硬碟現已成功設定,可搭配 Rclone 使用。
步驟 5:測試連線
透過列出您 Google 共用雲端硬碟中的內容來驗證您的設定:
rclone ls mySharedDrive:
若一切設定正確,您應該會看到共用雲端硬碟中的檔案清單。
步驟 5:在 RcloneView 中驗證已新增的 iCloud Drive
啟動 RcloneView。
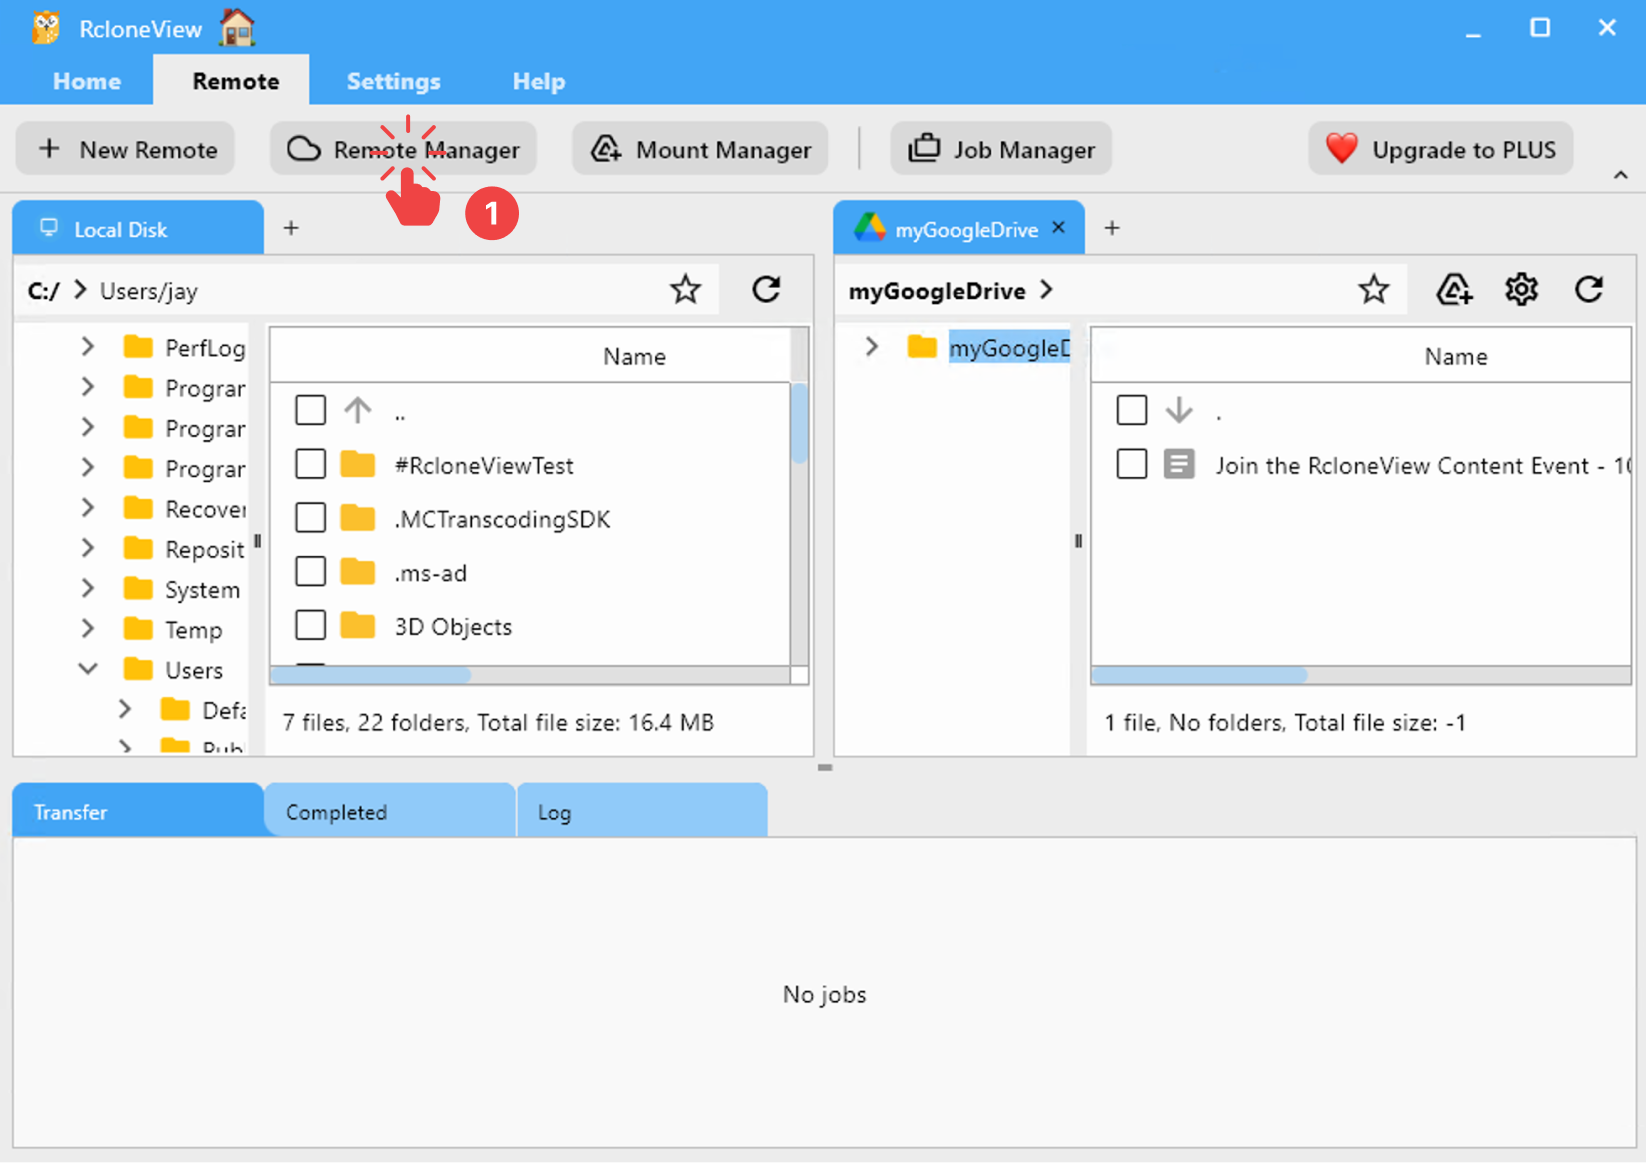
- 從選單列中,點擊 Remote 分頁下的 Remote Manager。
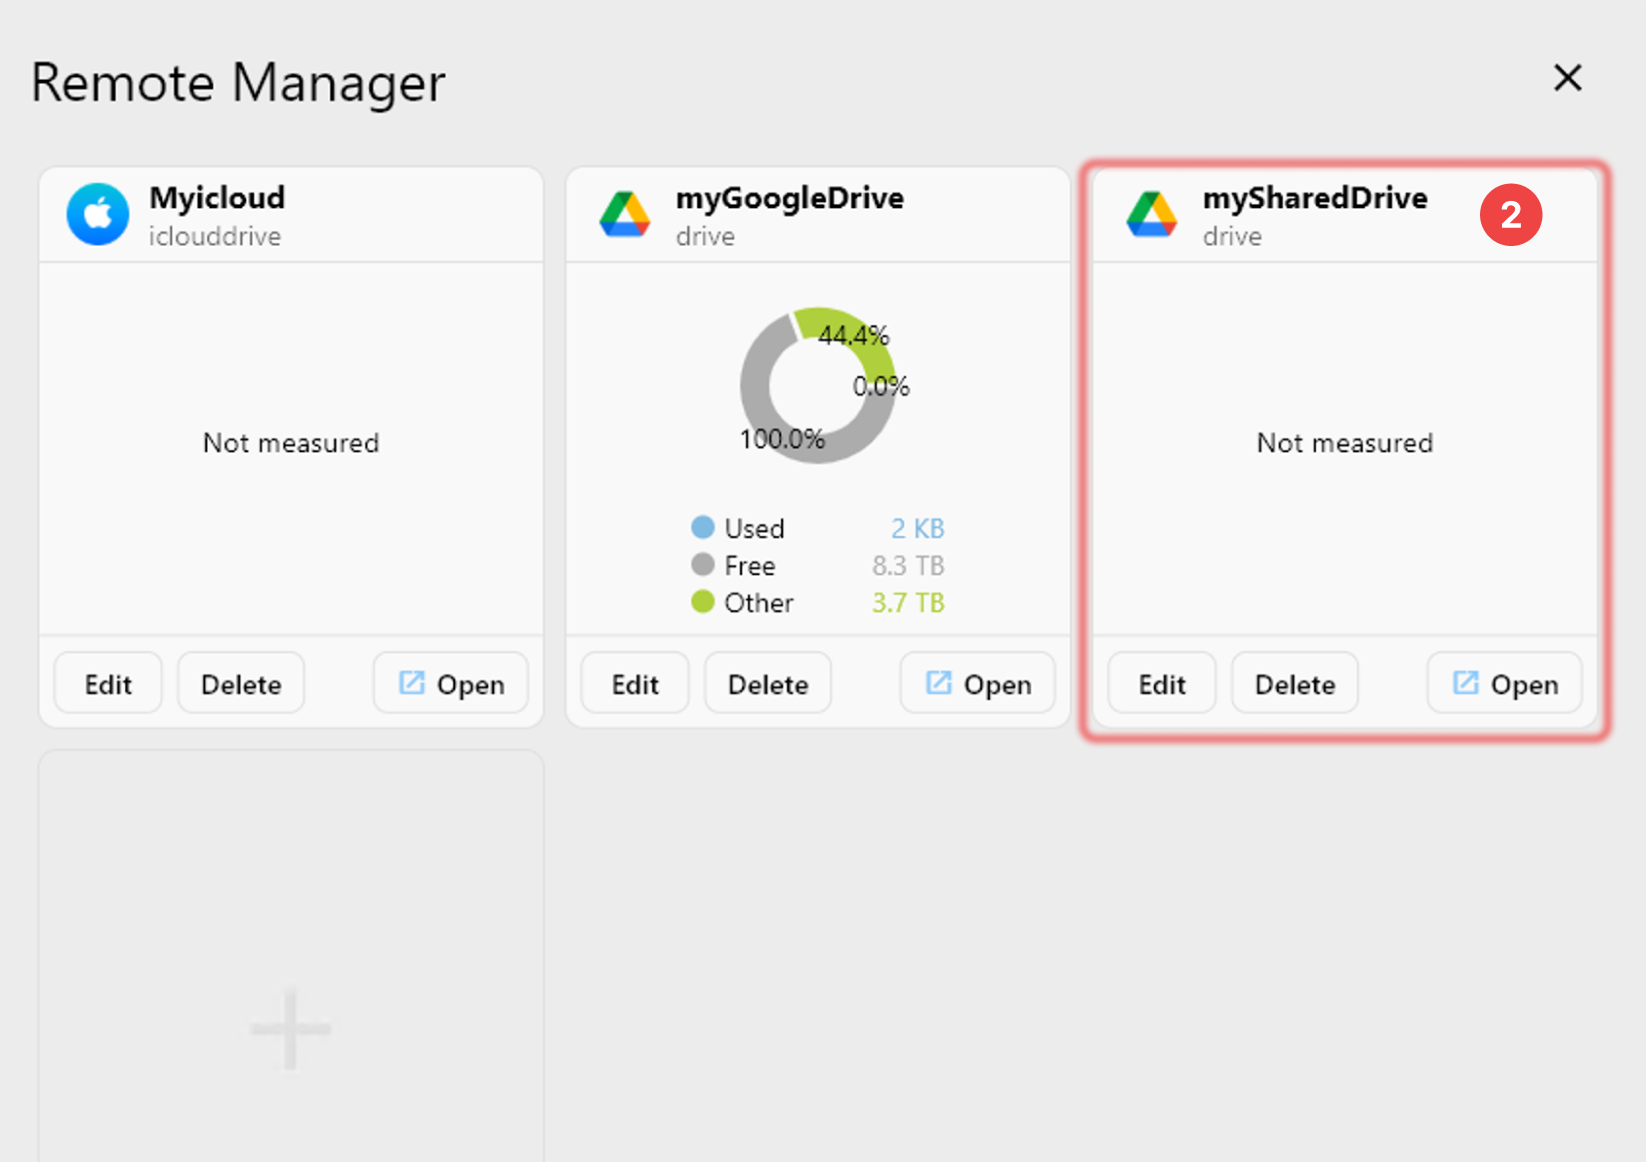
- 確認您的 Google 共用雲端硬碟 已顯示在 Remote Manager 視窗中。