Microsoft 365 ビジネスユーザー向け SharePoint
Rclone CLI を使用して SharePoint を追加する方法 (Windows)
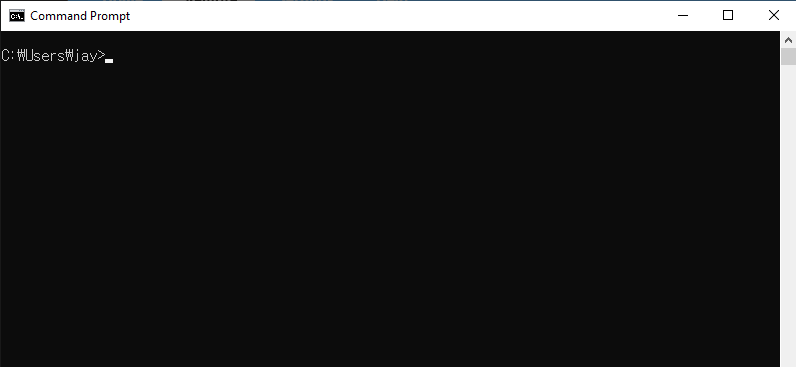
ステップ1: コマンドプロンプトを開く
Win + Rを押してcmdと入力し、Enterを押します。
ステップ2: Rclone の設定を開始する
コマンドプロンプトのウィンドウで、以下を入力します。
rclone config
以下のようなメニューが表示されます。
No remotes found - make a new one
n) New remote
s) Set configuration password
q) Quit config
n/s/q> n
n を入力して Enter を押し、新しいリモートを作成します。
ステップ3: SharePoint を設定する
以下のプロンプトに従います。
- Name: リモートにわかりやすい名前を付けます (例:
mySharePoint)。
Enter name for new remote.
name> mySharePoint
- Storage: リストから
onedriveと入力するか、対応する番号 (通常は36) を入力して OneDrive を選択します。
Storage> onedrive
- client_id と client_secret: 特定の資格情報がない限り空欄のままにします。
client_id> (press Enter)
client_secret> (press Enter)
- Region: デフォルトで global を選択します。
Choose national cloud region for OneDrive.
Choose a number from below, or type in your own value of type string.
Press Enter for the default (global).
 1 / Microsoft Cloud Global
   \ (global)
 2 / Microsoft Cloud for US Government
   \ (us)
 3 / Microsoft Cloud Germany (deprecated - try global region first).
   \ (de)
 4 / Azure and Office 365 operated by Vnet Group in China
   \ (cn)
region> (press Enter)
- Option tenant: 特に必要でない限り空欄のままにします。
Enter a value. Press Enter to leave empty.
tenant> (press Enter)
- Edit advanced config?
nを入力します。
Edit advanced config? (y/n)
y/n> n
- Use auto config?
yを入力します。
Use web browser to automatically authenticate rclone with remote?
....
y) Yes (default)
n) No
y/n> y
ブラウザウィンドウが自動的に開きます。Microsoft アカウント (ビジネスアカウント) でログインし、要求された権限を許可してください。
ステップ4: SharePoint サイトを設定する
認証後、アカウントの種類を選択します。
- SharePoint サイトを追加するには、オプション
2(Root SharePoint site) または4(Search for a SharePoint site) を選択します。
Choose a number from below, or type in an existing value of type string.
Press Enter for the default (onedrive).
 1 / OneDrive Personal or Business
   \ (onedrive)
 2 / Root Sharepoint site
   \ (sharepoint)
   / Sharepoint site name or URL
 3 | E.g. mysite or https://contoso.sharepoint.com/sites/mysite
   \ (url)
 4 / Search for a Sharepoint site
   \ (search)
 5 / Type in driveID (advanced)
   \ (driveid)
 6 / Type in SiteID (advanced)
   \ (siteid)
   / Sharepoint server-relative path (advanced)
 7 | E.g. /teams/hr
   \ (path)
config_type> 2
-
SharePoint サイトの URL を入力するか、検索結果から選択します。
-
表示された設定を確認し、承認します。
Keep this "mySharePoint" remote?
y) Yes this is OK (default)
e) Edit this remote
d) Delete this remote
y/e/d> y
- Rclone の設定を終了します。
Current remotes:

Name                 Type
====                 ====
mySharePoint         onedrive

e) Edit existing remote
n) New remote
d) Delete remote
r) Rename remote
c) Copy remote
s) Set configuration password
q) Quit config
e/n/d/r/c/s/q> q
完了です! これで SharePoint サイトの設定が正常に完了しました。
ステップ5: 接続をテストする
SharePoint サイトの内容を一覧表示して、設定を確認します。
rclone ls mySharePoint:
正しく設定されていれば、ファイルの一覧が表示されます。
ステップ6: RcloneView で SharePoint を確認する
RcloneView を起動します。
-
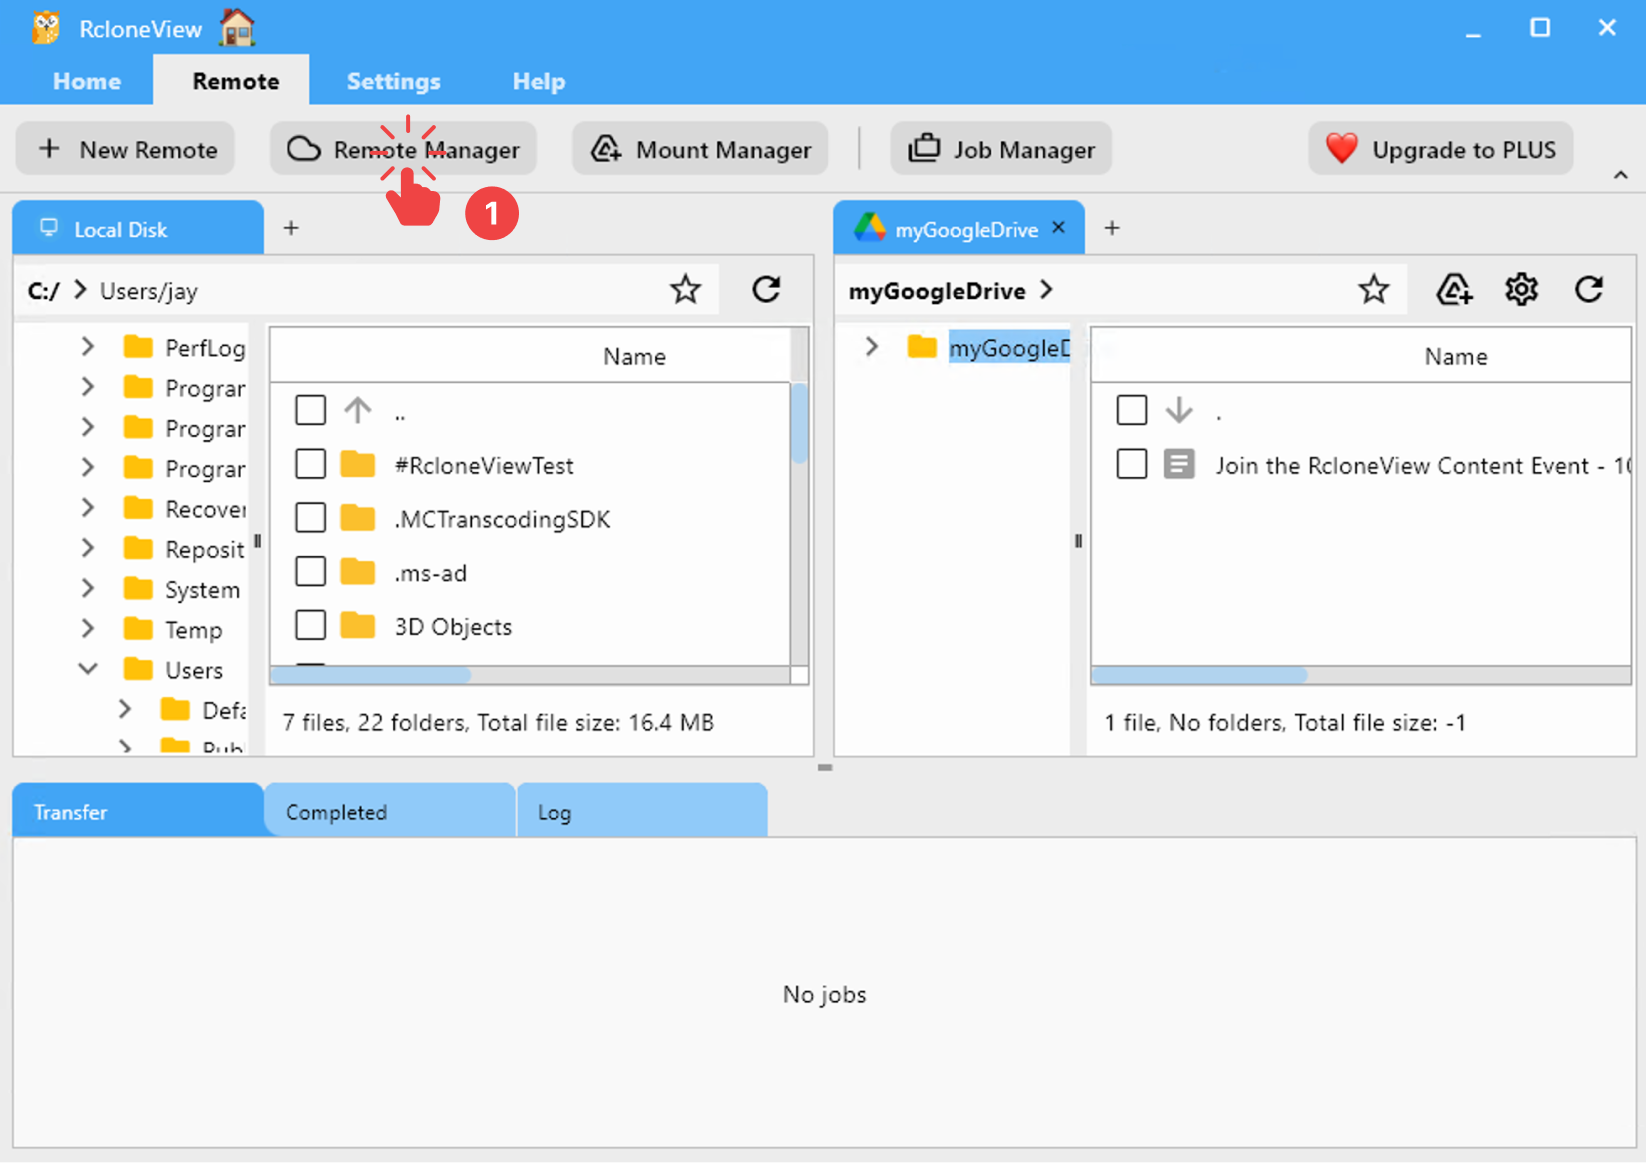
メニューバーから Remote > Remote Manager をクリックします。
-
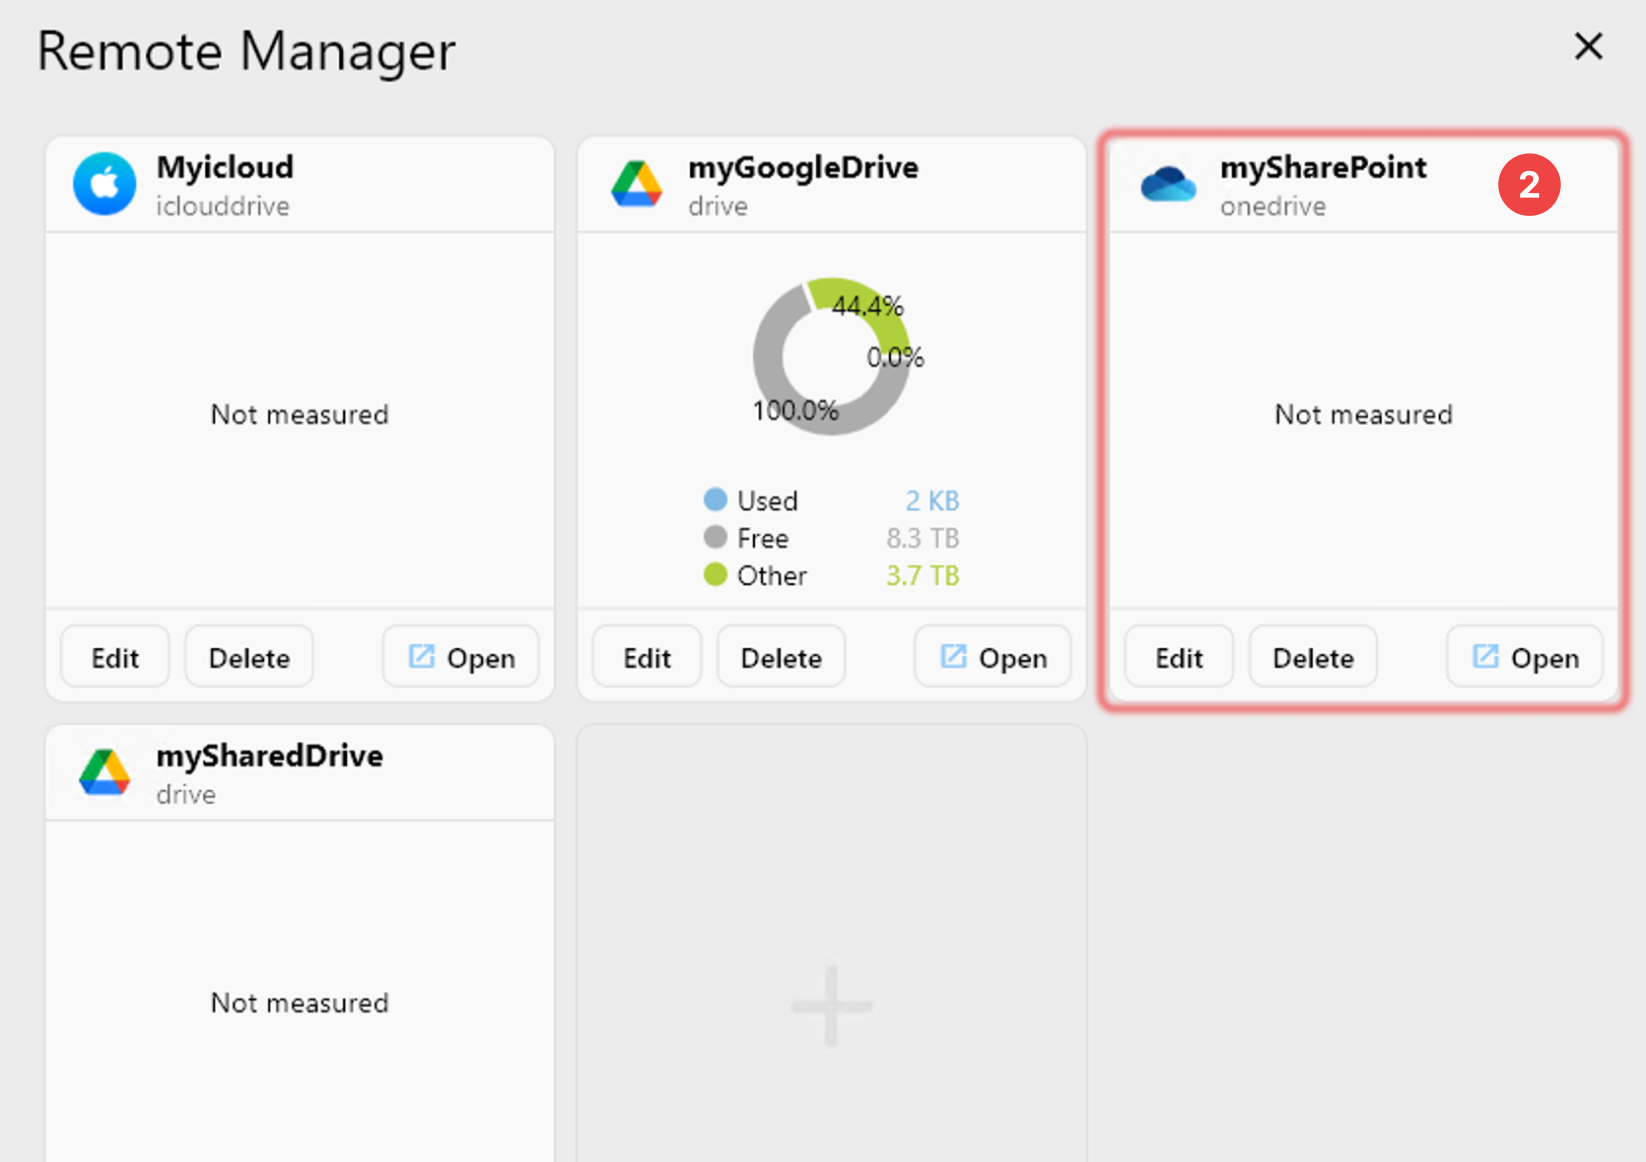
Remote Manager ウィンドウに SharePoint が表示されていることを確認します。