Use RcloneView on Steam Deck for Cloud Storage and Game Backup
The Steam Deck packs a full PC into a handheld — but its 64 GB, 256 GB, or 512 GB SSD fills up fast. Cloud storage turns your Deck into a device with virtually unlimited capacity for game backups, screenshots, recordings, and more.
Valve's Steam Deck runs SteamOS, an Arch-based Linux distribution with a custom KDE Plasma desktop mode. While Steam's built-in cloud save feature handles some games, it does not cover non-Steam titles, emulated games, mod configurations, shader caches, or the screenshots and gameplay recordings that accumulate over time. The limited SSD means storage management is a constant concern. RcloneView gives Steam Deck users a graphical multi-cloud file manager to back up game saves to Google Drive, OneDrive, or S3, sync screenshots and recordings to cloud storage, and offload large files to free up space on the internal drive. This guide covers installation in Desktop Mode, cloud remote configuration, and practical workflows for keeping your Steam Deck data safe and your storage lean.

Manage & Sync All Clouds in One Place
RcloneView is a cross-platform GUI for rclone. Compare folders, transfer or sync files, and automate multi-cloud workflows with a clean, visual interface.
- One-click jobs: Copy · Sync · Compare
- Schedulers & history for reliable automation
- Works with Google Drive, OneDrive, Dropbox, S3, WebDAV, SFTP and more
Free core features. Plus automations available.
Why Cloud Storage on Steam Deck
The Steam Deck is a capable gaming PC, but its storage constraints create real problems:
- SSD space fills quickly — modern games can exceed 50-100 GB each. Even the 512 GB model fills up after installing a handful of AAA titles.
- Steam Cloud does not cover everything — many games do not support Steam Cloud saves. Non-Steam games (GOG, Epic via compatibility layers, emulated titles) have no built-in cloud backup at all.
- Screenshots and recordings pile up — the Deck makes it easy to capture screenshots and record gameplay, but these files eat into your limited storage.
- Mod configurations are fragile — if you mod games on the Deck, those configurations live on the local filesystem and can be lost during a SteamOS update or factory reset.
- No automatic external backup — the Steam Deck has no built-in mechanism to back up arbitrary files to external cloud storage.
RcloneView solves these problems by connecting your Steam Deck to any major cloud provider, giving you the ability to push files to the cloud on demand or on a schedule.
Switching to Desktop Mode
All installation and configuration happens in the Steam Deck's Desktop Mode. To switch:
- Press the Steam button on your Deck.
- Navigate to Power > Switch to Desktop.
- The Deck reboots into a full KDE Plasma desktop with a taskbar, file manager (Dolphin), and a terminal (Konsole).
Desktop Mode gives you a complete Linux desktop environment. You can use the touchscreen, the trackpads, or connect a keyboard and mouse via USB-C or Bluetooth for a more comfortable experience.
Installing RcloneView on Steam Deck
SteamOS has a read-only root filesystem by default, which limits traditional package installation. The two best approaches for installing software are Flatpak (the officially supported method) and AppImage.
Option 1: AppImage (Recommended)
The AppImage method is the simplest and works without modifying the system:
- Open the Firefox browser in Desktop Mode (pre-installed on SteamOS).
- Navigate to rcloneview.com and download the Linux AppImage.
- Open Dolphin (the file manager) and navigate to your Downloads folder.
- Right-click the AppImage file, select Properties > Permissions, and check Is Executable.
- Double-click to run.
Alternatively, from Konsole (the terminal):
chmod +x ~/Downloads/RcloneView-*.AppImage
~/Downloads/RcloneView-*.AppImage
Move the AppImage to a permanent location to keep your Downloads folder clean:
mkdir -p ~/Applications
mv ~/Downloads/RcloneView-*.AppImage ~/Applications/
To add RcloneView to your application menu, create a desktop entry:
cat > ~/.local/share/applications/rcloneview.desktop << 'EOF'
[Desktop Entry]
Name=RcloneView
Exec=/home/deck/Applications/RcloneView-latest.AppImage
Icon=rcloneview
Type=Application
Categories=Utility;FileManager;
EOF
Replace the filename with your actual AppImage filename.
Option 2: Disabling Read-Only Filesystem (Advanced)
If you want to install packages via pacman (as on a regular Arch system), you can disable the read-only filesystem:
sudo steamos-readonly disable
sudo pacman-key --init
sudo pacman-key --populate archlinux
sudo pacman -Syu rclone fuse3
Warning: Disabling the read-only filesystem means SteamOS updates may overwrite your changes. The AppImage method is more durable across system updates.
Verifying the Installation
Launch RcloneView. You should see the main interface with the remote explorer. If you are using the touchscreen, the interface is responsive enough for basic navigation, though a mouse is recommended for extended file management sessions.
Connecting Cloud Storage Accounts
With RcloneView running in Desktop Mode, add your cloud storage providers.

Google Drive
- Click New Remote and select Google Drive.
- The OAuth flow opens in Firefox. Log in with your Google account and grant access.
- Save the remote. Your entire Google Drive is now accessible from RcloneView.
OneDrive
- Click New Remote and select Microsoft OneDrive.
- Authenticate through the Microsoft login page in Firefox.
- Choose personal OneDrive or OneDrive for Business.
- Save the remote.
S3-Compatible Storage (Backblaze B2, Wasabi, AWS)
- Click New Remote and select your S3 provider.
- Enter your Access Key and Secret Key.
- Specify the region and endpoint.
- Save the remote.
For Steam Deck users, Google Drive and OneDrive are the most common choices because many gamers already have these accounts. S3-compatible providers like Backblaze B2 or Wasabi offer cost-effective bulk storage for large game backup archives.
Backing Up Game Saves
This is the primary use case for most Steam Deck users. Game save files are small but irreplaceable. Here is how to back them up with RcloneView.
Locating Save Files
Steam game saves on the Deck are typically found in:
- Steam Proton saves:
~/.local/share/Steam/steamapps/compatdata/[APPID]/pfx/drive_c/users/steamuser/ - Native Linux saves:
~/.local/share/[GameName]/or~/.config/[GameName]/ - Emulated game saves: depend on the emulator (RetroArch saves are usually in
~/.config/retroarch/saves/)
Creating a Save Backup Job
- In RcloneView, open your local filesystem in the left pane and navigate to your save folder.
- Open your cloud remote in the right pane and create a destination folder (e.g.,
SteamDeck/Saves/). - Select the save files or folders and copy them to the cloud.
For ongoing protection, create a sync job:
- Set the source to your local save directory.
- Set the destination to your cloud backup folder.
- Schedule the job to run daily or at whatever frequency you prefer.

This way, every time you finish a gaming session and switch to Desktop Mode, your latest saves are pushed to the cloud automatically (or you can run the job manually before switching back to Gaming Mode).
Syncing Screenshots and Recordings
The Steam Deck stores screenshots in ~/.local/share/Steam/userdata/[USERID]/760/remote/[APPID]/screenshots/. Gameplay recordings (if you use tools like OBS in Desktop Mode) can be stored wherever you configure them.
Setting Up Screenshot Sync
- In RcloneView, navigate to your screenshots directory in the left pane.
- Open a cloud destination folder (e.g.,
SteamDeck/Screenshots/) in the right pane. - Create a sync job to push new screenshots to the cloud.

Screenshots are typically small (1-5 MB each), so sync jobs complete quickly even on a modest internet connection. For gameplay recordings, which can be hundreds of megabytes or several gigabytes each, consider scheduling uploads for when the Deck is docked and connected to Wi-Fi.
Freeing Space After Upload
Once screenshots and recordings are safely in the cloud, you can delete the local copies to reclaim SSD space. RcloneView's move operation (as opposed to copy) transfers files and removes the source, doing this in one step. Use this carefully — verify the cloud copy exists before deleting local files.
Managing Storage on the Limited SSD
Beyond backing up saves and media, RcloneView helps with broader storage management on the Steam Deck:
- Archive old game data — finished a game and want to keep the saves but reclaim the space? Sync the save data to the cloud, then uninstall the game. If you reinstall later, restore the saves from the cloud.
- Offload mod files — large mod packages (texture overhauls, total conversions) can be backed up to cloud storage and re-downloaded when needed.
- Mount cloud storage for media — mount a Google Drive or OneDrive folder as a local directory and stream media (music, videos) from the cloud without storing it on the SSD.
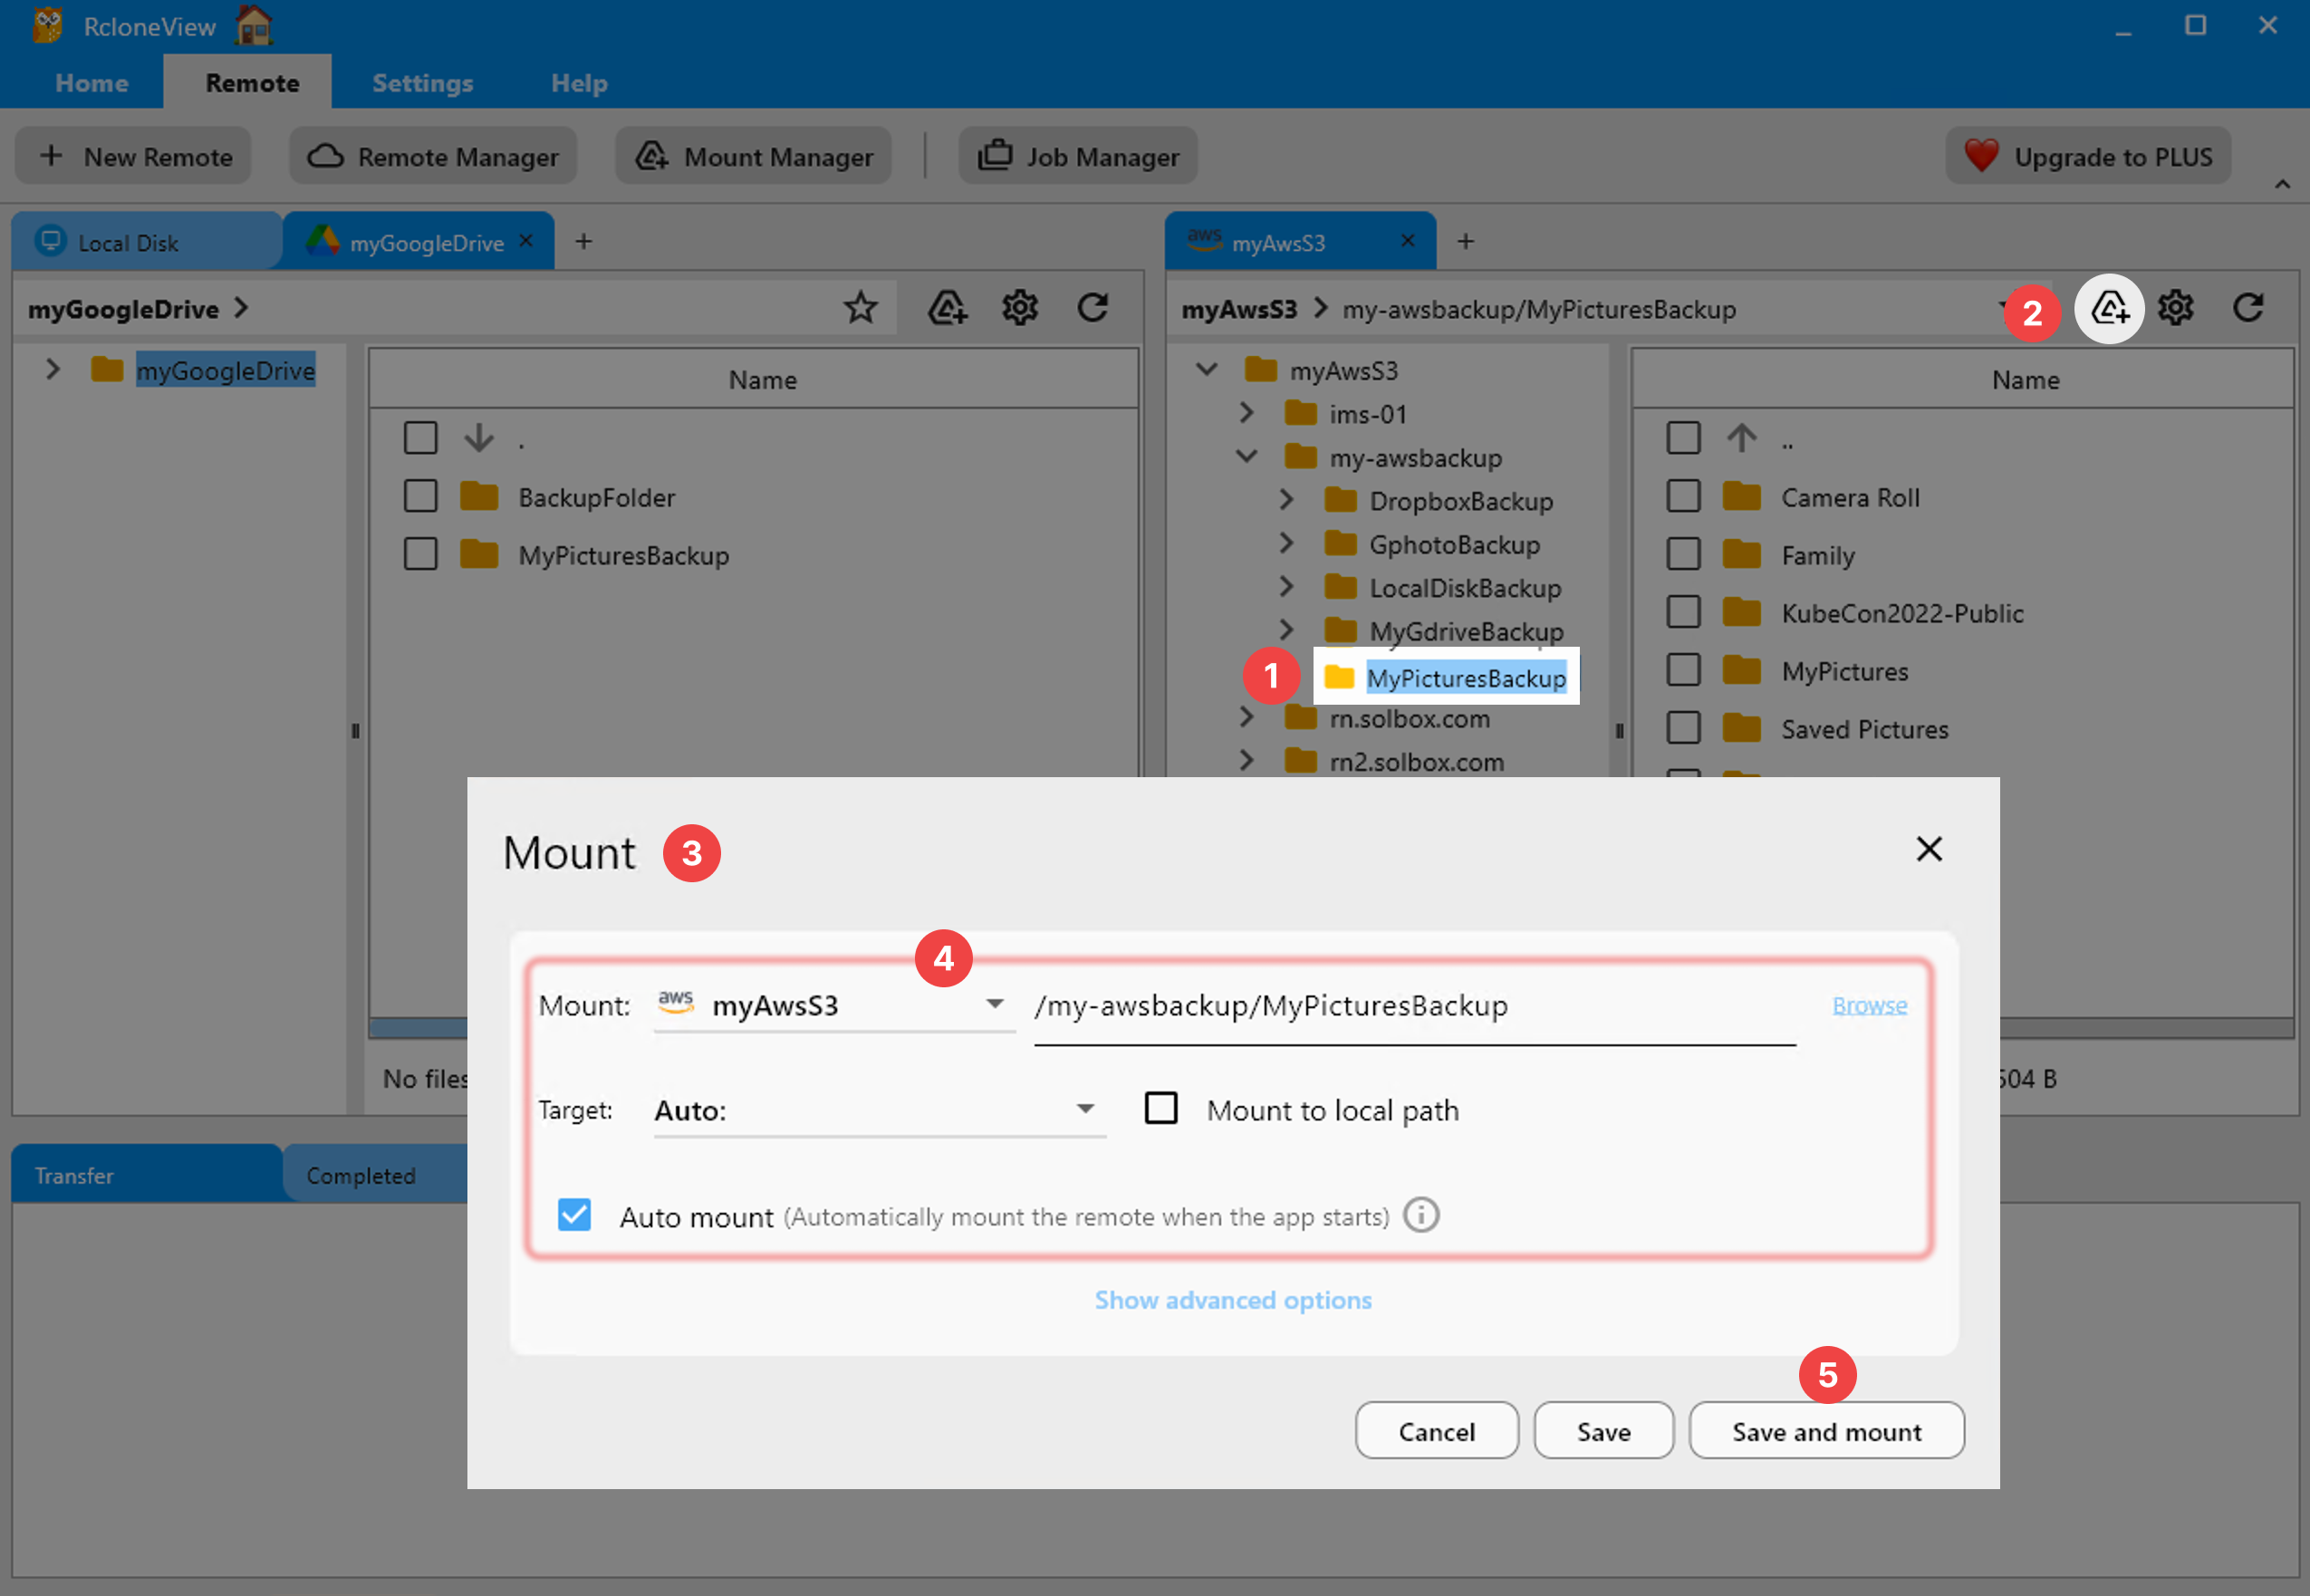
Mounting Cloud Storage on Steam Deck
To mount a cloud remote as a local filesystem:
- Ensure FUSE is available. On the default SteamOS, FUSE support is typically included. If not:
sudo steamos-readonly disable
sudo pacman -S fuse3
sudo steamos-readonly enable
- In RcloneView, right-click a remote and select Mount, or use the Mount Manager.
- Choose a mount point (e.g.,
~/CloudDrive/). - Configure cache settings — use VFS cache mode "full" for the best experience with media files.
The mounted drive appears in Dolphin and is accessible to any application. You could, for example, point a media player at a mounted cloud folder to stream your music library without using any SSD space.
Practical Workflows for Steam Deck Users
Before a Trip
- Switch to Desktop Mode.
- Run your save backup job to push the latest saves to the cloud.
- Verify the backup completed in RcloneView's job history.
- Switch back to Gaming Mode.
After a Gaming Session
- Switch to Desktop Mode.
- Run the screenshot sync to push new captures to the cloud.
- Optionally delete local screenshots to free space.
- Switch back to Gaming Mode.
After a SteamOS Update or Factory Reset
- Switch to Desktop Mode.
- Install RcloneView again (the AppImage method takes seconds).
- Reconfigure your cloud remotes (or restore the rclone config file if you backed it up to the cloud).
- Pull your save files back from the cloud.
- Resume gaming.
To make recovery faster, back up your rclone configuration file (~/.config/rclone/rclone.conf) to the cloud as well. This file contains your remote definitions and can be restored to instantly reconnect all your cloud accounts.
Getting Started
- Switch to Desktop Mode on your Steam Deck.
- Download the RcloneView AppImage and make it executable.
- Add your cloud accounts — Google Drive, OneDrive, or S3 are the most common choices.
- Back up your game saves by creating a sync job from your save directories to a cloud folder.
- Sync your screenshots to free up SSD space and keep your captures safe.
- Schedule regular backups so your data is always protected, even if you forget to run a manual sync.
Your Steam Deck is a portable gaming powerhouse, but its storage is finite. RcloneView turns any cloud account into an extension of your Deck's filesystem — keeping saves safe, screenshots organized, and your SSD free for the next game.
Related Guides: