Migrate Dropbox to Cloudflare R2 — Transfer Files with RcloneView
Cloudflare R2 offers S3-compatible object storage with zero egress fees — RcloneView makes the move from Dropbox straightforward with a cloud-to-cloud sync job.
Cloudflare R2 has become an attractive alternative for teams moving away from Dropbox. With no egress charges and S3-compatible API support, R2 fits naturally into developer workflows, static asset pipelines, and cost-conscious archiving strategies. Moving your existing Dropbox files to R2 is a one-time cloud-to-cloud migration that RcloneView handles without routing data through your local machine.

Manage & Sync All Clouds in One Place
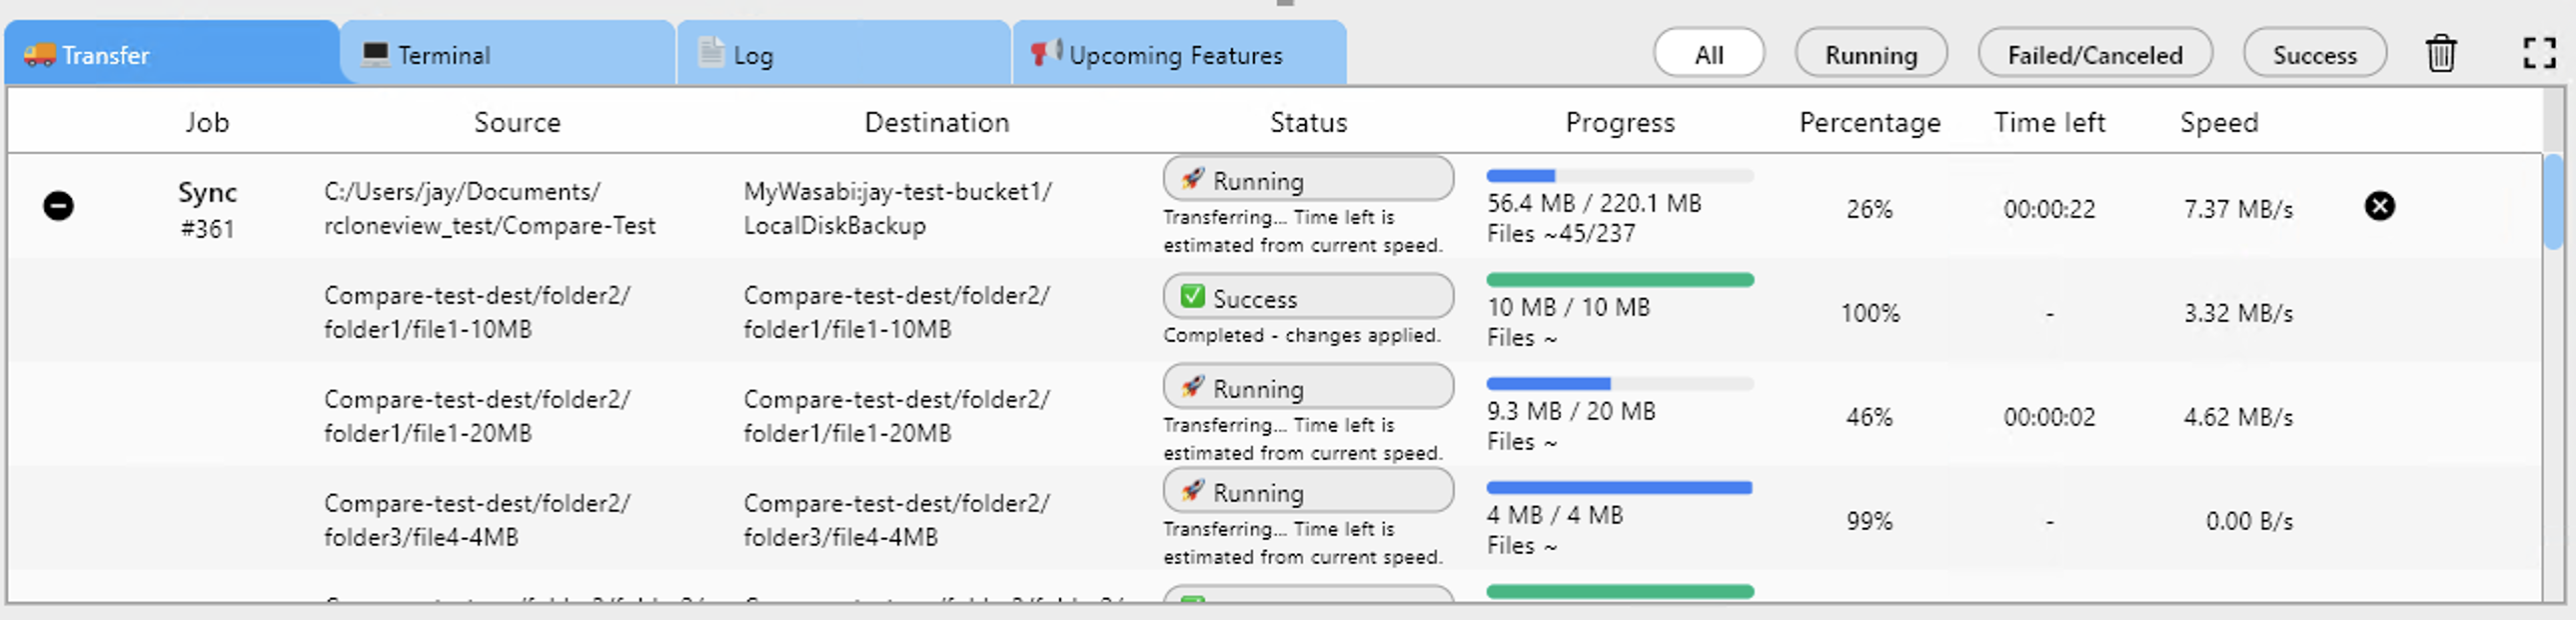
RcloneView is a cross-platform GUI for rclone. Compare folders, transfer or sync files, and automate multi-cloud workflows with a clean, visual interface.
- One-click jobs: Copy · Sync · Compare
- Schedulers & history for reliable automation
- Works with Google Drive, OneDrive, Dropbox, S3, WebDAV, SFTP and more
Free core features. Plus automations available.
Step 1 — Connect Dropbox
Open RcloneView and go to Remote Manager. Click New Remote and select Dropbox. Like most OAuth providers, Dropbox opens your browser for authorization — log in and click Allow. RcloneView stores the token and the remote appears immediately. Open it in the File Explorer to confirm your Dropbox files and folders are visible.
If you have a Dropbox Business account, make sure you're logged in with the account that owns the content you want to migrate. Shared folders owned by others may have access restrictions.

Step 2 — Connect Cloudflare R2
In Remote Manager, click New Remote and select S3 Compatible. Cloudflare R2 uses S3-compatible credentials:
- Access Key ID: from your Cloudflare R2 API Token (create one in the Cloudflare dashboard under R2 > Manage API Tokens)
- Secret Access Key: the corresponding secret
- Endpoint:
https://{account-id}.r2.cloudflarestorage.com
Your Account ID appears in the Cloudflare dashboard sidebar. Save the remote and open it to confirm your R2 buckets are visible. Create the destination bucket if it doesn't exist.
Step 3 — Set Up the Migration Job
Navigate to Jobs and click New Job. Set Dropbox as the source. You can choose the root to migrate everything, or select a specific folder. Set Cloudflare R2 as the destination and point to your target bucket.
In step 2 of the job wizard, configure options for the migration:
- Start with Dry Run enabled to preview the file list
- Set transfers to 4–6 for Dropbox migrations (higher values can trigger Dropbox rate limits)
- Enable checksum verification to confirm large files transferred without corruption

Handling Large Files
Cloudflare R2 supports objects up to 5 TB, and RcloneView uses multipart upload for large files automatically. Dropbox has a maximum file size of 2 TB per file. In practice, for most Dropbox migrations the files will be well within limits. If you have exceptionally large files and the transfer fails, check the Log tab for specific error messages and consider reducing the number of simultaneous transfers.
Step 4 — Verify and Complete
After the main migration job finishes, use Folder Compare to verify. Open both the Dropbox source and R2 destination side by side and let RcloneView identify any discrepancies. Re-run the job for any missing files. Once you're satisfied the migration is complete, you can update your applications to point to R2 and wind down Dropbox access.
Getting Started
- Download RcloneView from rcloneview.com.
- Connect Dropbox via OAuth in Remote Manager.
- Connect Cloudflare R2 using your API Token, Secret, and Account ID endpoint.
- Create a migration job, run Dry Run to preview, then execute the full transfer.
Switching to Cloudflare R2 eliminates Dropbox's per-user pricing model and removes egress costs for content accessed from Cloudflare's network.
Related Guides:
- Migrate Wasabi to Cloudflare R2 with RcloneView
- Migrate Azure Blob to Cloudflare R2 with RcloneView
- Fix Dropbox Rate Limit API Errors with RcloneView