Manage Pixeldrain Cloud Storage — Sync and Backup Files with RcloneView
Pixeldrain is a file hosting service with personal cloud storage features — RcloneView connects it to your broader cloud ecosystem for backup and organized file management.
Pixeldrain is a file sharing and hosting platform that also functions as personal cloud storage, letting users upload, organize, and share files. While the web interface covers basic operations, users who need to sync their Pixeldrain content to another cloud — or pull files down for a local archive — benefit from a dedicated tool. RcloneView lists Pixeldrain as a supported provider, so you can connect it alongside all your other remotes and manage transfers from a single interface.

Manage & Sync All Clouds in One Place
RcloneView is a cross-platform GUI for rclone. Compare folders, transfer or sync files, and automate multi-cloud workflows with a clean, visual interface.
- One-click jobs: Copy · Sync · Compare
- Schedulers & history for reliable automation
- Works with Google Drive, OneDrive, Dropbox, S3, WebDAV, SFTP and more
Free core features. Plus automations available.
Connecting Pixeldrain to RcloneView
Open RcloneView and navigate to Remote Manager. Click New Remote and scroll through the provider list to find Pixeldrain. The connection uses your Pixeldrain API key, which you can generate from your account settings on the Pixeldrain website. Enter the API key in the configuration form and save.
Once saved, open the remote in the File Explorer. Your Pixeldrain files and directories load in the panel, ready for browsing and transfer.

Browsing and Organizing Files
The RcloneView File Explorer shows your Pixeldrain storage with the same tree and list view used for every other provider. Navigate directories, select files, and use right-click options to copy, move, or delete. For image-heavy collections, switch to Thumbnail View to see previews in a grid — useful if you're hosting photos or screenshots on Pixeldrain and want to identify content before transferring it.
Opening a second panel pointing to another remote — Google Drive, Backblaze B2, or a local folder — lets you drag and drop files directly between Pixeldrain and your destination.
Creating a Backup Job
For systematic backups of your Pixeldrain content, use the Job feature. Go to Jobs, click New Job, and set Pixeldrain as the source. Choose any configured remote as the destination. In step 2 of the job wizard, configure transfer options:
- Number of transfers: how many files transfer simultaneously
- Dry Run: preview what will be copied without actually moving anything
- Checksum verification: enable to confirm data integrity after transfer
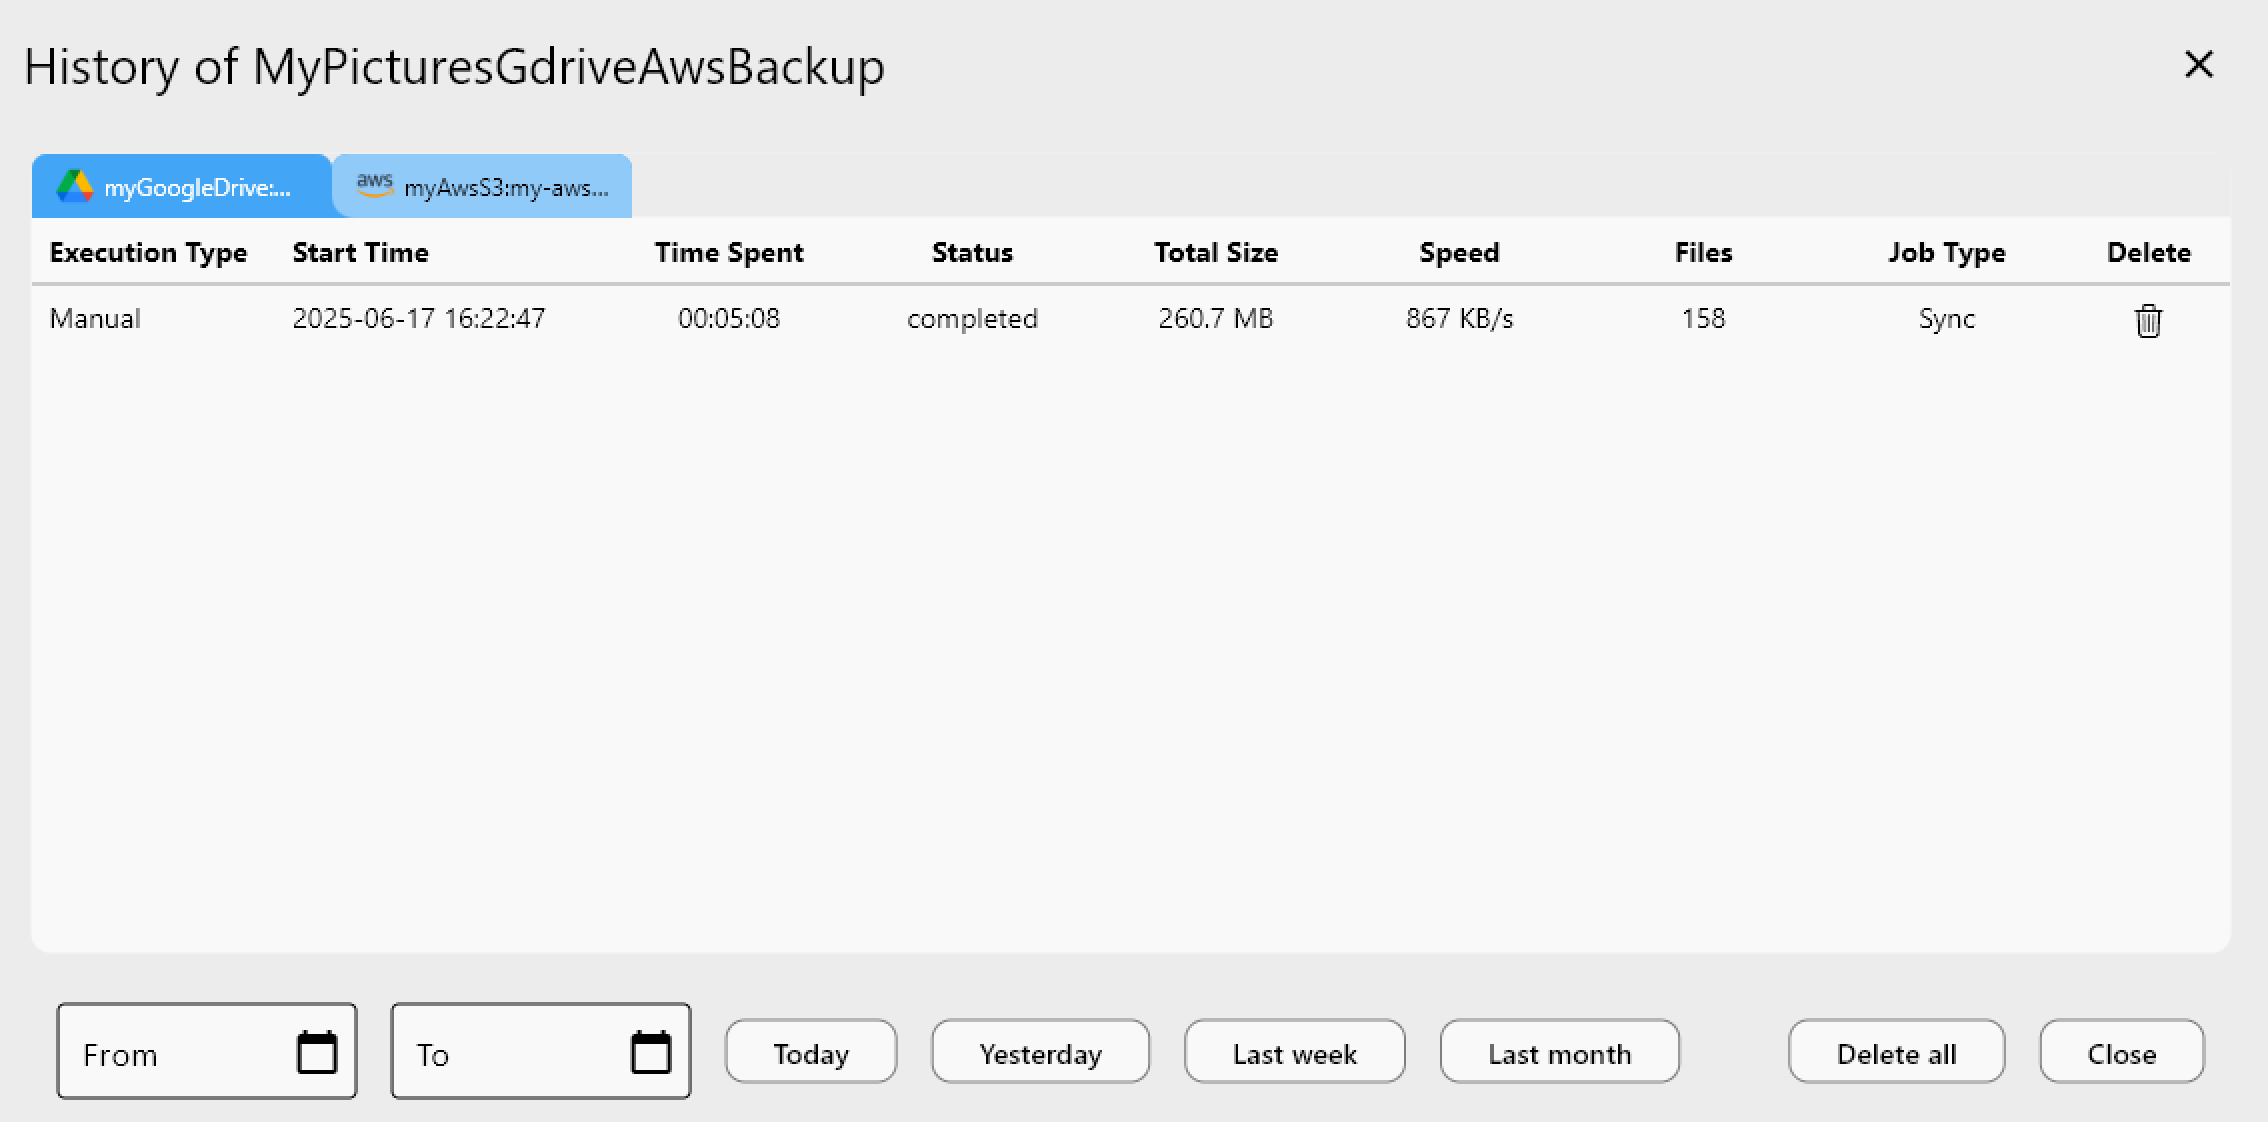
Run the job, and RcloneView shows real-time progress with transfer speed and file count. After the job completes, the result is logged in Job History.

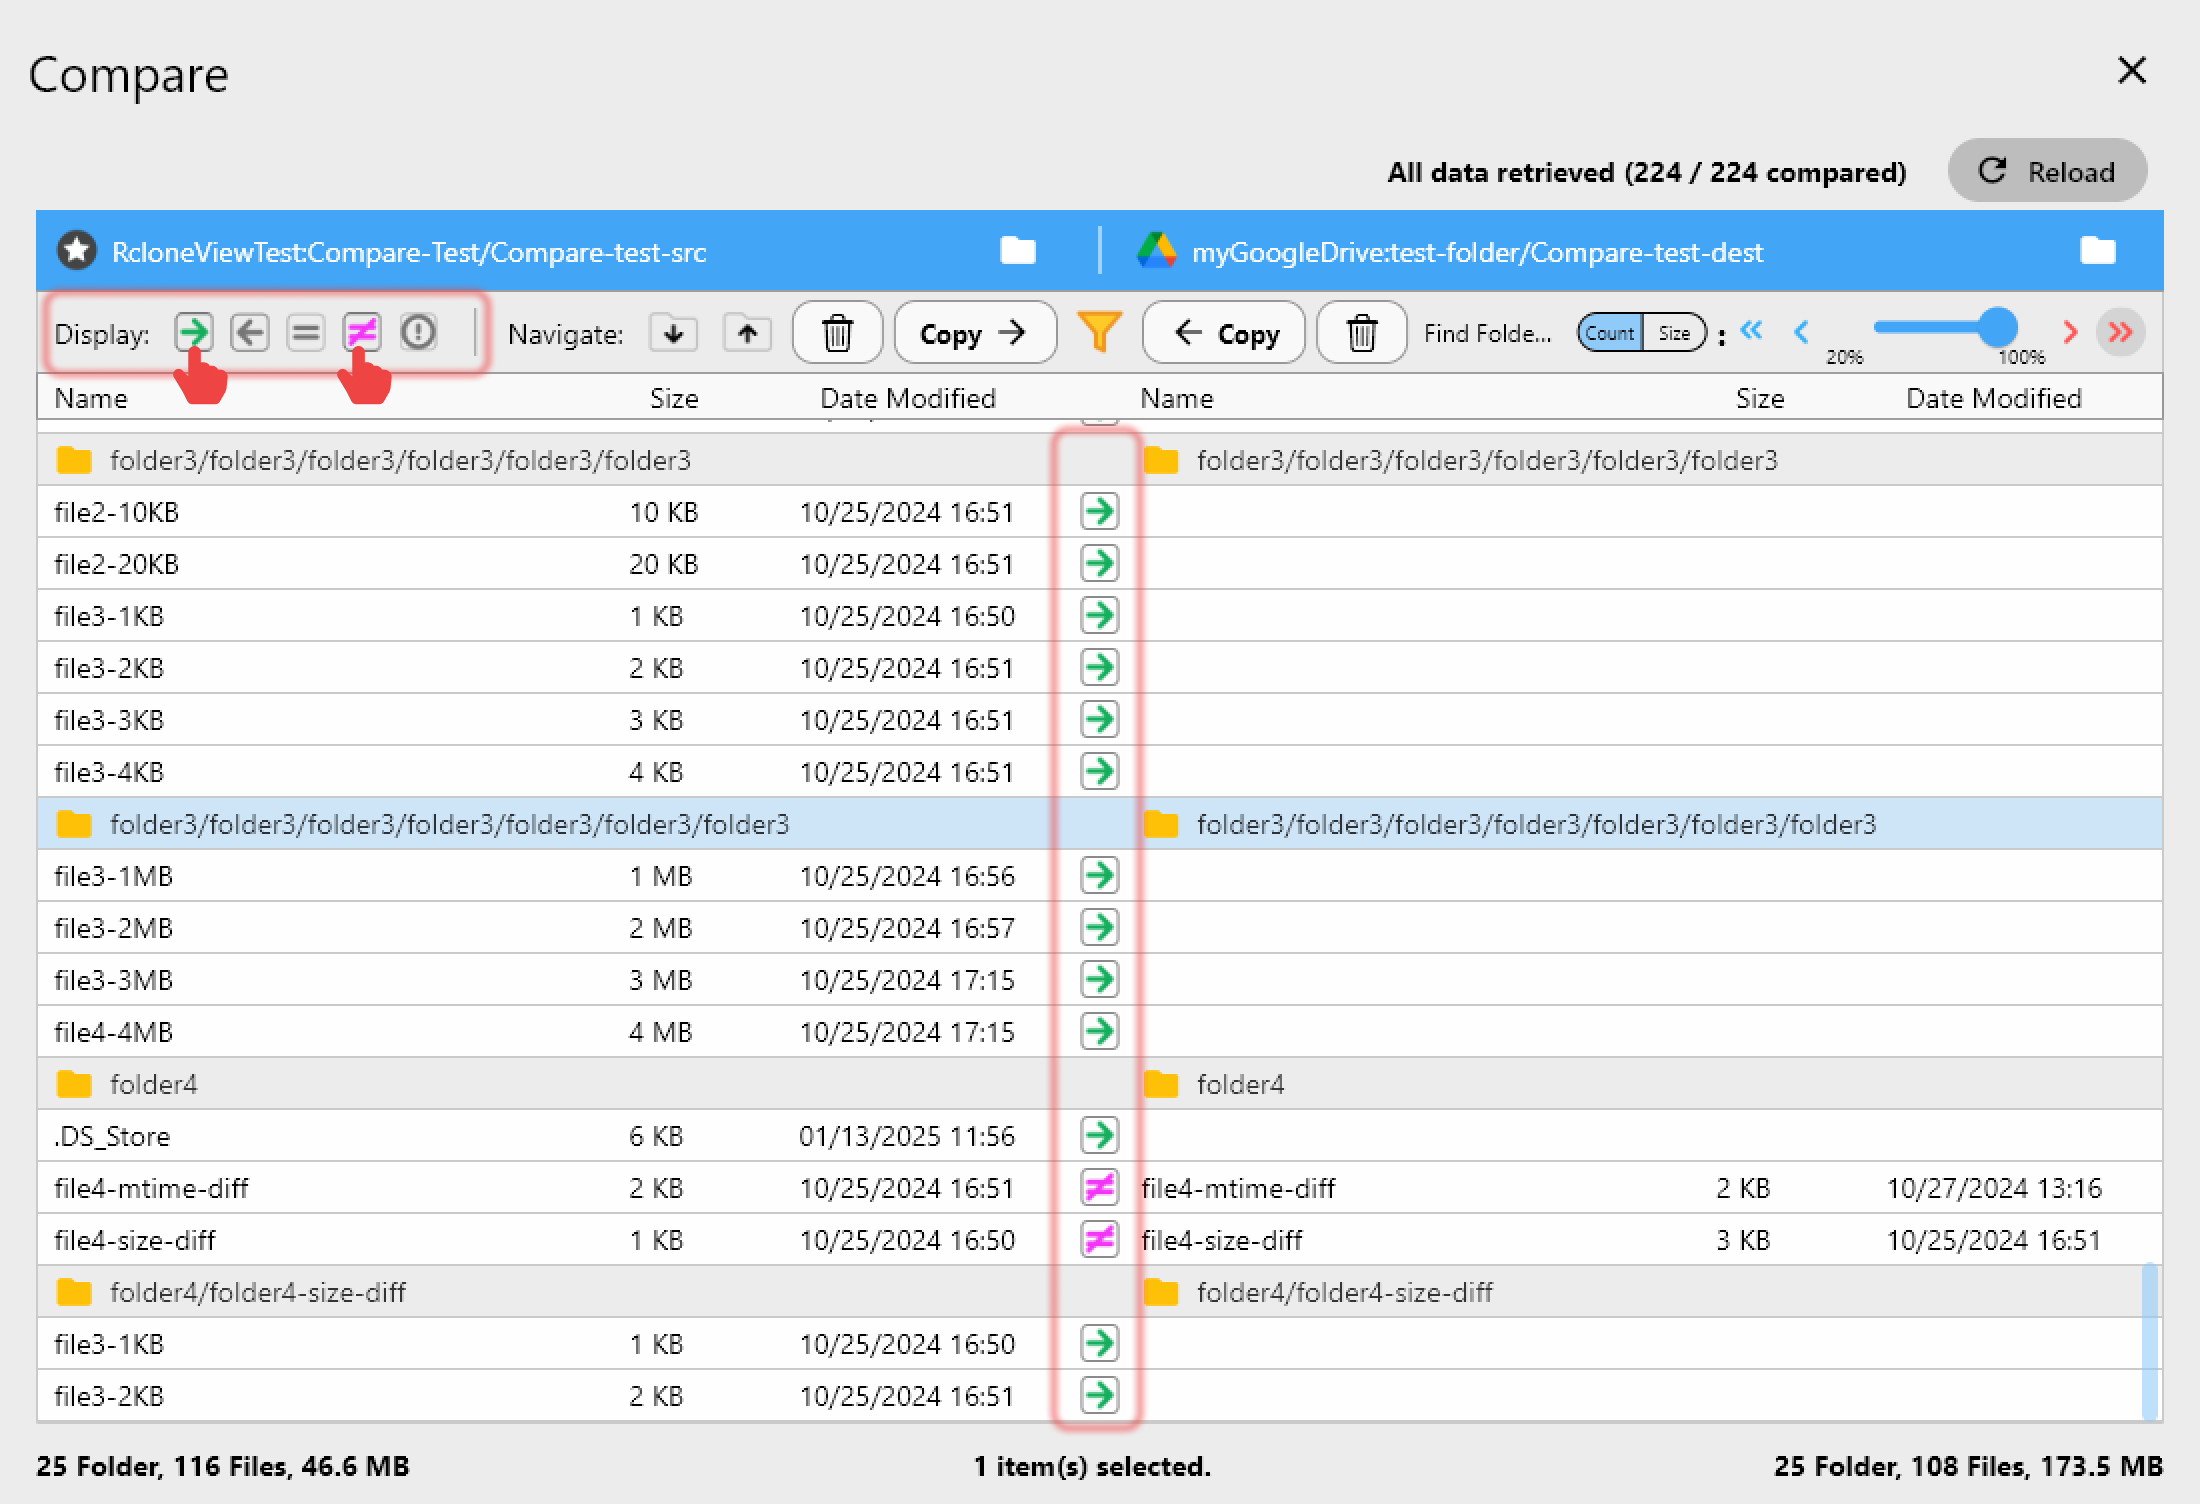
Folder Compare for Verification
After migrating content from Pixeldrain to another cloud, the Folder Compare tool gives you confidence the transfer was complete. Open both the Pixeldrain source and destination folder side by side, and RcloneView highlights files that exist only on one side or differ in size. This is especially useful when you've done the migration over multiple sessions and want to confirm nothing was missed.
Getting Started
- Download RcloneView from rcloneview.com.
- Generate your Pixeldrain API key from your account settings at pixeldrain.com.
- Open Remote Manager, click New Remote, select Pixeldrain, and enter your API key.
- Browse your files and configure a backup job to your preferred destination cloud.
RcloneView makes it straightforward to move Pixeldrain content into a more structured long-term storage setup.
Related Guides:
- Cloud-to-Cloud Migration with RcloneView
- Fix Cloud Sync Missing Files After Transfer
- Job History and Transfer Logs Monitoring